Cleaning an oven feels easier when you start with a safe plan, the right supplies, and a clear order of steps. Before you scrub anything, make sure the oven is turned off, fully cool, and empty. If you have a gas oven, turn off the gas supply when your manual recommends it. Wear gloves, protect your eyes if you use a strong cleaner, and keep the kitchen well ventilated while you work.
Good oven cleaning is not only about removing grease. It also helps reduce smoke, odors, burnt-on food, and stubborn residue that can affect how your oven looks and performs. With a few basic supplies and a steady routine, you can clean the interior, racks, door, seals, and exterior without damaging the appliance.
Quick Answer
To clean an oven safely, let it cool, remove the racks, wipe loose crumbs, apply a suitable oven cleaner or baking soda paste, let it sit, then scrub gently with a non-abrasive sponge. Clean the racks separately, wipe the door glass, rinse away residue, and dry everything before using the oven again.
Key Takeaways
- Always turn the oven off and let it cool completely before cleaning.
- Use gloves, good ventilation, and eye protection when working with commercial oven cleaners.
- Remove oven racks and soak them separately so you can clean the oven interior more easily.
- Use non-abrasive tools to avoid scratching the oven liner, glass, or racks.
- Avoid using commercial oven cleaner on a self-cleaning oven unless your owner’s manual says it is safe.
- Wipe small spills soon after the oven cools to prevent heavy buildup later.
At a Glance
| Time Required | 30 minutes to a few hours, depending on buildup and soak time |
| Difficulty | Easy to moderate |
| Tools Needed | Gloves, sponge, microfiber cloths, spray bottle, plastic or silicone scraper, bucket, and non-abrasive scrub pad |
| Cost | Low, especially if you use baking soda, vinegar, dish soap, and reusable cloths |
Safety First: What to Do Before Cleaning an Oven
When you clean an oven, safety should always come first. Start by checking that the oven is completely turned off and cool to the touch. This helps prevent burns and reduces the chance of electrical or gas-related hazards while you work around the appliance.
If your oven is gas-powered, check your owner’s manual before turning off the gas supply. Some homeowners prefer to shut off the gas as an extra precaution during deeper cleaning. If you smell gas at any point, stop cleaning, leave the area, and contact your gas provider or a qualified technician.
Protective gear matters too. Wear rubber gloves when handling grease, grime, baking soda paste, vinegar, or commercial cleaning products. If you use a spray cleaner or strong degreaser, safety goggles can help protect your eyes from splashes. Keep children and pets away from the kitchen until you finish cleaning and the area is dry.
Warning: Never mix oven cleaner, bleach, ammonia, vinegar, or other cleaning products unless the product label clearly says it is safe. Mixing cleaners can create dangerous fumes.
Gather Necessary Supplies
Before you begin, gather everything you need so the cleaning process feels smoother. A basic oven-cleaning kit should include a sponge or scrub brush, microfiber cloths, a bucket or bowl for rinsing, rubber gloves, and a plastic or silicone scraper. These tools help you clean different surfaces without scratching the oven liner or glass.
For stubborn stains and baked-on grease, a non-abrasive pad works better than steel wool or a metal scraper. Metal tools can scratch the oven’s interior, damage the door glass, or leave marks on racks. A plastic scraper gives you more control when loosening hardened food residue.
You also need a cleaning solution. Commercial oven cleaners can cut through heavy grime, but you should follow the label directions closely. If you prefer a gentler option, make a paste with baking soda and water. Vinegar in a spray bottle can help loosen remaining residue after the baking soda has had time to sit.
[Amazon Products Picked for You]
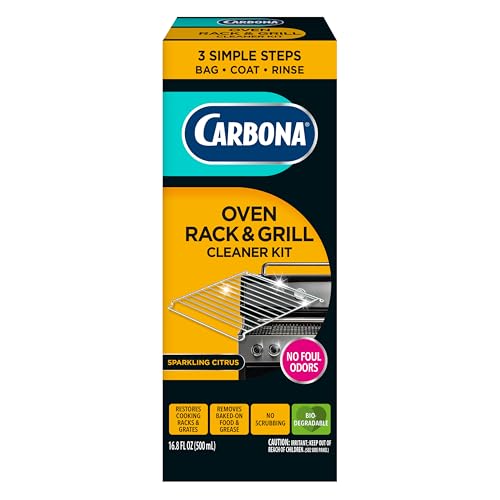
COMBAT GREASY BUILD-UP: Keep oven racks and grill grates ready for every meal with this Oven Rack & Grill Cleaner Kit. Designed to remove baked-on food, grease, and grime with no scrubbing, it helps restore cooking racks and grates for cleaner-looking results. Great for home cooks, weekend grillers, and high-use kitchens year-round

Removes burnt-on food & grease without scratching: This non-abrasive cooktop & stove top cleaner cream with micro-bead technology breaks down tough, baked-on spills, grease and grime — even old stains — without damaging glass or ceramic surfaces.

COMPLETE 3-PIECE OVEN CLEANING SYSTEM: Take the guesswork out of oven cleaning with the ultimate all-in-one solution. This heavy-duty kit includes one 24oz bottle of Weiman Foaming Stove & Oven Cleaner, a precision razor-edged scraper tool, and a specialized dual-action sponge—everything you need to restore your appliance to a "like-new" shine.
Basic Oven-Cleaning Supply List
- Rubber gloves
- Safety goggles if using a strong cleaner
- Microfiber cloths
- Sponge or non-abrasive scrub pad
- Plastic or silicone scraper
- Bucket or bowl of warm water
- Baking soda
- White vinegar in a spray bottle
- Mild dish soap
- Commercial oven cleaner, if suitable for your oven
- Old towels or paper towels for catching drips
Note: Always check your oven manual before using a commercial oven cleaner, especially if your oven has a self-cleaning feature, steam-cleaning feature, special coating, or catalytic liner.
Preparing the Oven
Preparing the oven gives you a cleaner workspace and helps prevent accidental damage. Start by removing baking sheets, pans, foil, oven liners, thermometers, and any food remnants. You should have a clear oven cavity before applying any cleaner.
If your oven has a self-cleaning function, review the manufacturer’s instructions before doing anything else. Some self-cleaning ovens should not be cleaned with commercial oven sprays because the chemicals may damage the liner or affect the self-cleaning cycle. When in doubt, use the gentlest method recommended by your manual.
Once the oven is empty, inspect the interior. Look for loose parts, damaged heating elements, cracked glass, or worn door seals. Avoid spraying cleaner directly onto heating elements, fans, lights, vents, gaskets, or control panels. These areas can be sensitive and may require a damp cloth instead.
Cleaning the Interior
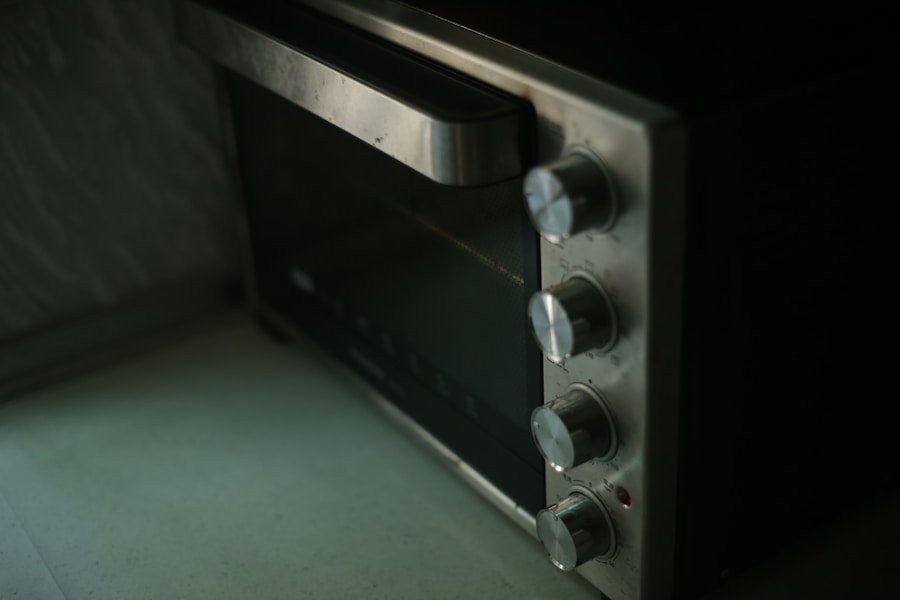
The interior of the oven usually collects the most spills, grease, crumbs, and burnt-on residue. Before applying cleaner, wipe out loose crumbs with a dry cloth or handheld vacuum attachment. This simple step prevents crumbs from turning into a messy paste once liquid cleaner is added.
| Area | Recommended Frequency | Typical Time Needed |
|---|---|---|
| Oven Interior | Every 3 to 6 months, or sooner after heavy spills | 30 minutes to 2 hours |
| Oven Racks | Monthly or whenever sticky residue builds up | 30 to 60 minutes, including soak time |
| Oven Door Glass | Monthly or when splatters reduce visibility | 10 to 30 minutes |
| Exterior and Controls | Weekly or as needed | 5 to 15 minutes |
If you use a commercial oven cleaner, follow the product instructions exactly. In most cases, you spray the cleaner evenly over approved interior surfaces, let it sit for the recommended time, then wipe away the residue with a damp sponge or cloth. Rinse the cloth often so you do not spread loosened grease back over the oven walls.
For a natural cleaning method, mix baking soda with enough water to create a spreadable paste. Apply it to greasy areas and baked-on spots while avoiding heating elements, vents, fans, lights, and gaskets. Let the paste sit for at least 30 minutes. For heavy buildup, you may need to let it sit longer.
After the paste has softened the grime, scrub gently with a non-abrasive sponge. Use a plastic or silicone scraper on stubborn spots. Then spray a small amount of vinegar over remaining baking soda residue. It may foam lightly, which helps lift loosened grime. Wipe everything clean with a damp cloth until no gritty residue remains.
Pro Tip: Place an old towel under the oven door while you clean. It catches drips, protects the floor, and makes cleanup easier.
Cleaning the Racks
Oven racks collect grease, burnt crumbs, and sticky residue over time. Remove the racks from the oven before cleaning the interior. This gives you more room to work and lets the racks soak while you clean other parts of the appliance.
Fill a sink, bathtub, or large container with warm water and mild dish soap. Place an old towel underneath the racks if you use a bathtub, as this can help prevent scratches. Let the racks soak for at least 30 minutes so baked-on residue has time to soften.
After soaking, scrub each rack with a non-abrasive brush, sponge, or pad. Sprinkle baking soda on stubborn areas if needed, then scrub again. Rinse the racks well with warm water to remove soap and residue. Dry them completely before placing them back in the oven.
Avoid using harsh abrasives unless your oven manual says they are safe for your specific rack finish. Some racks have coatings that can be damaged by aggressive scrubbing or strong chemicals.
[Amazon Products Picked for You]
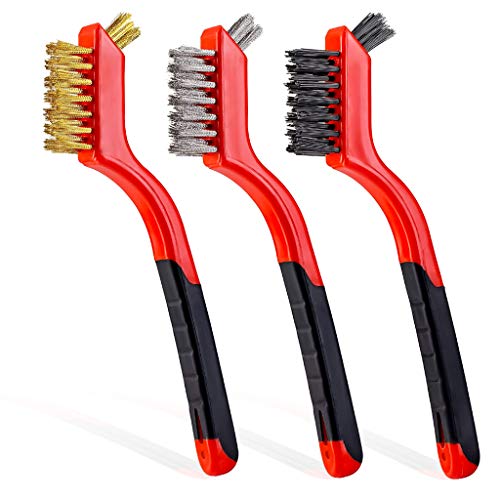
Three different types: The pack includes a brass, nylon and metal brush. Suitable for different surface types, they will address all your cleaning concerns
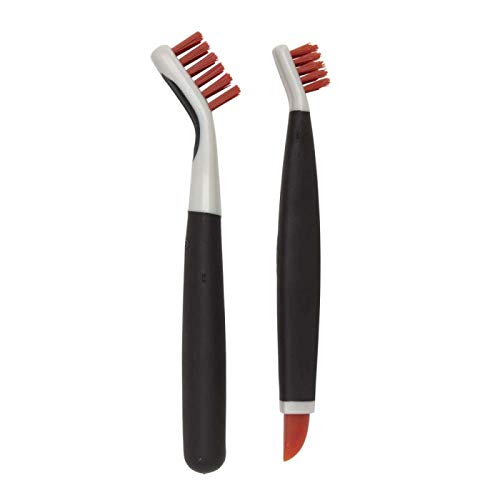
Set includes: Large Brush and Small Brush with Wiper Blade

PRACTICAL: Wire brushes are ideal for removing paint stains, rust, welding slag,solder,scale, Great for remove corrosion and more from parts, equipment, machinery and other surfaces. Also great for cleaning threads, grills or tile.
Cleaning the Oven Door
The oven door is easy to overlook, but it affects both appearance and visibility. Start with the outside of the door. Wipe the handle, frame, and glass with a damp microfiber cloth. For fingerprints or light grease, a small amount of dish soap mixed with warm water usually works well.
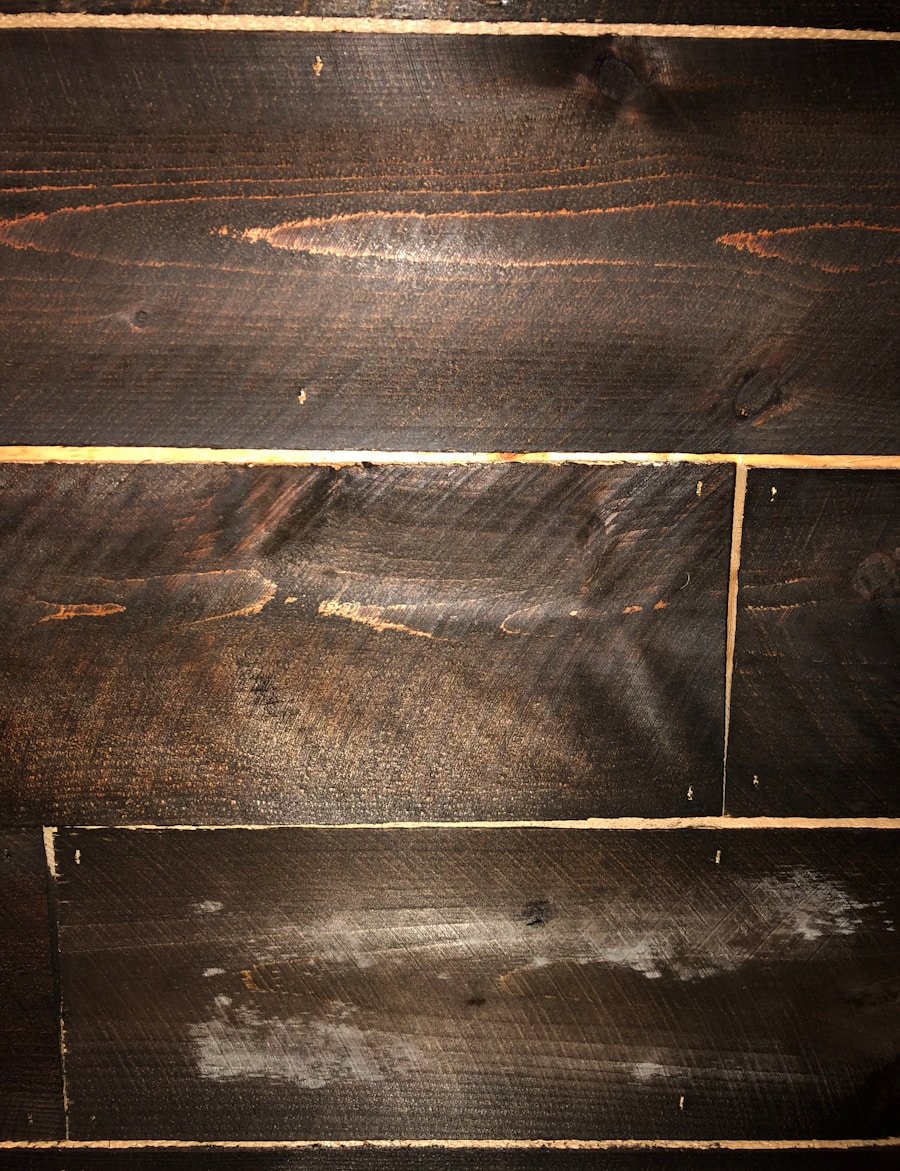
For the inside of the oven door, apply baking soda paste or a suitable cleaner to the glass surface. Let it sit for several minutes, then wipe it with a damp sponge. Use a plastic scraper only when needed, and keep the blade angle low so you do not gouge the surface.
If your oven door has removable glass panels, check your owner’s manual before removing anything. Some doors are designed for service access, while others should only be disassembled by a technician. Do not force panels, screws, or trim pieces if they do not come apart easily.
Cleaning Around the Door Seal
The oven door seal, also called the gasket, helps keep heat inside the oven. It can be fragile, so clean it carefully. Do not scrub it hard, soak it with cleaner, or pull on it. A damaged gasket can allow heat to escape and may affect cooking results.
Use a damp microfiber cloth to wipe crumbs and light residue around the seal. If grease has built up nearby, clean the surrounding metal or enamel surface without saturating the gasket. If the seal looks cracked, loose, brittle, or torn, consider replacing it according to the manufacturer’s instructions.
Cleaning the Exterior and Control Panel
The exterior of the oven also needs regular care. Grease, fingerprints, dust, and food splatters can collect on the handle, control panel, knobs, and stainless steel surfaces. Use a damp microfiber cloth and mild dish soap for routine cleaning.
Do not spray cleaner directly onto electronic controls, knobs, vents, or display panels. Spray the cloth first, then wipe the surface gently. This reduces the risk of moisture getting behind the controls. Dry the area with a clean cloth after wiping.
For stainless steel surfaces, wipe with the grain when possible. This helps reduce streaks and keeps the finish looking cleaner. Avoid abrasive pads, bleach-based cleaners, and rough powders on stainless steel unless the appliance manual specifically allows them.
Using the Self-Cleaning Function Safely
Many modern ovens include a self-cleaning function that uses high heat to burn off food residue. This can be helpful, but it is not the right choice for every situation. Before using it, read your oven manual and remove racks if the manual tells you to do so.
Wipe up large spills before starting a self-cleaning cycle. Heavy grease or sugary spills can smoke, smell strong, or bake onto the surface more firmly. Keep the kitchen ventilated during the cycle, and keep children and pets away from the oven.
Self-cleaning cycles can produce heat and odor. If your oven is older, damaged, heavily soiled, or showing error codes, avoid the cycle until the appliance is checked. Never use commercial oven cleaner before or during a self-cleaning cycle unless your manual clearly says it is safe.
Warning: Do not leave the home while a self-cleaning cycle is running. Stay nearby, keep the area ventilated, and stop the cycle if you notice unusual smoke, sparks, or strong burning smells.
Removing Stubborn Burnt-On Food
Some oven stains need more patience than force. If food has burned onto the bottom or sides of the oven, apply baking soda paste and let it sit longer. A longer dwell time often works better than aggressive scrubbing.
After the paste softens the residue, use a plastic or silicone scraper to lift the edge of the stain. Wipe away loosened debris with a damp cloth, then repeat the process if needed. It may take more than one round to remove older buildup.
For sugary spills, clean them as soon as the oven cools. Sugar can harden into a tough, glassy residue if left in place. Use warm water, a damp cloth, and gentle scraping to loosen it without scratching the surface.
[Amazon Products Picked for You]
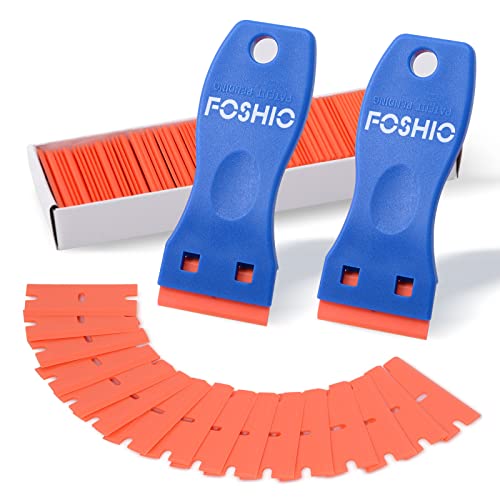
Plastic scraper set include 2pcs plastic scraper and 100pcs double edge plastic razor blades

Multi-Use: From scraping dough on countertops to clearing adhesive on plastics, users have found diverse and versatile applications for this tool

Multi-Use: From scraping dough on countertops to clearing adhesive on plastics, users have found diverse and versatile applications for this tool
Common Oven-Cleaning Mistakes to Avoid
A few common mistakes can make oven cleaning harder or damage the appliance. The biggest mistake is cleaning while the oven is still hot. Warm surfaces may help loosen some residue, but a hot oven increases the risk of burns and chemical fumes.
Another mistake is using the wrong tool. Steel wool, metal scrapers, and rough abrasive pads can scratch the oven liner or glass. Harsh chemicals can also damage special coatings or self-cleaning surfaces if they are not approved for your model.
Do not line the bottom of the oven with loose aluminum foil unless your manual allows it. Foil can block airflow, trap heat, damage the oven floor, or affect cooking performance. If you use an oven liner, choose one designed for your oven type and place it only where the manufacturer allows.
Maintaining the Oven
Regular maintenance helps your oven last longer and perform better. If you cook daily or often roast foods that splatter, do a light clean every week or two. Save deep cleaning for every 3 to 6 months, or whenever you notice smoke, odors, or visible buildup.
After each messy cooking session, wait until the oven cools and wipe fresh spills with a damp cloth. This small habit prevents residue from baking on again and becoming harder to remove. It also reduces the need for strong cleaners later.
Inspect the oven from time to time. Check the door seal for cracks or gaps, look at heating elements for visible damage, and make sure racks slide smoothly. If you notice uneven heating, error codes, gas smells, sparks, or damaged parts, stop using the oven and contact a qualified appliance technician.
Tips for Preventing Future Build-Up
Preventing buildup saves time during future deep cleans. Use baking sheets under pies, casseroles, and other dishes that may bubble over. A rimmed sheet pan can catch drips before they reach the oven floor.
Clean spills soon after they happen, once the oven is cool enough to touch safely. A quick wipe with warm water and a mild soap solution can prevent stains from setting. This is especially helpful after roasting meat, baking cheesy dishes, or cooking foods with sugary sauces.
You can also use an oven liner if your oven manual allows it. Choose a liner made for your oven type, and never place it over vents, heating elements, or areas that need airflow. A liner should catch drips without interfering with heat circulation.
Be mindful of what you cook and how full each pan is. Overfilled dishes are more likely to spill. When baking foods that may rise, bubble, or splatter, leave extra room in the pan and place a tray underneath when appropriate.
If you’re looking for ways to spruce up your kitchen, you may also be interested in checking out 5 Best Kids Dinnerware Sets for Stress-Free Mealtimes. Having the right dinnerware can make mealtime with your little ones a breeze. And while you’re at it, why not enjoy a nice cup of coffee made with one of the 5 Top Cold Brew Coffee Makers for Your Perfect Brew? A clean oven, stylish dinnerware, and a delicious cup of coffee can make your kitchen feel more enjoyable every day.
Frequently Asked Questions
What supplies do I need to clean an oven?
You need baking soda, water, vinegar, a spray bottle, a sponge or cloth, rubber gloves, and a plastic or silicone spatula. A non-abrasive scrub pad, mild dish soap, microfiber cloths, and safety goggles can also help.
How often should I clean my oven?
Clean your oven every 3 to 6 months for normal use. If you cook often, roast greasy foods, or notice smoke and odors, clean it sooner. Wipe fresh spills after the oven cools to reduce deep-cleaning work.
Can I use a self-cleaning function on my oven?
Yes, many ovens have a self-cleaning function that uses high heat to burn off food residue. Read your owner’s manual first, remove racks if required, wipe large spills, ventilate the kitchen, and stay nearby during the cycle.
What is the best natural cleaner for an oven?
A baking soda and water paste is a common natural option for oven interiors. Let it sit on grime, scrub gently, then wipe it away. Vinegar can help loosen leftover baking soda residue and light grease.
How long does it take to clean an oven?
The time depends on how dirty the oven is and which cleaning method you use. A light clean may take about 30 minutes. A deep clean with soaking time can take a few hours.
Is it safe to use oven cleaner on a self-cleaning oven?
It is usually not recommended unless your oven manual specifically allows it. Chemicals from some oven cleaners can damage self-cleaning liners or interfere with the self-cleaning function.
Can I use a metal scraper to clean my oven?
Avoid metal scrapers because they can scratch the oven interior or glass. Use a plastic or silicone scraper instead, and soften burnt-on residue with baking soda paste before scraping.
Can I clean an oven with only dish soap and water?
Yes, dish soap and warm water can work for light grease, fresh spills, racks, handles, and exterior surfaces. For heavy baked-on residue, baking soda paste or an approved oven cleaner may work better.

1 thought on “How to Clean an Oven: A Complete Guide”