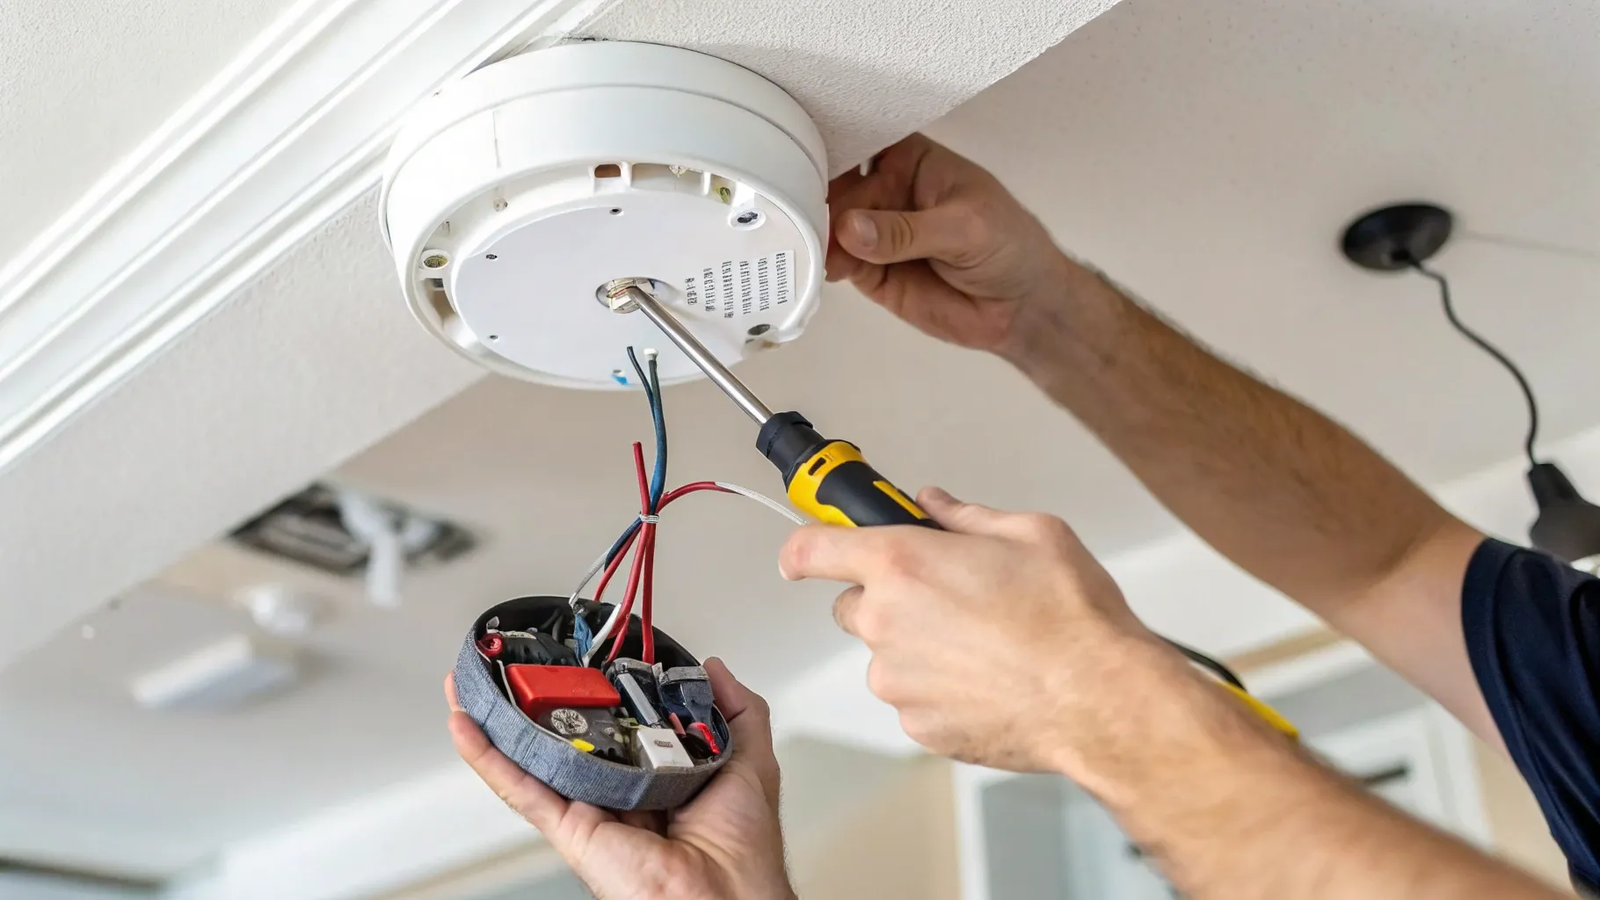
Replacing a hardwired smoke and carbon monoxide alarm might seem intimidating, but with the right steps, it’s a straightforward DIY task that anyone can accomplish safely at home. In this guide, I’ll walk you through the entire process, from turning off the power to testing your newly installed alarm to ensure it’s working perfectly. We’ll be working with Kidde brand alarms, but the method applies to most hardwired smoke and CO detectors.

Why Replace Your Smoke and Carbon Monoxide Alarm?
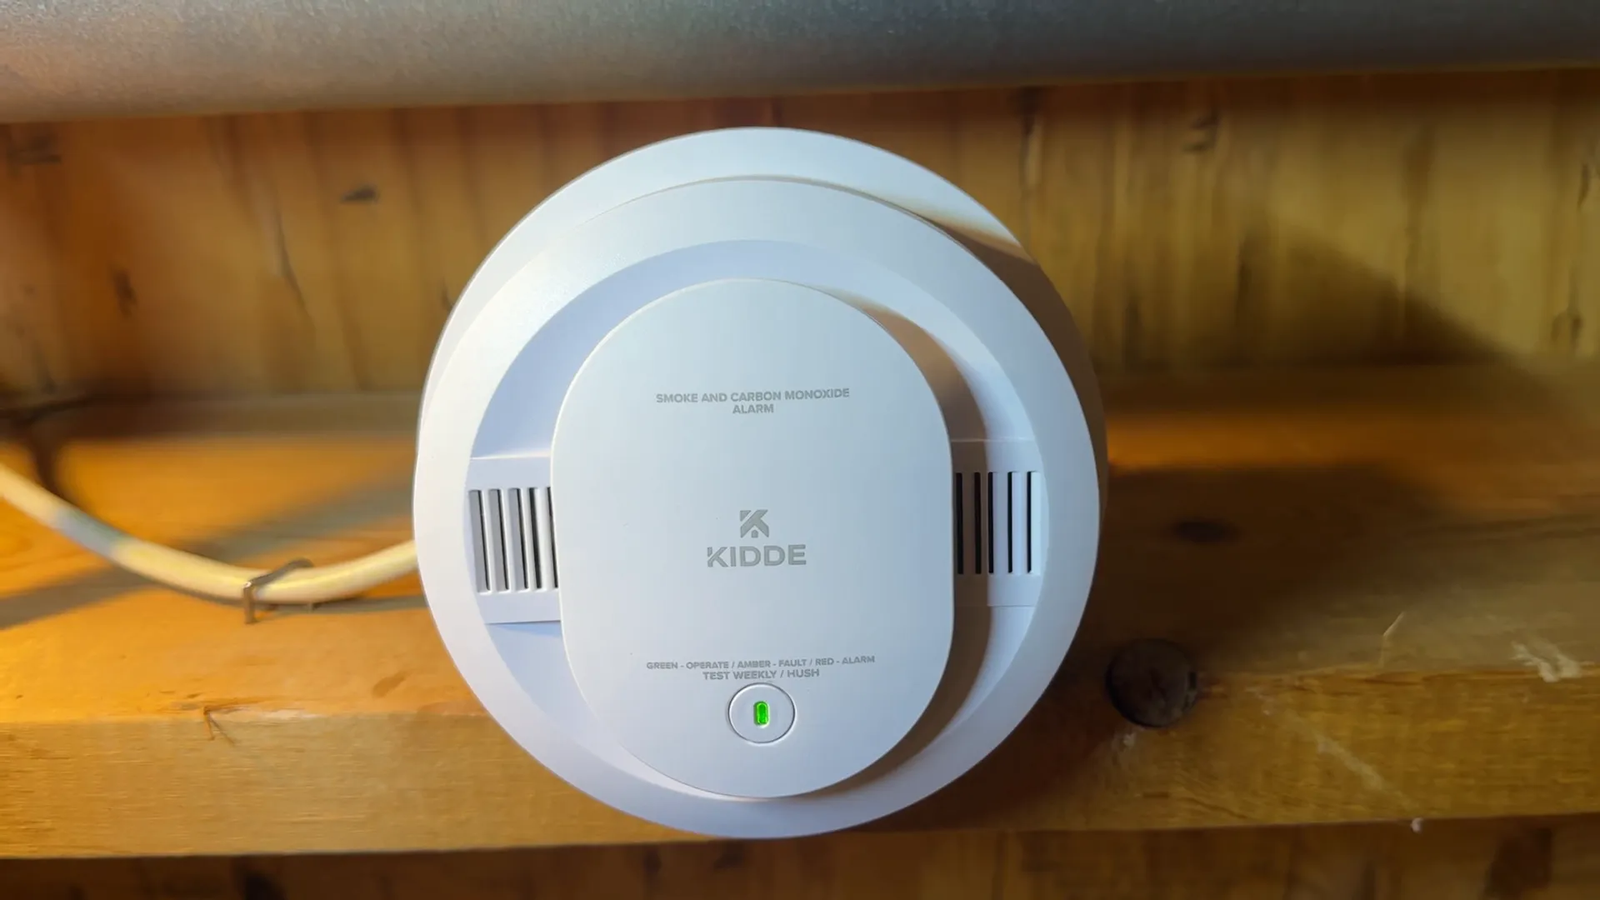
If you hear your smoke and carbon monoxide alarm beeping every 30 seconds, like this:
“It usually means the alarm has reached end-of-life and must be replaced.”
This warning beep is a sign that your alarm is no longer reliable and needs a replacement immediately for your safety. On Kidde CO and combination alarms, a 30-second chirp indicates End-of-Life (replace immediately), while a once-per-60-seconds chirp often indicates a low battery that requires replacement.
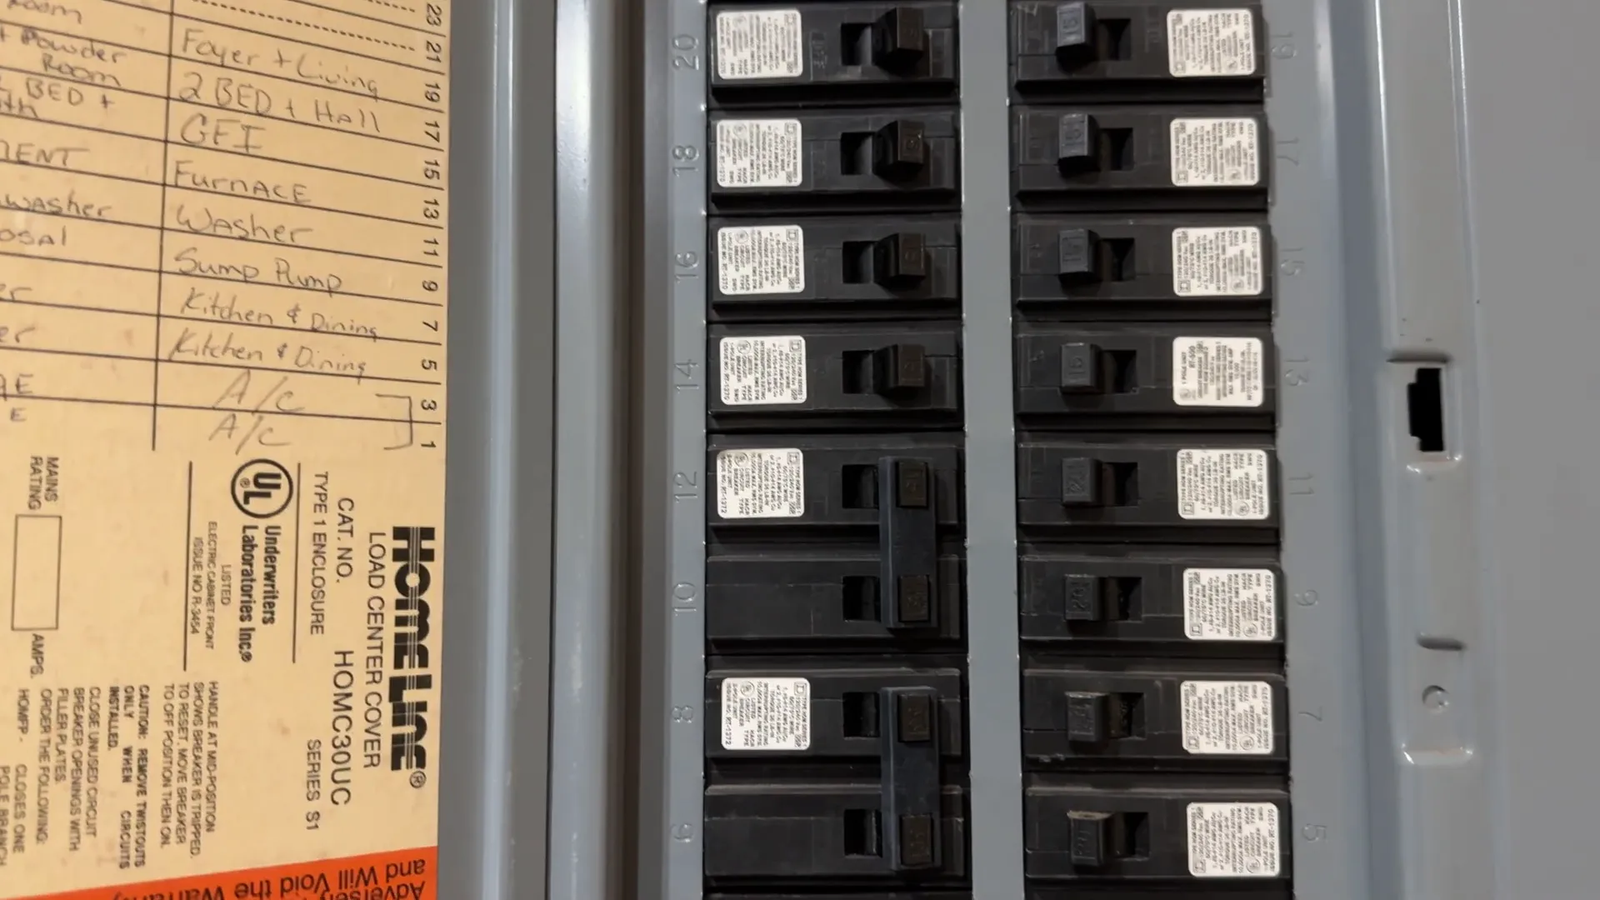
Step 1: Turn Off the Power
Before you start any electrical work, safety is paramount. Locate your circuit breaker and turn off the power to the area where the alarm is installed. For example, in my basement, the breaker is labeled number fourteen.
Step 2: Remove the Old Alarm
The faulty alarm we’re replacing is a Kidde model. To remove it:
- Turn the alarm counterclockwise to detach it from its mounting base.
- Pinch both sides of the alarm housing to release it from the base.
- Gently pull it out to reveal the wiring connections.
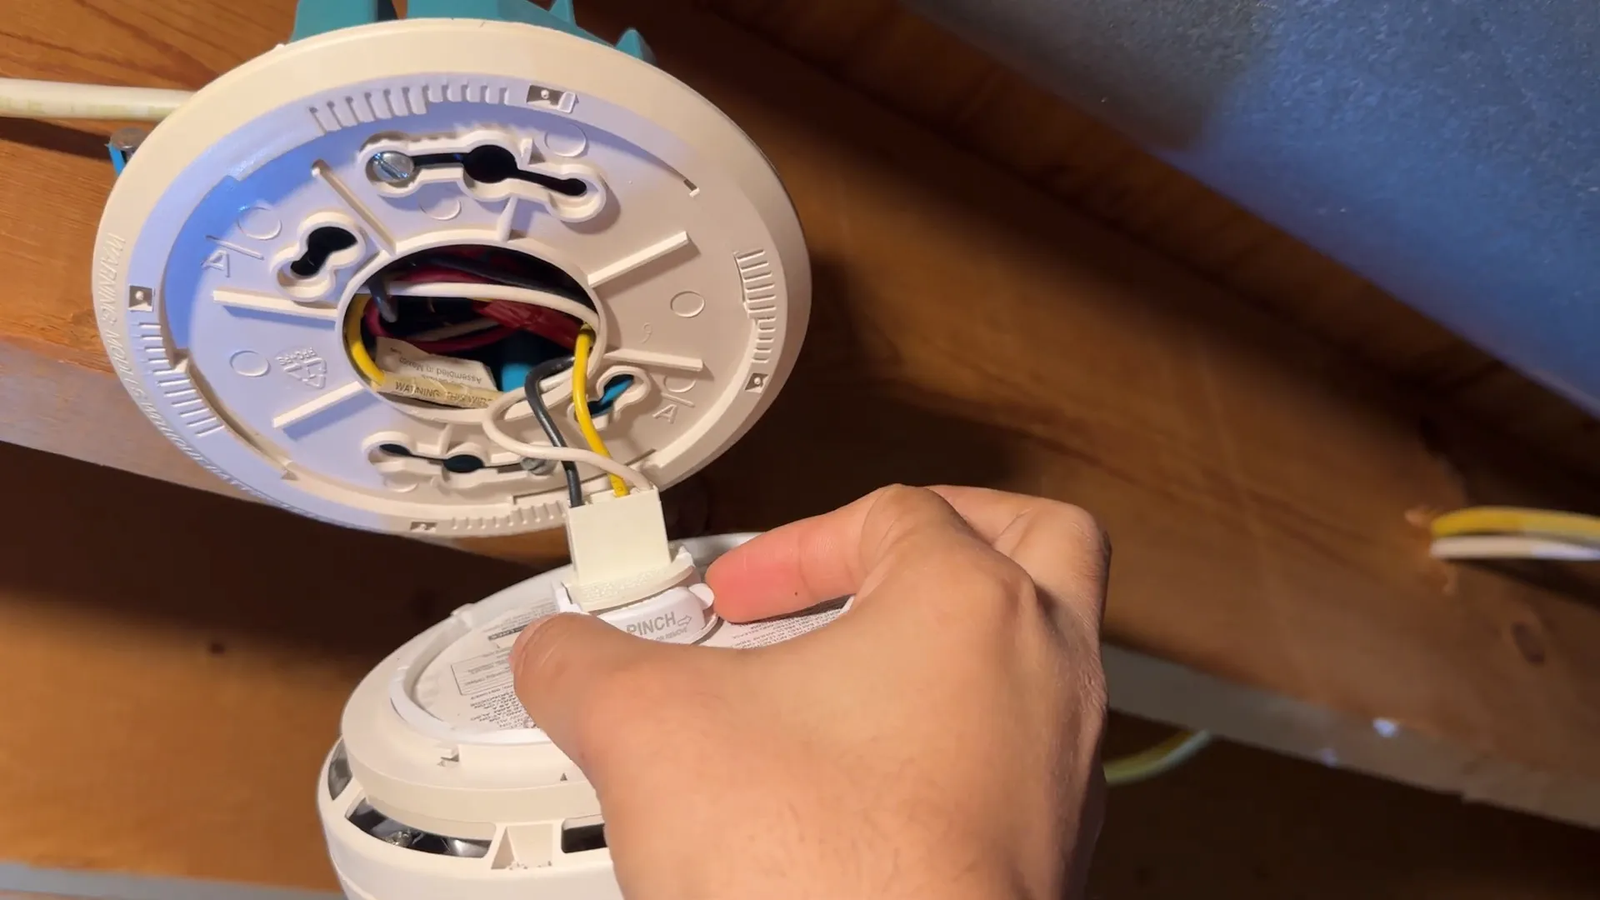
You’ll see three wires connected inside: black, white, and red. Carefully unplug each one.
Step 3: Prepare the Mounting Base
The mounting base holds the alarm to the ceiling. Although there are screws securing it, you don’t need to remove them completely. Instead, loosen the screws just enough to slide the base down and remove it.
Step 4: Unbox and Inspect the New Alarm
Our replacement alarm is also a Kidde hardwired smoke and carbon monoxide detector, which includes a backup battery compartment using two AA batteries.
Inside the package, you’ll find:
- The alarm unit
- The mounting plate
- Instruction manual
- Wiring connectors
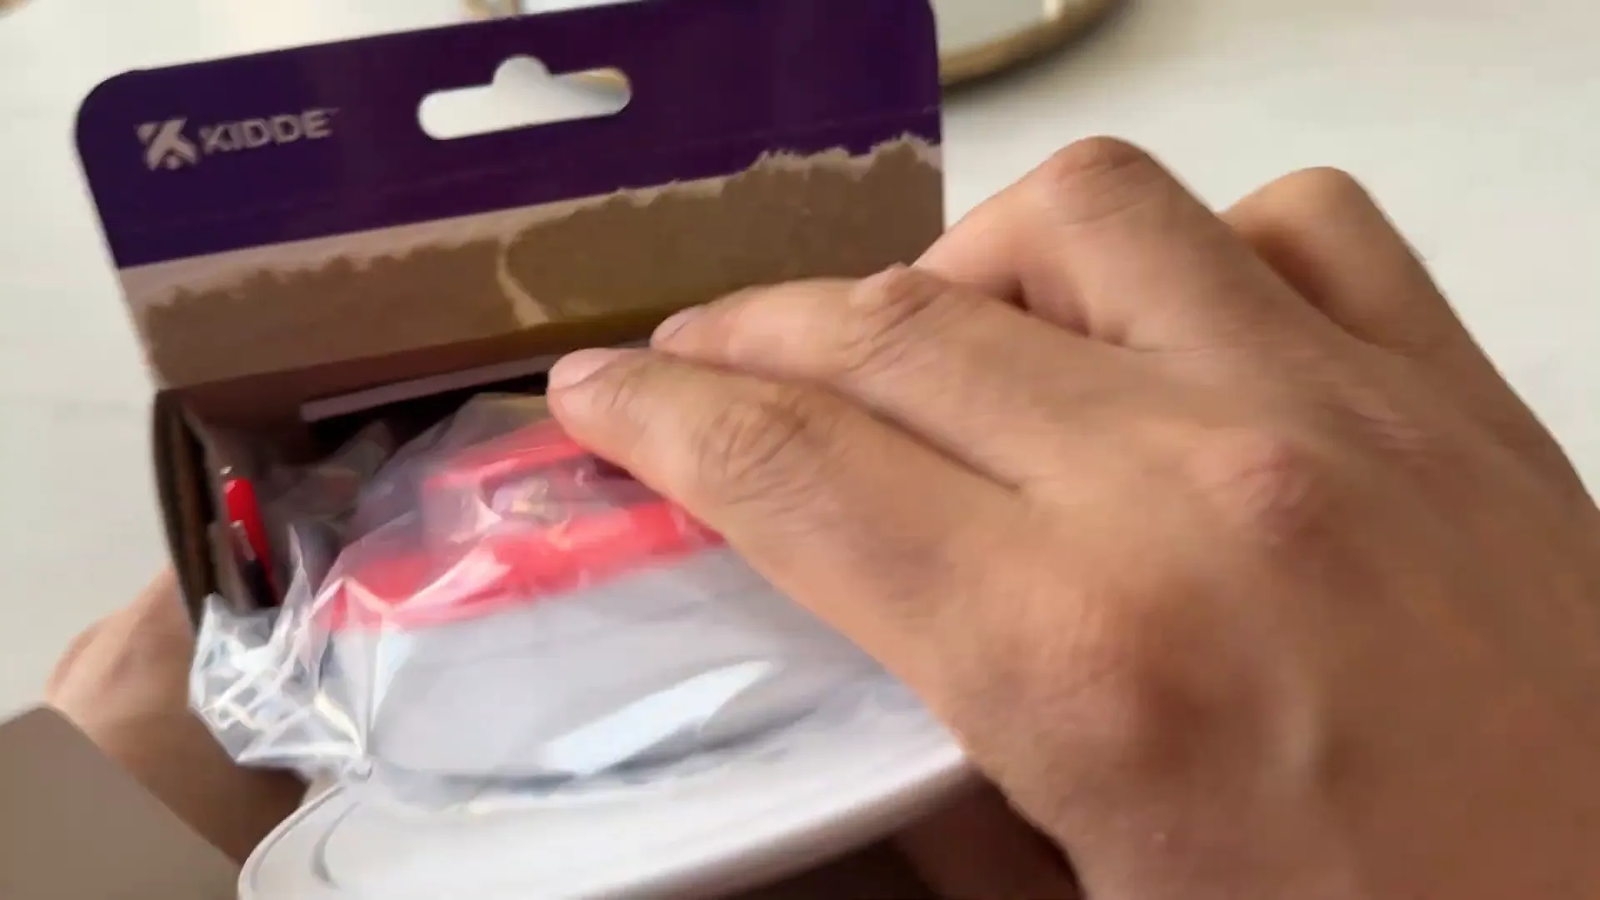
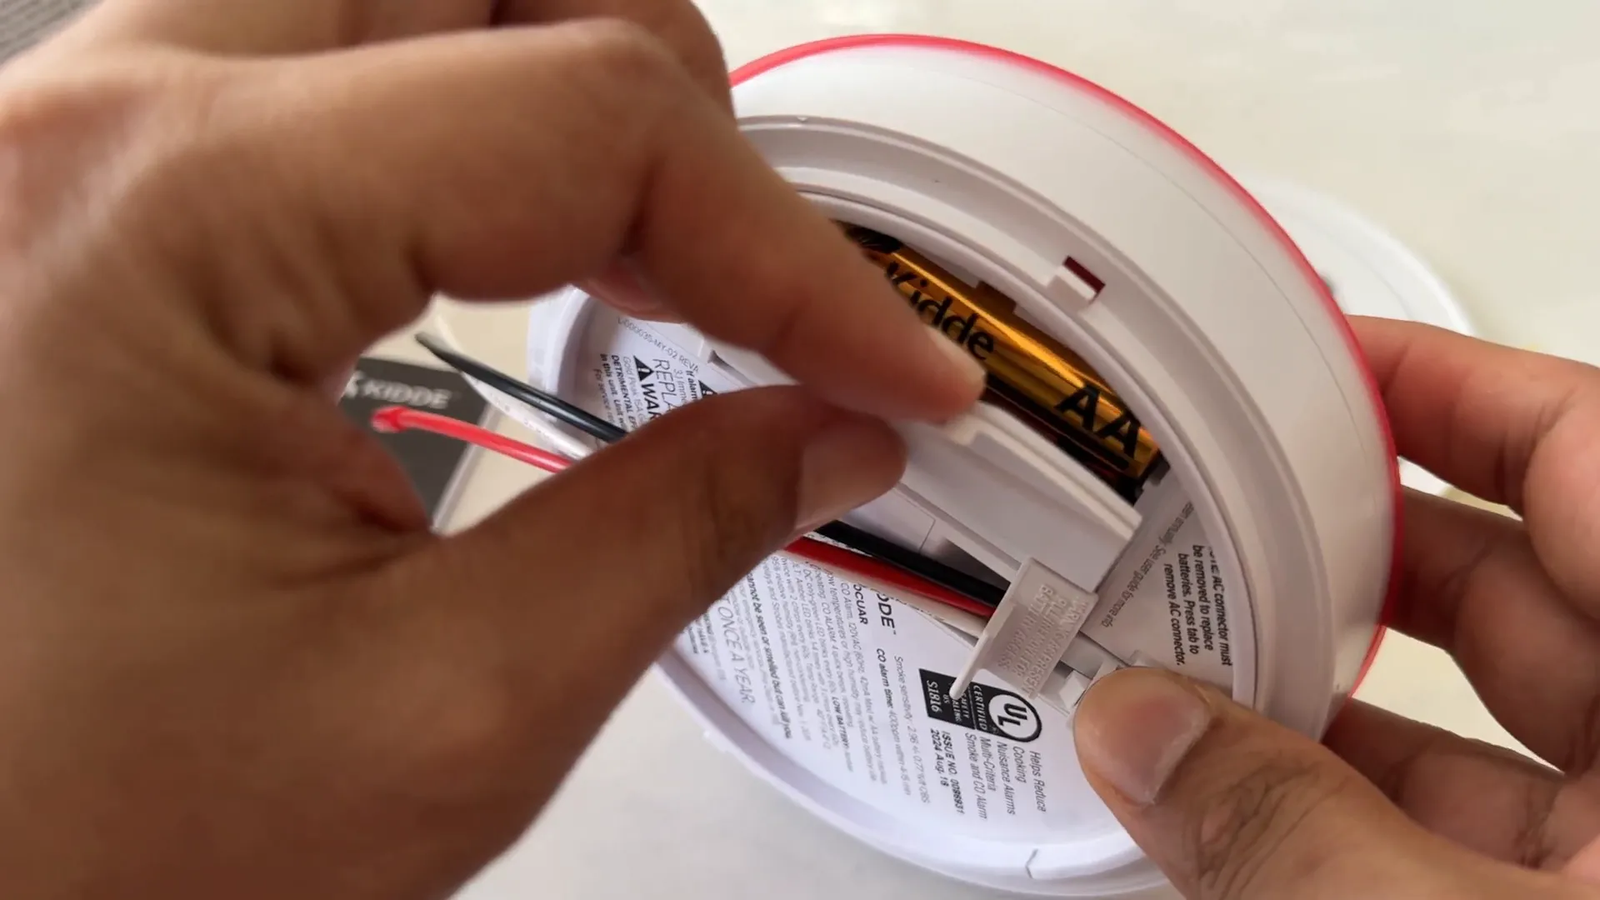
Pull the tab inside the battery compartment to activate the backup batteries before installation.
Step 5: Mount the New Alarm Base
The new mounting base has four connection points that align with the wiring fixture on your ceiling. Position the base so it faces the ceiling and slide it into place.

Once aligned, tighten the screws to secure the base firmly.
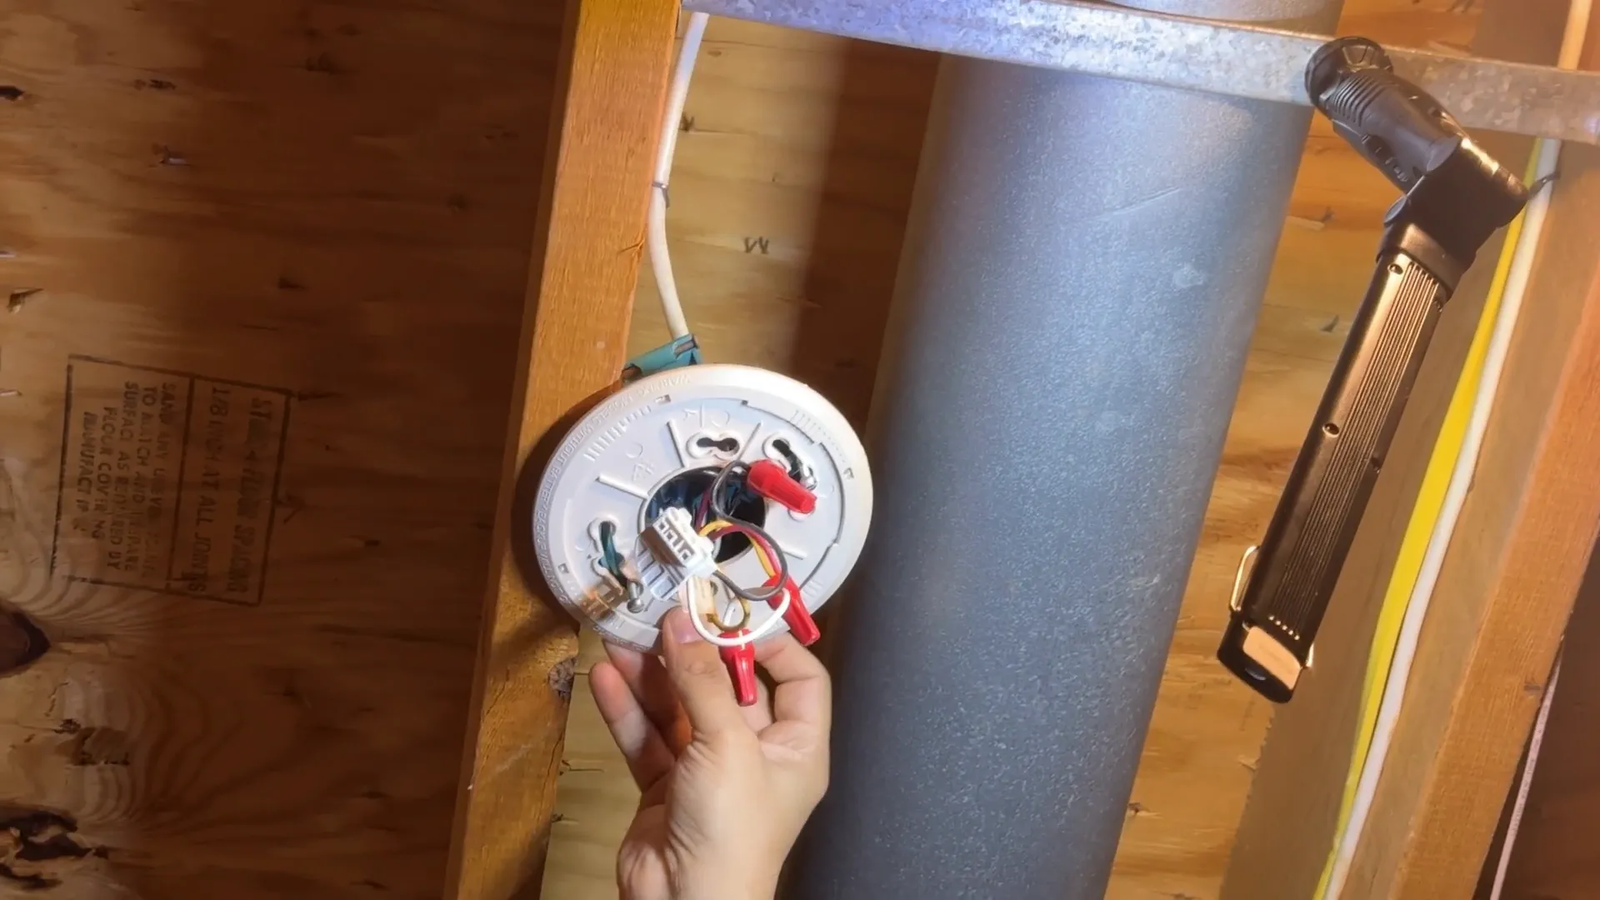
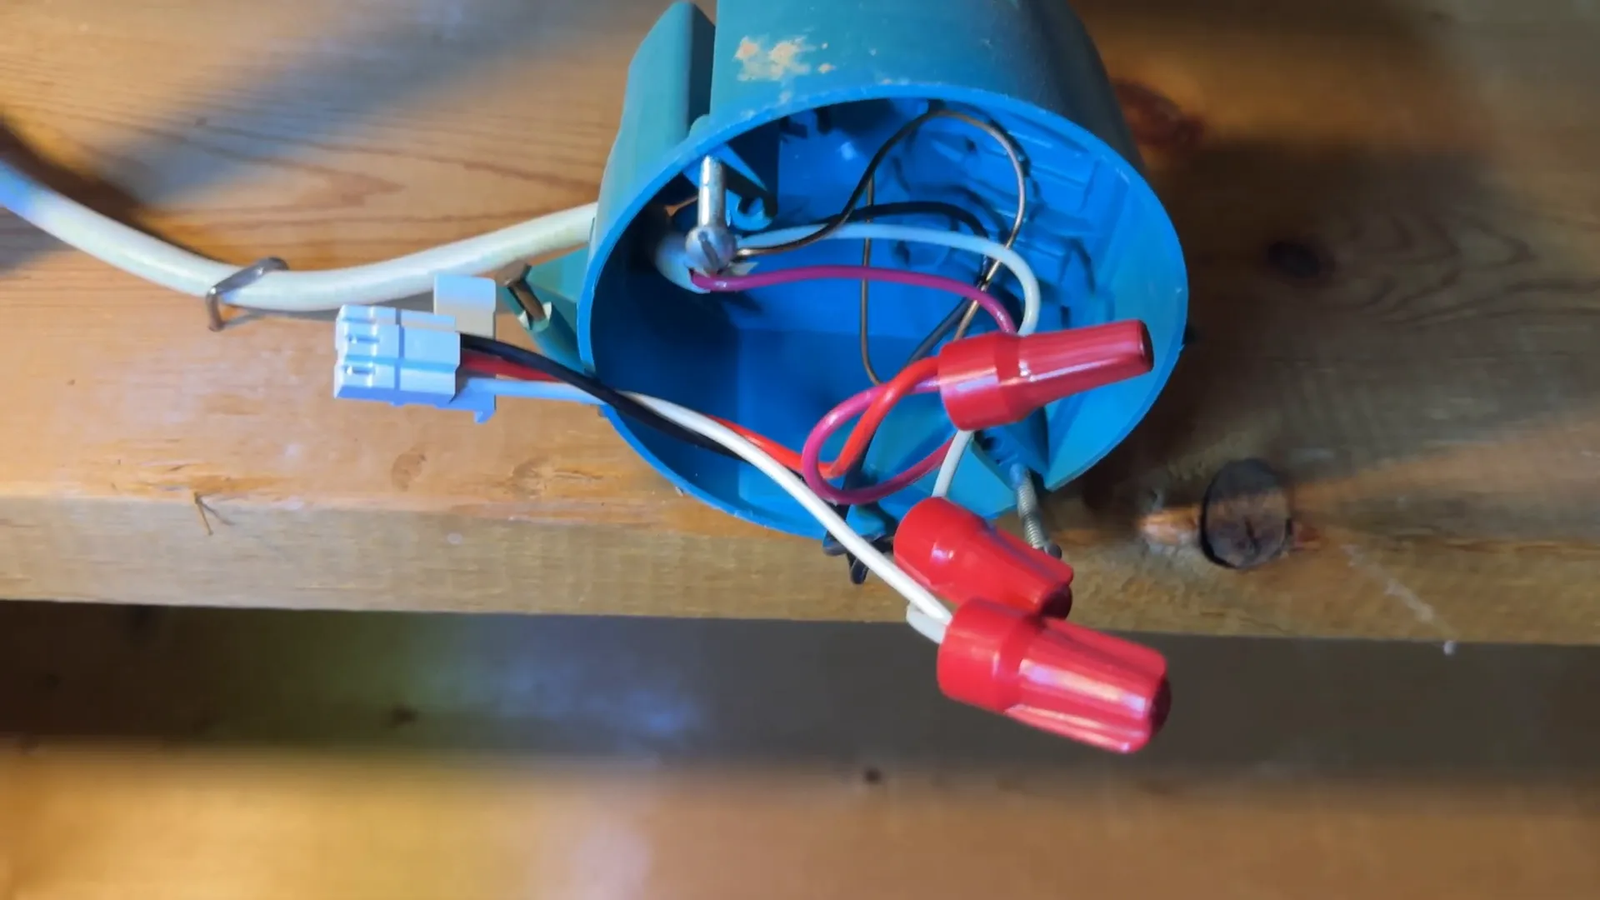
Step 6: Connect the Wiring
Now it’s time to connect the wires. The typical wiring color codes are:
- Black wire: Hot/live wire
- White wire: Neutral wire
- Red wire: Interconnect wire (used to link multiple alarms)
Connect the new alarm’s wires to the corresponding wires in your ceiling fixture. Remove any caps on the wires before connecting. Make sure all connections are secure. (On some Kidde harnesses the interconnect lead may be yellow on the plug—connect that lead to the red interconnect wire from the ceiling.)
Step 7: Attach the Alarm to the Base
With the wiring connected, plug the alarm unit into the mounting base. This may require a bit of pressure to ensure it clicks into place securely.
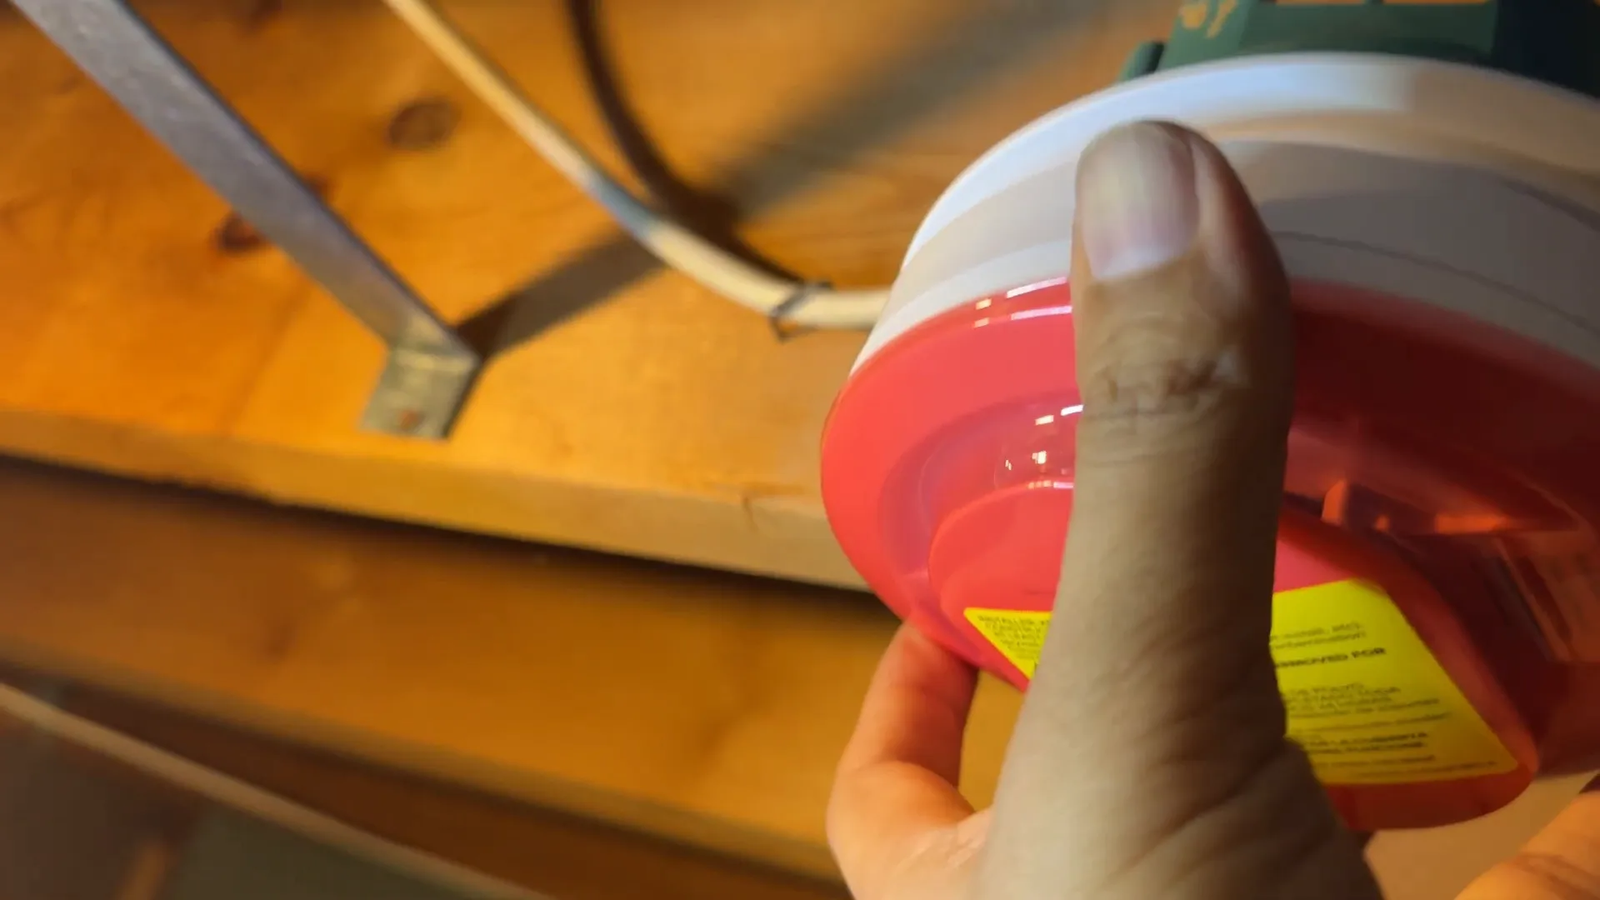
Turn the alarm clockwise to lock it onto the base, ensuring it holds itself up firmly.
Step 8: Test Your New Alarm
Testing is crucial to confirm your new alarm is functioning correctly. Press and hold the test button on the alarm for about 10 seconds until you hear the alarm sound.
- Press the test button
- Count to ten
- Listen for the alarm beep
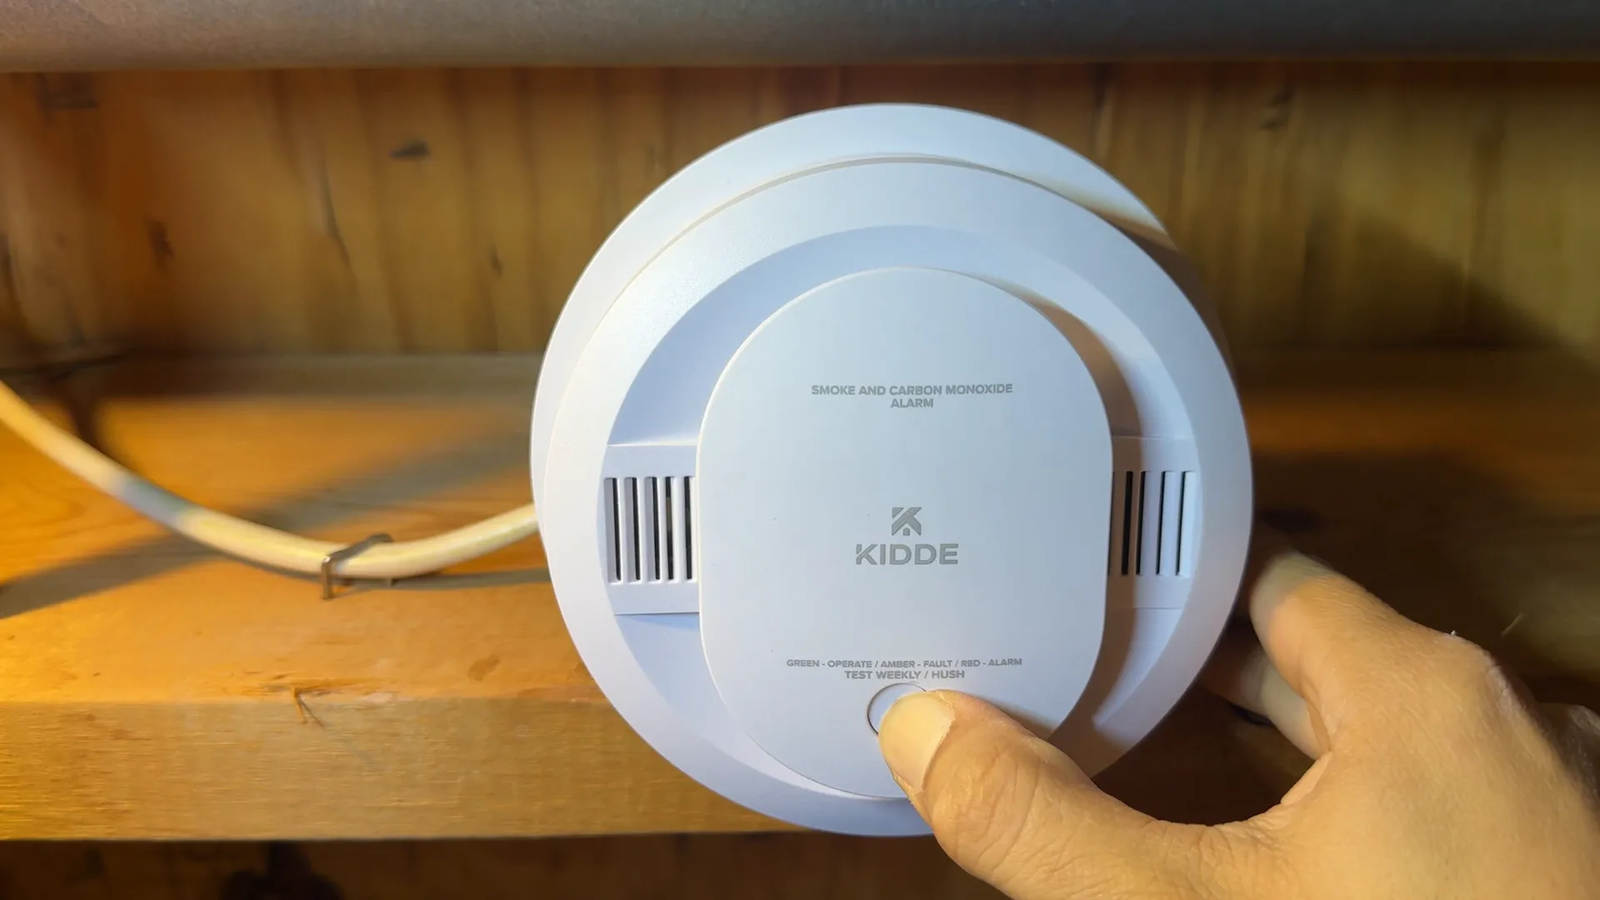
If you hear a loud and continuous beep, congratulations! Your new hardwired smoke and carbon monoxide alarm is installed and working properly.
Buy Now From Amazon Product Link
Final Thoughts
Replacing a hardwired smoke and carbon monoxide alarm is a manageable DIY project that enhances your home safety. Always remember to turn off power before handling electrical components, follow wiring color codes carefully, and test your alarm after installation.
For ongoing safety, Kidde recommends replacing smoke/heat alarms every 10 years and CO or combination alarms every 7 years; check the manufacture date on the back of your unit to confirm its age.
If you’re ready to upgrade your home safety devices, you can find reliable Kidde smoke and CO alarms here: https://amzn.to/44kEsV2.
Stay safe, and thanks for reading!
