Headlight bulb replacement is a fundamental aspect of vehicle maintenance that often goes overlooked until a bulb burns out. The importance of functioning headlights cannot be overstated; they are crucial for safe driving, especially during nighttime or inclement weather conditions. A burned-out headlight not only compromises visibility but can also lead to legal penalties in many jurisdictions.
Understanding the process of replacing headlight bulbs empowers vehicle owners to take charge of their automotive care, ensuring that they maintain optimal visibility and safety on the road. The task of replacing a headlight bulb may seem daunting to some, particularly those who are not mechanically inclined. However, with a little guidance and the right tools, it can be a straightforward and rewarding endeavor.
This article will provide a comprehensive step-by-step guide to headlight bulb replacement, covering everything from gathering necessary tools to ensuring proper alignment after installation. By following these instructions, even novice car owners can successfully replace their headlight bulbs and enhance their vehicle’s performance and safety.
Key Takeaways
- Replacing a headlight bulb is a simple and cost-effective way to improve visibility and safety while driving.
- Gather necessary tools and materials such as gloves, a screwdriver, and a new headlight bulb before starting the replacement process.
- Locate and access the headlight bulb by opening the hood of the car and identifying the back of the headlight assembly.
- Carefully remove the old bulb by twisting the socket counterclockwise and pulling it out of the assembly.
- Prepare the new bulb by handling it with gloves to avoid getting oils from your skin on the bulb’s surface.
Gather Necessary Tools and Materials
Before embarking on the headlight bulb replacement process, it is essential to gather all necessary tools and materials. This preparation not only streamlines the process but also minimizes the risk of interruptions that could lead to frustration. The primary tools required typically include a socket wrench set, screwdrivers (both flathead and Phillips), and possibly pliers for more stubborn components.
Depending on the vehicle model, you may also need a specialized tool for accessing certain areas of the headlight assembly. In addition to tools, having the correct replacement bulbs on hand is crucial. It is advisable to consult the vehicle’s owner manual or check online resources to determine the specific type of bulb required for your make and model.
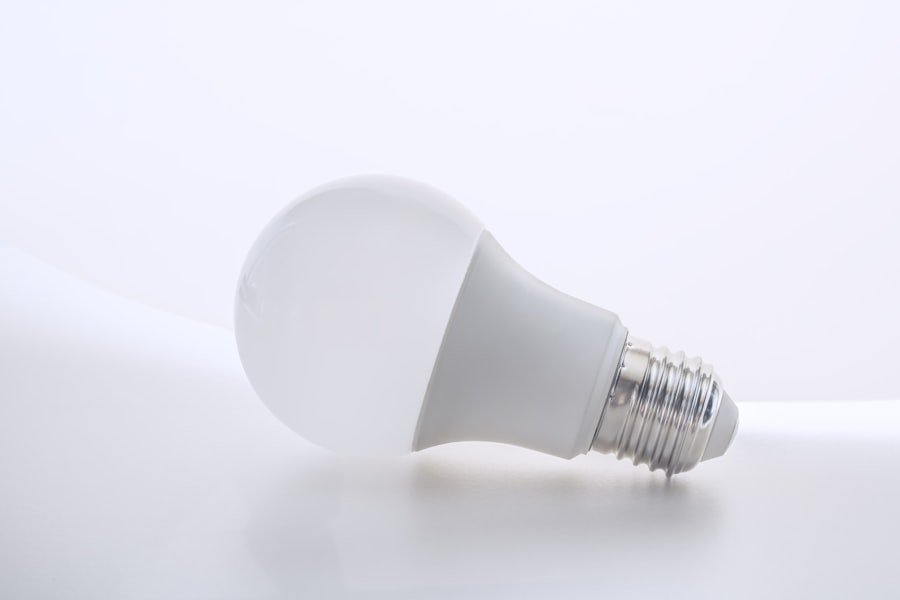
Bulbs come in various types, such as halogen, LED, or HID, each with its own specifications. Purchasing high-quality bulbs from reputable manufacturers can also enhance longevity and performance.
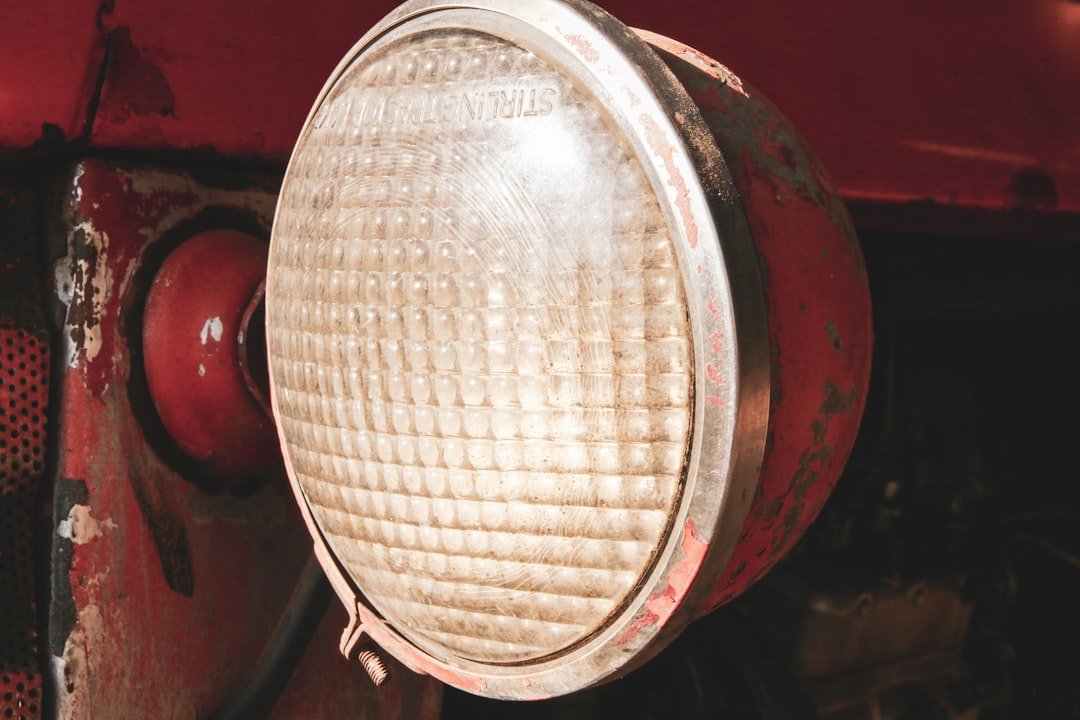
Locate and Access the Headlight Bulb
Once you have gathered all necessary tools and materials, the next step is to locate and access the headlight bulb. The location of the headlight assembly can vary significantly between different vehicle models. In most cases, the headlight assembly is situated at the front of the vehicle, flanking either side of the grille.
To access the bulb, you may need to open the hood and secure it with a prop rod or hood latch. In some vehicles, accessing the headlight bulb may require removing additional components such as the battery or air intake system. This is particularly true for compact cars where space is limited.
It is advisable to consult your vehicle’s service manual for specific instructions on accessing the headlight assembly. In many cases, there will be a cover or protective shield that needs to be removed before you can reach the bulb itself. Take care when handling these components, as they can be fragile or easily damaged.
Remove the Old Bulb
| Step | Details |
|---|---|
| 1 | Turn off the power to the light fixture. |
| 2 | Allow the old bulb to cool down if it was recently on. |
| 3 | Wear gloves to protect your hands from broken glass. |
| 4 | Remove the old bulb by twisting it counterclockwise. |
| 5 | Dispose of the old bulb properly. |
With access to the headlight assembly secured, you can now proceed to remove the old bulb. Begin by disconnecting any electrical connectors attached to the bulb; this often involves pressing a tab or gently pulling on a connector to release it from its socket. It is important to handle these connectors with care to avoid damaging them, as they are essential for the proper functioning of your new bulb.
Once the electrical connector is detached, you can remove the old bulb from its housing. Depending on your vehicle’s design, this may involve twisting the bulb counterclockwise or releasing a retaining clip that holds it in place. If you encounter resistance while trying to remove the bulb, avoid using excessive force; instead, double-check for any additional clips or fasteners that may be securing it.
After successfully removing the old bulb, inspect it for signs of damage or wear, which can provide insight into why it failed in the first place.
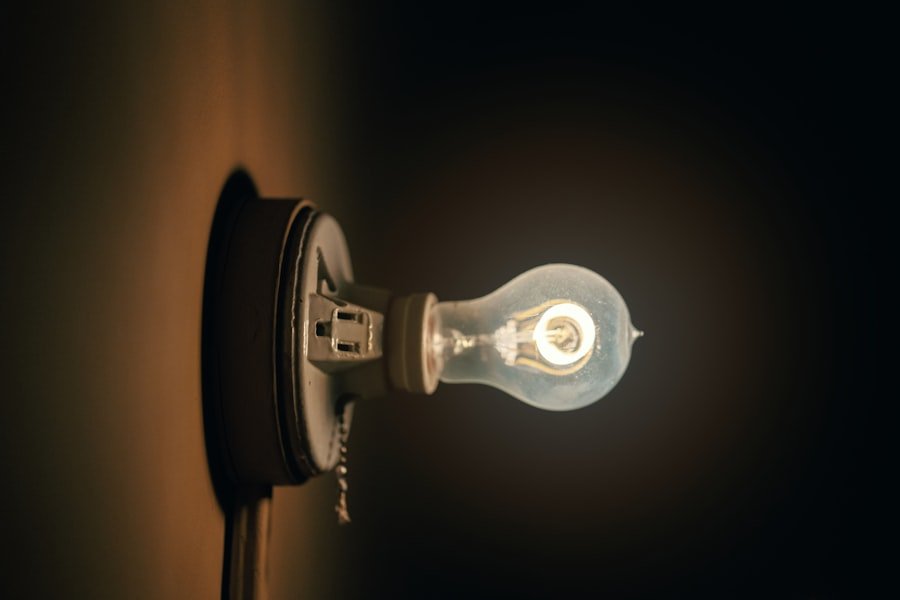
Prepare the New Bulb
Before installing the new bulb, it is essential to prepare it properly to ensure optimal performance and longevity. Start by carefully unpacking the new bulb from its packaging, taking care not to touch the glass portion with your bare hands. The oils from your skin can create hot spots on the glass when the bulb is illuminated, leading to premature failure.
If you do accidentally touch the glass, clean it gently with a lint-free cloth or rubbing alcohol before installation. Next, inspect the new bulb for any visible defects such as cracks or scratches. A damaged bulb should not be installed as it may not function correctly or could fail shortly after installation.
Once you have confirmed that the new bulb is in good condition, familiarize yourself with its orientation and how it fits into the headlight assembly. Some bulbs have specific alignment features that must be matched with corresponding slots in the housing; understanding this will facilitate a smoother installation process.
Install the New Bulb
With the new bulb prepared and ready for installation, it’s time to place it into the headlight assembly. Begin by aligning the base of the new bulb with its socket in the housing. If your bulb has alignment tabs or notches, ensure they fit snugly into their corresponding slots.
Gently push down on the bulb while twisting it clockwise if required; this secures it in place and ensures a proper connection. After securing the new bulb in its housing, reconnect any electrical connectors that were detached during removal. Listen for a click or feel for a snug fit as you push them back into place; this indicates that they are properly connected.
It’s crucial to ensure that these connections are secure because loose connections can lead to flickering lights or complete failure of the new bulb.
Test the New Bulb
Before reassembling everything and closing up your vehicle, it’s prudent to test the new bulb to ensure it functions correctly. With everything connected, turn on your vehicle’s ignition and activate your headlights. Observe whether both low and high beams operate as expected; if your vehicle has daytime running lights (DRLs), check those as well.
If the new bulb does not illuminate, double-check all connections and ensure that it is seated correctly in its socket. Sometimes a simple misalignment can prevent proper operation. If everything appears correct but the bulb still does not work, consider testing with another known working bulb or checking your vehicle’s fuse related to headlights; a blown fuse could also be responsible for lighting issues.
Reassemble the Headlight Assembly
Once you have confirmed that the new bulb is functioning properly, it’s time to reassemble the headlight assembly. This step involves reversing any disassembly steps taken earlier in the process. If you had removed any protective covers or shields from around the headlight assembly, carefully replace them now, ensuring they fit securely without forcing them into place.
If any screws or fasteners were removed during disassembly, make sure to reinstall them tightly but avoid overtightening, which could strip threads or crack plastic components. Take a moment to inspect your work area for any loose parts or tools before proceeding; ensuring everything is accounted for will help prevent issues later on.
Check for Proper Alignment
After reassembling everything, checking for proper alignment of your headlights is crucial for safe driving conditions. Misaligned headlights can lead to poor visibility at night and can blind oncoming drivers if aimed too high. To check alignment, park your vehicle on level ground about 25 feet away from a wall or garage door.
Turn on your headlights and observe where they illuminate on the wall; ideally, there should be a clear cutoff line where light meets darkness about two inches below horizontal at this distance. If adjustments are necessary, most vehicles have adjustment screws located near the headlight assembly that allow you to fine-tune their aim without needing special tools.
Clean Up and Dispose of Old Bulb
With everything reassembled and aligned correctly, it’s time to clean up your workspace and dispose of the old bulb properly. Many automotive parts stores offer recycling programs for used bulbs due to their hazardous materials content; check if there are local regulations regarding disposal in your area as well. Ensure that any tools used during this process are returned to their proper places and that no debris is left behind in your vehicle’s engine compartment or around your workspace.
A clean environment not only looks better but also helps prevent future accidents or misplacements of tools during subsequent maintenance tasks.
Tips for Preventing Future Headlight Bulb Replacement
To minimize future headlight bulb replacements and extend their lifespan, consider implementing several proactive measures. First and foremost, regularly inspect your headlights for signs of wear or dimming; early detection can prevent sudden failures while driving at night. Additionally, cleaning your headlights periodically can help maintain brightness; dirt and grime can significantly reduce light output over time.
Another effective strategy is to invest in higher-quality bulbs designed for longevity and performance. While standard halogen bulbs may be less expensive upfront, premium options such as LED or HID bulbs often last significantly longer and provide better illumination quality. Furthermore, ensure that your vehicle’s electrical system is functioning correctly; voltage fluctuations can lead to premature bulb failure.
By following these guidelines and understanding each step involved in headlight bulb replacement, vehicle owners can take control of their automotive maintenance tasks with confidence and ease.