If your rubber or all-weather floor mats look like they’ve been through a mud wrestling match, here’s the absolute easiest way to make them look brand new again in under six minutes. This method is a simple 4-step routine I use every time: remove, apply cleaner, scrub, then rinse and dry. Follow along and you’ll be amazed at the transformation.
Adam’s Wheel & Tire Cleaner: Buy Now
Drillbrush Automotive Soft White Drill Brush – Car Detailing Kit: Buy Now
Detail Factory Boar Hair Detailing Brush (Large): Buy Now
Quick Overview: The 4 Steps
- Remove & Prep
- Apply Cleaner
- Scrub
- Rinse & Dry
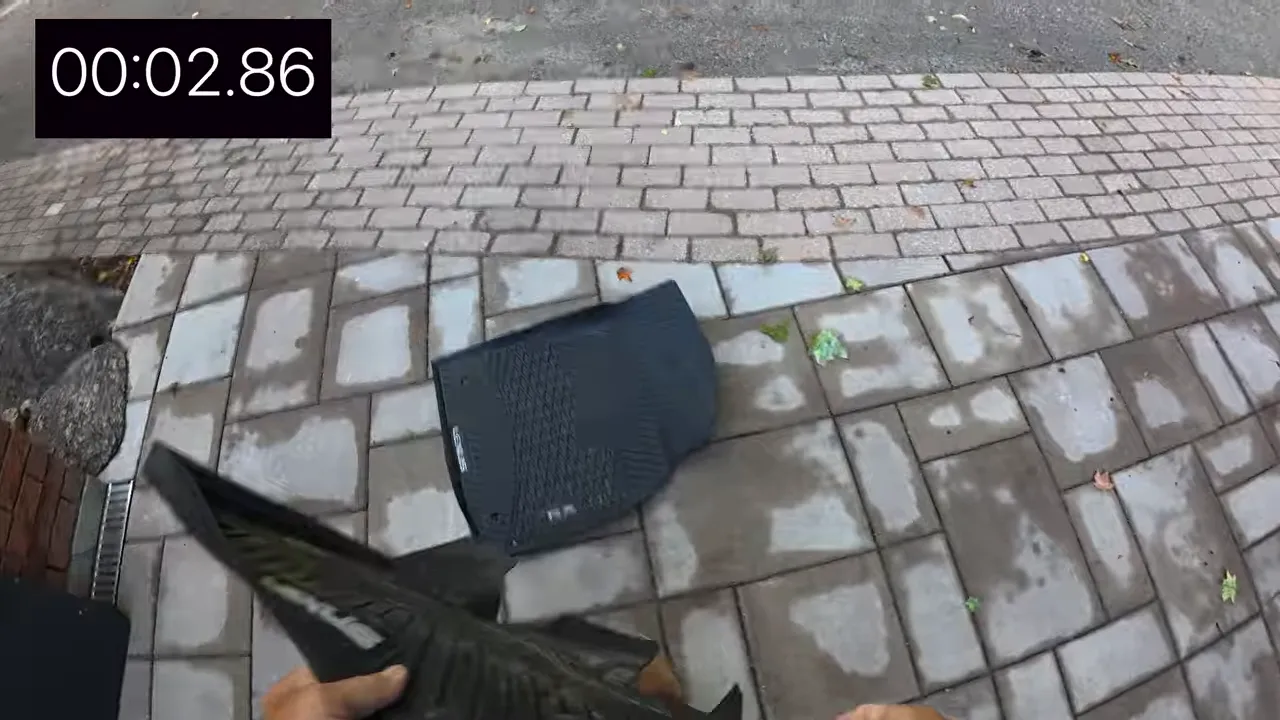
Step 1 — Remove & Prep
Yank those nasty mats out of the car and give them a quick shake to dislodge loose dirt and debris. Lay them down in the shade on a reasonably clean part of your driveway or garage floor. Direct sun will make cleaners evaporate too fast, so shade is important for an even clean.
Step 2 — Apply Cleaner
Spray one mat at a time with a good cleaner — I use Adam’s Wheel & Tire Cleaner because it lifts grime quickly and foams nicely. Make sure the whole top surface of the mat is wet with cleaner so the solution can break down the dirt.
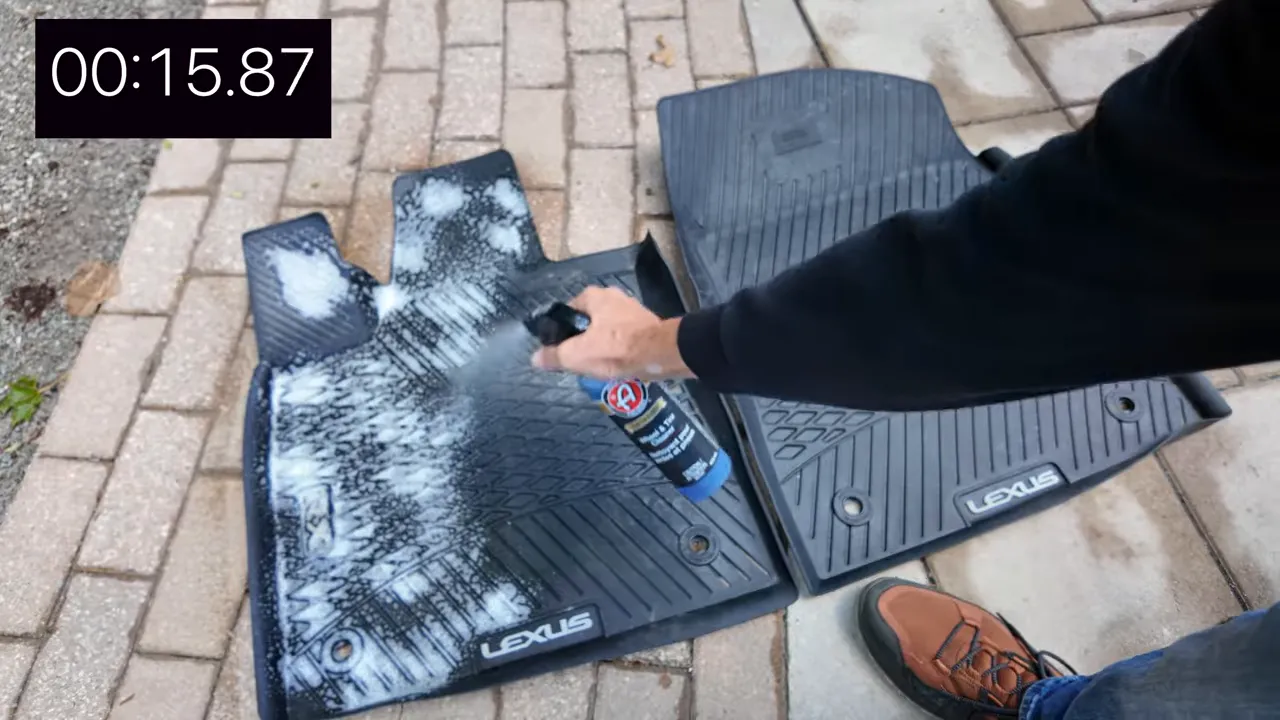
Pro tip: You can use many degreasers or tire/wheel cleaners for rubber mats — the key is total coverage and not letting the product dry on the mat.
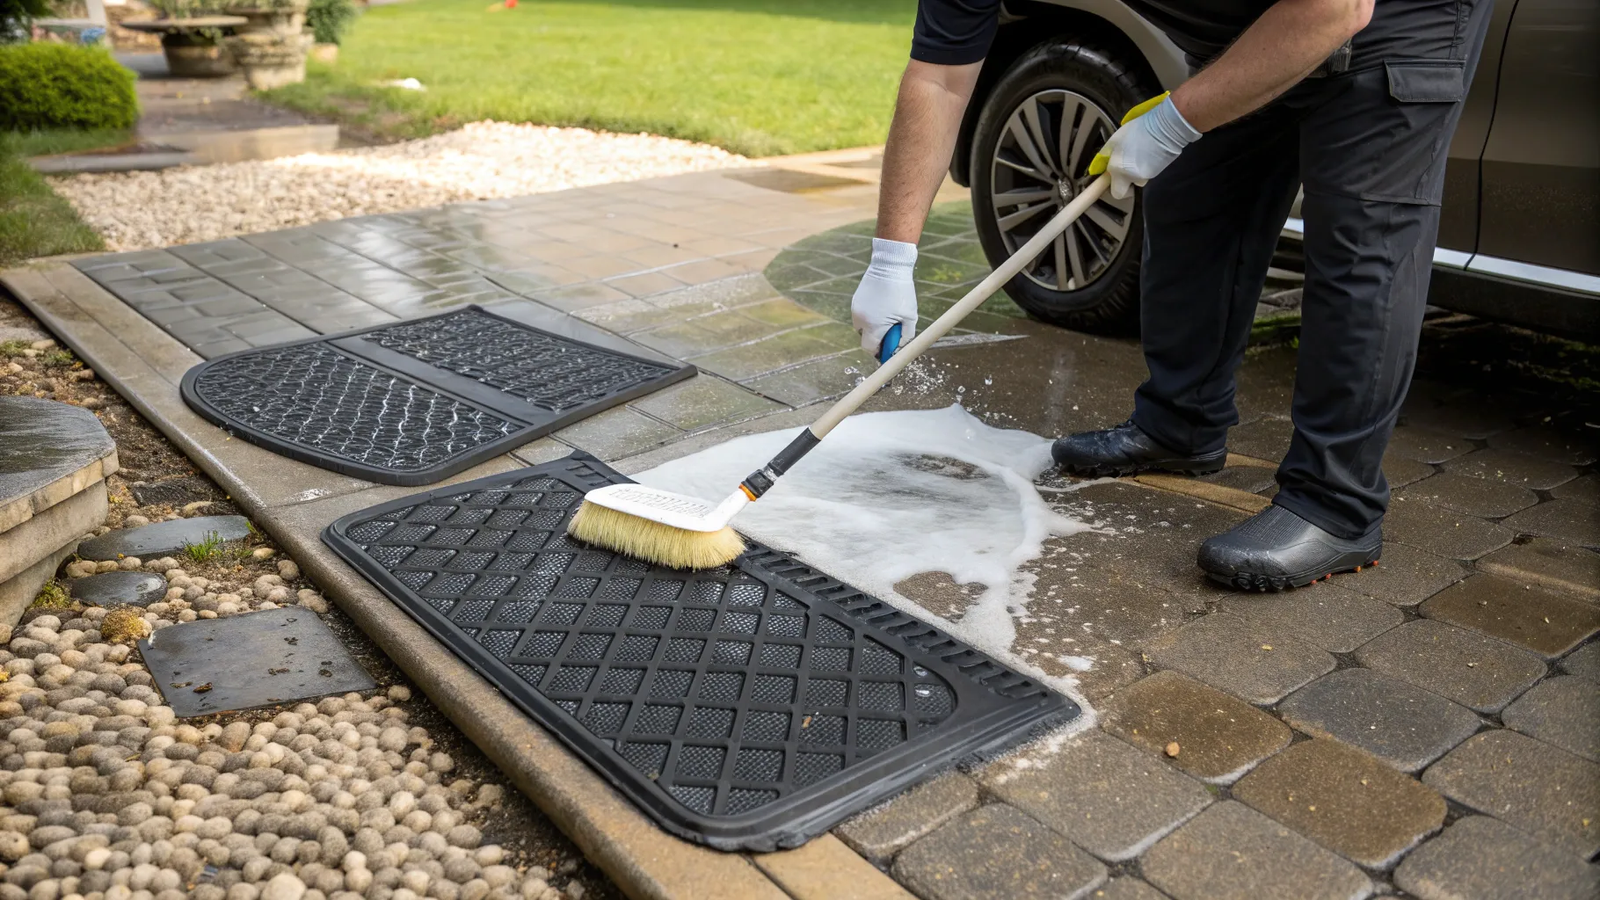
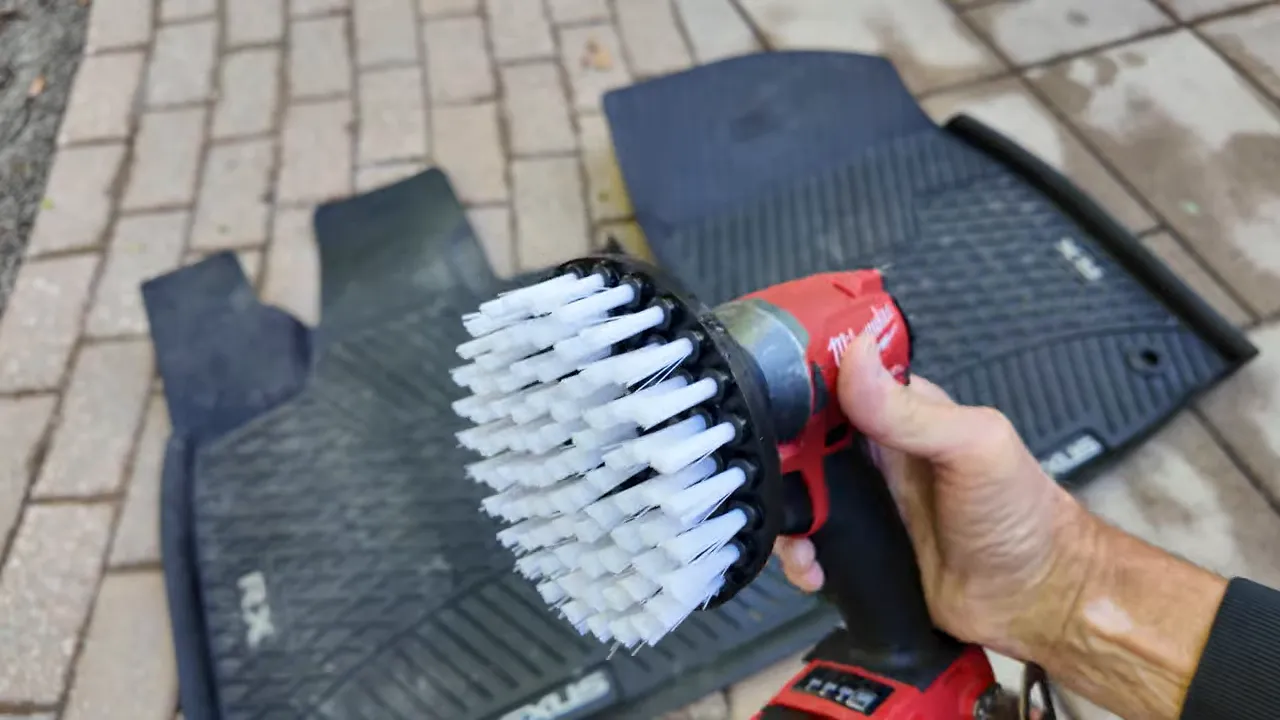
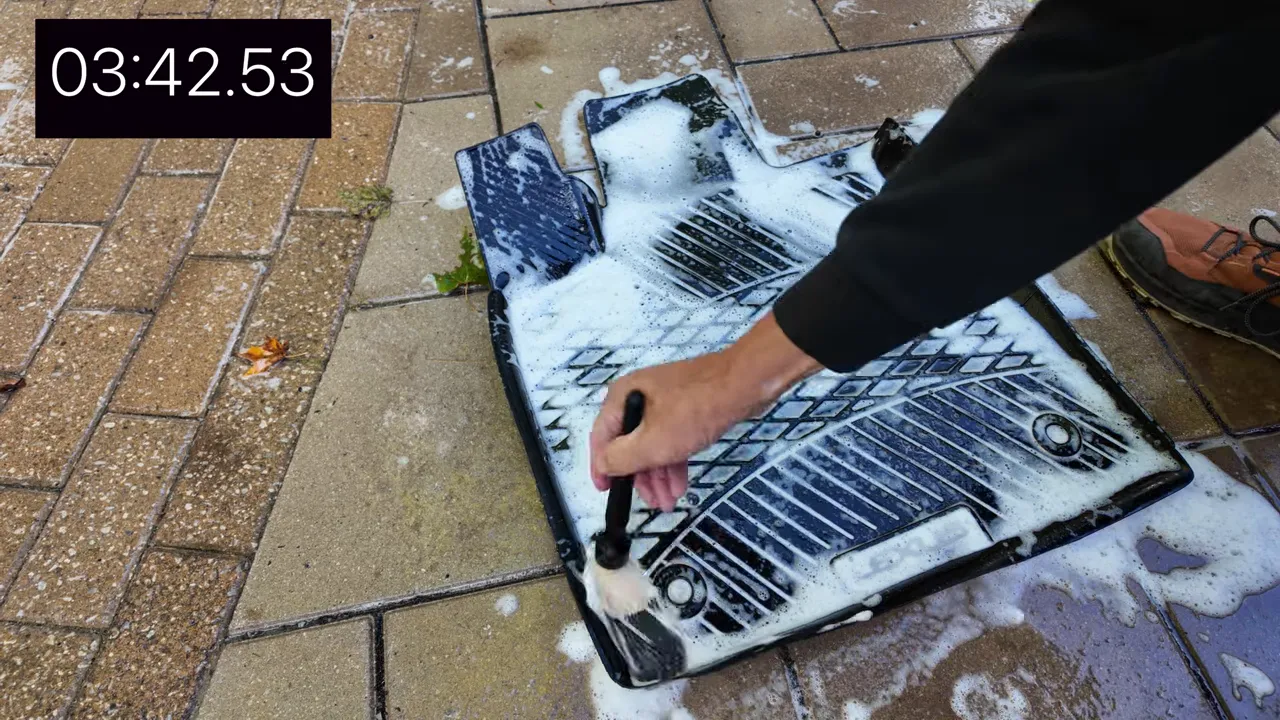
Step 3 — Scrub (The Game Changer)
Use a soft white drill brush attached to a drill or impact driver set to low speed. Start in one corner and scrub up and down, overlapping each pass so you don’t miss any area. After you’ve covered the mat one way, scrub across it the other way for complete agitation.
Stop periodically and reverse the brush spin to extend the life of the bristles. Once the center looks good, do one more pass around the perimeter to get the outside edge.
Repeat for the second mat. The driver’s side is usually a lot dirtier, so after the main scrubbing give it a light spray of water and then use a coarse detailing brush (boar-hair or similar) to work the cleaner down into grooves and depressions. Follow the pattern of the grooves as you scrub so you’re cleaning right into them.
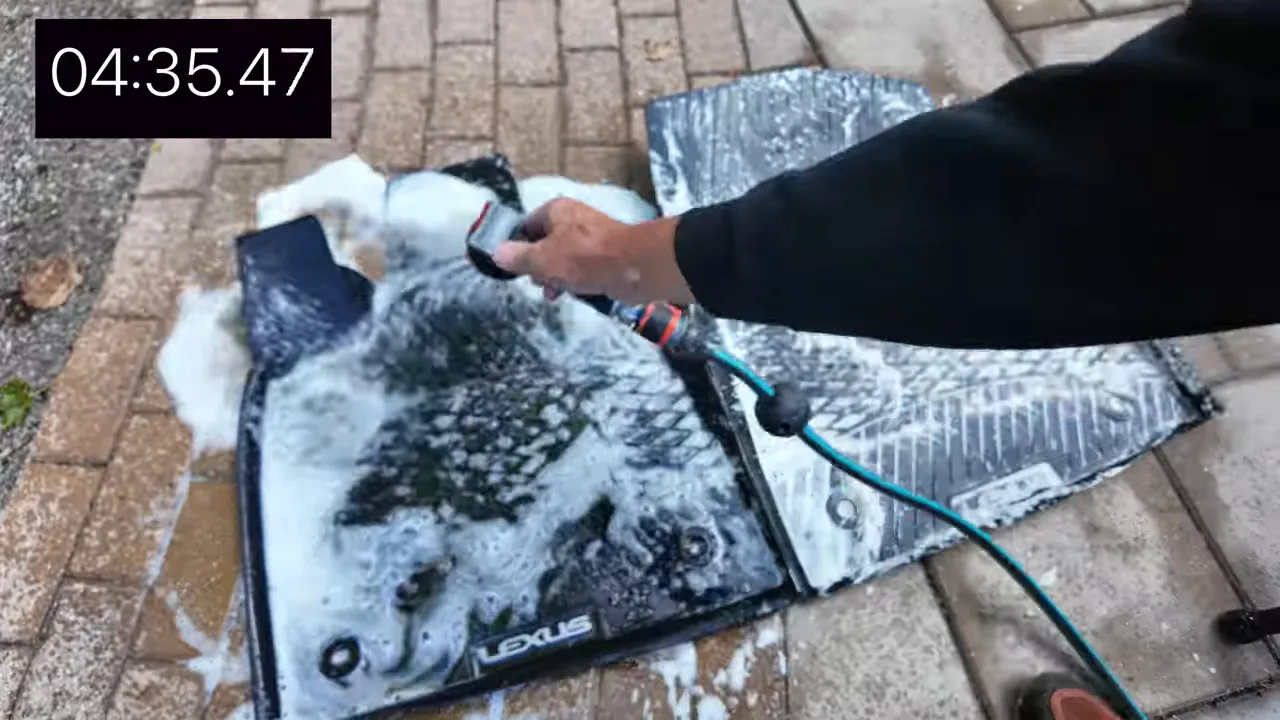
Step 4 — Rinse & Dry
Don’t let the cleaner dry on the mats — rinse immediately with a hose. Watch all that dirt and foam residue wash away. When you’re satisfied, hang the mats to dry; a few hours in the shade or a quick sun session after they’re already rinsed will get them ready to go back in the car.
The Results
After rinsing and drying you’ll see a dramatic transformation: what was once gross now looks brand new. This quick routine is perfect for routine maintenance and seasonal cleanup (salt, mud, sand).

Pro Tips & Things to Know
- Works on all rubber and all-weather mats — great for winter salt and mud.
- Do this job in the shade to prevent premature drying of the cleaner.
- Use low drill speed to avoid damaging the mat or burning out the brush.
- Reverse brush spin occasionally to extend brush life.
- Don’t let the cleaner dry on the mat — rinse immediately.
- Hanging mats to dry reduces dirt re-deposit and speeds drying time.
- If you prefer softer agitation, use a boar-hair detailing brush for delicate finishes.
Products I Use
- Adam’s Wheel & Tire Cleaner — great all-around cleaner for rubber mats
- White soft drill brush (Drillbrush) — perfect for general scrubbing
- Coarse detailing brush (boar hair or similar) — for cleaning grooves and stubborn deposits
Final Thoughts
This is a fast, inexpensive way to keep your car’s interior looking sharp without a professional detailer. In under six minutes you can take worn, grimy mats and make them look practically new. Try it next time your mats need a refresh — you’ll be surprised how much cleaner your whole interior looks when the mats are bright and fresh.
