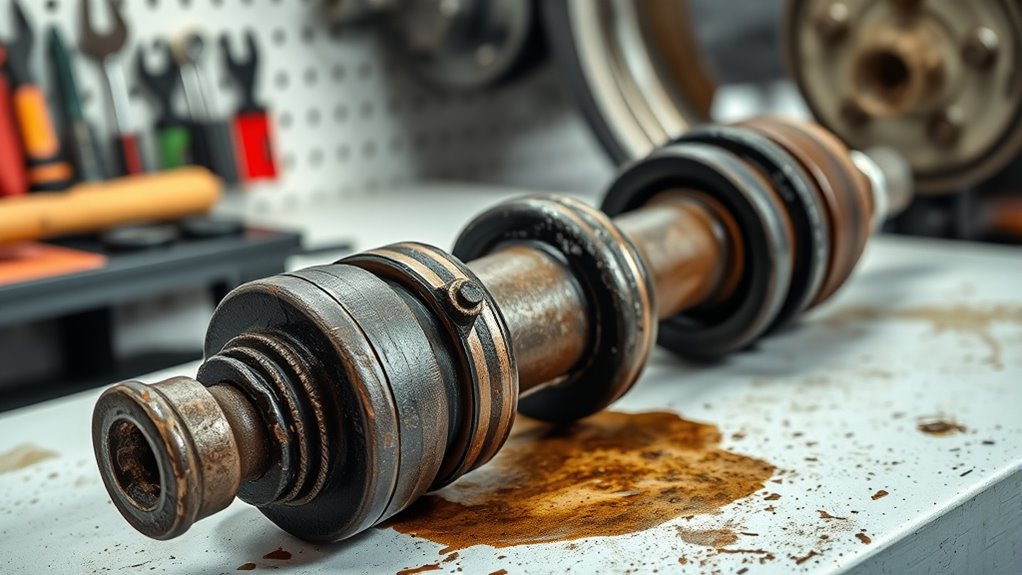
A torn Toyota CV boot lets grease escape and allows dirt and water into the joint. If the axle is still quiet, it may be driven briefly, but damage can begin quickly once contamination starts. Grease sling, cracking, clicking on turns, and vibration indicate higher failure risk. Early tears may allow boot repair, but noise or contamination usually means axle replacement. Inspection and prompt action limit cost and preserve reliability, with more detail ahead.
Key Takeaways
- A torn Toyota CV boot can fail quickly because grease escapes and dirt or water contaminates the joint.
- If no clicking or vibration exists, you may drive briefly, but the risk of CV axle failure rises fast.
- Inspect for grease splatter, rubber cracks, tears, and loose clamps with the wheels turned fully.
- Early, clean boot tears may be repaired, but clicking or contamination usually means replacing the axle assembly.
- Repair costs are lowest when caught early; delaying can turn a $20 boot issue into a $300–$800 axle job.
What Does a Torn Toyota CV Boot Do?
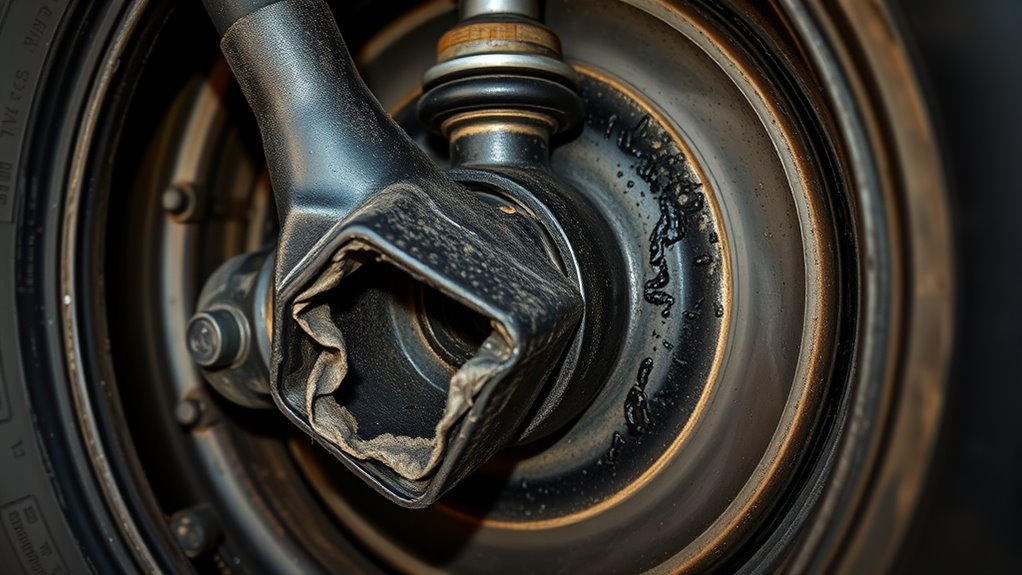
A torn Toyota CV boot allows grease to escape from the CV joint, reducing lubrication and accelerating internal wear. The boot is the primary seal protecting the joint from contamination and retaining the loss of grease that would otherwise preserve low-friction operation.
When the tear opens, dirt and water can enter the assembly, degrading the bearing surfaces and initiating abrasion, pitting, and heat buildup. Early indicators often include visible grease slinging around the wheel area, clicking noises during turns, and increased noise or vibration under load. These signals show that the joint is no longer operating within controlled limits.
Continued exposure can convert a repairable boot failure into severe joint damage, eventually requiring a full axle replacement. Regular inspection of the boot remains the most effective method of early detection, because timely intervention preserves component integrity, reduces repair cost, and keeps the driveline functioning with mechanical independence intact.
Can You Drive With a Torn CV Boot?
Driving with a torn CV boot presents immediate risks because lubricant loss and contaminant ingress can rapidly degrade the CV joint.
A short temporary driving window may exist if no symptoms are present, but continued operation increases the likelihood of noise, vibration, clicking, and eventual joint failure.
Repair generally requires either replacing the boot before joint damage occurs or replacing the axle assembly if wear has already advanced.
Immediate Driving Risks
Even a small tear in a CV boot can quickly create immediate driving risks, as grease loss accelerates joint wear and exposes the axle to dirt and water intrusion.
When the CV boot is torn, lubrication escapes and abrasive contaminants enter, creating a fast path toward internal damage. The joint may begin to emit clicking, vibration, or increased noise during turns, signaling that degradation is underway.
Continued operation under these conditions raises the probability of rapid failure and can convert a localized boot issue into a costly axle replacement.
From a technical standpoint, prompt repair preserves mechanical integrity, reduces hazard exposure, and supports disciplined vehicle control.
Delaying correction extends stress on the driveline and undermines safe, independent mobility.
Temporary Driving Window
A torn CV boot may permit limited short-term driving, but only at increasing mechanical risk because grease loss and contaminant intrusion accelerate joint wear.
In practical terms, the temporary driving window is narrow; dirt and moisture can enter the joint, and severe damage may develop within weeks.
Any rise in clicking during turns, vibration, or abnormal noise indicates that freedom from immediate repair is ending.
Regular inspection tips matter: check for grease spray, split rubber, and exposed joint surfaces before each drive.
Temporary fixes may slow contamination, but they do not restore sealing integrity.
Grease maintenance is thus a containment issue, not a cure.
Delaying action beyond a couple of weeks can convert a manageable boot defect into full axle damage, reducing reliability and increasing cost.
Replace Boot Or Axle
The decision between boot repair and axle replacement depends on contamination level, noise, and evidence of joint wear. If a torn boot has just begun leaking and the joint remains quiet, repair options may include a split boot or full boot replacement.
However, driving further accelerates grease loss and invites abrasive contamination. Clicking on turns or rising vibration indicates that the axle may already be compromised, making replacement the safer choice.
A cost comparison often favors boot repair only when damage is caught early. For long-term reliability, full axle replacement eliminates hidden wear risk.
Practical boot maintenance tips include inspecting boots twice yearly and correcting cracks immediately. When liberation from roadside failure matters, immediate action preserves vehicle integrity and reduces total repair exposure.
What Are the Signs of CV Boot Grease Loss?
Visible grease slinging around a CV boot is often the first indicator of grease loss, suggesting that the boot has torn and the joint may be exposed to contaminants.
Visible grease slinging around a CV boot often signals a torn boot and potential contamination.
Additional signs include clicking during turns, increased noise under acceleration, and vibrations that appear when torque is applied.
For grease inspection tips, a close visual check around the boot, axle shaft, and inner wheel area can reveal residue, cracks, or wet splatter. These findings help identify noise indicators and vibration causes before the joint is fully compromised.
Dirt and water intrusion intensify wear by displacing lubricant and introducing abrasives. Regular inspections consequently support early intervention and preserve mechanical freedom from avoidable failure.
When grease depletion progresses, the CV joint may operate with insufficient lubrication, producing harsher operation and escalating wear.
In analytical terms, any combination of grease spray, turning noise, or acceleration vibration warrants immediate attention and boot replacement assessment.
How Fast Does a Torn CV Boot Damage the Axle?
How quickly a torn CV boot damages the axle depends on how long the joint runs without lubrication and protection, but deterioration can begin within days.
Boot damage causes grease loss, exposing the CV joint to heat, friction, and contamination. As lubricant escapes, joint wear acceleration becomes measurable, and the precision surfaces begin to pit and score.
Dirt and water entering through the tear can intensify internal abrasion, turning minor leakage into structural damage. In many cases, notable noise or vibration appears within a few weeks, signaling that the axle is already compromised.
Lubrication importance is consequently not theoretical; it is the primary barrier against rapid mechanical decline. If the condition is ignored, the joint may fail completely, forcing full axle replacement and increasing repair cost sharply.
For drivers seeking durable, self-directed mobility, immediate attention to a torn boot is the most effective way to preserve function and avoid unnecessary loss.
How Do You Inspect a CV Boot Without Taking It Apart?
Inspection without disassembly starts with the vehicle parked on a level surface and the parking brake engaged for stability. From that controlled position, a full-lock visual check is performed by turning the steering wheel fully to one side, exposing the CV boot for direct observation.
The technician then looks for common damages such as tears, splits, and punctures, along with dark grease splatter around the wheel well, which signals lubricant loss. The rubber bellows should be examined closely for dry rotting, surface cracking, and deformation in the folds, since these defects weaken sealing capacity.
Look for tears, splits, punctures, and grease splatter, then inspect the bellows for cracking or dry rot.
Inspection techniques also include checking both end clamps for tightness, corrosion, and separation from the shaft or housing. Secure clamps help block dirt and moisture, preserving joint freedom.
These boot maintenance tips support early diagnosis, allowing the vehicle owner to retain mechanical autonomy through timely detection of deterioration before more extensive service becomes necessary.
Should You Replace the CV Boot or the Whole Axle?
A fresh CV boot tear with clean grease and no clicking often justifies a boot-only repair, provided the joint remains mechanically sound.
If contamination, vibration, or joint noise is present, a full axle replacement is generally the more reliable option.
Since boot labor can approach the cost of a new assembly, the joint condition should be evaluated before selecting either repair path.
Boot-Only Repair
When the CV boot tear is caught early, a boot-only repair can be a viable option, provided the grease remains clean and the joint has not begun clicking during turns, which would indicate internal damage.
This approach aligns with disciplined boot maintenance tips: inspect for cracks, loose clamps, and grease seepage before contamination spreads. Among common boot issues, fresh splits and clamp failure are the most repairable.
Regular inspection intervals should follow practical repair frequency recommendations, especially after harsh road use or high-mileage service.
The procedure is labor-intensive because the axle must be removed and cleaned thoroughly, yet it can preserve a sound joint at lower cost. Immediate replacement of the boot prevents accelerated wear, protects mechanical freedom, and reduces the risk of future failure.
Full Axle Replacement
Full CV axle replacement becomes the better option once a torn boot has allowed grease loss, contamination, or clicking during turns, since those symptoms usually indicate joint wear that cannot be reversed with a boot alone.
In that condition, the shaft and joints should be treated as compromised. Rebooting remains suitable only for fresh tears with clean grease, but it demands axle removal and complete cleaning, which raises labor burden.
When contamination is present, a new assembly often improves axle longevity and lowers repair frequency. Cost considerations also matter: labor for re-booting can exceed the price of a complete axle, especially after damage has advanced.
Routine inspection supports timely decisions, preserving mechanical freedom, preventing repeat failure, and avoiding avoidable downtime.
When Does a Split CV Boot Make Sense?
In cases of a fresh CV boot tear where the joint has not yet been contaminated or damaged, a split CV boot can be a practical short-term repair. Its split boot advantages include low cost, often under $20, and rapid service without axle removal.
For operators seeking autonomy from unnecessary downtime, this option preserves mobility while a permanent plan is evaluated. Temporary repair considerations remain critical: the boot is suitable only when grease loss is limited and the joint still runs quietly.
For operators seeking to avoid unnecessary downtime, this option preserves mobility while a permanent fix is planned.
The design clamps around the existing axle, reducing labor and simplifying access. Installation process tips emphasize cleaning the area thoroughly, aligning the seam precisely, and securing the clamps evenly to prevent leakage.
After installation, regular inspection is required to confirm the boot remains sealed and grease retention is intact. Prolonged reliance on this method is not advised, because uncorrected wear can progress to joint damage and eventual failure.
How Much Does Toyota CV Boot Replacement Cost?
Toyota CV boot replacement cost varies widely based on the repair method and the condition of the joint. A split boot may cost about $20, while a full replacement commonly reaches $100-$300 once labor and parts are included.
| Repair option | Typical cost |
|---|---|
| Split boot | $20 |
| DIY boot kit | Under $20 |
| Professional replacement | $100-$300 |
| Axle assembly | $300-$800 |
This cost comparison shows why early action matters. If the joint remains clean and structurally sound, a boot-only repair can preserve mobility and limit expense. DIY tips can reduce outlay further because materials are inexpensive, but precision is essential. When replacement is delayed, grease loss and joint wear can escalate into axle failure, pushing total repairs above $1,000. From a financial autonomy perspective, timely service offers long term savings by preventing the shift from a minor seal failure to a full drivetrain component replacement.
How Do You Prevent CV Boot Damage?
Preventing CV boot damage depends on consistent inspection, controlled driving habits, and basic contamination control. Effective preventive maintenance begins with routine visual checks for cracks, splits, grease seepage, and loose clamps. Early detection limits joint contamination and preserves mobility.
Proper alignment should be verified, because misalignment increases torsional stress and accelerates boot fatigue. Steering inputs and acceleration should remain smooth; aggressive driving habits impose unnecessary load on the axle and shorten service life.
During maintenance, the surrounding area should be cleaned so dirt, grit, and road film cannot abrade the rubber surface. Parking on level ground and avoiding potholes, curbs, and uneven terrain further reduces impact damage.
When replacement is required, quality materials matter: durable boots resist tearing better and shield the joint more reliably. These measures support reliable operation, lower repair risk, and allow drivers to maintain mechanical independence with fewer roadside failures.
Frequently Asked Questions
How Long Can You Drive With a Bad CV Axle Boot?
With a bad cv axle boot, driving may be possible only briefly—days to weeks—before contamination accelerates failure. He should monitor cv axle symptoms, apply boot maintenance tips, and match grease types promptly to reduce risk.
My CV Axle Boot Is Leaking Grease. How Can I Fix It?
Fix it by replacing the boot; if the joint is contaminated, replace the axle. Like a cracked vessel, it fails by leakage. Inspect grease leakage causes, choose boot repair methods, and follow axle maintenance tips regularly.
How Long Does a CV Axle Boot Replacement Take?
A CV axle boot replacement typically takes 1–3 hours. Time depends on vehicle design, technician skill, and cost factors involved. Boot maintenance tips: inspect regularly; signs replacement needed include grease leakage, cracking, or noise.
What Is the Average Lifespan of a CV Axle Boot?
Typically, a CV axle boot lasts 70,000 to 100,000 miles. Yet, like a silent sentinel, it depends on CV axle maintenance, boot replacement signs, and grease boot importance; prompt inspection can extend service life substantially.
Conclusion
In conclusion, a torn Toyota CV boot is a small defect that can quickly become a costly axle failure if grease loss is ignored. Early inspection, prompt repair, and careful judgment about boot versus axle replacement reduce the risk of vibration, noise, and joint wear. Left unaddressed, the damage spreads like sand in a gearbox, steadily degrading drivability. Preventive maintenance remains the most reliable way to extend CV axle service life.

