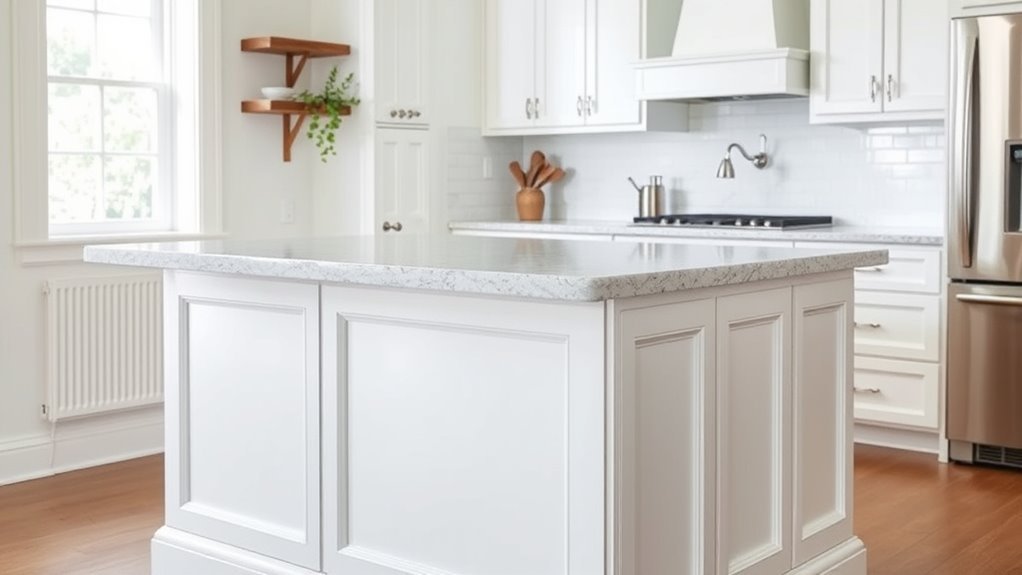
Cabinet molding can make a kitchen look taller, cleaner, and more open, although it does not physically increase counter space. Crown molding can extend the visual line of upper cabinets toward the ceiling, while light rail can hide under-cabinet lighting and wiring. The best result comes from matching the molding to the actual cabinet-to-ceiling gap, cabinet style, lighting, and room proportions rather than following one fixed molding size.
Quick Answer
To make a kitchen feel larger with cabinet molding, use a crown profile that fits the cabinet-to-ceiling gap without overpowering the doors, keep transitions clean, conceal visible under-cabinet lighting with a slim light rail when needed, and use finishes that work with the room’s light. Measure first; there is no universal 9-inch crown rule.
Key Takeaways
- Use crown molding to strengthen the vertical line above wall cabinets, not as a way to physically enlarge the countertop.
- Choose molding from the actual cabinet-to-ceiling gap; there is no reliable universal minimum such as 9 inches.
- Use stacked crown, a riser, or filler only when the available gap and cabinet style support the extra height.
- Light rail can conceal under-cabinet lighting, wiring, and mounting hardware while reducing direct glare.
- Light paint colors usually reflect more light, while higher-gloss finishes increase reflection but can also highlight surface flaws.
- Measure real corner angles and dry-fit molding before fastening it; not every corner should simply receive a 45-degree cut.
At a Glance
| Time Required | About 20–30 minutes to measure and compare profiles; several hours for a typical DIY molding installation, depending on corners and finishing |
| Difficulty | Easy for design planning; moderate for cutting and installing crown molding |
| Tools Needed | Tape measure, pencil, angle finder or square, miter saw or miter box, level, pin/finish nailer or approved fasteners, caulk or filler, and safety glasses |
| Cost | Varies widely with profile, material, finish, total linear footage, and whether matching cabinet-manufacturer molding is used |
Why Cabinet Molding Can Make Kitchens Feel Bigger
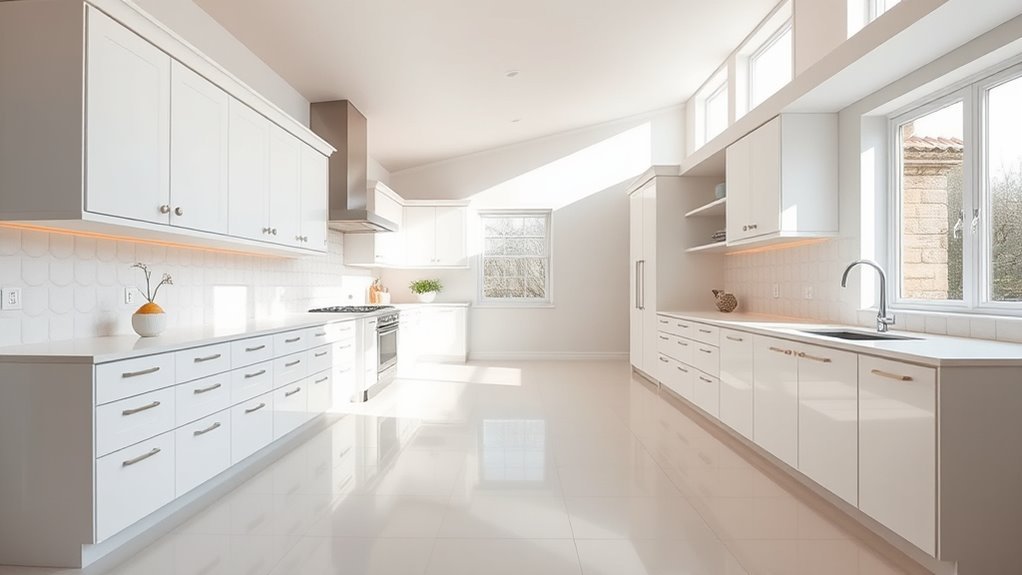
Cabinet molding can change how the eye reads a kitchen. Crown molding gives upper cabinets a defined top edge and can continue the cabinetry visually toward the ceiling. That stronger vertical line can make wall cabinets feel taller and reduce the unfinished-looking gap that sometimes divides cabinets from the room above.
The effect is visual rather than structural. Molding does not make the countertop wider or add floor area. Instead, well-proportioned trim can reduce abrupt transitions, organize the upper part of the room, and make the cabinet run look more deliberate.
Note: If the goal is to make the work surface itself look larger, under-cabinet lighting, a less visually busy backsplash, and uncluttered counters usually have a more direct effect than crown molding alone.
Stacked or stepped molding can also add architectural height when enough space exists above the cabinets. In a compact kitchen, however, more trim is not automatically better. A deep, ornate profile squeezed into a small gap can make the upper cabinets feel heavier instead of more open.
Choose the Right Crown and Light Rail Molding
Start with the space you actually have. Measure from the top of the wall cabinet to the ceiling at several points along the run. Use the smallest measurement when deciding whether a crown profile, stacked assembly, riser, or filler will fit. Ceilings are often slightly uneven, so one measurement is not enough.
| Molding or Trim | Best Use | Space-Opening Effect |
|---|---|---|
| Single crown | Small or moderate gap above cabinets | Creates a clean upper edge without adding much visual weight |
| Stacked crown | Larger vertical gap or tall cabinetry | Adds height and detail when the proportions are generous enough |
| Riser or filler with crown | When crown alone cannot bridge the desired height | Extends the cabinet visually upward while keeping the crown itself reasonably scaled |
| Light rail | Bottom of wall cabinets with visible task lighting or wiring | Reduces visible lighting hardware and can make the counter zone look cleaner |
Light rail is installed along the bottom edge of wall cabinets. Cabinet manufacturers use it to conceal or visually finish around under-cabinet lighting. A slim profile is usually enough when modern LED strips or channels are already low-profile. See Dura Supreme’s explanation of cabinet light rail for an example of how it is used with under-cabinet lighting.
Check the rail’s projection before ordering it. It should not interfere with cabinet doors, appliance doors, trim returns, or the usable backsplash area. On full-overlay cabinetry, crown at the top may also need blocking or a mounting strip so the molding can be attached without interfering with the doors. American Woodmark addresses this in its cabinet installation guide.
Pro Tip: Before buying a full run of molding, hold a short sample against the installed cabinets and view it from the kitchen entrance. A profile that looks small in a showroom can appear much heavier when it runs across an entire wall.
[Amazon Products Picked for You]

Seamless Application - Peel and stick design ensures hassle-free installation, no tools required

【Wallpaper Borders】90" x 3.1", Thickness: 0.3". Can be cut and spliced to the length you need.
Match Molding Size to Cabinets and Ceiling Height
Proportion matters more than a fixed inch measurement. The crown should relate to the cabinet-door height, available ceiling gap, room scale, and molding projection. There is no reliable rule that every kitchen needs a 9-inch crown or that every ceiling above 9 feet needs a 6- to 12-inch profile.
Use these measurements before selecting a profile:
- Cabinet-to-ceiling gap: measure at the beginning, middle, and end of each cabinet run.
- Door overlay: confirm that the molding or its mounting strip will not block full-overlay doors.
- Crown projection: check how far the profile extends outward as well as upward.
- Ceiling variation: note dips or slopes that may require scribe trim, filler, or a small reveal instead of a tight ceiling fit.
- Exposed cabinet ends: plan finished returns so the crown does not stop abruptly.
For a small kitchen, a simpler crown that follows the cabinet style often looks lighter than a deeply carved profile. A larger room or tall cabinet wall can carry more layers, but stacked molding should still look like part of the cabinetry rather than an oversized cap added afterward.
Material is a separate decision from style. Matching molding from the cabinet manufacturer usually gives the closest color and finish match. Wood, MDF, and synthetic moldings can also work when their thickness, fastening requirements, paint compatibility, and exposed edges suit the project.
[Amazon Products Picked for You]


Package Contents: You will receive 1 roll of crown molding peel and stick, with a total length of 5m/16.4ft, a width of 2.6cm/1.02in, and a thickness of 0.7cm/0.28in. This roll of peel and stick crown molding is of ample size to meet your usage and replacement needs
Install Cabinet Molding for a Seamless Fit
Warning: Wear eye protection and follow the miter-saw, nailer, ladder, and molding manufacturer’s instructions. If the project involves changing under-cabinet wiring rather than simply covering an existing light, shut off the circuit and use a qualified electrician where required.
A seamless installation starts with measurement and test-fitting, not with automatically setting the saw to 45 degrees. For a true 90-degree corner, the two halves of a miter are typically cut at opposing 45-degree angles. Other cabinet angles need different cuts, and real walls may be slightly out of square.
- Measure the cabinet run and gap. Record each section and verify ceiling variation before cutting.
- Confirm the molding orientation. Crown must sit at its intended spring angle. Follow the molding or cabinet manufacturer’s cutting instructions.
- Test corner angles. Use scrap pieces before cutting the finished molding.
- Dry-fit every section. Check the joint, ceiling line, cabinet-door clearance, and end return.
- Fasten to the correct support. Depending on the cabinet design, this may be a face frame, mounting strip, blocking, or another manufacturer-approved attachment point.
- Finish small gaps carefully. Use an appropriate paintable caulk on painted installations and compatible filler for nail holes or joints. Do not rely on heavy caulk to hide a badly cut corner.
American Woodmark’s cabinet instructions state that crown mounts along the top edge of the cabinet, that full-overlay cabinetry may require blocking, and that installers should verify the required angle before cutting. The guide shows 45-degree cuts for 90-degree molding intersections and different cuts for other cabinet angles.
| Checkpoint | What to Confirm |
|---|---|
| Corner joint | The actual wall/cabinet angle has been verified and the joint closes without force. |
| Dry fit | The molding follows the cabinet run and does not rock against an uneven ceiling. |
| Door clearance | Full-overlay doors can open normally after crown or light rail is installed. |
| Ends and returns | Exposed molding ends terminate cleanly instead of showing a raw profile. |
| Caulk and filler | Only small finish gaps and nail holes are being concealed. |
Inside corners can be mitered, but a coped joint is often more forgiving when walls are slightly out of square or wood movement may open a simple miter. Outside corners are normally mitered and should be test-fitted before fastening.
[Amazon Products Picked for You]

1.Premium PVC with 3D Textured Design:Made of high-quality PVC material with an exquisite 3D embossed pattern, the trim features a solid thickness for a vivid, lifelike three-dimensional effect, adding an elegant and high-end decorative touch to all your home decor projects.

「Self-adhesive Design」With Non-toxic odorless adhesive strip, our flexible trim can adhere to almost any surface including wall, door, mirror, and more. It's practical for decorate and beautify your home. No sticky left after peeling
Use Color and Finish to Open Up the Space
Color and sheen affect molding just as much as profile size. A light-colored molding can reflect more available light, especially when it has a relatively high Light Reflectance Value (LRV). Sherwin-Williams defines LRV as a measure of how much light a paint color reflects, on a scale from dark/low-reflectance colors toward lighter/high-reflectance colors. Its guide to light and paint color explains how LRV affects the way a room reads.
A monochromatic treatment can also reduce visual breaks. Painting the crown and upper cabinets in the same or closely related color makes the trim read as one cabinet composition instead of several separate bands.
Sheen should be chosen separately from color. Gloss and high-gloss finishes reflect more light, but they can also create glare and highlight dents, waviness, brush marks, and imperfect joints. Semi-gloss is a common practical option for trim because it provides some reflection and is easy to clean. Sherwin-Williams’ paint sheen guide and Benjamin Moore’s finish guide both describe how higher sheen increases reflection and can emphasize surface condition.
In the 2026 U.S. Houzz Kitchen Trends Study, wood cabinetry was selected by 29% of surveyed renovating homeowners and white by 28%—evidence that warm wood is rising without making white cabinetry obsolete.
For a brighter, less segmented look, consider these combinations:
- Match crown to the upper-cabinet color for one continuous vertical composition.
- Use lighter upper cabinets and molding when the kitchen has limited daylight, while allowing darker lower cabinets if desired.
- Use satin or semi-gloss when you want easier cleaning and modest reflection without the mirror-like effect of high gloss.
- Reserve very glossy finishes for smooth, carefully prepared surfaces where extra shine is intentional.
When Cabinet Molding Can Make a Kitchen Feel Smaller
Molding can work against the goal of a larger-looking kitchen when it adds more visual weight than the room can support. This is most likely when the profile is very deep, the ceiling gap is tight, several contrasting colors divide the cabinet run, or elaborate stacked details compete with a small backsplash and countertop area.
Watch for four warning signs before ordering:
- The crown projects so far forward that it visually dominates the cabinet doors.
- Several stacked pieces fill the entire gap with little visual breathing room.
- The crown color strongly contrasts with both the cabinetry and ceiling, creating another horizontal band.
- Light rail hangs low enough to interfere with doors or make the backsplash area feel compressed.
In those situations, a smaller crown, simple riser, minimal scribe trim, or no decorative light rail may produce a cleaner result.
Frequently Asked Questions
What Kitchen Cabinet Colors Will Look Outdated in 2026?
No cabinet color is objectively outdated simply because the year is 2026. Current U.S. renovation data shows a shift toward wood cabinetry, but white remains widely used. The 2026 U.S. Houzz Kitchen Trends Study found wood at 29% and white at 28% among 1,780 surveyed renovating homeowners. Choose a finish that works with the kitchen’s light, materials, architecture, and long-term preferences rather than treating one neutral color as automatically obsolete.
What Is the “Golden Rule” in Kitchen Design?
There is no single golden rule that controls every kitchen. Designers consider work aisles, appliance clearances, traffic flow, landing space, work centers, accessibility, and local code together. Traditional work-triangle guidance is only one planning tool. For a current project, use the latest NKBA Kitchen & Bath Planning Guidelines and the installation requirements for the actual appliances and cabinets.
What Makes a Kitchen Look Cheap?
A kitchen can look less finished when details do not line up: uneven cabinet doors, exposed lighting wires, badly fitted trim, large caulk joints, mismatched finishes, chipped surfaces, poor lighting, and clutter can all weaken the overall design. Expensive materials are not required for a polished result; consistent alignment, clean installation, good lighting, and restrained material choices usually matter more.
What Are Some Creative Trim Ideas for Kitchen Cabinets?
Useful cabinet-trim ideas include single crown molding, stacked crown with a riser, simple flat filler panels, scribe molding against uneven walls, decorative end panels, beadboard accents, glass-front cabinet trim, slim light rail for under-cabinet LEDs, and finished returns at exposed cabinet ends. Choose only the details that fit the cabinet style and available space.
Should Cabinet Crown Molding Touch the Ceiling?
Not necessarily. Crown can terminate below the ceiling, connect to the ceiling through a riser or filler, or be scribed closely to it. A perfectly tight ceiling connection can be difficult when the ceiling is uneven, so a planned reveal or scribe piece may look cleaner than forcing a large crown into an inconsistent gap.
Can Crown Molding Make a Small Kitchen Look Smaller?
Yes. Oversized, deeply projecting, highly ornate, or strongly contrasting crown can make a small cabinet run look top-heavy. A simpler profile that matches the cabinet color and leaves the doors visually dominant is usually a safer choice when the room or ceiling gap is limited.
Conclusion
The right cabinet molding can make a kitchen feel taller and more finished by strengthening the vertical line of the upper cabinets and removing distracting gaps or visible lighting hardware. The key is proportion: measure the real cabinet-to-ceiling gap, choose crown and light rail that fit without crowding doors or backsplash space, verify every corner before cutting, and use color and sheen intentionally. Clean fit and restraint usually make a kitchen look more spacious than simply choosing the biggest molding available.
Sources
- National Kitchen & Bath Association — Kitchen & Bath Planning Guidelines — current professional kitchen-planning guidance and clearances.
- American Woodmark — Cabinet Installation Guide — crown placement, cabinet blocking, molding cuts, installation procedure, and safety guidance.
- Dura Supreme Cabinetry — Light Rail Molding for Kitchen Cabinets — purpose and use of light rail with under-cabinet lighting.
- Sherwin-Williams — Paint Color, Light, and LRV — how light reflectance affects perceived brightness.
- Sherwin-Williams — Paint Sheen Guide — reflection, gloss, trim applications, and surface considerations.
- 2026 U.S. Houzz Kitchen Trends Study — current U.S. renovation data on cabinet finishes and kitchen design preferences.
