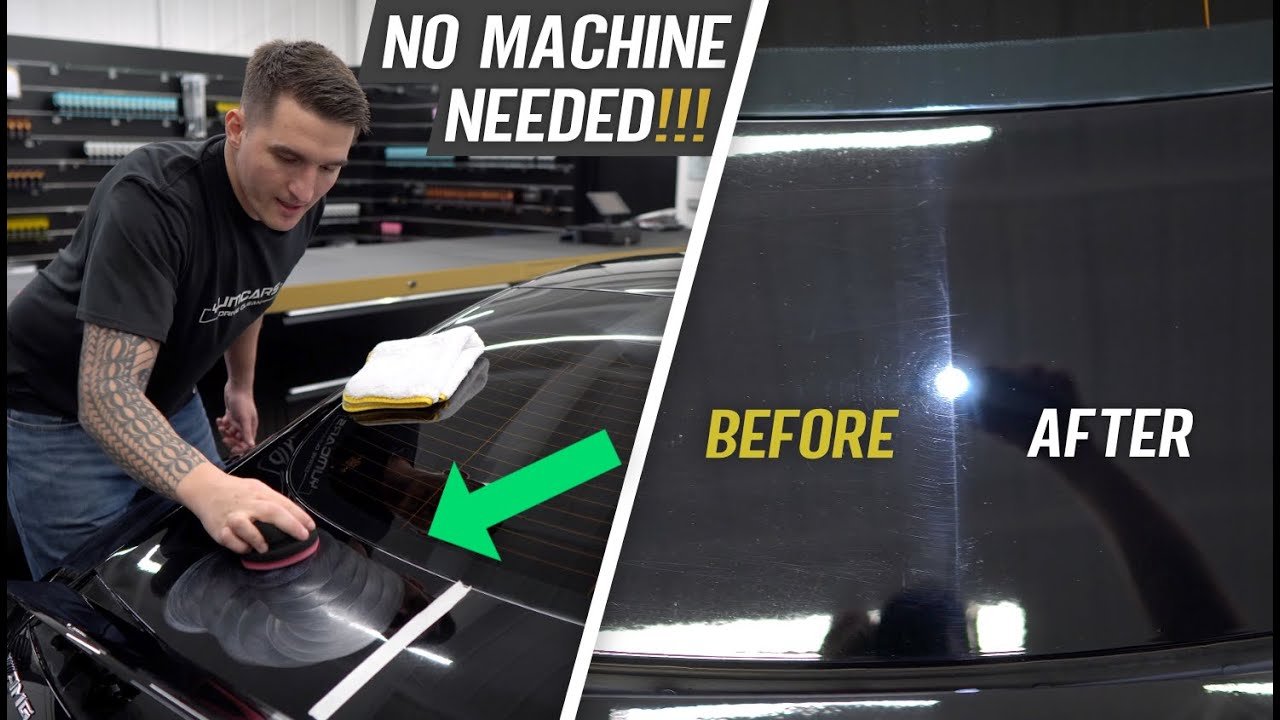
Imagine driving your car on a sunny day, its surface gleaming under the bright sky. That shine looks great, but polishing also helps smooth light surface defects and prepare the paint for protection.
You might think achieving a glossy finish requires expensive professional services or complex equipment. In reality, you can polish your car by hand in your driveway with the right products, careful prep, and steady technique.
This guide walks you through the tools, preparation, hand-polishing method, common mistakes, finishing steps, and maintenance habits that help your paint look cleaner, glossier, and better cared for.
Quick Answer
To polish a car by hand, wash and dry the paint first, inspect it for damage, then apply a small amount of polish with a foam applicator. Work one small section at a time using light pressure. Buff away residue with a clean microfiber towel, then protect the finish with wax or sealant.
Key Takeaways
- Always wash and dry the car before polishing so dirt does not scratch the paint.
- Use microfiber towels, foam applicator pads, and a polish suited to your paint condition.
- Work in small sections with light, even pressure instead of trying to polish the whole car at once.
- Avoid direct sunlight because heat can make polish dry too fast and become hard to remove.
- Finish with a wax or sealant to help protect the freshly polished surface.
At a Glance
| Time Required | 1 to 3 hours, depending on vehicle size and paint condition |
| Difficulty | Beginner to moderate |
| Tools Needed | Car shampoo, microfiber towels, foam applicator pads, car polish, bucket, detailing spray, and wax or sealant |
| Cost | Low to moderate, based on the polish, towels, pads, and protection product you choose |
Essential Tools And Materials
Polishing a car by hand can enhance its shine and improve the look of dull paint. The process works best when you use clean, paint-safe tools and a polish that matches your goal.
Before you begin, set up your supplies in a shaded area. This keeps the polish from drying too quickly and helps you work more comfortably.
[Amazon Products Picked for You]
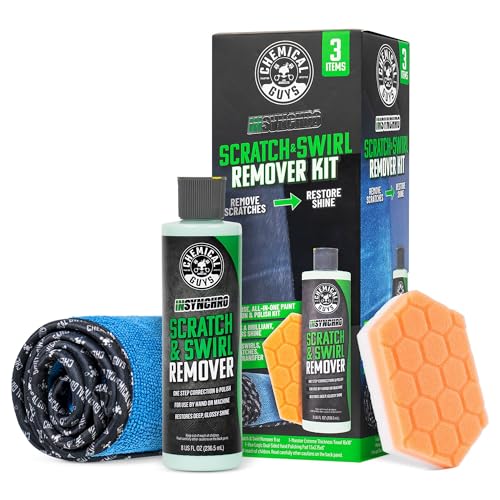
Complete Scratch Repair Kit (COM105KT): Restore clarity and shine to your paint with a pro-grade remover, dual-sided pad, and plush microfiber towel for effortless polishing and swirl removal.

This polishing pads are made with premium blended microfiber and a built-in sponge, which gives it both the high absorbability of a microfiber and the high elasticity of a sponge. Ideal for applying waxes, polishes, protectants, and dressings.
Shoes Shine Brush Set - There are 1 x large size shine brush, 1 x long handle horsehair brush, 1 x detailing shoe brush and 1 x microfiber buffing cloth
Must-Have Supplies
Start with several clean microfiber towels. These towels help apply, wipe, and buff products without scratching the paint when used correctly.
A foam applicator pad is also essential. It spreads polish evenly over the surface and gives you better control than a loose cloth.
Keep a bucket of clean water nearby to rinse tools as needed. You should also have car shampoo, drying towels, detailing spray, and a paint-safe wax or sealant ready for the final step.
- Car shampoo for washing the surface first
- Microfiber wash mitt or soft sponge
- Clean microfiber drying towels
- Foam applicator pads
- Hand polish or light compound
- Microfiber buffing towels
- Wax or sealant for paint protection
Choosing The Right Polish
Select a polish that matches your car’s paint condition. A mild finishing polish works well for newer vehicles or paint that only needs extra gloss.
If the car has light swirl marks, oxidation, or minor scratches, choose a polish with gentle abrasives. Avoid aggressive compounds unless the paint clearly needs heavier correction.
Read the product label before buying. Some products are designed for hand application, while others perform better with a machine polisher. For this guide, choose a product that clearly says it can be used by hand.
Note: Polish and wax are not the same. Polish improves the appearance of the paint by cleaning or lightly refining the surface. Wax or sealant protects the finish after polishing.

Credit: www.turtlewax.co.uk
Preparing Your Car
Before polishing, prepare your car carefully for the best results. Proper preparation helps the polish work evenly and reduces the risk of dragging dirt across the paint.
This step matters because polishing over dust, grit, or road film can create new marks. A clean surface also makes it easier to see scratches, dull spots, and areas that need extra care.
Cleaning The Surface
Start by washing your car with a gentle car shampoo. Use a microfiber wash mitt or soft sponge to clean every panel from top to bottom.
Rinse the car well with clean water. Make sure no soap remains on the surface, around trim, or in panel gaps.
Dry the car with a clean microfiber towel. This helps prevent water spots and gives you a clear surface for inspection.
If the paint still feels rough after washing, use a clay bar or synthetic clay mitt before polishing. This can remove bonded contamination that normal washing leaves behind.
Inspecting For Damage
Look for scratches, dents, chips, oxidation, or peeling clear coat. These flaws may need repair before polishing.
Check the paint under good lighting. Sunlight, a bright garage light, or a handheld inspection light can reveal swirl marks and dull patches more clearly.
Note any areas that need special care. Hand polishing can improve light defects, but it will not fix deep scratches, cracked paint, rust, or clear coat failure.
Warning: Do not polish paint that is flaking, peeling, or heavily damaged. Polishing can make weak paint worse. Repair those areas first or ask a detailing professional for advice.
Polishing Techniques
Polishing a car by hand requires patience and the right motion. You are not trying to scrub the paint. You are spreading the polish evenly and working it gently into the surface.
Start with a small test spot before polishing the whole vehicle. This helps you confirm that the polish improves the finish without leaving haze, staining trim, or creating extra work.
[Amazon Products Picked for You]
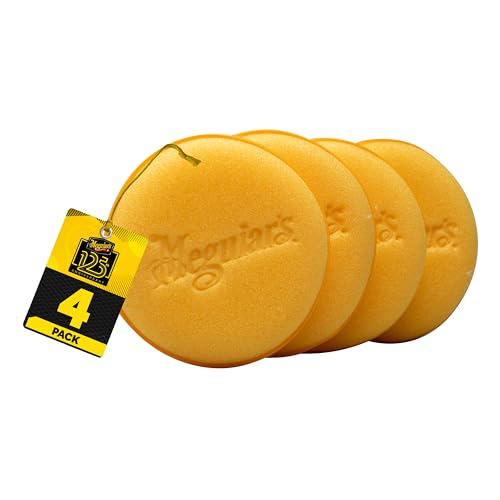
WIDE APPLICATION: Upgrade your car detailing kit with Meguiar's 4" Foam Applicator Pads, versatile tools designed to effortlessly apply various auto care products, including car polish, car wax, dressings, interior products, and more.

Pack of 6 multi-purpose microfiber polishing applicator pads, measuring 5 inch diameter

Elastic handle design for additional comfort and reduction in hand fatigue.
Circular Motion Method
Using a circular motion is a common hand-polishing method. It helps distribute the polish evenly across the car’s surface.
Apply a small amount of polish to your foam applicator pad. Start with less product than you think you need. Too much polish makes buffing harder and can leave residue.
Move your hand in small, overlapping circles. Keep the pressure light to moderate and let the polish do the work.
Work slowly and evenly. If the polish begins to dry, stop and buff the section instead of forcing it across the paint.
Focus On Sections
Breaking the car into sections makes the job easier. Start with one area, such as half the hood, one door, or one fender.
Complete that area before moving to the next section. This gives you better control and prevents the polish from drying on the paint.
After working the polish into the section, use a clean microfiber towel to buff away the residue. Turn the towel often so you always use a clean side.
Inspect each section after buffing. Look for missed spots, streaks, haze, or excess product around badges and trim.
Recommended Hand-Polishing Pattern
- Apply a small amount of polish to the applicator pad.
- Spread it over a small section before applying pressure.
- Work the polish with overlapping circular motions.
- Use light, even pressure and avoid dry rubbing.
- Buff residue with a clean microfiber towel.
- Inspect the section under good lighting.
- Repeat only if the finish still looks dull or uneven.
Pro Tip: Keep separate towels for washing, polishing, and final buffing. Mixing dirty towels with polish towels can cause light scratches.
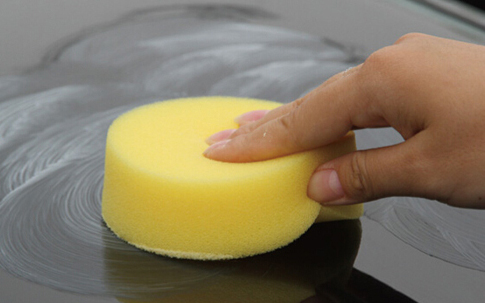
Credit: detailxperts.com
Avoiding Common Mistakes
Polishing a car by hand can seem simple, but small mistakes can affect the final result. The most common problems come from dirty tools, too much pressure, too much product, and polishing in poor conditions.
Learning to avoid these mistakes helps you get a smooth, glossy finish without wasting effort or damaging the paint.
[Amazon Products Picked for You]
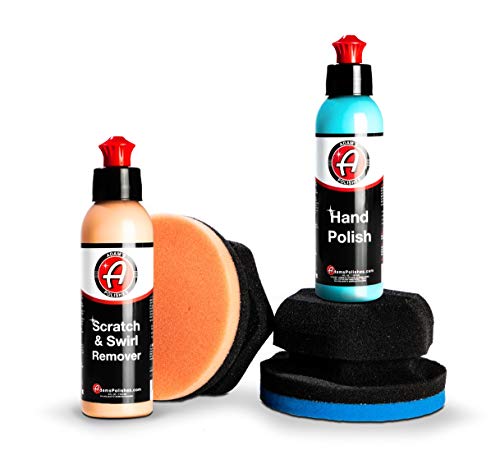
✅ EASILY REMOVE SCRATCHES, SWIRLS & PAINT TRANSFER! Safely correct scratches, swirls, and other minor defects & blemishes from all paint types. This car scratch doctor handles minor imperfection/defect removal such as sand scratches, swirls, door dings, keyed panels & doors, and paint transfer.
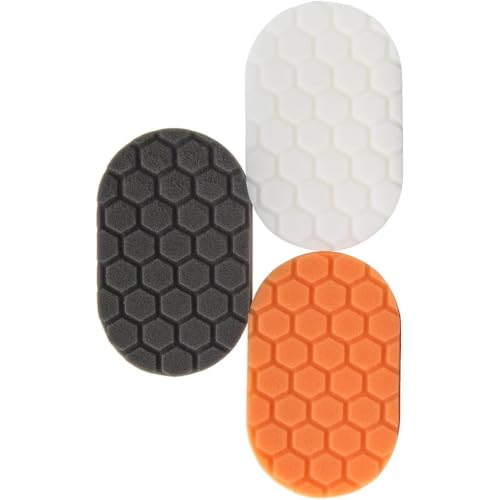
COMPLETE HAND POLISHING KIT: Get three color-coded foam applicator pads in one kit so you can correct, polish, and wax by hand without a machine, giving you pro-level control on every panel and curve.

【Material】:This car polishing pad is made of a high-quality polyether sponge, which has high elasticity and wear resistance, high-temperature resistance, and corrosion resistance, and can be used with various polishes, waxes, and cleaners. The texture is soft and delicate, ensuring that the car paint surface is not damaged during the polishing process.
Pressure Control
Applying too much pressure can harm your car’s paint. Use light, even pressure and let the polish work gradually.
The applicator should glide smoothly across the surface. If it drags, the section may be too dry, too dirty, or overloaded with residue.
Do not press harder to remove deep scratches. Hand polishing can reduce light swirls and haze, but deep defects often need paint correction, touch-up paint, or professional repair.
Avoiding Over-Polishing
Polishing too often can wear down the clear coat over time. Polish only when the paint needs it, not every time you wash the car.
For many vehicles, polishing once or twice a year is enough. A car stored outside, exposed to harsh weather, or washed with poor technique may need attention sooner.
Pay attention to your car’s appearance. Stop polishing when the section looks clean, glossy, and even.
Polishing In The Wrong Conditions
Avoid polishing in direct sunlight or on hot paint. Heat can make polish dry too quickly, leaving stubborn residue and streaks.
Work in shade, in a garage, or during a cooler part of the day. The paint should feel cool to the touch before you begin.
Using Dirty Or Rough Towels
Dirty towels can scratch the paint. Always use clean microfiber towels and shake them out before use.
If a towel falls on the ground, do not use it on the paint again until it has been washed. Small grit trapped in the fibers can leave marks.
Finishing Touches
Polishing your car by hand can be rewarding, but the final steps matter. Once the polishing is complete, remove residue carefully and protect the surface.
These finishing touches help the paint look clearer, smoother, and glossier. They also help preserve your work for longer.
Removing Residue
After polishing, some residue may remain on the car’s surface. Use a clean microfiber cloth to wipe it away.
Move the cloth in gentle circular motions or straight overlapping passes. Avoid rough materials that can scratch the paint.
Pay attention to edges, emblems, door handles, mirrors, and panel gaps. Polish residue often hides in these areas.
Check your work under good lighting. If you see haze, lightly buff that area again with a fresh towel.
Applying A Sealant
Applying a sealant or wax is the next important step. It protects your car’s paint and enhances the shine created by polishing.
Choose a quality sealant or wax that fits your needs. Sealants often last longer, while waxes can add a warm gloss.
Apply a small amount to a clean applicator. Spread it evenly over the car’s surface, working in small sections.
Let the product set according to the label instructions. Then buff off the excess with a clean microfiber towel.

Credit: www.turtlewax.com
Maintenance Tips
Maintaining the shine after hand polishing is just as important as the polishing itself. Regular upkeep keeps the paint cleaner and helps your wax or sealant last longer.
With simple habits, you can keep your car looking glossy without polishing it too often.
Regular Upkeep
Wash your car regularly to remove dirt, road film, bird droppings, and dust that can dull the finish. Use a gentle car shampoo and a soft wash mitt.
Avoid harsh household cleaners because they can strip protection from the paint. Rinse well and dry with microfiber towels to reduce water spots.
A quick wipe with detailing spray can revive gloss between washes. Use it only when the surface is lightly dusty, not heavily dirty.
Consider a deeper clean every month or two. This may include a careful wash, inspection, and a fresh layer of spray wax or sealant if the paint no longer beads water well.
Storing Your Supplies
Proper storage extends the life of your polishing supplies. Keep products in a cool, dry place away from direct sunlight.
Seal bottles tightly to prevent drying, leaking, or contamination. Store microfiber towels in a clean bag or closed container so they stay dust-free.
Organize your supplies in a dedicated cabinet or bin. This makes each wash and polish easier because you can quickly find what you need.
Label older products with the purchase date. If a polish smells unusual, separates badly, or dries out, replace it before using it on your paint.
Related Guides
Frequently Asked Questions
What materials do I need to polish a car by hand?
To polish a car by hand, you need car polish, microfiber towels, foam applicator pads, car shampoo, a wash mitt, clean water, drying towels, and wax or sealant. These supplies help you clean, polish, buff, and protect the paint safely.
How often should I polish my car?
Polishing once or twice a year is usually enough for many cars. Polish only when the paint looks dull, hazy, lightly oxidized, or covered with minor swirl marks. For regular shine maintenance, wash carefully and refresh the wax or sealant instead.
Can I polish my car in direct sunlight?
It is best to avoid polishing in direct sunlight. Heat can make the polish dry too quickly, which makes it harder to buff off and may leave streaks or haze. Work in shade, in a garage, or when the paint feels cool.
Is it necessary to wash the car before polishing?
Yes, washing the car before polishing is essential. Dirt, sand, and road grime can scratch the paint if they are rubbed into the surface during polishing. Wash, rinse, and dry the vehicle before applying any polish.
Can hand polishing remove deep scratches?
Hand polishing can improve light swirls, mild haze, and small surface marks. It usually cannot remove deep scratches that catch your fingernail. Deep defects may need touch-up paint, wet sanding, machine polishing, or professional repair.
Should I wax after polishing?
Yes, you should apply wax or sealant after polishing. Polish improves the surface appearance, but it does not provide long-lasting protection on its own. Wax or sealant helps protect the finish and maintain the shine.
Conclusion
Polishing a car by hand takes patience, but the results can be worth the effort. With clean tools, proper preparation, light pressure, and small working sections, you can restore gloss and make your paint look fresher.
Start by washing and inspecting the surface. Choose the right polish for your paint condition, work slowly, and buff each section before moving on. Avoid direct sunlight, dirty towels, and aggressive pressure.
After polishing, protect the finish with wax or sealant. Keep up with gentle washing and proper product storage so your car stays cleaner, glossier, and easier to maintain.