Car fuses serve a critical role in the electrical system of a vehicle, acting as protective devices that prevent damage to electrical components. Each fuse is designed to break the circuit when the current flowing through it exceeds a certain threshold, thereby preventing overheating and potential fires. This safety mechanism is essential, as modern vehicles are equipped with a myriad of electronic systems, from basic lighting to complex infotainment systems.
Without fuses, these components would be vulnerable to damage from electrical surges or short circuits. The design of a fuse is relatively simple yet effective. Typically encased in a plastic housing, a fuse contains a metal wire or strip that melts when the current exceeds its rated capacity.
This melting action interrupts the flow of electricity, effectively shutting down the circuit. In addition to protecting individual components, fuses also help maintain the overall integrity of the vehicle’s electrical system. By isolating faults, they prevent cascading failures that could lead to more extensive damage or costly repairs.
Understanding this fundamental purpose is crucial for any vehicle owner who wishes to maintain their car’s electrical health.
Key Takeaways
- Car fuses are designed to protect the electrical system from damage caused by power surges and short circuits.
- The fuse box is typically located under the dashboard or in the engine compartment of the car.
- When selecting a replacement fuse, it is important to match the amperage rating and type of the blown fuse.
- To remove a blown fuse, use a fuse puller or needle-nose pliers to gently pull it out of the fuse box.
- When inserting a new fuse, make sure it is securely seated in the fuse box to ensure proper electrical connection.
Identifying the Location of the Fuse Box
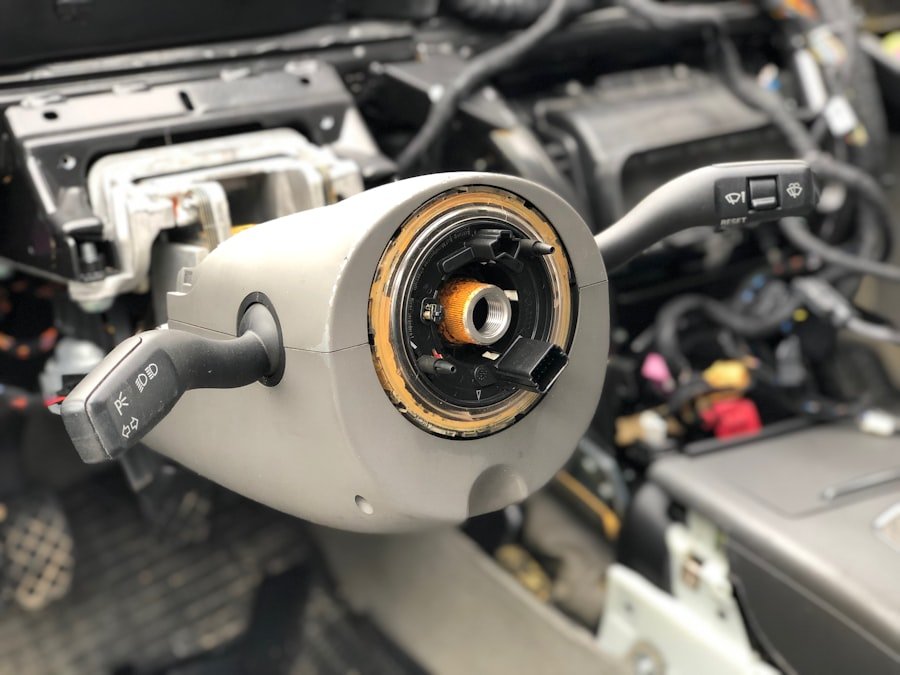
Locating the fuse box in your vehicle is the first step in addressing any electrical issues. Most cars have at least one fuse box, and some may have multiple locations depending on the complexity of their electrical systems. Typically, the primary fuse box is found under the dashboard on the driver’s side, often near the steering column.
In some models, it may be hidden behind a panel that can be easily removed for access. Additionally, many vehicles have a secondary fuse box located in the engine compartment, which houses fuses for components like headlights and cooling fans. To find the fuse box, it is advisable to consult the vehicle’s owner manual, which usually contains diagrams and descriptions of its location.
The manual may also provide information on which fuses correspond to specific electrical components, making troubleshooting more straightforward. In some cases, manufacturers place labels on the fuse box cover itself, indicating the function of each fuse. Familiarizing oneself with these locations and functions can save time and frustration when dealing with electrical issues.
Selecting the Correct Replacement Fuse
Once you have identified a blown fuse, selecting the correct replacement is crucial for restoring functionality without risking further damage. Fuses come in various types and ratings, typically categorized by their amperage, which indicates how much current they can handle before blowing. It is essential to replace a blown fuse with one that matches its original specifications; using a fuse with a higher amperage can lead to overheating and potential damage to electrical components.
In addition to amperage ratings, fuses also vary in size and shape. Common types include blade fuses, glass tube fuses, and ceramic fuses, each designed for specific applications within a vehicle. Blade fuses are prevalent in modern cars due to their compact size and ease of installation.
When selecting a replacement fuse, it is advisable to check both the amperage rating and physical dimensions to ensure compatibility. Many auto parts stores offer fuse assortments that include various types and ratings, making it easier for vehicle owners to find what they need without having to search extensively.
Removing the Blown Fuse
| Steps | Metrics |
|---|---|
| Identify the blown fuse | Number of blown fuses |
| Turn off power | Time taken to turn off power |
| Remove the blown fuse | Success rate of removing blown fuse |
| Replace with new fuse | Number of new fuses used |
| Turn on power | Time taken to turn on power |
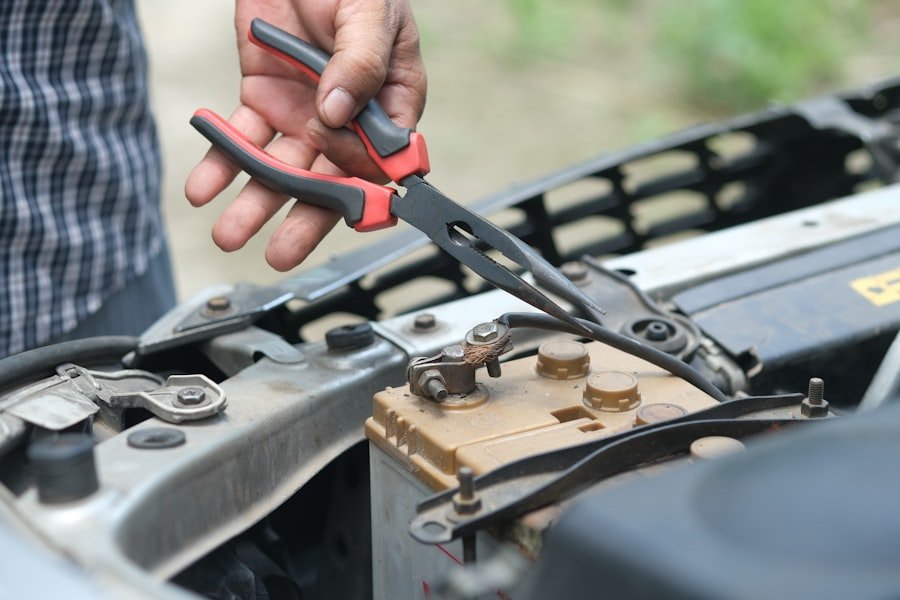
Removing a blown fuse requires careful attention to avoid damaging the fuse box or other components. Most vehicles come equipped with a fuse puller, a small tool designed specifically for this purpose. If your vehicle does not have one, needle-nose pliers can serve as an alternative, but caution is necessary to prevent slipping and causing damage.
Before proceeding, ensure that the vehicle is turned off and that you have taken appropriate safety precautions. To remove the blown fuse, first locate it within the fuse box using the diagram or labels provided. Once identified, gently grasp the fuse with the puller or pliers and pull it straight out.
It is important not to twist or force the fuse out, as this could damage the surrounding connections or housing. If the fuse is particularly stubborn, applying a slight rocking motion while pulling can help dislodge it without causing harm. After successfully removing the blown fuse, inspect it visually; a broken wire or discoloration typically indicates that it has blown.
Inserting the New Fuse
Inserting a new fuse is a straightforward process but requires attention to detail to ensure proper installation. Begin by selecting a replacement fuse that matches both the amperage rating and physical dimensions of the original. Once you have confirmed compatibility, align the new fuse with its slot in the fuse box.
Gently push the new fuse into place until it is securely seated in its slot. Avoid using excessive force, as this could damage the fuse or its connections.
After insertion, visually inspect the fuse to ensure it is properly aligned and fully seated. A correctly installed fuse will sit flush with the surrounding fuses and will not wobble or move when lightly touched. This step is crucial because an improperly installed fuse may not function correctly or could blow again shortly after installation.
Testing the New Fuse
After inserting a new fuse, testing its functionality is an important step before reassembling everything. The simplest way to test whether a new fuse has been installed correctly is to turn on the vehicle and check if the electrical component associated with that fuse operates as intended. For example, if you replaced a blown fuse for your headlights, switch on your headlights to see if they illuminate properly.
In some cases, using a multimeter can provide more detailed information about whether the new fuse is functioning correctly. Set the multimeter to measure continuity and touch one probe to each end of the fuse while it remains in place. If there is continuity, it indicates that electricity can flow through the fuse without interruption; if there is no continuity, it suggests that either the new fuse is faulty or there may be another underlying issue within the circuit that needs addressing.
Replacing the Fuse Box Cover
Once you have confirmed that the new fuse is functioning correctly, it’s time to replace the fuse box cover. This step may seem minor but is essential for protecting the internal components of the fuse box from dust, moisture, and potential damage from external elements. Before replacing the cover, take a moment to ensure that all tools are removed from around the area and that no loose wires are obstructing its placement.
Align the cover with its designated position on the fuse box and press down gently until it clicks into place or fits snugly against the housing. Some vehicles may have screws or clips that need to be secured to hold the cover firmly in position; ensure these are tightened appropriately without overdoing it, as excessive force can crack or damage plastic components. Once secured, double-check that all other panels or covers in proximity are also properly reattached before moving on.
Troubleshooting Common Fuse Issues
Even after replacing a blown fuse and ensuring everything appears in order, issues may still arise within your vehicle’s electrical system. One common problem is recurrent blown fuses; if you find yourself replacing fuses frequently for the same component, it may indicate an underlying issue such as a short circuit or an overloaded circuit drawing too much current. In such cases, further investigation into wiring integrity and component functionality may be necessary.
Another issue could be related to poor connections within the fuse box itself. Corrosion or dirt buildup on terminals can impede electrical flow and lead to intermittent failures or blown fuses. Cleaning these connections with an appropriate electrical contact cleaner can often resolve such problems.
If issues persist despite these efforts, consulting with a professional mechanic or automotive electrician may be warranted to diagnose more complex electrical problems that require specialized knowledge and tools for resolution. By understanding these aspects of car fuses—from their purpose and location to troubleshooting common issues—vehicle owners can take proactive steps in maintaining their car’s electrical system effectively. This knowledge not only empowers individuals but also enhances their ability to address minor issues independently while knowing when professional assistance may be necessary.
If you’re looking to maximize space in your small bedroom, check out this helpful article