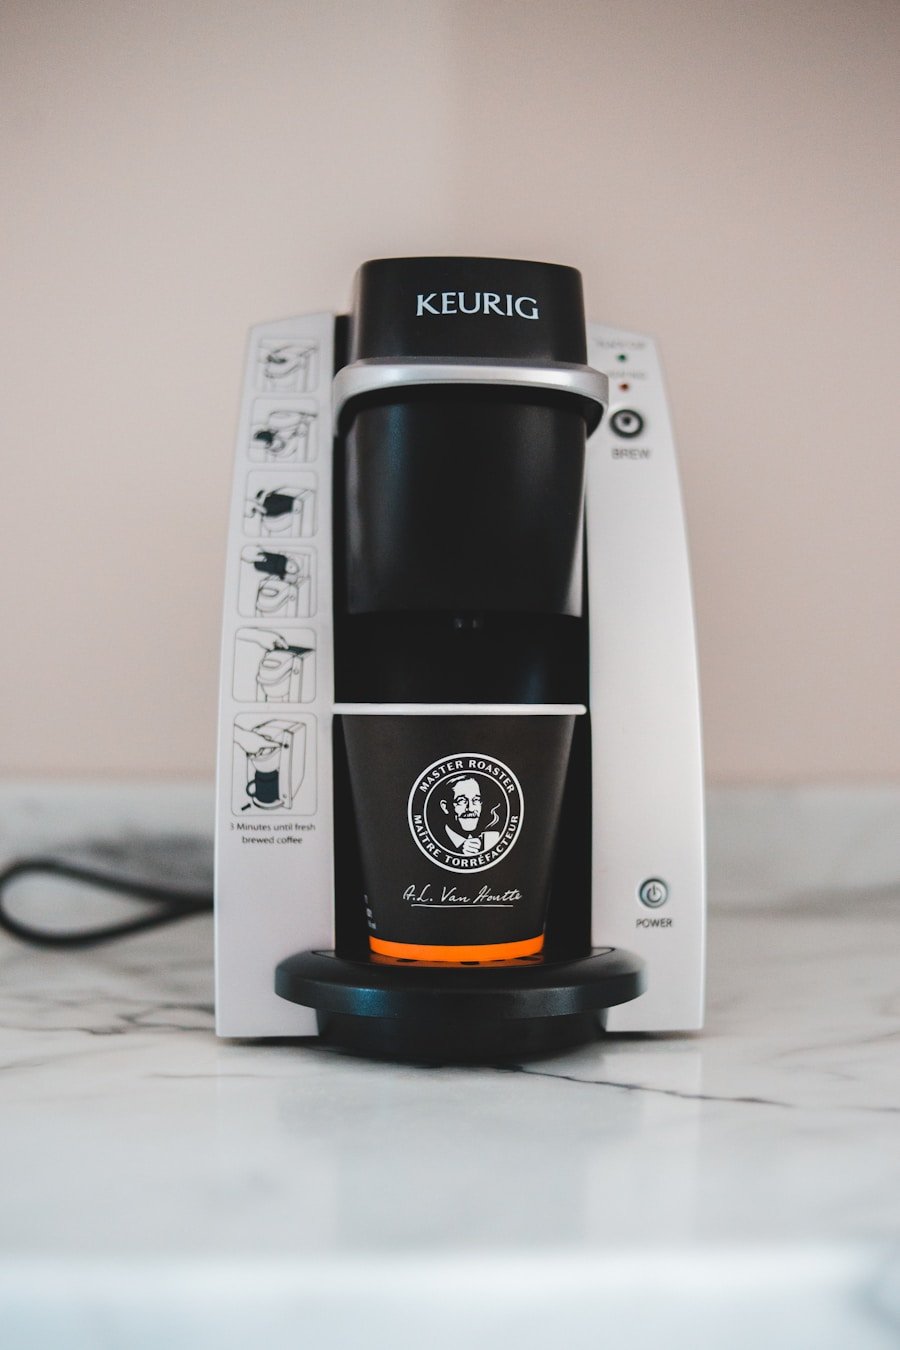
Regular cleaning of a Keurig coffee maker is essential for maintaining its performance and ensuring the quality of the brewed coffee. Over time, mineral deposits from water, coffee oils, and other residues can accumulate within the machine, leading to clogs and a decline in flavor. When these elements build up, they can not only affect the taste of your coffee but also shorten the lifespan of the machine.
A clean Keurig not only brews better coffee but also operates more efficiently, reducing the risk of malfunctions that could require costly repairs or replacements. Moreover, regular cleaning helps to prevent the growth of mold and bacteria, which can thrive in the warm, moist environment of a coffee maker. If left unchecked, these microorganisms can contaminate your coffee and pose health risks.
By establishing a routine cleaning schedule, you can ensure that your Keurig remains a safe and enjoyable appliance in your kitchen. This proactive approach not only enhances your coffee experience but also contributes to a healthier lifestyle by minimizing exposure to harmful substances.
Key Takeaways
- Regular cleaning is important to maintain the performance and longevity of your Keurig machine
- Disassembling the Keurig is necessary to access all the parts that need cleaning
- Cleaning the water reservoir and lid helps prevent mold and bacteria buildup
- Descaling the machine removes mineral deposits and ensures proper brewing temperature
- Cleaning the K-Cup holder and exit needle prevents clogs and ensures a smooth brewing process
Disassembling the Keurig
Before embarking on the cleaning process, it is crucial to disassemble the Keurig properly. Start by unplugging the machine to ensure safety while you work. Remove the water reservoir by lifting it straight up and away from the base.
This step is essential as it allows you to access the internal components that require cleaning. Next, take out the K-Cup holder by pressing the release button and pulling it out gently. This component is often a hotspot for coffee residue and oils, making it vital to clean thoroughly.
Once you have removed these parts, inspect them for any visible buildup or damage. Pay attention to the exit needle located at the bottom of the K-Cup holder, as this area can become clogged with coffee grounds over time. Disassembling your Keurig not only facilitates a more thorough cleaning but also allows you to identify any potential issues that may need addressing.
By taking the time to carefully disassemble your machine, you set the stage for an effective cleaning process that will enhance both its performance and longevity.
Cleaning the Water Reservoir and Lid
The water reservoir and lid are critical components of your Keurig that require regular attention. Begin by rinsing the reservoir with warm water to remove any loose debris or residue. For a more thorough clean, use a mixture of mild dish soap and warm water.
Avoid using harsh chemicals or abrasive sponges, as these can damage the plastic material of the reservoir. After scrubbing the interior with a soft cloth or sponge, rinse it thoroughly to ensure no soap residue remains. The lid of the water reservoir also deserves special attention.
It can accumulate dust and grime over time, which can affect the overall cleanliness of your coffee maker. Wipe down the lid with a damp cloth, ensuring that you clean any crevices where dirt may hide. After cleaning both the reservoir and lid, allow them to air dry completely before reattaching them to the machine.
This step is crucial as moisture left in these components can lead to mold growth, negating your cleaning efforts.
Descaling the Machine
| Machine Model | Descale Frequency | Descale Time | Water Usage |
|---|---|---|---|
| Model A | Every 3 months | 30 minutes | 2 liters |
| Model B | Every 2 months | 45 minutes | 3 liters |
| Model C | Every 4 months | 25 minutes | 1.5 liters |
Descaling is a vital maintenance task that should be performed regularly to keep your Keurig functioning optimally. Over time, minerals from water can build up inside the machine, leading to clogs and reduced efficiency. To descale your Keurig, you will need a descaling solution specifically designed for coffee makers or a mixture of equal parts white vinegar and water.
Begin by filling the water reservoir with your chosen descaling solution and running a brew cycle without inserting a K-Cup. After completing one cycle, let the solution sit in the machine for about 30 minutes to allow it to break down mineral deposits effectively. Following this resting period, run several cycles using fresh water to flush out any remaining descaling solution.
It is essential to ensure that all traces of vinegar or commercial descaler are removed from the machine before brewing coffee again, as lingering flavors can negatively impact your beverage’s taste. Regular descaling not only prolongs the life of your Keurig but also ensures that each cup of coffee is brewed with pure flavor.
Cleaning the K-Cup Holder and Exit Needle
The K-Cup holder and exit needle are often overlooked during routine cleaning but are critical areas that require attention due to their role in brewing coffee. Start by rinsing the K-Cup holder under warm water to remove any loose grounds or oils. For a deeper clean, use a soft brush or an old toothbrush to scrub around the exit needle and inside the holder.
This step is crucial because coffee grounds can become lodged in these areas, leading to clogs that affect brewing performance. The exit needle itself can be particularly problematic if not cleaned regularly. It is located at the bottom of the K-Cup holder and punctures the K-Cup during brewing.
If coffee grounds accumulate around this needle, they can obstruct water flow and result in weak or incomplete brews. To clean it effectively, use a paperclip or a specialized cleaning tool designed for this purpose to gently dislodge any debris stuck in or around the needle. By ensuring that both the K-Cup holder and exit needle are clean, you enhance not only the efficiency of your Keurig but also the quality of your coffee.
Reassembling the Keurig

Reinserting the K-Cup Holder and Water Reservoir
Once all components have been cleaned and dried thoroughly, it is time to reassemble your Keurig coffee maker. Begin by carefully reinserting the K-Cup holder back into its designated slot until you hear a click indicating it is securely in place. Next, attach the water reservoir by aligning it with its base and pressing down gently until it fits snugly against the machine.
Ensuring Proper Seating and Leak Prevention
Ensure that both components are properly seated to avoid leaks during operation.
Testing the Machine
After reassembling, plug in your Keurig and run a few cycles with just water to ensure everything is functioning correctly. This step serves two purposes: it helps flush out any remaining cleaning solution or debris from inside the machine and allows you to check for any leaks or issues that may have arisen during reassembly.
Ready for Use
Taking these precautions ensures that your Keurig is ready for use and will provide you with delicious coffee for many brews to come.
Cleaning the Exterior of the Machine
While much focus is often placed on internal components during cleaning, maintaining the exterior of your Keurig is equally important for both aesthetics and hygiene. Start by wiping down the outer surfaces with a damp cloth to remove dust and fingerprints that may have accumulated over time. For stubborn stains or marks, consider using a mild all-purpose cleaner; however, avoid using abrasive materials that could scratch or damage the finish.
Pay special attention to areas such as buttons and control panels where grime can build up from regular use. A soft cloth lightly dampened with soapy water can effectively clean these surfaces without causing damage. After wiping down all exterior parts, dry them thoroughly with a clean cloth to prevent moisture buildup that could lead to mold growth or electrical issues.
A clean exterior not only enhances the appearance of your Keurig but also contributes to its overall functionality by ensuring that all components operate smoothly.
Tips for Maintaining a Clean Keurig
To keep your Keurig in optimal condition between deep cleans, consider implementing some simple maintenance tips into your routine. First, always use filtered water when filling your reservoir; this practice reduces mineral buildup and improves overall flavor quality in your coffee. Additionally, emptying and rinsing out the water reservoir daily can help prevent stagnant water from becoming a breeding ground for bacteria.
Another effective strategy is to regularly check and clean any removable parts after each use, such as the drip tray and K-Cup holder. By making this part of your daily routine, you can prevent buildup from becoming an issue over time. Furthermore, consider setting a reminder on your calendar for monthly descaling; this proactive approach will help maintain your machine’s performance without requiring extensive effort each time.
Lastly, be mindful of how you store your K-Cups; keeping them in a cool, dry place away from direct sunlight will help preserve their freshness and flavor longer. By following these simple yet effective tips for maintaining cleanliness, you can ensure that your Keurig continues to deliver delicious coffee while operating efficiently for years to come.
If you’re looking to elevate your kitchen game beyond just cleaning your Keurig coffee maker, you may want to check out this article on the 5 Most Versatile Egg Cookers You Should Consider. These handy gadgets can help you whip up delicious eggs in a variety of ways, making breakfast prep a breeze. Plus, they’re easy to clean and store, making them a great addition to any kitchen.
FAQs
What is a Keurig coffee maker?
A Keurig coffee maker is a popular single-serve coffee brewing system that uses specially designed pods to brew a variety of hot beverages, including coffee, tea, and hot chocolate.
Why is it important to clean a Keurig coffee maker?
Regular cleaning of a Keurig coffee maker is important to remove mineral deposits, coffee oils, and other residue that can build up over time and affect the taste and quality of the brewed beverages. It also helps to prevent clogs and maintain the performance of the machine.
How often should I clean my Keurig coffee maker?
It is recommended to clean your Keurig coffee maker every 2-3 months, or more frequently if you notice a decrease in the performance or quality of the brewed beverages.
What are the steps to clean a Keurig coffee maker?
The steps to clean a Keurig coffee maker typically include descaling the machine with a descaling solution, cleaning the external parts with a mild detergent, and regularly changing the water filter if applicable. Specific instructions can be found in the user manual or on the Keurig website.
Can I use vinegar to clean my Keurig coffee maker?
Yes, vinegar can be used as a descaling solution to clean a Keurig coffee maker. It is an effective and affordable option for removing mineral deposits and other build-up inside the machine. However, it is important to thoroughly rinse the machine with water after using vinegar to prevent any lingering taste or odor.
