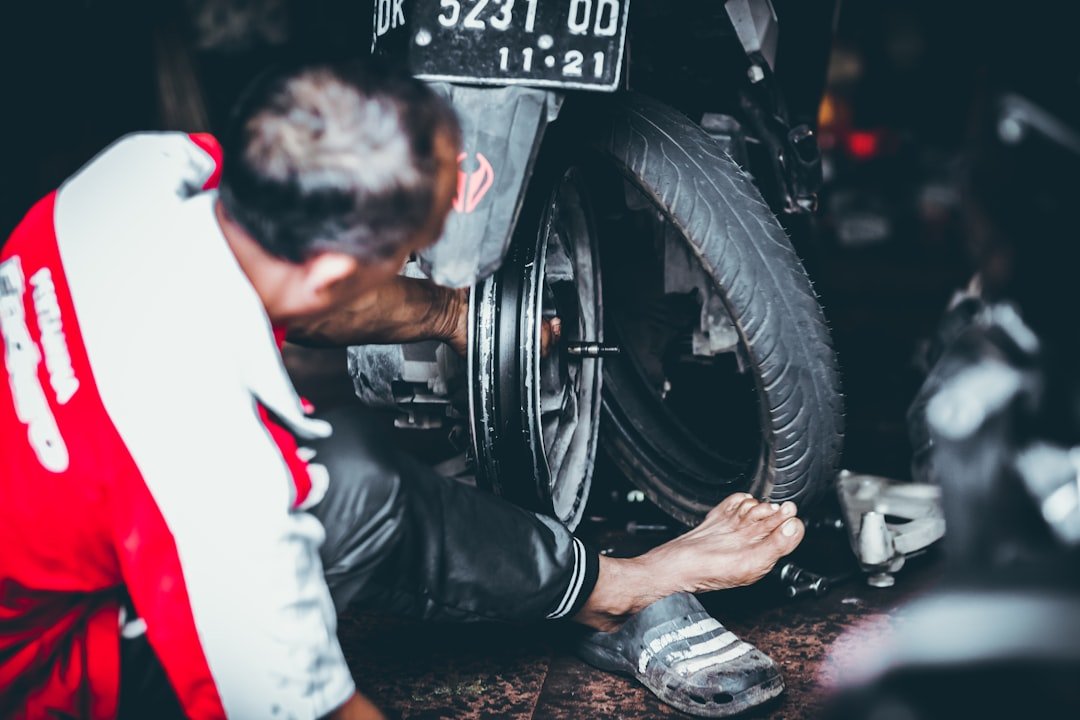
Flat tires are common, frustrating, and sometimes scary, especially when they happen on a busy road or during bad weather. A tire can go flat because of a nail, road debris, worn tread, valve-stem damage, low air pressure, or a hard impact with a pothole.
Understanding how to handle a flat tire helps you stay calm, protect your vehicle, and get back on the road safely. With the right tools and a clear step-by-step process, changing a flat tire is manageable for most drivers. This guide walks you through assessing the damage, removing the flat tire, checking for leaks, installing the spare, storing the damaged tire, and preventing future flats.
Quick Answer
To fix a flat tire safely, pull over on level ground, turn on your hazard lights, loosen the lug nuts, lift the vehicle with the jack, remove the flat tire, and install the spare. Check the spare tire pressure before driving, and have the damaged tire inspected or repaired as soon as possible.
Key Takeaways
- Flat tires can happen to anyone, so every driver should know the basic safety steps.
- Always pull over in a safe, level area before inspecting or changing a tire.
- You need a spare tire, jack, lug wrench, and tire pressure gauge before starting.
- Loosen lug nuts before lifting the vehicle so the wheel does not spin.
- Small tread punctures may be repairable, but sidewall damage usually requires replacement.
- Tighten lug nuts in a crisscross pattern and check tire pressure before driving.
- Regular pressure checks and tire inspections help prevent future flats.
At a Glance
| Time Required | About 15 to 30 minutes, depending on experience and conditions |
| Difficulty | Beginner to moderate |
| Tools Needed | Spare tire, jack, lug wrench, tire pressure gauge, gloves, flashlight, and wheel chocks if available |
| Cost | Usually no cost if you already have the spare and tools; repair or replacement costs vary by tire damage |
Warning: Never change a tire in an active traffic lane. If you cannot reach a safe shoulder, parking lot, or level area, call roadside assistance instead of risking an accident.
Assessing the Damage
When faced with a flat tire, the first step is to assess the damage accurately. Start by moving your vehicle to a safe location, turning on your hazard lights, and setting the parking brake. If the tire failed while driving, avoid sudden steering or hard braking. Slow down gradually and pull over only when it is safe.
A flat tire usually appears visibly deflated, sits lower than the other tires, or causes the vehicle to pull to one side.
After you stop, look at the tire from a safe position. Check whether it is fully flat or simply low on air. A low tire may still hold some shape, while a flat tire often looks collapsed near the ground. You may also hear a hissing sound if air is escaping quickly.
Next, inspect the tire for visible damage. Look for nails, screws, glass, metal, cuts, cracks, or bulges. Pay close attention to the sidewall because damage there is usually more serious than a small puncture in the tread. If the tire has a large cut, exposed cords, a sidewall bubble, or shredded rubber, do not try to drive on it.
Note: A tire may be repairable when the puncture is small and located in the tread area. Sidewall damage, large holes, and severe wear usually mean the tire should be replaced.
Gathering the Necessary Tools
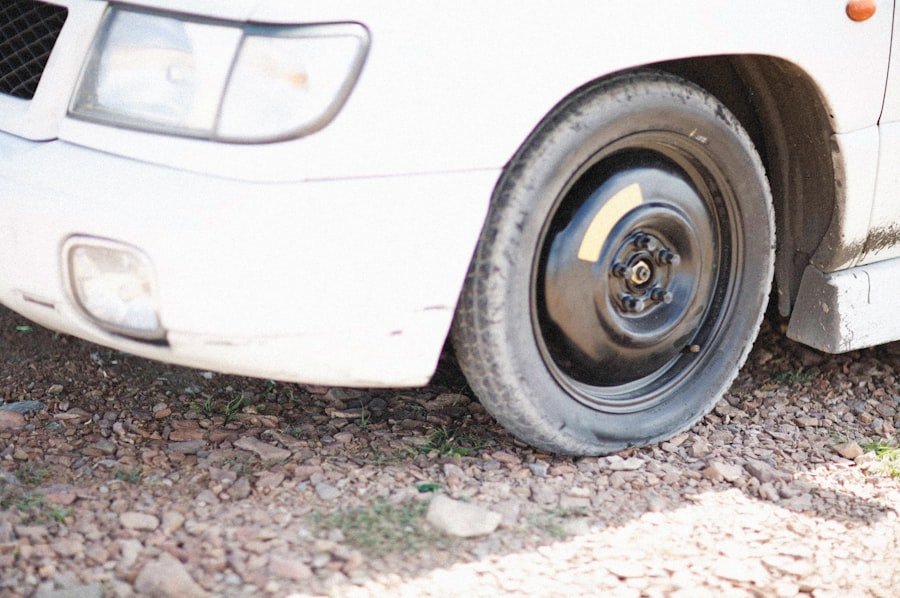
Before attempting to change a flat tire, gather all necessary tools and equipment. Having everything ready will make the process safer and less stressful. The basic tools usually include a spare tire, a jack, a lug wrench, and a tire pressure gauge.
Some drivers may also find it helpful to carry gloves, a flashlight, wheel chocks, a reflective triangle, and a small mat or towel to kneel on. These items are especially useful at night, in rain, or on rough ground.
The spare tire is crucial, so check it before you need it. It should be in good condition and properly inflated. The jack lifts the vehicle off the ground, while the lug wrench loosens and tightens the lug nuts that secure the wheel. A tire pressure gauge helps confirm that the spare tire is safe to use before driving.
You should also review your owner’s manual before an emergency happens. Vehicle jacking points vary, and using the wrong spot can damage the vehicle or make it unstable. For general tire safety guidance, the National Highway Traffic Safety Administration recommends regular tire-pressure checks, tread inspections, and proper maintenance.
Removing the Flat Tire
| Steps | Time Taken | Tools Required |
|---|---|---|
| Loosen the lug nuts | 5 minutes | Lug wrench |
| Jack up the car | 3 minutes | Car jack |
| Remove the flat tire | 2 minutes | Tire iron |
| Install the spare tire | 5 minutes | Tire iron |
| Lower the car and tighten the lug nuts | 5 minutes | Lug wrench |
Once you have assessed the damage and gathered your tools, you can begin removing the flat tire. Park on a stable, level surface away from traffic. Engage the parking brake to prevent movement while you work.
If you have wheel chocks or blocks, place them behind the wheels opposite the flat tire. For example, if the flat tire is at the front, place chocks behind the rear tires. This gives the vehicle extra stability while it is lifted.
Pro Tip: Loosen the lug nuts before lifting the vehicle. The tire needs to stay on the ground so the wheel does not spin while you apply force.
Use the lug wrench to loosen the lug nuts on the flat tire. Turn each lug nut counterclockwise until it breaks loose, but do not remove the nuts completely yet. If a lug nut is tight, press down carefully with steady pressure rather than jerking the wrench.
Next, position the jack under the vehicle’s designated lifting point. Check the owner’s manual if you are unsure where that point is. Raise the vehicle until the flat tire is fully off the ground. Once the vehicle is lifted, remove the loosened lug nuts and place them somewhere safe so they do not roll away.
Hold the tire with both hands and pull it straight toward you. If it sticks, gently rock it side to side until it comes free. Avoid placing any part of your body under the vehicle while it is supported only by the jack.
Locating the Leak
With the flat tire removed from the vehicle, you can look for the source of the leak. This step helps you decide whether the tire may be repairable or needs replacement. Start by inspecting the inner and outer surfaces of the tire for obvious punctures, cuts, or damaged areas.
If you see a nail, screw, or piece of glass stuck in the tread, take note of its location. Do not remove the object unless you are ready to repair the tire or have a professional inspect it. Pulling it out may make the tire lose air faster.
If no visible damage is apparent, you can perform a more thorough inspection by submerging the tire in water or spraying soapy water over its surface. Look for bubbles forming. Bubbles show where air is escaping from the tire.
Pay special attention to the valve stem, bead area, tread, and sidewall. Leaks do not always come from obvious punctures. A damaged valve stem, corroded wheel, or poor bead seal can also cause slow air loss.
Patching the Tire
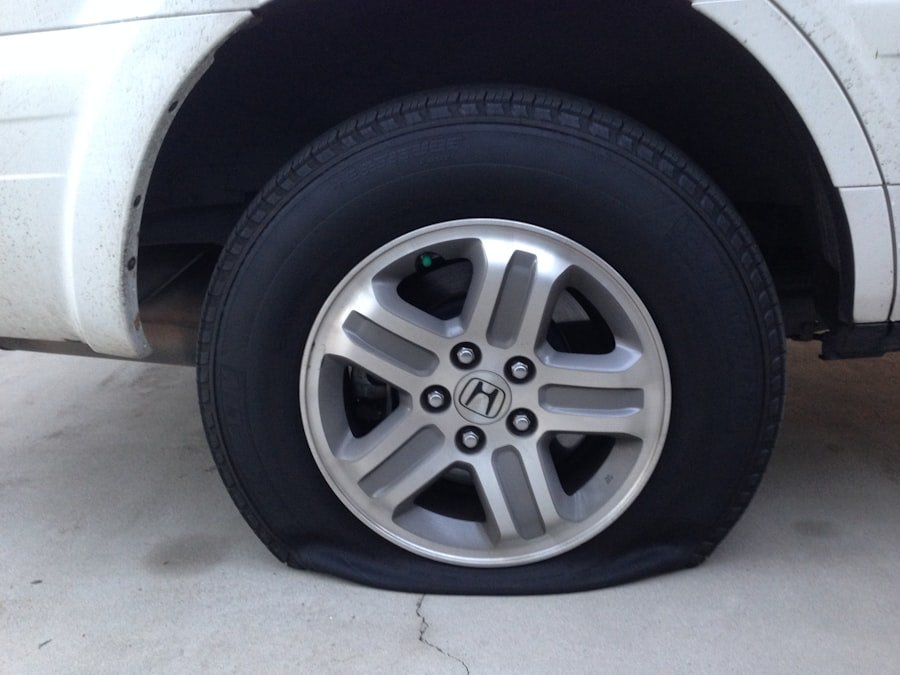
If you locate a small puncture in the tread area, patching the tire may be possible. Tire repair kits are widely available and often include plugs, patches, adhesive, and tools for application. Before repairing a tire, confirm that the puncture is small, located in the tread area, and not close to the sidewall.
As a general safety rule, punctures larger than about 1/4 inch, sidewall damage, exposed cords, or shredded rubber should not be treated as simple do-it-yourself repairs. In those cases, replace the tire or have it inspected by a qualified tire professional.
To patch a tire, clean the area around the puncture thoroughly so the patch can bond properly. Use the rasp or sandpaper included in the repair kit to roughen the surface slightly. This helps create a stronger bond between the repair material and the tire.
Apply adhesive as directed by your kit’s instructions and press the patch firmly over the puncture. Allow enough curing time before reinflating the tire. After the repair, check for leaks again with soapy water before reinstalling the tire or placing it back into service.
Warning: A temporary plug or patch may not be suitable for every tire. If you are unsure about the damage, use the spare tire and have the flat tire inspected by a professional.
Installing the Spare Tire
If patching is not an option, or if you prefer to use a spare tire first, installing the spare is your next step. Begin by confirming that the spare tire is in good condition and properly inflated. A spare that is low on air can be unsafe, even for a short drive.
Align the spare tire with the wheel hub. Carefully slide it onto the hub and make sure the holes in the wheel line up with the lug bolts. Hold the wheel steady while you start threading the lug nuts by hand.
Hand-tighten each lug nut onto its corresponding bolt. This helps prevent cross-threading. Once all lug nuts are started, tighten them lightly with the lug wrench while the vehicle is still raised.
Lower the vehicle slowly until the tire touches the ground and the full weight of the vehicle is back on the wheel. Then tighten the lug nuts in a crisscross or star pattern. This spreads pressure evenly and helps the wheel seat correctly.
If your vehicle uses a compact temporary spare, drive carefully and follow the speed and distance limits printed on the tire or listed in the owner’s manual. Temporary spares are designed to help you reach a repair shop, not replace a regular tire for long-term driving.
Checking the Air Pressure
After installing either a patched tire or a spare tire, check the air pressure before driving. Properly inflated tires improve handling, braking, fuel efficiency, and overall safety. Use a tire pressure gauge to get an accurate reading.
Find your vehicle’s recommended tire pressure in the owner’s manual or on the sticker inside the driver’s door jamb. Do not rely only on the number printed on the tire sidewall because that usually shows the maximum pressure, not the vehicle’s recommended pressure.
If your spare tire requires inflation, use an air compressor or visit a nearby gas station that has one. Inflate the tire to the recommended level before driving. Also check the other tires if you have time because one flat can be a reminder that all tires need attention.
Once the spare is installed and inflated, drive slowly at first and listen for unusual sounds. If the vehicle shakes, pulls sharply, or feels unstable, stop in a safe place and recheck the installation.
Properly Storing the Flat Tire
Once you have successfully handled the flat tire, store the damaged tire properly if you plan to repair it later or keep it as a backup option. Place it in a clean, dry area away from direct sunlight, moisture, oil, and extreme temperatures.
Heat and sunlight can degrade rubber over time. If possible, store the tire upright rather than stacking heavy items on top of it. Keeping the tire upright helps maintain its shape and reduces the chance of damage while it waits for inspection or repair.
If you plan to repair the tire later, mark the damaged area with chalk or tape. This makes it easier for you or a tire technician to find the puncture. You should also keep the lug nuts, jack, and tools back in their proper storage areas so they are ready for the next emergency.
Do not leave a damaged tire loose in the cabin. A tire can become a dangerous object during sudden braking. Secure it in the trunk, cargo area, or the original spare-tire storage location when possible.
Preventing Future Flat Tires
Preventing future flat tires takes regular maintenance and awareness of your tires’ condition. Inspect your tires at least once a month and before long trips. Look for uneven wear, cracks, bulges, embedded objects, and shallow tread.
Maintaining proper air pressure is one of the easiest ways to reduce the risk of flats. Under-inflated tires flex more while driving, which can cause heat buildup, poor handling, faster wear, and a higher chance of failure.
Check air pressure when the tires are cold, meaning the vehicle has been parked for several hours or driven only a short distance. Tire pressure can rise after driving because heat builds inside the tire, which may give you a misleading reading.
You can also reduce flat-tire risk by avoiding road debris, potholes, curbs, and construction zones when safe to do so. Rotate your tires according to your vehicle’s maintenance schedule and replace tires when the tread is worn or the rubber shows signs of aging.
Pro Tip: Keep a small tire emergency kit in your vehicle. Include gloves, a flashlight, a pressure gauge, reflective triangles, and your roadside assistance information.
Conclusion and Final Tips
Dealing with flat tires is an inevitable part of vehicle ownership that every driver should be prepared for. By understanding how to assess damage, gather tools, remove a flat tire, install a spare, and take preventive steps, you can handle the situation with more confidence and less stress.
Safety should always come first. Pull over in a secure area, use hazard lights, keep passengers away from traffic, and never crawl under a vehicle supported only by a jack. If conditions feel unsafe, call roadside assistance instead of attempting the repair yourself.
After installing a spare tire, drive carefully and have the damaged tire inspected as soon as possible. A spare tire is usually a short-term solution, not a permanent replacement. Staying proactive with tire pressure checks, tread inspections, and regular maintenance will help you avoid many flat-tire problems before they happen.
If you’re looking for more helpful product reviews, check out 5 Best Sippy Cups That Don’t Leak. This article provides detailed information on top-rated sippy cups that are perfect for parents on the go. It’s always great to have reliable gear when you’re out and about with your little ones.
Related Guides
Frequently Asked Questions
What tools do I need to fix a flat tire?
You will need a spare tire, a jack, a lug wrench, and a tire pressure gauge to fix a flat tire. Gloves, a flashlight, wheel chocks, and reflective triangles can also make the job safer and easier.
How do I know if my tire is flat?
You may notice a decrease in tire pressure, hear a flapping sound while driving, feel the car pulling to one side, or see that the tire looks visibly deflated. You can also inspect the tire for punctures, cuts, bulges, or other damage.
How do I fix a flat tire?
First, find a safe place to pull over and turn on your hazard lights. Set the parking brake, loosen the lug nuts, lift the vehicle with the jack, remove the flat tire, install the spare tire, tighten the lug nuts in a crisscross pattern, lower the vehicle, and check tire pressure before driving.
Can I drive on a flat tire?
It is not safe to drive on a flat tire. Driving on a flat can damage the wheel, reduce control, affect braking, and create a safety risk. Pull over as soon as it is safe and change the tire or call for help.
How long does it take to fix a flat tire?
The time can vary depending on your experience, tools, vehicle, and location. Many drivers can install a spare tire in about 15 to 30 minutes when conditions are safe and the tools are ready.
Can every flat tire be repaired?
No. Small punctures in the tread area may be repairable, but sidewall damage, large punctures, exposed cords, severe cracking, or shredded rubber usually require tire replacement.
Should I tighten lug nuts while the car is lifted?
You can hand-tighten the lug nuts while the vehicle is lifted, but final tightening should happen after the tire touches the ground. Tighten the nuts in a crisscross pattern for even pressure.
Sources
- National Highway Traffic Safety Administration: Tire Maintenance and Safety — supports tire pressure, tread, and maintenance safety guidance.
- National Highway Traffic Safety Administration: Tires — supports general tire safety and tire-care recommendations.
- U.S. Tire Manufacturers Association: Tire Safety — supports routine pressure checks, tread inspections, and tire-care basics.
