A slow tire leak can be a frustrating issue for any vehicle owner. Unlike a sudden flat tire, which is immediately noticeable, a slow leak often manifests as a gradual loss of air pressure over time. This can lead to decreased fuel efficiency, compromised handling, and even potential safety hazards if left unaddressed.
Identifying a slow tire leak requires vigilance and awareness of your vehicle’s performance. Regularly checking tire pressure and being attuned to any changes in how your vehicle drives can help you catch these leaks early. The symptoms of a slow tire leak can vary.
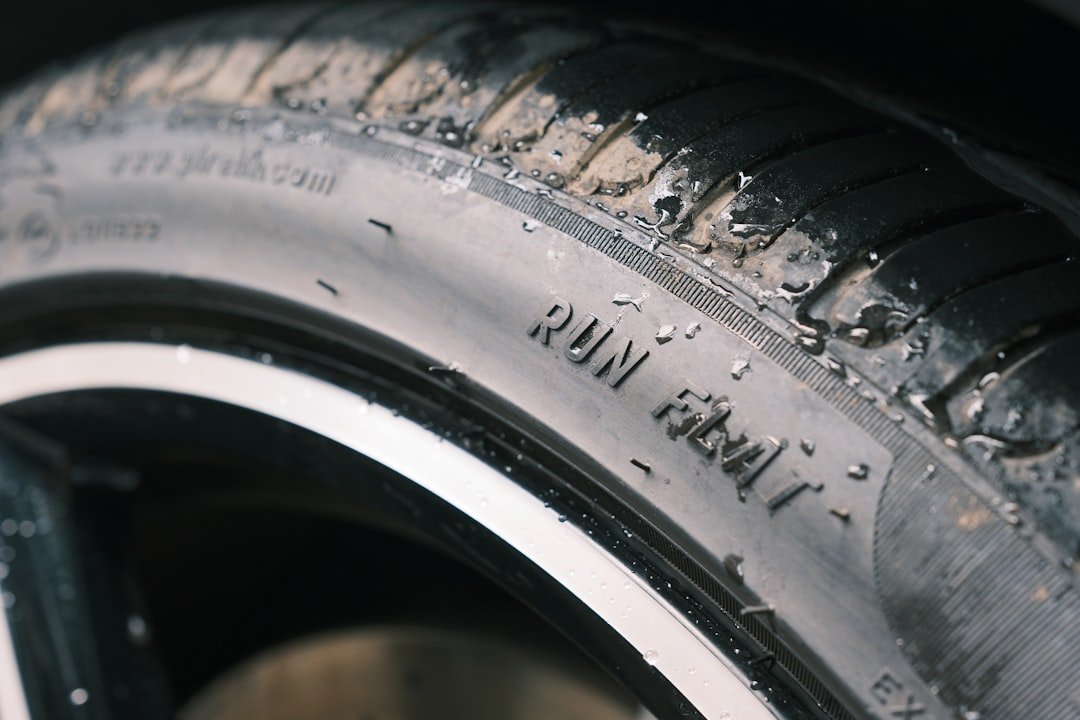
You might notice that one tire appears flatter than the others or that your vehicle pulls to one side while driving. Additionally, you may hear a faint hissing sound when the tire is inflated, indicating air escaping. In some cases, visual inspection may reveal a small puncture or damage to the tire’s sidewall.
Understanding these signs is crucial for timely intervention, as neglecting a slow leak can lead to more severe tire damage or even blowouts while driving.
Key Takeaways
- Identifying a slow tire leak can be done by regularly checking tire pressure and visually inspecting the tire for any signs of damage or punctures.
- Finding the puncture or leak in the tire may require using soapy water or a tire pressure gauge to locate the source of the leak.
- For the repair, you’ll need a tire repair kit, pliers, a reamer, and rubber cement to fix the puncture.
- Removing the tire from the wheel and cleaning the area around the leak is essential to ensure a proper and long-lasting repair.
- Using a tire repair kit to fix the puncture involves inserting a plug or patch into the hole and sealing it with rubber cement.
Locating the source: Finding the puncture or leak in the tire
Once you suspect a slow tire leak, the next step is to locate the source of the problem. This process can be methodical and requires careful examination of the tire. Start by visually inspecting the tire for any obvious signs of damage, such as nails, screws, or other debris embedded in the tread.
Pay close attention to the sidewalls as well, as punctures can occur there too, although they are less common. If you find any foreign objects, they may be the culprit behind your slow leak. If a visual inspection does not yield results, you can employ a more systematic approach.
One effective method is to submerge the tire in water or spray it with soapy water. As air escapes from the tire, bubbles will form at the site of the leak, making it easier to identify the problem area. This technique is particularly useful for pinpointing small punctures that may not be immediately visible.
Once you have identified the source of the leak, you can proceed with gathering the necessary tools and materials for repair.
Gathering the necessary tools and materials: What you’ll need for the repair
Before embarking on a tire repair, it is essential to gather all necessary tools and materials to ensure a smooth process. A basic tire repair kit typically includes items such as tire plugs or patches, rubber cement, a reamer tool, and a plug insertion tool. These components are designed to effectively seal punctures and restore the integrity of the tire.
Additionally, having a portable air compressor or a manual pump on hand will allow you to re-inflate the tire after completing the repair. In addition to the repair kit, you will need some basic hand tools. A lug wrench is crucial for removing the wheel from your vehicle, while a jack will lift the car safely off the ground.
It’s also wise to have safety goggles and gloves to protect yourself during the repair process. Having these tools readily available not only expedites the repair but also ensures that you are prepared for any unexpected challenges that may arise during the process.
Preparing the tire: Removing the tire from the wheel and cleaning the area around the leak
| Step | Task | Time Required |
|---|---|---|
| 1 | Remove the tire from the wheel | 5-10 minutes |
| 2 | Clean the area around the leak | 2-5 minutes |
With your tools gathered, it’s time to prepare for the repair by removing the tire from your vehicle. Begin by loosening the lug nuts with your lug wrench while the tire is still on the ground; this prevents it from spinning while you work. Once loosened, use your jack to lift the vehicle off the ground securely.
After ensuring that it is stable, completely remove the lug nuts and take off the tire. Once you have removed the tire, inspect it closely for any additional damage that may not have been apparent earlier. After confirming that you have located the leak, clean the area around it thoroughly.
Use a wire brush or sandpaper to remove any debris or rubber shavings from around the puncture site. This step is crucial because a clean surface allows for better adhesion of any patches or plugs you will apply later.
Repairing the leak: Using a tire repair kit to fix the puncture
Now that you have prepared both your workspace and your tire, it’s time to repair the leak using your tire repair kit. If you are using a plug-type repair kit, start by inserting the reamer tool into the puncture hole to clean and enlarge it slightly.
After reaming out the hole, take one of your rubber plugs and coat it with rubber cement for added sealing capability. Using the plug insertion tool, push the rubber plug into the puncture hole until about two-thirds of it is inside. Once in place, pull back on the insertion tool to leave part of the plug inside while removing it completely from the hole.
The remaining portion of the plug should seal off any air escaping from within. If you are using a patch instead of a plug, follow similar steps but apply adhesive according to your kit’s instructions before placing it over the puncture.
Re-inflating the tire: Adding air back into the tire after the repair
After successfully repairing your tire, it’s time to re-inflate it to its recommended pressure level. Before doing so, double-check that your repair is secure and that no additional leaks are present around the patch or plug area. Use an air compressor or manual pump to add air back into the tire gradually.
It’s important to monitor pressure levels closely during this process; over-inflating can lead to further damage or even blowouts. Most vehicles have recommended pressure levels printed on a sticker located inside the driver’s side door jamb or in your owner’s manual. Ensure that you inflate your tire to this specified level for optimal performance and safety.
After reaching this pressure, use a pressure gauge to confirm accuracy before proceeding with reinstallation.
Checking for leaks: Testing the tire to ensure the repair was successful
Once you have re-inflated your tire, it’s essential to check for leaks again to confirm that your repair was successful. The soapy water method mentioned earlier can be employed here as well; simply spray or apply soapy water around the repaired area and observe for any bubbling that would indicate air escaping. If no bubbles form after several minutes of observation, you can be reasonably confident that your repair has held.
Additionally, consider taking your vehicle for a short test drive at low speeds on a flat surface. Pay attention to how it handles; if there are no unusual vibrations or pulling sensations, this is another positive sign that your repair was effective. However, if you notice any issues during this test drive or if bubbles appear during your leak check, further action may be necessary.
Monitoring the tire: Keeping an eye on the repaired tire for any further issues
After completing your repair and confirming its success, ongoing monitoring of your repaired tire is crucial for long-term safety and performance. Regularly check its pressure over subsequent days and weeks to ensure that it maintains optimal inflation levels. A sudden drop in pressure could indicate that your repair has failed or that another issue has arisen.
In addition to monitoring pressure, visually inspect your tires periodically for any signs of wear or new damage. Look for uneven tread wear patterns or bulges in sidewalls that could signal underlying problems. Keeping an eye on these factors will help you catch potential issues early and address them before they escalate into more significant problems.
Preventing future leaks: Tips for avoiding slow tire leaks in the future
Preventing future slow leaks involves proactive measures aimed at maintaining your tires’ health and integrity. Regularly checking tire pressure—ideally once a month—can help catch any drops in air pressure before they become problematic. Additionally, consider investing in high-quality tires designed with puncture-resistant technology if you frequently drive in areas with debris or rough terrain.
Another preventive measure is ensuring proper alignment and rotation of your tires according to manufacturer recommendations. Misalignment can lead to uneven wear and increase susceptibility to punctures over time. Furthermore, avoid overloading your vehicle beyond its weight capacity; excessive weight can put undue stress on tires and increase their risk of damage.
Seeking professional help: When to consult a mechanic or tire specialist
While many minor repairs can be handled at home with basic tools and knowledge, there are situations where seeking professional help is advisable. If you find multiple punctures in one tire or if damage extends beyond simple repairs—such as sidewall damage—it’s best to consult with a mechanic or tire specialist who can assess whether replacement is necessary. Additionally, if you are uncomfortable performing repairs yourself or lack confidence in your ability to execute them correctly, don’t hesitate to seek professional assistance.
Tire specialists have access to advanced tools and expertise that can ensure repairs are done safely and effectively.
Recap of the repair process and final thoughts
Repairing a slow tire leak involves several steps: identifying symptoms, locating sources of leaks, gathering necessary tools, preparing and repairing tires, re-inflating them, checking for leaks afterward, monitoring their condition over time, preventing future issues, and knowing when to seek professional help. By following these steps diligently and maintaining awareness of your tires’ health, you can ensure safer driving experiences while extending their lifespan significantly.
If you’re looking for ways to spruce up your rental apartment, you may want to check out this article on rental apartment decorating tips and tricks. Just like fixing a slow tire leak can improve the performance of your car, decorating your living space can enhance your overall quality of life. Whether you’re looking for table extenders or table skirts for events, it’s important to make your space feel like home.
FAQs
What are the common causes of a slow tire leak?
Some common causes of a slow tire leak include punctures from nails or other sharp objects, damage to the tire valve stem, corrosion of the wheel rim, and aging or deterioration of the tire itself.
How can I locate the source of a slow tire leak?
To locate the source of a slow tire leak, you can visually inspect the tire for any visible punctures or damage. You can also use a mixture of water and dish soap to create a soapy solution and apply it to the tire. Look for bubbles forming, as this indicates the location of the leak.
Can a slow tire leak be repaired?
Yes, a slow tire leak can often be repaired. If the leak is caused by a puncture in the tread area and is not too large, it can typically be repaired using a patch or plug. However, if the leak is due to damage to the tire sidewall or valve stem, it may not be repairable and the tire may need to be replaced.
What are some temporary solutions for a slow tire leak?
Some temporary solutions for a slow tire leak include using a tire sealant or inflating the tire with a portable air compressor or tire inflator. These solutions can help temporarily seal the leak and allow you to drive to a repair shop.
How can I prevent a slow tire leak in the future?
To prevent a slow tire leak in the future, regularly check your tire pressure and inspect your tires for any signs of damage. Avoid driving over debris or rough terrain that could cause punctures, and be mindful of the condition of your tire valve stems and wheel rims. Regular tire maintenance and proper inflation can also help prevent slow leaks.
