
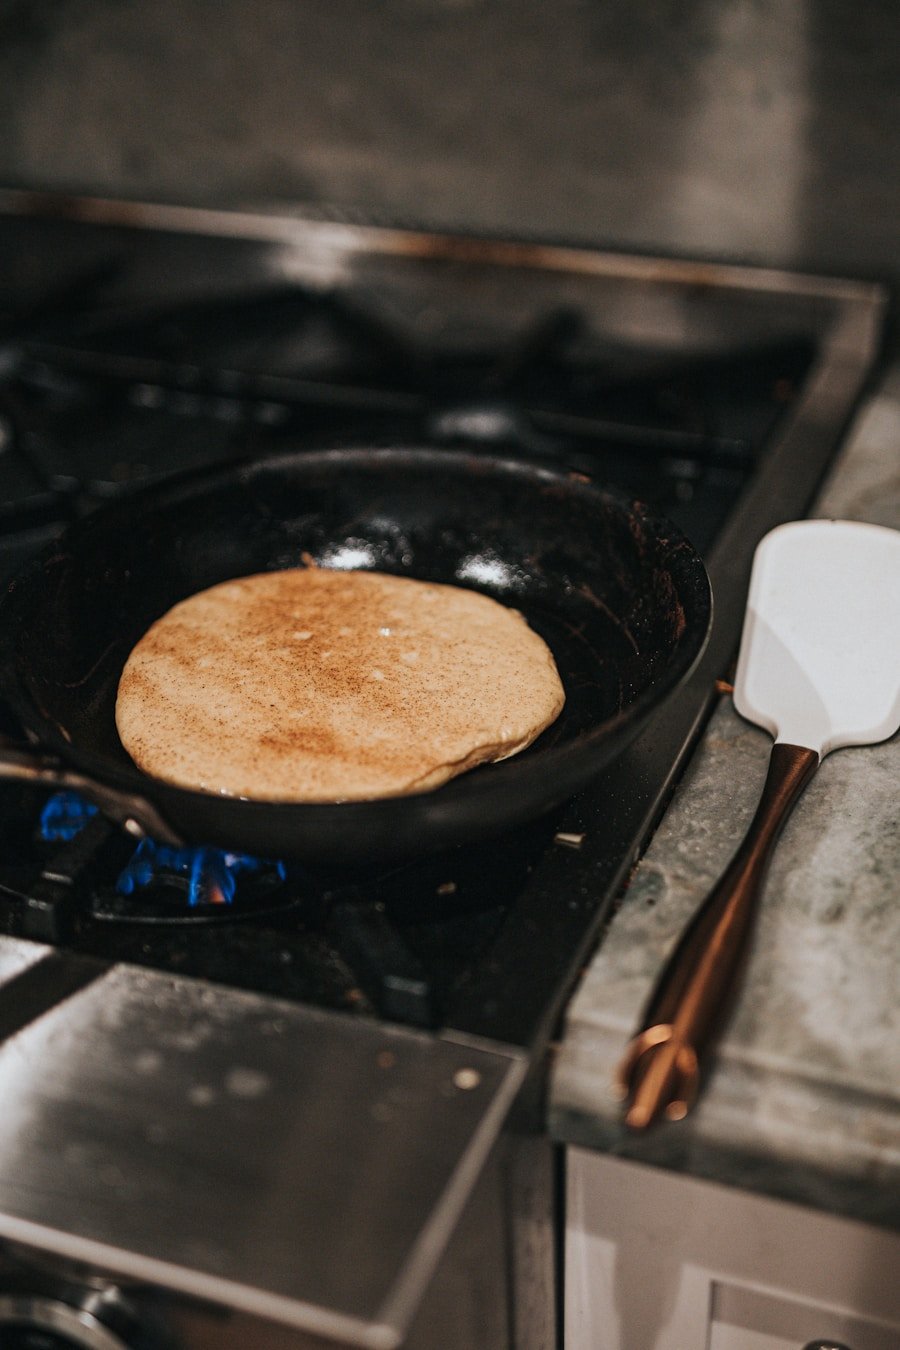
Selecting the appropriate pan is a fundamental step in achieving culinary success, particularly when it comes to baking or frying. The type of pan you choose can significantly influence the outcome of your dish. For instance, if you are preparing a delicate pancake or a fluffy omelet, a non-stick skillet is often the best choice.
Non-stick surfaces allow for easy release of food, minimizing the risk of tearing or sticking, which is crucial for maintaining the integrity of your dish. On the other hand, if you are looking to achieve a crispy crust on a frittata or a seared steak, a cast-iron skillet may be more suitable. Cast iron retains heat exceptionally well and can create a beautiful caramelization on the surface of your food.
Moreover, the size and shape of the pan also play a critical role in cooking. A larger pan allows for more surface area, which can be beneficial when cooking multiple items at once, such as when preparing a batch of pancakes for a family breakfast. Conversely, a smaller pan may be ideal for single servings or when cooking for one.
Additionally, consider the material of the pan; stainless steel pans are excellent for browning and deglazing, while ceramic pans offer even heat distribution and are aesthetically pleasing for serving. Ultimately, understanding the specific requirements of your recipe and matching them with the right pan will set the stage for successful cooking.
Key Takeaways
- Choosing the right pan is crucial for successful pancake making, opt for a non-stick or cast iron pan for best results.
- Preparing the pan by preheating it and adding a small amount of oil or butter will ensure even cooking and prevent sticking.
- Using the right heat is important, start with medium heat and adjust as needed to avoid burning or undercooking the pancakes.
- Greasing the pan lightly with oil or butter before pouring the batter will help the pancakes to release easily and cook evenly.
- Using the right batter consistency is key, aim for a smooth and pourable batter to achieve the perfect pancake texture.
Preparing the Pan
Once you have selected the right pan, preparing it properly is essential to ensure optimal cooking results. The preparation process begins with cleaning the pan thoroughly to remove any residues from previous uses. This step is particularly important for cast iron skillets, which require special care to maintain their seasoning.
A well-seasoned cast iron pan not only prevents sticking but also enhances the flavor of your food over time. To clean it, avoid using soap; instead, scrub it with coarse salt and a bit of water to remove stuck-on bits, then dry it completely to prevent rusting. After cleaning, preheating the pan is another crucial step that should not be overlooked.
Preheating allows the pan to reach an even temperature before adding any ingredients, which is vital for achieving consistent cooking results. For non-stick pans, medium heat is usually sufficient, while cast iron pans can handle higher temperatures due to their heat retention properties. To test if your pan is ready, you can sprinkle a few drops of water onto its surface; if they dance and evaporate quickly, the pan is adequately heated.
This preparation phase sets the foundation for successful cooking and ensures that your food cooks evenly and efficiently.
Using the Right Heat
Understanding how to control heat is paramount in cooking, as it directly affects how food cooks and develops flavor. Different cooking methods require different heat levels; for example, sautéing vegetables typically requires medium to medium-high heat to achieve a nice sear without burning them. Conversely, simmering sauces or soups necessitates low heat to allow flavors to meld without boiling over.
Knowing when to adjust the heat during cooking can make all the difference in achieving the desired texture and taste. In addition to adjusting heat levels based on cooking methods, it’s also important to consider the type of pan being used. For instance, non-stick pans are generally more forgiving at lower temperatures, while stainless steel pans require higher heat to prevent food from sticking.
When using cast iron skillets, it’s essential to gradually increase the temperature; starting too high can lead to uneven cooking or even damage the seasoning layer. By mastering heat control and understanding how different pans respond to temperature changes, you can elevate your cooking skills and produce consistently excellent results.
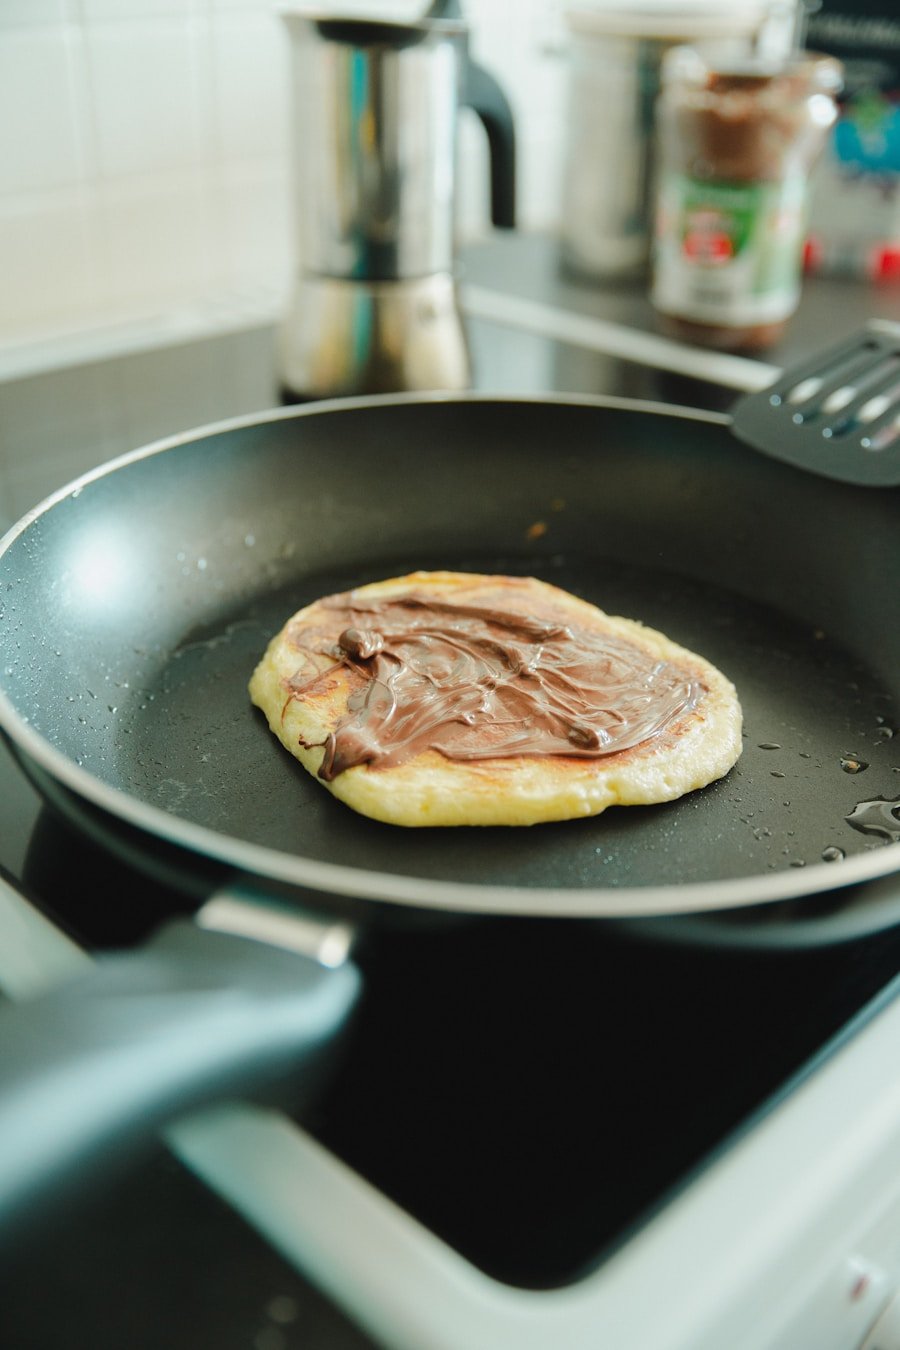
Greasing the Pan
| Greasing the Pan Metrics | Value |
|---|---|
| Number of Pans Greased | 500 |
| Types of Grease Used | Butter, Oil, Cooking Spray |
| Time Taken to Grease Each Pan | 10 seconds |
| Frequency of Pan Greasing | Every 20 uses |
Greasing the pan is an essential step that can significantly impact the ease of food release and overall cooking experience. The type of fat used for greasing can vary depending on personal preference and dietary restrictions. Common options include butter, oil, or non-stick spray.
Butter adds a rich flavor and can enhance browning due to its milk solids, while oils like vegetable or canola provide a neutral taste and higher smoke point. For those looking for convenience, non-stick sprays offer an easy application method that ensures even coverage. When greasing a pan, it’s important to apply an adequate amount without overdoing it.
Too much grease can lead to greasy food that lacks texture, while too little can result in sticking and uneven cooking. For baking purposes, especially with cakes or muffins, it’s advisable to grease not only the bottom but also the sides of the pan to facilitate easy release after baking. Additionally, dusting floured surfaces after greasing can further prevent sticking and create a beautiful crust on baked goods.
Understanding how to properly grease your pan will enhance your cooking experience and improve the final presentation of your dishes.
Using the Right Batter
The choice of batter is crucial in determining the texture and flavor profile of your final dish. Different recipes call for various types of batters—some may be thick and rich, while others are light and airy. For instance, when making pancakes or waffles, a batter that includes baking powder or baking soda will create a fluffy texture due to the leavening agents producing gas bubbles during cooking.
Conversely, when preparing crepes or thin pancakes, a more liquid batter is required to achieve that delicate consistency. In addition to consistency, flavor plays an important role in batter selection. Incorporating ingredients such as vanilla extract, spices like cinnamon or nutmeg, or even citrus zest can elevate the taste profile of your dish significantly.
Furthermore, considering dietary restrictions is essential; gluten-free batters made from almond flour or rice flour can be used as alternatives for those with gluten sensitivities. By understanding how different batters work and experimenting with flavors and textures, you can create dishes that are not only delicious but also tailored to specific dietary needs.
Flipping Techniques
Mastering flipping techniques is an art that can take time but is essential for achieving perfectly cooked dishes like pancakes or omelets. The key to successful flipping lies in timing and technique; waiting until the edges begin to set and bubbles form on the surface indicates that it’s time to flip. Using a spatula designed for flipping—preferably one with a wide surface area—can help ensure that you lift the food without breaking it apart.
When flipping pancakes or similar items, it’s often beneficial to use a quick wrist motion rather than attempting to lift straight up. This technique allows for a smoother transition and reduces the risk of splattering batter everywhere. For omelets or frittatas, gently sliding the spatula underneath before lifting can help maintain their shape during flipping.
Practicing these techniques will not only improve your confidence in the kitchen but also enhance your ability to create visually appealing dishes.
Cleaning the Pan
Cleaning your pan after use is an often overlooked yet vital aspect of maintaining its longevity and performance. The cleaning method varies depending on the type of material; for instance, non-stick pans require gentle cleaning with soft sponges and mild detergents to avoid scratching their surfaces. It’s crucial not to use abrasive cleaners or steel wool on non-stick surfaces as they can damage the coating and lead to food sticking in future uses.
For cast iron skillets, cleaning involves a different approach altogether. After allowing it to cool slightly post-cooking, you should rinse it with hot water and scrub with a stiff brush or coarse salt if necessary. Avoid soap unless absolutely needed since it can strip away the seasoning layer that provides its non-stick properties.
Once cleaned, drying it thoroughly is essential to prevent rusting; applying a thin layer of oil before storing can help maintain its seasoning and keep it in optimal condition for future use.
Storing the Pan
Proper storage of your pans is crucial for maintaining their quality over time and ensuring they remain ready for use whenever needed. For non-stick pans, stacking them with care is important; placing a soft cloth or paper towel between stacked pans can prevent scratches on their surfaces. If space allows, hanging them on hooks or using pot racks can be an excellent way to keep them accessible while minimizing wear.
Cast iron skillets require special attention during storage as well; they should be stored in a dry place to prevent moisture accumulation that could lead to rusting. If you have multiple cast iron pieces, consider placing a paper towel inside each one before stacking them; this will absorb any moisture and help maintain their seasoning layer. Additionally, keeping lids off during storage allows air circulation that further prevents moisture buildup.
By adopting these storage practices tailored to each type of pan, you can extend their lifespan and ensure they remain in excellent condition for all your culinary endeavors.
If you’re looking for more kitchen tips and tricks, you may also be interested in learning about the 5 Top Pasta Roller Attachments for Your KitchenAid Stand Mixer. Just like preventing pancakes from sticking to the pan, having the right tools and equipment can make a big difference in your cooking experience. Check out this article for recommendations on pasta roller attachments that can help elevate your homemade pasta game.
FAQs
What causes pancakes to stick to the pan?
Pancakes can stick to the pan due to a few reasons, including not using enough oil or butter, using a pan that is not properly seasoned, or cooking the pancakes at too high of a temperature.
How can I prevent pancakes from sticking to the pan?
To prevent pancakes from sticking to the pan, you can use a non-stick pan, properly grease the pan with oil or butter, make sure the pan is at the right temperature before adding the batter, and use a spatula to gently loosen the edges before flipping the pancakes.
What type of pan is best for preventing pancakes from sticking?
A non-stick pan is the best option for preventing pancakes from sticking. However, a well-seasoned cast iron pan can also work well if properly maintained.
Is it necessary to use oil or butter when cooking pancakes to prevent sticking?
Using oil or butter is necessary to prevent pancakes from sticking to the pan. It helps create a barrier between the batter and the pan, making it easier to flip the pancakes without them sticking.
Can I use cooking spray to prevent pancakes from sticking to the pan?
Cooking spray can be used to prevent pancakes from sticking to the pan, but it may not be as effective as using oil or butter. It is important to use a generous amount of cooking spray and evenly coat the pan before adding the pancake batter.
