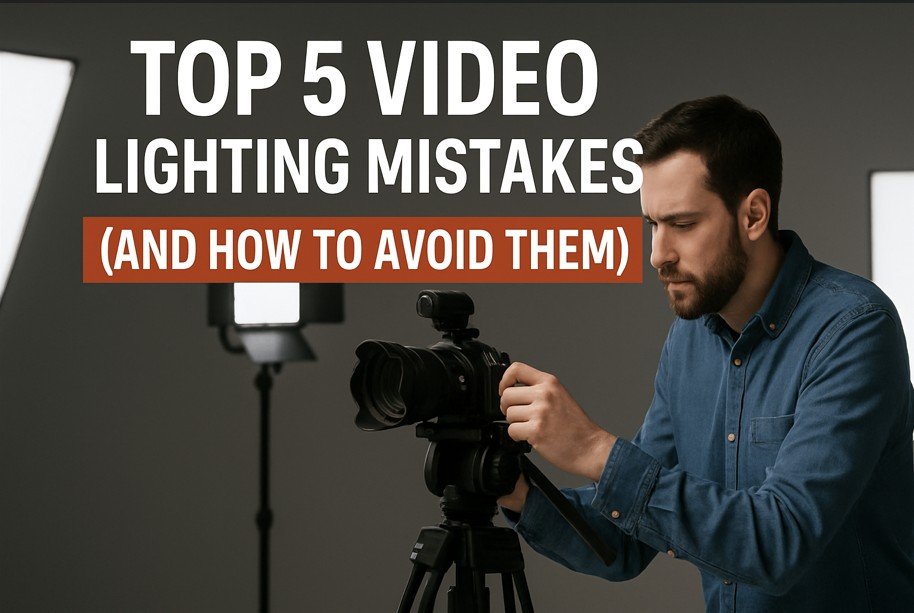
Introduction
Good lighting changes how your video looks. Even with a good camera, poor lighting can ruin the shot. Many beginners make the same mistakes when using lighting for videos. These small errors make the video look dark, unbalanced, or unprofessional.
This article shows five common lighting mistakes and how to avoid them. Fixing these can make your videos look sharper, brighter, and easier to watch.
Already using or planning to buy a 3 light studio lightin kit? Avoiding these mistakes will help you get better results. For a full list of top kits, visit:
👉 Top 4 Best 3 Light Studio Lightin Kit Options for Summer 2025
Mistake #1: Using Only One Light
What Happens:
Your face looks half dark and half bright. Shadows are too strong. The background blends with your body.
Why It’s a Problem:
With one light, the face does not have even lighting. This makes it hard to see details. Viewers may feel something is off.
How to Fix It:
Use a 3 light setup:
-
One key light to light your face
-
One fill light to reduce shadows
-
One backlight to separate you from the background
This setup is simple and works well. It makes your face stand out and keeps the background clean.
Extra Tip:
If you don’t have three lights, use a white board as a fill light. It can bounce light from your key light onto your face.
Mistake #2: Light Placement Too High or Too Low
What Happens:
Strange shadows appear on your face. You may get dark eyes or a shadow under your nose.
Why It’s a Problem:
People may focus on the shadows, not your message. Harsh shadows make your video hard to watch.
How to Fix It:
Keep your main light slightly above your eyes and at a 45-degree angle. This gives you natural-looking shadows.
The fill light should be placed at face level and not too strong. The backlight should be behind and higher than your head, aimed at your shoulders.
Extra Tip:
Use tape to mark your light positions. This helps you place them the same way every time.
Mistake #3: Mixing Color Temperatures
What Happens:
Your face looks too yellow or too blue. Background looks strange. Colors feel off.
Why It’s a Problem:
Mixed lighting confuses the camera. It cannot balance the color. This gives you poor skin tones and a strange background.
How to Fix It:
Use lights with the same color temperature. Daylight-balanced lights (around 5500K) work best. Set your camera’s white balance to match this temperature.
Avoid mixing room lights (which are warm) with daylight lights.
Extra Tip:
Turn off all ceiling lights or lamps. Use only your studio lights to keep the color clean.
Mistake #4: Overexposure or Underexposure
What Happens:
Your face looks too bright or too dark. Details are lost. The background might look flat or blown out.
Why It’s a Problem:
Overexposure removes skin details. Underexposure hides your face. Viewers cannot focus. The video feels low quality.
How to Fix It:
Use dimmable lights or move lights closer or farther. Check your face in the camera preview. Adjust one light at a time.
If your face is too bright, reduce the key light or raise the fill light a bit. If it’s too dark, increase brightness or move the light closer.
Extra Tip:
Use the zebra pattern setting (if your camera has it) to avoid hot spots on the skin.
Mistake #5: Ignoring the Background
What Happens:
The background looks dark or boring. It becomes one color. You blend in with it. No depth.
Why It’s a Problem:
Flat background makes the video look cheap. It becomes hard to separate you from the background.
How to Fix It:
Use a backlight or hair light. Aim it at your shoulders or head. This creates a soft edge around you.
You can also add a small lamp or LED panel behind you, pointed at the wall. This adds depth.
Extra Tip:
Use color filters on your backlight for a more creative look. Just keep it subtle.
How These Mistakes Affect Viewer Experience
When lighting is wrong, viewers may:
-
Leave your video early
-
Feel tired watching it
-
Miss your message
-
Think your video is low quality
Good lighting keeps people watching longer. It helps your voice and message feel more clear. It also builds trust.
Tools That Can Help
Use the right tools to avoid mistakes:
-
Fancierstudio Softbox Kit: Good for soft light
-
Aputure Amaran F22X: Good for adjustable color and app control
-
Godox SL60IID: Great for strong and steady light with wireless control
-
Aputure Amaran P60C: Best for RGB lighting and full 3-point setups
All these tools are reviewed in this post:
👉 Top 4 Best 3 Light Studio Lightin Kit Options for Summer 2025
Good Lighting Habits
Here are a few habits to follow every time you shoot:
-
Check the camera preview before recording
-
Record 10 seconds of test video
-
Adjust one light at a time
-
Mark your setup with tape
-
Keep the light power consistent
-
Keep extra bulbs or batteries ready
-
Store your gear properly after each shoot
Final Thoughts
Lighting mistakes are common. Every beginner makes them. The good news? Each one has a simple fix. Small changes bring big results.
Use 3 lights. Place them carefully. Match their color. Watch the background. Control the brightness. These steps will make your videos look clean, bright, and pro-level.
Want to level up with the right kit?
👉 Top 4 Best 3 Light Studio Lightin Kit Options for Summer 2025
Fix your lighting once, and your content quality improves every time.
