How to Reset a Toyota Tundra Check Engine Light Safely
By Tony B. Hensel · Last updated: September 22, 2026
To reset a Toyota Tundra check engine light safely, diagnose and repair the fault first. Then connect a compatible OBD-II scanner, save the diagnostic trouble codes and freeze-frame data, clear the erasable codes, restart the truck, and scan it again. Keep driving normally until the required readiness monitors complete and confirm that the fault does not return.
Do not confuse the check engine light with a maintenance reminder. If your dashboard says MAINT REQD, Scheduled Maintenance, or Oil Maintenance rather than showing the engine-shaped malfunction indicator, use the Toyota Tundra maintenance light reset procedure instead.
Quick Answer
After repairing the problem, connect a compatible OBD-II scanner, save the stored, pending, and supported permanent codes plus freeze-frame data, then use the scanner’s clear function. Restart the truck, rescan it, and drive normally until the required readiness monitors complete. Avoid disconnecting the battery solely to turn off the light because that can erase useful diagnostic data and reset emissions monitors without repairing the fault.
Key Takeaways
- Read and record all current and pending codes, plus permanent codes when supported, before clearing anything.
- Fix the cause first. Clearing a code does not repair the fault that triggered it.
- Use an OBD-II scanner as the preferred reset method after a confirmed repair.
- A battery disconnect can reset readiness monitors and may erase useful diagnostic information.
- A flashing check engine light needs prompt attention because it can indicate a malfunction capable of damaging the catalytic converter.
At a Glance
| Time Required | The scan-and-clear step is brief after a confirmed repair; readiness verification may require additional trips and specific operating conditions |
| Difficulty | Easy to reset; diagnosis and repair may require advanced skill |
| Tools Needed | Compatible OBD-II scanner and the correct repair information for your Tundra’s model year and powertrain |
| Cost | No added cost if you already own a compatible scanner; tool and professional diagnostic charges vary |
Editorial scope: This guide is based on OBD-II requirements, Toyota owner information, and current emissions-inspection guidance. It does not claim hands-on testing of every Toyota Tundra model year, powertrain, or scan tool. Always confirm model-specific procedures in the manual or repair information for your truck.
Understanding the Check Engine Light on Your Tundra
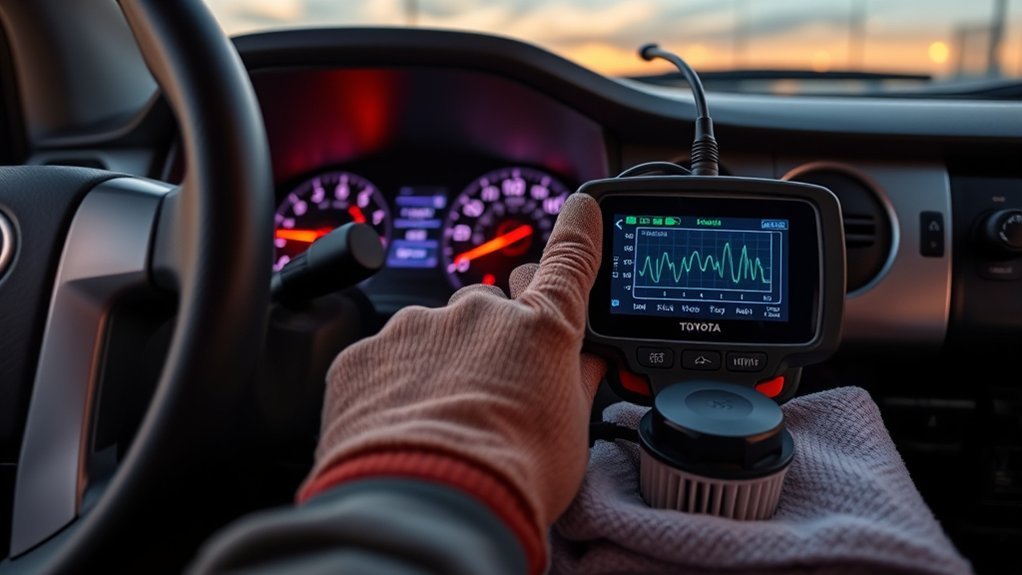
Your Tundra’s malfunction indicator lamp, commonly called the check engine light, turns on when the onboard diagnostic system detects an emissions-related fault or a problem that prevents proper monitoring. The system stores diagnostic trouble codes and related data to help identify the affected circuit or system. A code is a starting point for diagnosis, not automatic proof that the component named in a short code description has failed.
A steady light generally calls for timely scanning and diagnosis. A flashing light indicates a malfunction severe enough to create a risk of catalytic-converter damage, so reduce engine load and arrange prompt service. The California Air Resources Board’s OBD-II fact sheet specifically advises prompt service when the light blinks.
For a broader explanation of warning-light behavior and diagnosis before the reset stage, see Toyota Tundra check engine light meaning. This guide focuses on clearing and verifying the light after diagnosis and repair.
Warning: If the check engine light flashes, reduce speed and engine load, avoid towing, and arrange prompt diagnosis. Stop driving when the truck also runs roughly, loses substantial power, overheats, shows low oil pressure, or produces smoke or strong fuel odors.
Top Reasons for Check Engine Light Activation
A loose or damaged fuel cap can trigger an evaporative-emissions leak code on Tundras equipped with a conventional cap. Tighten it until it seals correctly and inspect the gasket for damage. The light may not turn off immediately because the evaporative monitor must run again under the required conditions.
Other fault categories include ignition misfires, air-fuel or oxygen-sensor circuits, evaporative-emissions leaks, catalytic-converter efficiency, intake-air leaks, and wiring or connector problems. Diagnose the code and its test results before replacing a component. For example, an oxygen-sensor-related code can be caused by wiring, an exhaust leak, mixture problems, or the sensor itself.
- Fuel-cap or EVAP code: Check the cap where fitted, filler area, hoses, purge system, and relevant leak-test results.
- Misfire code: Check symptoms, ignition parts, fuel delivery, compression, and relevant wiring.
- Air-fuel or oxygen-sensor code: Inspect the circuit, exhaust leaks, fuel trims, and sensor response.
- Catalyst-efficiency code: Rule out misfires, exhaust leaks, sensor faults, and mixture problems before condemning the converter.
[Amazon Products Picked for You]
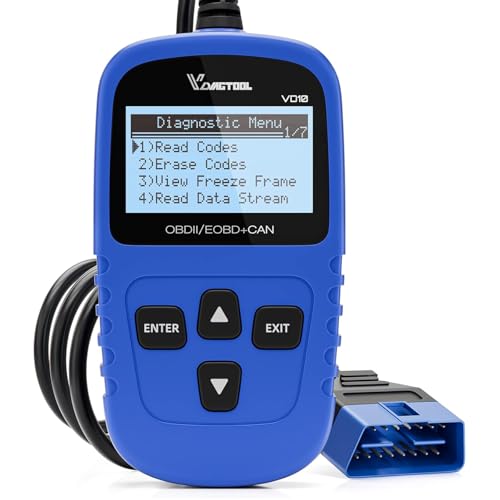
【A MUST-HAVE TOOL FOR DIYERS】 - VDIAGTOOL VD10 car code reader is an incredibly useful obd scanner for each car owner or hobbyist, even for those with little to no experience when it comes to vehicle mechanics! Similar to a fixd car diagnostic tool, using this car diagnostic scanner is extremely easy. All you have to do is attach it to your car OBDII port and you can diagnose car problems in seconds! Read Codes (DTCs); Clear Codes; Live Data; View Freeze Frame; I/M Readiness; Vehicle Information.

[Easy to Use—Work Out of the Box] + [FOXWELL 2026 New Version] FOXWELL NT604 Elite scan tool is the 2026 new version from FOXWELL, designed for car owners who want to figure out the cause of issues before fixing car problems by scanning common systems like ABS, SRS, engine, and transmission. The NT604 Elite obd2 scanner diagnostic tool comes with the latest software—no need to waste time downloading software first. Plug the scanner into the OBDII port with OBDII cable to start the diagnosis.
How to Properly Diagnose Check Engine Light Issues
Begin with the warning light’s behavior and the truck’s symptoms. A steady light with normal operation calls for timely diagnosis, while a flashing light or severe drivability problem needs faster action. Note when the problem occurs, such as during a cold start, acceleration, towing, idling, or refueling.
- Scan before clearing. Read current and pending DTCs, plus permanent DTCs when the vehicle and scanner support them.
- Save the evidence. Record the exact codes, freeze-frame data, readiness status, and relevant live data.
- Inspect the basics. Check visible wiring, connectors, vacuum or intake hoses, the fuel cap where fitted, and areas disturbed during recent repairs.
- Test the system. Use model-year-specific service information and test results instead of replacing the first part named in a code description.
- Repair and verify. Correct the fault, clear erasable codes when appropriate, and rescan after the required monitors run.
Pro Tip: Photograph the scanner screen before clearing codes. Freeze-frame values such as engine load, coolant temperature, vehicle speed, and fuel trim can help you reproduce an intermittent fault later.
[Amazon Products Picked for You]

【Diagnose Check Engine Light in Seconds – No Mechanic Needed】The FOXWELL NT301 OBD2 scanner instantly reads & clears engine fault codes (DTCs) with one click. Simply plug into the 16-pin DLC port, turn ignition on, and get accurate results within seconds—No prior car knowledge required. Save hundreds on dealership fees by knowing exactly what’s wrong before you visit a shop. The #1 choice car scanner for DIYers and car owners who want to take control of their vehicle’s health

Understand Your Check Engine Light – The ANCEL AD410 OBD2 scanner helps everyday drivers quickly read and clear engine-related fault codes, view code definitions, and understand why the check engine light is on before visiting a repair shop. With 42,000+ built-in DTC lookups, this car code reader helps reduce guesswork and makes basic vehicle diagnostics easier for beginners and DIY users
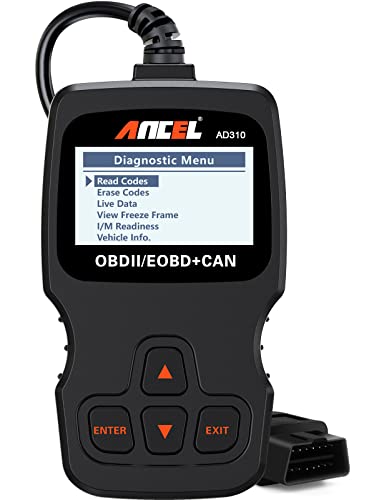
CEL Doctor: The ANCEL AD310 is one of the best-selling OBD II scanners on the market and is recommended by Scotty Kilmer, a YouTuber and auto mechanic. It can easily determine the cause of the check engine light coming on. After repairing the vehicle's problems, it can quickly read and clear diagnostic trouble codes of emission system, read live data & hard memory data, view freeze frame, I/M monitor readiness and collect vehicle information
How Do You Reset a Toyota Tundra Check Engine Light?
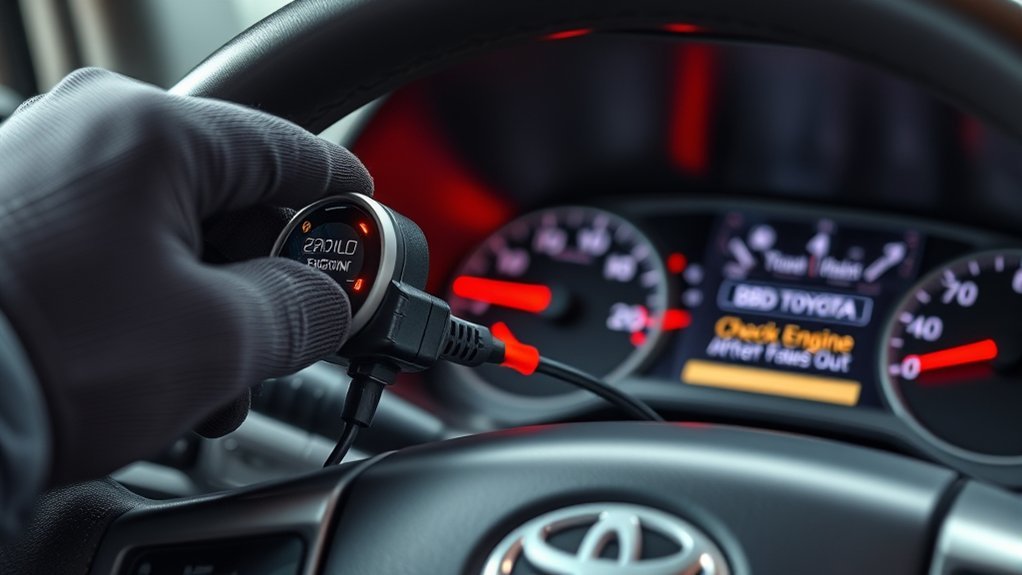
Reset the light only after you have completed the repair or confirmed that a temporary issue, such as an improperly sealed fuel cap, has been corrected. Clearing the light too early can remove useful information and make an intermittent fault harder to diagnose.
Before You Clear the Codes
- You have saved the DTC numbers, their status, and available freeze-frame data.
- You have diagnosed and corrected the condition that triggered the light rather than only replacing a part suggested by a short code description.
- The light is not flashing and the truck is not showing an urgent symptom such as severe rough running, overheating, major power loss, smoke, or a low-oil-pressure warning.
[Amazon Products Picked for You]

【Diagnose on Your Own】The LAUNCH Creader Elite V3.0 is engineered specifically for Toyota & Lexus owners, DIYers, and small shop pros—putting professional-grade diagnostic power right in your hands, making complex repairs feel simple and effortless. It also has Powerful Bidirectional Control, which can remotely control windows, mirrors, lights, wipers, sunroofs, and more—without touching any in-cabin controls. Dismountable USB Cable, Android 8.1, 4'' Touchscreen, Larger 2G+64GB Extended Memory, 3000mAh Battery. It delivers in-depth full-system diagnostics, all free reset services, 10 full OBD2 functions, Auto VIN, Free Update.

Turn your iPhone, Android device, or Windows PC into a professional grade diagnostic scan tool.

SUBSCRIPTION REQUIRED for Advanced Features: The Carista EVO Scanner activates basic OBD2 features upon purchase. To access advanced diagnostics, service tools, live data parameters, and vehicle customization, a paid subscription to the Carista App is required. Choose between 1-month, or 12-month plan to access Carista Advanced features.
What Is the Preferred Reset Method?
- Park safely, set the parking brake, and switch off accessories.
- Connect a compatible OBD-II scanner to the diagnostic link connector under the driver-side dash area.
- Follow the scanner’s instructions for ignition position. Read and save all available codes, their status, and freeze-frame data first.
- Confirm that the underlying fault has been diagnosed and repaired.
- Select the scanner function that clears erasable emissions-related DTCs or resets the MIL.
- Switch the ignition off, wait as directed by the scanner, then restart the truck.
- Rescan for current or pending codes and confirm that the MIL is off.
- Drive normally and use the scanner to check readiness-monitor completion and code status.
The light may also turn off on its own after the OBD system reruns the affected monitor and no longer detects the fault. The trips, temperatures, fuel level, speeds, loads, and soak conditions required vary by monitor and model year, so a fixed mileage promise is unreliable.
Note: Turning the truck off and back on does not normally erase an active emissions fault. It simply begins another operating cycle in which the OBD system may detect the problem again.
Why Must Diagnostics Come Before the Reset?
Clearing erasable codes can remove confirmed and pending fault information, reset readiness indicators, and remove useful diagnostic evidence. That can make it harder to prove whether the repair worked. If your Tundra supports permanent DTCs, a normal scan-tool clear command or battery disconnect cannot erase them. The OBD system clears those codes after it verifies that the associated defect is no longer present.
The Bureau of Automotive Repair’s OBD Test Reference explains that readiness monitors must rerun after actions such as battery disconnection or certain repairs and that supported permanent DTCs cannot simply be erased with a normal clear command or battery disconnect.
Using an OBD-II Scanner for Tundra Troubleshooting
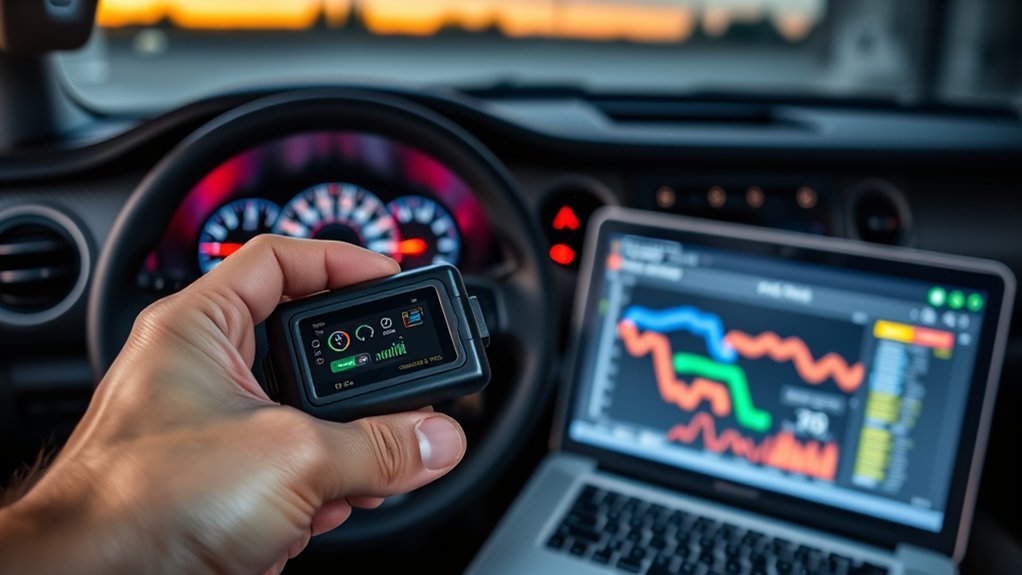
An OBD-II scanner is the preferred reset tool because it lets you read codes before clearing them, review monitor status, and check whether the same fault returns. Basic code readers may show primarily generic powertrain information, while enhanced tools can access additional Toyota-specific systems and data. Confirm compatibility with your Tundra’s model year and powertrain before relying on a tool.
The diagnostic connector is generally under the driver-side lower dashboard, but its exact position can vary. Plug in the scanner with the truck safely parked, then follow the scanner and vehicle instructions. Some tools require the ignition on with the engine off; others guide you through a different sequence.
If the scanner powers up but will not communicate, first confirm the required ignition state and that the tool supports your Tundra. Inspect the diagnostic connector for visible damage or aftermarket wiring and use the correct wiring and fuse information before doing electrical testing. A communication failure does not, by itself, prove that the engine control module has failed.
After the repair, clear the erasable codes, restart the truck, and scan it again. An immediate return usually means the fault is still being detected, such as with an open circuit, disconnected component, or incomplete repair. A code that returns only after driving may require a particular monitor to run before the OBD system can detect the condition again.
Temporary vs. Permanent Solutions for the Check Engine Light
A reset changes the stored diagnostic state and dashboard indication; a repair corrects the condition that caused the warning. Keeping those actions separate helps prevent repeated lights, unnecessary parts replacement, and inspection problems.
Should You Disconnect the Battery to Reset the Light?
Using a scanner to clear erasable codes is appropriate after repair, but it is still only a reset. Disconnecting the battery is less controlled. It can reset readiness monitors and may remove volatile diagnostic information or learned settings, depending on the Tundra’s model year and equipment.
A battery disconnect also does not guarantee that every diagnostic record will disappear. Permanent DTCs, when supported, remain until the OBD system verifies that the relevant defect is gone. Avoid disconnecting the battery solely to hide a warning light, and follow the correct vehicle-specific procedure whenever battery work is actually required.
Why Does a Permanent Fix Matter?
A lasting solution addresses the root cause and verifies the repair under the conditions that originally set the code. That may involve repairing wiring, sealing an intake or exhaust leak, correcting a misfire, replacing a failed component after testing, or following a Toyota software or service procedure when applicable.
Repeatedly clearing the light can delay necessary repairs and may allow a fault to damage other components. It can also leave readiness monitors incomplete, which may prevent the truck from passing an OBD-based emissions inspection where such testing applies.
Why Is a Diagnostic Tool Useful?
A scanner reveals more than the warning light alone. Depending on the vehicle and tool, it can show the code family, whether a code is pending or confirmed, captured freeze-frame information, permanent codes when supported, and which readiness monitors have completed. More capable tools can display live sensor data and manufacturer-specific information, but those readings still require correct interpretation.
Some parts stores or repair shops may offer code reading, but availability and depth of service vary. A code printout is not a complete diagnosis. Use a qualified technician when testing requires electrical measurements, smoke testing, fuel-system testing, software programming, or internal engine work.
Why Should You Fix the Fault Before Resetting the Light?
Fixing the fault first protects the truck and preserves useful evidence. It also gives the OBD system a meaningful opportunity to verify the repair instead of simply starting over with cleared data.
| Action | Immediate Result | Risk or Limitation | Best Use |
|---|---|---|---|
| Clear erasable codes with a scanner | Commands the MIL off and clears erasable diagnostic information | Resets readiness information and can remove useful evidence | After a confirmed repair and saved diagnostic data |
| Disconnect the battery | May erase volatile data and reset modules or learned information | Not reliable for permanent DTCs; resets readiness monitors | When battery disconnection is required by a model-specific service procedure |
| Keep driving without diagnosis | The light may remain on, turn off temporarily, or return | Possible drivability, emissions, or component damage depending on the fault | Not recommended for a persistent or flashing light |
| Diagnose, repair, and verify | Corrects the cause and allows the OBD system to retest it | May require professional testing | Preferred permanent solution |
What Should You Do If the Check Engine Light Comes Back?
Scan the truck again instead of clearing the light repeatedly. Compare the new code status and freeze-frame information with the evidence saved before the repair.
- The same code returns immediately: Recheck connectors, wiring, installed parts, fuses, hoses, and the repair procedure. The control system is still detecting a fault.
- The same code returns after driving: The affected monitor may have needed specific operating conditions before it could retest the system. Continue diagnosis using the new data.
- A different code appears: Treat it as another diagnostic clue. It may be related to the first problem, associated with the repair area, or unrelated.
- The light flashes: Reduce engine load and arrange prompt service. Do not continue aggressive driving or towing.
- No code returns but monitors remain incomplete: Continue normal driving and check monitor status. Clearing the system again restarts the readiness process.
Consult the official Toyota manuals portal for instructions and warnings tied to your exact model year. Seek professional diagnosis when the truck runs poorly, a code repeatedly returns, or the required tests exceed your tools or experience.
Tips for Preventing Future Check Engine Light Issues
Follow Toyota’s maintenance schedule for your model year, use the specified fluids and replacement parts, and address changes in idle quality, fuel economy, starting, or acceleration early. Inspect wiring and hoses near any recent repair before assuming a new component has failed.
- Secure the fuel cap correctly where your Tundra uses one, and replace it if the seal is damaged.
- Do not ignore misfires, rough running, exhaust leaks, or strong fuel odors.
- Keep diagnostic records, including code numbers, dates, mileage, repairs, and available freeze-frame data.
- Avoid replacing oxygen sensors, catalytic converters, or other costly components based only on a code description.
- Check readiness status before an emissions inspection, especially after a battery replacement, battery disconnect, code clear, or emissions repair.
Clearing OBD memory shortly before an inspection can leave monitors incomplete. The Bureau of Automotive Repair’s Smog Check guidance explains the role of OBD readiness in California inspections. Inspection requirements vary by jurisdiction, so follow the rules that apply where the truck is registered.
Frequently Asked Questions
How do you make a check engine light go off after a repair?
Read and save the codes first, confirm the repair, and clear the erasable DTCs with a compatible OBD-II scanner. Restart the truck, rescan it, and drive normally until the required readiness monitors complete. The light may also turn off automatically after the OBD system reruns the affected monitor and no longer detects the fault.
How do you reset a Toyota Tundra check engine light?
Use a compatible OBD-II scanner after diagnosing and fixing the fault. Connect it to the diagnostic port, record the codes and available freeze-frame data, use the clear-code function for erasable DTCs, restart the truck, and verify that no current or pending fault returns.
Is the Toyota Tundra check engine light the same as the maintenance required light?
No. The check engine light is the malfunction indicator for faults detected by the OBD system. A MAINT REQD, Scheduled Maintenance, or Oil Maintenance reminder is tied to scheduled service and uses a different reset procedure. Identify which warning or message is displayed before attempting a reset.
Can you reset the light without disconnecting the battery?
Yes. A compatible OBD-II scanner is the preferred method because it lets you save diagnostic information before clearing erasable codes. If the fault is corrected, the OBD system may also turn the light off after it reruns and passes the affected monitor.
How long does it take for the light to clear after repair?
There is no universal mileage, time, or trip count for every fault. Different monitors require different operating conditions, which can include temperature, fuel level, speed, load, and soak time. Use a scanner to check code and readiness status instead of relying on a fixed distance.
Will disconnecting the battery clear every trouble code?
No. A battery disconnect may erase some volatile or erasable diagnostic information, but it also resets readiness monitors. Permanent DTCs, when supported, cannot be erased simply by disconnecting the battery or using a normal scan-tool clear command; the OBD system must verify that the relevant fault is gone.
Why are the readiness monitors incomplete after a reset?
Clearing codes or disconnecting the battery resets many emissions self-tests. The truck must experience the operating conditions required for each monitor before it reports complete. Continue normal driving and check status with a scanner; avoid clearing the system again unless further diagnosis requires it.
Why is a permanent code still present after the check engine light turns off?
If your Tundra supports permanent DTCs, the code may remain after the dashboard light is off because permanent codes are cleared by the OBD system only after it verifies the associated fault is no longer present. Do not repeatedly clear the system in an attempt to erase a permanent DTC.
Conclusion
The correct Toyota Tundra check engine light reset process is to diagnose the fault, complete the repair, save the diagnostic evidence, and then clear erasable codes with a compatible OBD-II scanner. Restart and rescan the truck, allow the required readiness monitors to run, and confirm that the problem does not return. Treat a flashing light or severe drivability problem as urgent, and avoid battery-disconnect shortcuts that erase or reset diagnostic information without fixing the underlying fault.
Sources
- Toyota Manuals and Warranties — model-year-specific owner information and vehicle warnings
- California Air Resources Board: OBD-II Systems Fact Sheet — warning-light behavior, OBD operation, and readiness information
- Bureau of Automotive Repair: OBD Test Reference — readiness monitors, MIL standards, and permanent-DTC rules
- Bureau of Automotive Repair: Smog Check Guidance — OBD-based emissions-inspection guidance
- California Air Resources Board: On-Board Diagnostic Program — official overview of OBD monitoring