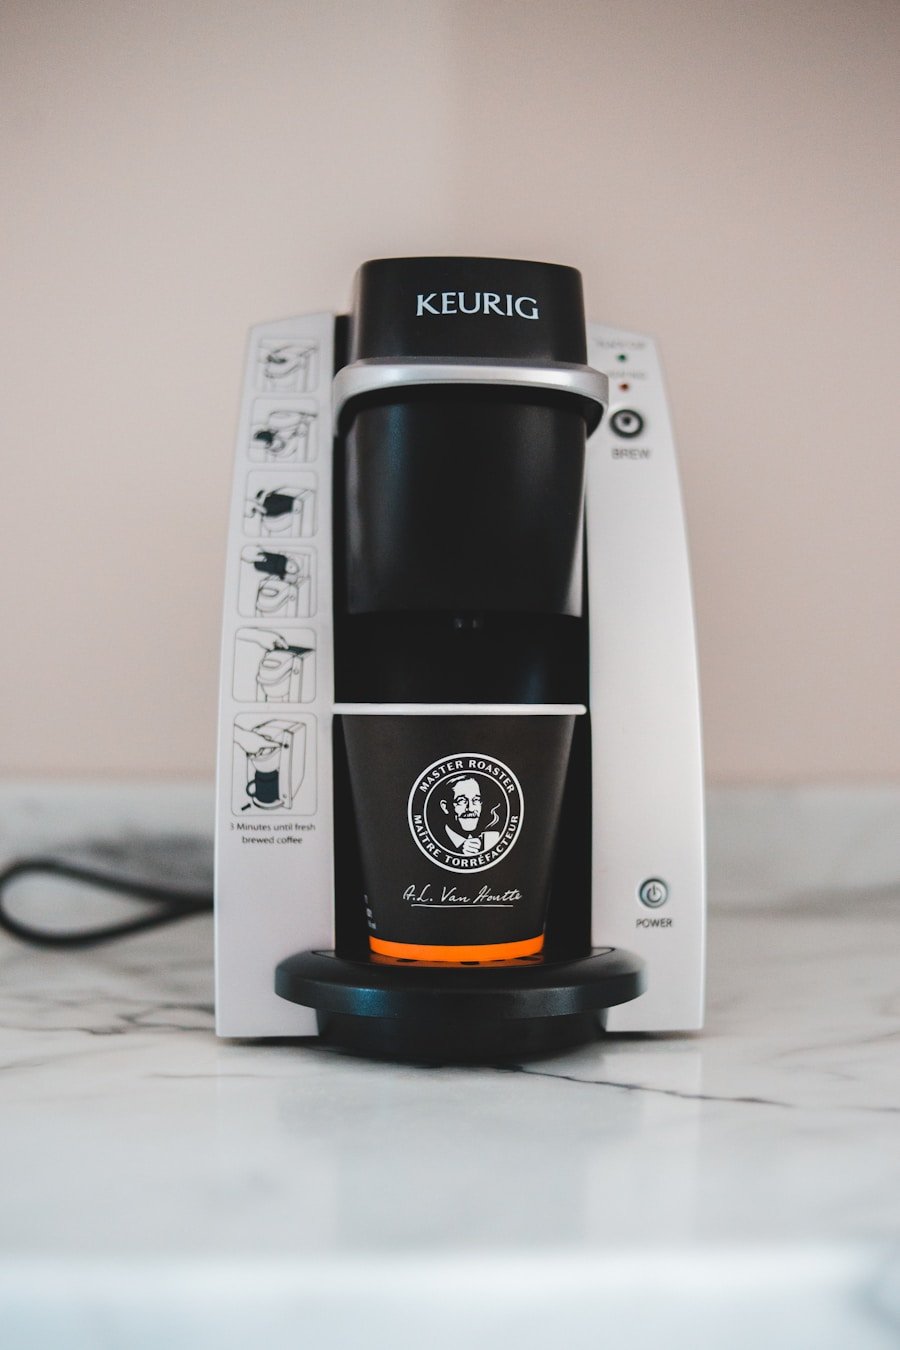
Regular cleaning helps your Keurig brew better-tasting coffee, heat water properly, and avoid slow or incomplete brew cycles. Coffee oils, loose grounds, mineral scale, and standing water can build up inside the machine over time, so a simple cleaning routine keeps your brewer safer, fresher, and more reliable.
This guide walks you through the full process: disassembling removable parts, washing the reservoir, descaling the brewer, clearing the K-Cup holder and exit needle, reassembling the machine, cleaning the exterior, and maintaining it between deep cleans.
Quick Answer
To clean a Keurig, unplug it, remove and wash the reservoir, lid, drip tray, and K-Cup holder, then descale the machine with Keurig descaling solution or white vinegar. Rinse thoroughly with fresh water before brewing coffee again.
Key Takeaways
- Clean removable parts often to prevent coffee oils, grounds, and stale water from building up.
- Descale every 2 to 3 months, or more often if you have hard water or notice slower brewing.
- Always rinse the machine well after using vinegar or descaling solution so your next cup does not taste sour or chemical-like.
- Clean the K-Cup holder and exit needle carefully because small clogs can cause weak coffee, splashing, or incomplete cups.
- Let washed parts dry fully before reassembling to reduce moisture buildup and musty odors.
At a Glance
| Time Required | 20 to 45 minutes, depending on buildup and rinse cycles |
| Difficulty | Easy |
| Tools Needed | Mild dish soap, soft cloth, sponge, paperclip, fresh water, and descaling solution or white vinegar |
| Cost | Low; usually only soap, water, and a descaling product or vinegar |
Why Regular Keurig Cleaning Matters
Regular cleaning is essential for maintaining your Keurig coffee maker and protecting the flavor of each cup. Over time, mineral deposits from water, coffee oils, loose grounds, and other residues can collect inside the brewer. This buildup can lead to clogs, slower brewing, weaker coffee, odd tastes, and more stress on the machine.
A clean Keurig also operates more efficiently. When water flows smoothly through the internal lines and needle, the brewer can heat and dispense water more consistently. That helps reduce the risk of small malfunctions that may eventually require repairs or replacement.
Cleaning also helps reduce the chance of mold, bacteria, and musty odors. A coffee maker stays warm and moist after brewing, and those conditions can encourage unwanted buildup if you leave water sitting too long. A steady cleaning routine keeps your machine fresher and makes your daily coffee safer to enjoy.
Disassembling the Keurig
Before you start cleaning, unplug the Keurig and let it cool. This keeps you safe while you handle the reservoir, drip tray, and K-Cup holder. Never clean inside the brewer while it is plugged in or still hot.
Remove the water reservoir by lifting it straight up and away from the base. Take off the lid and set both pieces aside. Pull out the drip tray and drip tray plate so you can wash away spilled coffee, sticky residue, and dried splashes.
Next, remove the K-Cup holder by following your model’s release method. Many models let you lift the handle and gently push or pull the pod holder out of place. This part often collects coffee oils and grounds, so it needs more attention than a quick rinse.
Once the removable parts are out, inspect them for visible buildup, cracks, or trapped grounds. Pay close attention to the exit needle at the bottom of the K-Cup holder, because coffee grounds can clog that area over time. Careful disassembly makes the rest of the cleaning process easier and more effective.
Warning: The puncture needles are sharp. Keep your fingers away from the needle tips, and use a paperclip or cleaning tool gently when clearing debris.
Cleaning the Water Reservoir and Lid
The water reservoir and lid need regular attention because they hold the water you use for every cup. Begin by emptying the reservoir and rinsing it with warm water to remove loose debris or stale water.
For a deeper clean, wash the reservoir with mild dish soap and warm water. Use a soft cloth or non-abrasive sponge so you do not scratch or damage the plastic. Avoid harsh chemicals, bleach, scouring pads, or abrasive cleaners, because they can leave residue or damage the reservoir surface.
Clean the lid with a damp cloth, including the edges and small crevices where dust and grime can collect. Rinse both pieces thoroughly so no soap remains. Soap residue can affect the taste of your coffee and may create bubbles during the next brew cycle.
After washing, let the reservoir and lid air dry completely before you place them back on the machine. This step matters because trapped moisture can create stale smells or encourage mold growth, especially if the brewer sits unused for a while.
Pro Tip: Empty and rinse the reservoir daily if you use your Keurig often. Fresh water improves taste and reduces the chance of stale odors.
[Amazon Products Picked for You]

Descales your coffee maker, fighting hard water deposits and mineral buildup for a better tasting brew

Bulk Coffeemaker Decalcifier Tablet: 24 Tablets Work out to a Year Supply or more. Compare to other products like powder, pods, sachet, packets. Choose ACTIVE Cleaning Tablets for better Values

1-Year Supply, Better Value - Includes 24 coffee maker descaling tablets—enough for monthly cleaning for up to a year. A cost-effective alternative to powders, liquids, pods, sachets, or packets.
Descaling the Machine
| Machine Model | Descale Frequency | Descale Time | Water Usage |
|---|---|---|---|
| Model A | Every 3 months | 30 minutes | 2 liters |
| Model B | Every 2 months | 45 minutes | 3 liters |
| Model C | Every 4 months | 25 minutes | 1.5 liters |
Descaling removes mineral buildup from inside your Keurig. Minerals from tap water can collect in the internal water lines, heating system, and brew path. As scale builds up, the machine may brew slowly, make louder sounds, produce smaller cups, or flash a descale reminder.
To descale your Keurig, use a descaling solution made for coffee makers or a mixture of equal parts white vinegar and water. Fill the reservoir with your chosen descaling liquid, place a large mug on the drip tray, and run a brew cycle without inserting a K-Cup.
After the first cycle, continue running brew cycles until the reservoir is nearly empty. Some cleaning methods recommend letting the solution sit inside the machine for about 30 minutes so it can break down mineral deposits more effectively. If your Keurig model has a specific descale mode, follow that model’s built-in prompts.
After descaling, refill the reservoir with fresh water and run several rinse cycles. Keep rinsing until the vinegar smell or descaling taste is gone. This final rinse step is essential because leftover descaling solution can affect the taste of your coffee.
Note: Hard water creates mineral scale faster. If you live in a hard-water area, descale more often or use filtered water to slow buildup.
[Amazon Products Picked for You]

2-Pack Coffee Descaler and Cleaner - Clean and rinse away residue and oil buildup in your coffee maker with Impresa's Coffee Descaler Solution. Our highly effective solution comes with two 8-ounce bottles - enough for 4 descaling sessions (2 uses per bottle)
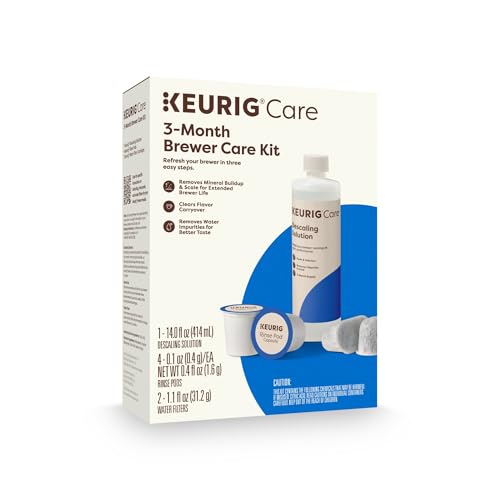
INCLUDES: 4 Keurig Rinse Pods, 1 Descale Solution, and 2 Water Filter Cartridge Refills
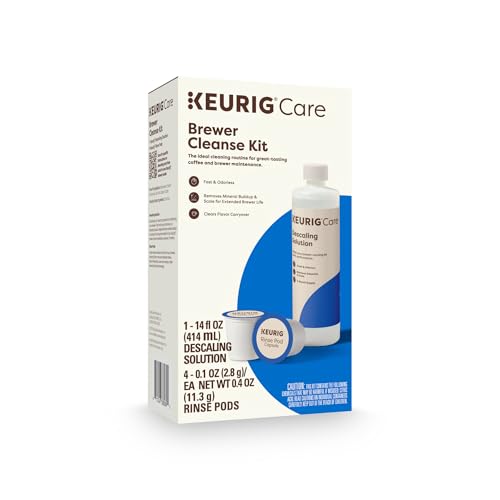
Better tasting beverages: Reduces flavor carry over between brews
Cleaning the K-Cup Holder and Exit Needle
The K-Cup holder and exit needle are small parts, but they have a big effect on brewing. If coffee grounds or oils clog these areas, your Keurig may brew weak coffee, splash during brewing, or fail to dispense a full cup.
Start by rinsing the K-Cup holder under warm water. Use a soft brush or old toothbrush to clean inside the holder and around the exit needle. Be gentle, because the needle is sharp and can bend if you force a tool into it.
To clear the exit needle, straighten a paperclip and gently insert it into the needle opening. Move it carefully to loosen trapped grounds. Do not push hard or scrape aggressively. The goal is to dislodge debris, not widen or damage the puncture point.
Many Keurig models also have an entrance needle under the handle. Lift the handle and look carefully near the top where the K-Cup is punctured. If you see grounds or buildup, use the paperclip gently in the needle openings. After cleaning, run one or two plain-water brew cycles without a pod to flush loosened grounds out of the system.
[Amazon Products Picked for You]

Bottle cleaning brushes with multiple usage includes 7.9-12.5 inches straw tube cleaning lab brushes, 16 inches long handle beer bottle brush, 14 inches sports water bottle brush, 10 inches multifunction sponge brush and 4.3 inches spout cleaning brush; You can hang them on hook for drying and storage.
![Quick & Clean [6-Pack] Keurig Cleaning Pods - K Cup Cleaner Pod For Keurig - 2.0 Coffee Machine Compatible, Removes Stains, Non-Toxic and Eco-Friendly](https://m.media-amazon.com/images/I/51lXaI5rgKL._SL500_.jpg)
Get That Fresh Coffee Taste Back - Over time, Keurig (TM) machines build up old grinds and residues, tainting the flavor of your coffee and espresso. Quick and Clean Keurig cleaning pods use a proprietary cleaning formula that cuts through and eliminates these residues, bringing taste back to normal

This small cleaning brush set includes eight different brushes—crevice, bottle, gap, corner, edge, groove, detailing, track and hole brushes. Designed to tackle various cleaning tasks, it efficiently removes dirt from small and hard-to-reach spaces.
Cleaning the Drip Tray and Pod Area
The drip tray catches spills, overflow, and splashes, so it can become sticky quickly. Remove the tray and the tray plate, then wash both pieces with warm water and mild dish soap. Rinse well and dry them before sliding them back into place.
Wipe the pod area with a damp cloth after you remove the K-Cup holder. Coffee residue can collect around the pod chamber, handle, and nearby plastic surfaces. A quick wipe helps prevent sticky buildup and keeps the machine smelling fresh.
If you notice dried coffee around the brewer head, soften it with a damp cloth before wiping. Avoid soaking the machine body or letting water run into electrical areas. Clean patiently and use only light pressure.
Reassembling the Keurig

Reinserting the K-Cup Holder and Water Reservoir
Once all components are clean and fully dry, reassemble your Keurig coffee maker. Start by placing the K-Cup holder back into its slot until it clicks or sits securely. Next, attach the water reservoir by aligning it with the base and pressing down gently until it fits snugly.
Ensuring Proper Seating and Leak Prevention
Make sure each removable part sits correctly before you run the machine. A loose reservoir, misaligned drip tray, or improperly seated K-Cup holder can cause leaks, uneven brewing, or splashing.
Testing the Machine
After reassembling, plug in your Keurig and run a few cycles with fresh water only. This flushes out any remaining cleaning solution, soap residue, or loosened debris from inside the machine. It also helps you check for leaks or unusual sounds before you brew coffee again.
Ready for Use
Once the rinse water runs clear and the machine works normally, your Keurig is ready for use. Taking these precautions helps you enjoy cleaner-tasting coffee and reduces the chance of brewing problems after cleaning.
Cleaning the Exterior of the Machine
While the internal parts affect brewing, the exterior also needs regular care. Start by wiping the outside surfaces with a damp cloth to remove dust, fingerprints, dried splashes, and coffee stains.
For stubborn marks, use a small amount of mild dish soap on a soft cloth. Avoid abrasive pads, harsh cleaners, or sprays aimed directly at the machine. Liquid can run into seams, buttons, or electrical areas if you spray too much.
Pay special attention to buttons, control panels, handle areas, and the space around the drip tray. These areas collect grime from daily use. After wiping, dry the exterior with a clean cloth so moisture does not sit on the surface.
A clean exterior makes your Keurig look better and keeps the controls easier to use. It also helps you spot leaks, cracks, or residue before they become bigger problems.
How Often Should You Clean a Keurig?
Your cleaning schedule depends on how often you brew coffee and what type of water you use. A daily coffee drinker should rinse the reservoir often, empty the drip tray as needed, and wipe spills right away.
Clean removable parts, such as the reservoir, lid, drip tray, and K-Cup holder, about once a week if you use the machine regularly. If several people use the brewer each day, clean these parts more often.
Descale every 2 to 3 months for most home users. If you have hard water, use the machine heavily, or notice slower brewing, descale sooner. You should also descale when your machine shows a descale alert, makes unusual noises, or produces smaller cups than expected.
Troubleshooting After Cleaning
If your Keurig still brews slowly after cleaning, the exit needle or entrance needle may still have trapped grounds. Unplug the machine, let it cool, and clean the needle openings again with a paperclip.
If your coffee tastes like vinegar or descaling solution, run more fresh-water rinse cycles. Use a large mug and continue brewing without a pod until the smell and taste disappear.
If the machine leaks after reassembly, check that the water reservoir is seated correctly and that the drip tray is fully pushed in. Also inspect the reservoir for cracks or worn seals.
If the brewer does not turn on after cleaning, make sure the outside is dry, the plug is secure, and no water entered the control area. Do not keep using a machine that sparks, smells burnt, or shows signs of electrical damage.
Tips for Maintaining a Clean Keurig
To keep your Keurig in good condition between deep cleans, use filtered water when possible. Filtered water can improve flavor and may reduce mineral buildup compared with hard tap water.
Empty and rinse the water reservoir daily if water sits in it for long periods. Stagnant water can develop a stale smell, especially in warm kitchens. Refill with fresh water before brewing for the best taste.
Check removable parts after regular use. The drip tray, K-Cup holder, and pod chamber can collect residue quickly. A quick rinse or wipe takes less time than removing heavy buildup later.
Set a reminder to descale every few months. Regular descaling prevents mineral deposits from becoming severe enough to affect brewing speed or cup size.
Store your K-Cups in a cool, dry place away from direct sunlight. Fresh pods and a clean brewer work together to produce better-tasting coffee.
If you’re looking to elevate your kitchen game beyond just cleaning your Keurig coffee maker, you may want to check out this article on the 5 Most Versatile Egg Cookers You Should Consider. These handy gadgets can help you prepare eggs in several ways, making breakfast prep easier. They are also simple to clean and store, so they can fit well in many kitchens.
Related Guides
FAQs
What is a Keurig coffee maker?
A Keurig coffee maker is a single-serve brewing system that uses pods, often called K-Cups, to make coffee, tea, hot chocolate, and other hot beverages.
Why is it important to clean a Keurig coffee maker?
Cleaning removes mineral deposits, coffee oils, loose grounds, and other residue that can affect taste and brewing performance. It also helps prevent clogs, odors, and buildup in moist areas of the machine.
How often should I clean my Keurig coffee maker?
Wash removable parts about once a week if you use the machine often. Descale the brewer every 2 to 3 months, or sooner if you have hard water, slower brewing, or a descale alert.
What are the steps to clean a Keurig coffee maker?
Unplug the machine, remove and wash the reservoir, lid, drip tray, and K-Cup holder, clear the needle if needed, descale the brewer, then run several fresh-water rinse cycles before brewing coffee again.
Can I use vinegar to clean my Keurig coffee maker?
Yes, white vinegar can be used as a descaling solution for many Keurig cleaning routines. After using vinegar, run enough fresh-water cycles to remove any lingering smell or taste before brewing coffee.
Why is my Keurig still brewing slowly after cleaning?
Slow brewing often means the machine still has scale buildup or a clogged needle. Descale again if needed, then carefully clear the entrance and exit needles with a paperclip before running fresh-water rinse cycles.
Should I clean the water reservoir every day?
You do not need to scrub it every day, but you should empty and rinse it often, especially if water sits overnight or longer. Fresh water helps your coffee taste better and reduces stale odors.
Sources
- Keurig Support — general brewer care, cleaning, and descaling guidance by model.
- U.S. Environmental Protection Agency: Drinking Water — background on water quality and mineral content that can affect household appliances.
- Centers for Disease Control and Prevention: Cleaning and Disinfecting — general cleaning principles for reducing germs on household surfaces.
