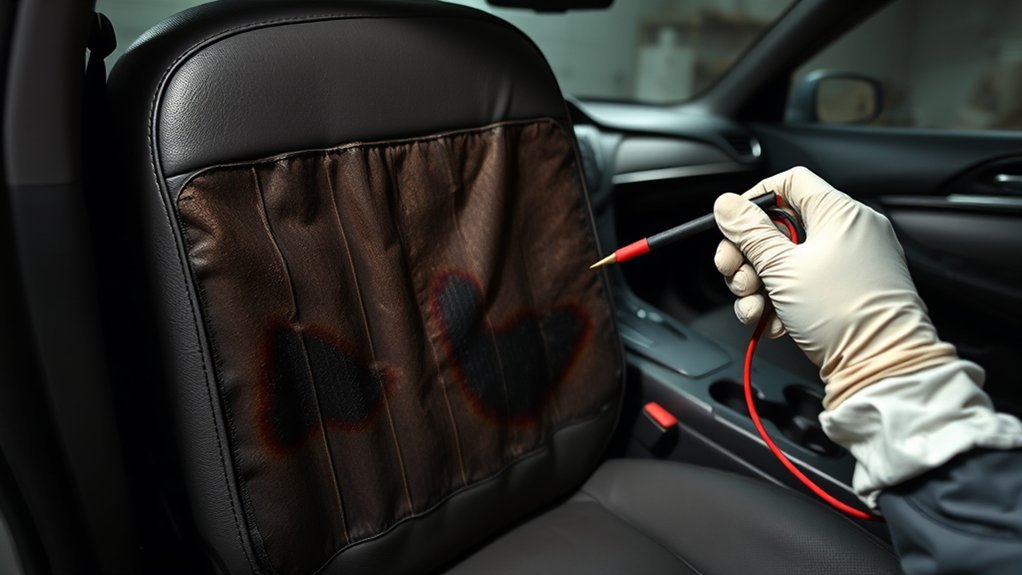
If your Toyota Camry’s seat heater turns on but the seat stays cold, heats only in one area, works intermittently, or produces a hot-plastic smell, stop guessing and diagnose the circuit in a safe order. The fault may be as simple as a fuse or loose connector, but it can also involve a heater mat, temperature sensor, switch, wiring harness, or control module. Because Camry wiring and component specifications vary by model year, trim, seat type, and market, use the owner’s manual and the correct Toyota repair information for your VIN before testing or replacing parts.
Quick Answer
A Toyota Camry seat heater that does not warm usually has a power, fuse, connector, heater-mat, temperature-sensor, switch, or control-circuit fault. First compare both front seats, check the correct fuse, inspect visible under-seat wiring, and scan for body-system trouble codes. Do not use a universal resistance value or probe airbag connectors.
Key Takeaways
- An illuminated seat-heater indicator confirms a command, not that the heater mat is actually producing heat.
- Fuse locations, connector pinouts, resistance limits, and module layouts differ among Camry years and trims.
- A single cold area often points toward an open heater mat or a connection between the cushion and backrest circuits.
- A burning smell, smoke, melted connector, repeated fuse failure, or concentrated hot spot requires immediate shutdown and professional inspection.
- Front seats may contain side-airbag and occupant-detection components, so seat removal and SRS-area wiring work are not beginner repairs.
At a Glance
| Time Required | 10–20 minutes for basic checks; longer for circuit testing or seat disassembly |
| Difficulty | Easy for visual and fuse checks; intermediate to advanced for electrical diagnosis |
| Tools Needed | Owner’s manual, flashlight, fuse puller, digital multimeter, and a Toyota-capable scan tool for advanced diagnosis |
| Cost | From a low-cost fuse to several hundred dollars or more for wiring, upholstery removal, a heater pad, or a control component |
Warning: Turn the seat heater off immediately if you smell burning plastic, see smoke or melted wiring, feel one sharply concentrated hot spot, or find that a replacement fuse blows again. Do not continue using the heater until the fault is repaired. Never probe, jumper, or measure resistance across yellow SRS connectors or airbag wiring.
Common Symptoms of Seat Heater Element Failure
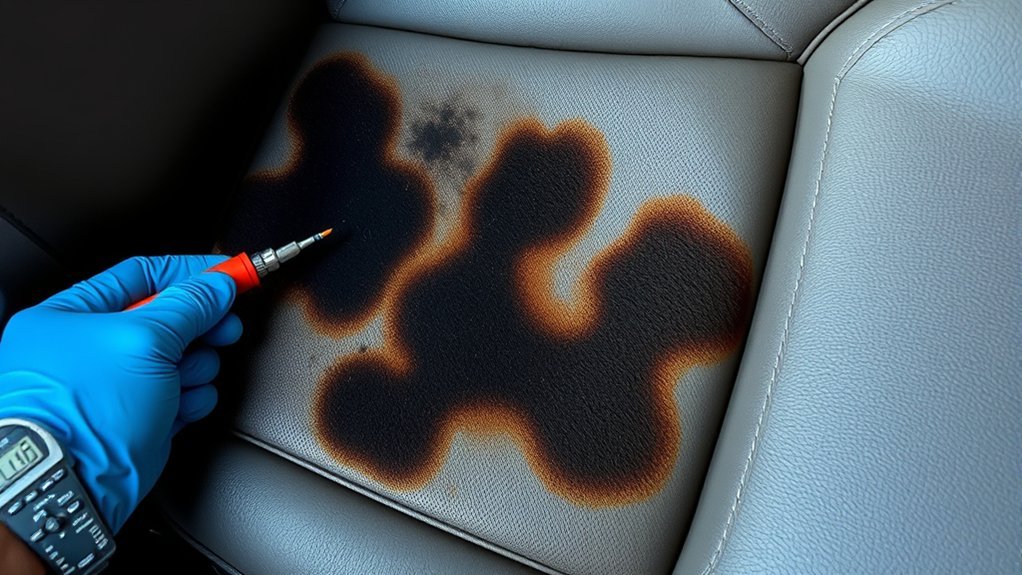
A failed heater element is only one possible cause, but the way the seat behaves can narrow the search. Test the system from a cold start, use the same heat setting on both front seats, and compare the cushion and backrest separately.
| Symptom | Likely Areas to Check |
|---|---|
| Indicator turns on, but the whole seat stays cold | Fuse, power or ground, open heater circuit, connector, control module, switch command, or temperature-sensor input |
| Cushion heats but the backrest does not, or the reverse | Open heater mat, damaged interconnecting wire, or connector problem for the cold section |
| Heat cuts in and out when the seat moves | Pinched, stretched, loose, or partly broken wiring under the seat |
| Seat heats briefly and then shuts off | Temperature sensor, control logic, high resistance connection, low system voltage, or an overheating protection response |
| Fuse is blown or blows again after replacement | Shorted wiring, damaged connector, failed heater mat, or another overcurrent fault |
| Burning odor, smoke, discoloration, or one unusually hot patch | Overheated connector, shorted wiring, damaged heater mat, or poor electrical contact; stop using the heater |
Do not assume the heater mat has failed just because the indicator is lit. The light usually shows that the system received an on command. It does not directly confirm current flow through every heating section.
Troubleshooting Steps for Non-Functioning Seat Heaters
Start with checks that do not require removing the seat or opening the upholstery. The sequence below avoids unnecessary parts replacement and helps separate a simple power problem from an internal seat fault.
[Amazon Products Picked for You]

Manufacturer Part Number:15193975,641106,641105,88940288,88940289

Replace Part Number: 15193975,641106,641105,88940288,88940289

【Direct Replacement】: Easily replace your old or broken seat pad (6C3Z-14D696-A) without complicated tools. Designed as a perfect match for the original part, ensuring hassle-free installation
1. Confirm the Feature and Operating Conditions
- Verify that your Camry is equipped with heated seats. Availability and controls vary by year, trim, package, and market.
- Start the vehicle or place it in the operating mode specified in your owner’s manual.
- Select the highest heat setting and allow several minutes for a cold seat to warm.
- Remove thick blankets or add-on cushions that can hide normal warmth or interfere with the seat surface.
2. Compare Both Front Seats
If one seat heats normally and the other does not, the vehicle’s main power supply is less likely to be the only problem. Focus on the failed seat’s local fuse or circuit, connector, switch command, heater mat, temperature sensor, and control components. If both seats fail together, check shared power, relevant fuses, system voltage, and control inputs first.
3. Check the Cushion and Backrest Separately
Use the back of your hand to compare the lower cushion and seatback. A cold cushion with a warm backrest, or a warm cushion with a cold backrest, is useful evidence of a sectional heater or interconnecting-wire fault. Stop the test if any area becomes painfully hot.
4. Check the Correct Fuse
Use the fuse chart for your exact model year rather than relying on a generic online diagram. Toyota provides year- and vehicle-specific manuals through its Manuals and Warranties portal. Remove and test the identified fuse, then replace it only with the same type and amperage rating.
Pro Tip: A fuse that looks intact can still be open. Check continuity with the fuse removed, or verify voltage on both test points when the circuit is powered and the service procedure permits it.
5. Inspect Visible Under-Seat Wiring
With the vehicle off, use a flashlight to look for a connector that has backed out, a harness trapped in a seat track, rubbed insulation, corrosion from a spill, or signs of heat. Move the seat only as needed to gain visibility, and keep fingers, tools, and loose clothing away from the tracks.
Do not disconnect unidentified plugs. Yellow connectors and yellow-wrapped harnesses commonly identify SRS circuits. Front seats may also contain side-airbag wiring, seat-position sensing, seat-belt wiring, and passenger-occupant detection components.
6. Scan for Body or Seat-System Codes
A basic engine-code reader may not access the body, climate, seat, or occupant-detection modules involved. A Toyota-capable scan tool can reveal stored diagnostic trouble codes, live switch commands, sensor values, and module communication faults. Record codes before clearing anything.
7. Test Power, Ground, and the Heater Circuit
Use the correct wiring diagram and connector view from Toyota’s Technical Information System or an equivalent professional information source. Verify power and ground under the specified operating conditions. If the circuit must be disconnected for resistance testing, isolate it exactly as the service procedure directs.
Do not apply a universal resistance target such as 7.5 ohms. A normal value depends on the model year, heater design, test points, seat temperature, and whether the cushion and backrest elements are tested separately or together. An open-circuit reading can support a broken element diagnosis, but a reading that appears reasonable does not rule out an intermittent fault under load.
8. Test the Switch, Sensor, and Control Side
If the fuse, wiring, power, ground, and heater mats test correctly, inspect the switch or climate-control command, temperature sensor, seat-heater control unit, and related module communication. On some Camrys, these functions may be integrated rather than handled by a simple stand-alone switch. Confirm inputs and outputs before replacing a module.
How Do Heated Seats Work?
A heated seat converts electrical energy into heat through resistive elements installed beneath the seat covering. Depending on the Camry, the system may heat the cushion, the backrest, or both. A switch or climate-control interface requests a heat level, while a control circuit manages current and monitors temperature.
Heating Element Functionality Explained
| Component | What It Does | Possible Failure Effect |
|---|---|---|
| Heater mat or element | Produces heat when current passes through its resistive conductor | No heat, partial heat, intermittent heat, or a localized hot spot |
| Temperature sensor or thermistor | Reports seat temperature to the control circuit | Early shutdown, no command, incorrect cycling, or overheating protection |
| Switch or climate-control input | Requests the selected heat level | No request, wrong setting, or intermittent operation |
| Control circuit or module | Regulates output and responds to temperature and system conditions | No output, unexpected shutdown, or stored fault codes |
| Fuse, wiring, and connectors | Deliver protected power and ground | Complete failure, voltage drop, intermittent heat, odor, or repeated fuse failure |
Temperature Control Mechanism
The system does not need to hold one fixed temperature. It can cycle or modulate the heater output according to the selected level, sensor feedback, control strategy, and electrical conditions. That is why a healthy seat may warm strongly at first and then reduce output. Exact temperatures and cycling behavior are model-specific, so the original article’s fixed 100°F to 110°F range should not be treated as a universal Camry specification.
The pattern of failure is often more useful than the indicator light: compare left versus right, cushion versus backrest, and stationary versus seat movement.
Common Electrical Problems Affecting Toyota Camry Seat Heaters
Several faults can produce the same “seat heater not working” complaint. Diagnose the circuit instead of replacing the heater pad first.
- Blown fuse: An open fuse interrupts power. If the new fuse fails again, find the short or overcurrent condition rather than installing another fuse.
- Open heater mat: Repeated flexing and seat pressure can break a conductor, leaving one section or the whole seat cold.
- Loose or pinched connector: Seat movement, prior repair work, cargo, or a spill can affect under-seat connections.
- High-resistance connection: A loose, corroded, or heat-damaged terminal can reduce current and generate unwanted heat at the connector.
- Faulty temperature sensor: Incorrect feedback may prevent heating or make the system shut down too early.
- Switch or command fault: The control interface may light up but fail to send the expected command, depending on system design.
- Control-module or communication fault: A module may lose power, ground, communication, or output control.
- Low system voltage: Weak battery voltage or a charging-system problem can affect high-current comfort features and create misleading symptoms.
Note: A melted harness under the driver’s seat should not be described as a universal or “common” Camry defect without a model-year-specific Toyota bulletin or recall. Treat visible heat damage as a serious individual fault and check your VIN for campaigns.
Testing Your Toyota Camry Seat Heater Element
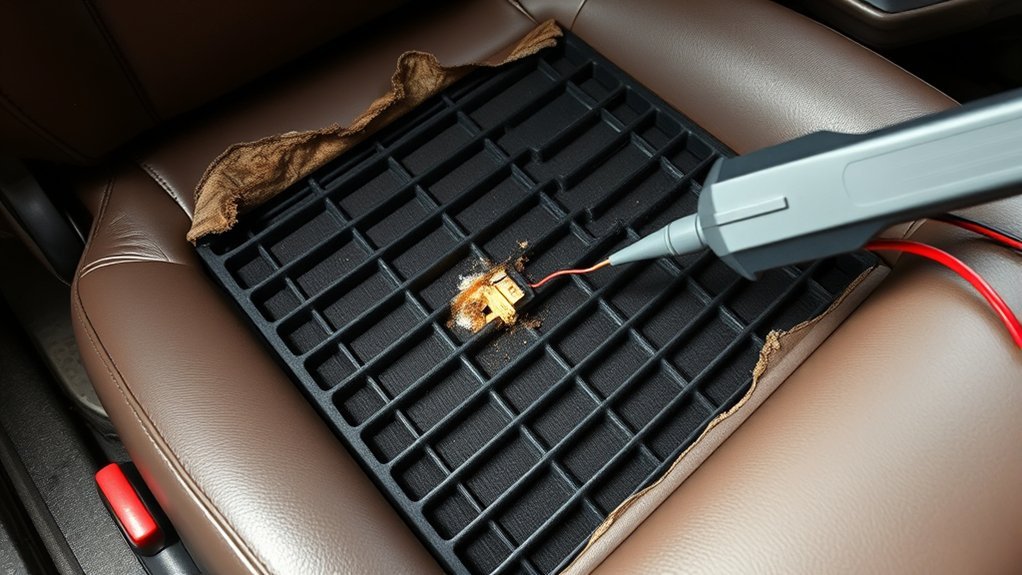
Element testing is meaningful only when you know which terminals belong to the heater and what Toyota specifies for that exact circuit. Never guess at connector pins, and never use a test light or ohmmeter on an SRS circuit.
| Step | Action | What the Result Means |
|---|---|---|
| 1. Identify the circuit | Use the VIN-correct wiring diagram, connector view, and service precautions | Prevents testing the wrong terminals or an SRS circuit |
| 2. Check the fuse and supply | Verify the correct fuse, power feed, and ground under the specified conditions | Confirms whether the circuit can deliver power before blaming the element |
| 3. Isolate the heater circuit | Power down and disconnect only as the service procedure directs | Avoids false readings through connected electronics |
| 4. Measure continuity or resistance | Test the specified heater terminals at the specified temperature | An open reading can indicate a broken conductor; compare all other readings with Toyota’s range |
| 5. Perform a loaded-circuit check | When authorized by the procedure, check voltage drop or current while the heater is commanded on | Can reveal a high-resistance connection that a simple continuity test misses |
A continuity beep alone is not proof that the circuit is healthy. A partly broken conductor or overheated terminal may pass a tiny meter current but fail under the heater’s operating load. Conversely, a resistance number cannot be judged without the correct specification and test temperature.
The Role of Fuses in Heated Seat Functionality
The fuse protects the wiring from excessive current. It does not repair the problem that caused an overload. Follow these rules:
- Use the owner’s manual or fuse-box cover for your exact Camry.
- Replace a fuse only with the same amperage and approved type.
- Do not install a higher-rated fuse, foil, wire, or another bypass.
- If the fuse blows again, leave the heater off and diagnose the short.
- Check whether one fuse serves both seats or whether each seat has a separate feed on your model.
A blown fuse may be the final result of damaged wiring, a shorted element, water intrusion, or an overheated connector. Inspecting only the fuse can lead to repeat failure.
Check for Wiring Issues Under the Driver’s Seat
Under-seat wiring is exposed to seat movement, track hardware, stored objects, footwear, spills, and earlier repairs. Inspect both the driver and passenger sides because the comparison can reveal whether a connector is seated differently.
What to Look For
- A harness pulled tight at the forward or rear seat limit
- Insulation cut by a metal seat track or bracket
- A connector that is loose, tilted, discolored, or partly melted
- Green or white corrosion around a connector after liquid exposure
- Aftermarket wiring for lights, audio equipment, remote start, or seat accessories
- Objects jammed against the harness or control unit
Do not pull on wires to check a connector. Grip the connector body only, and disconnect it only when the correct repair procedure authorizes the step. If seat removal is required, remember that the seat can be heavy and may contain side-airbag and occupant-classification hardware.
Cost of Repairing or Replacing Heated Seat Elements
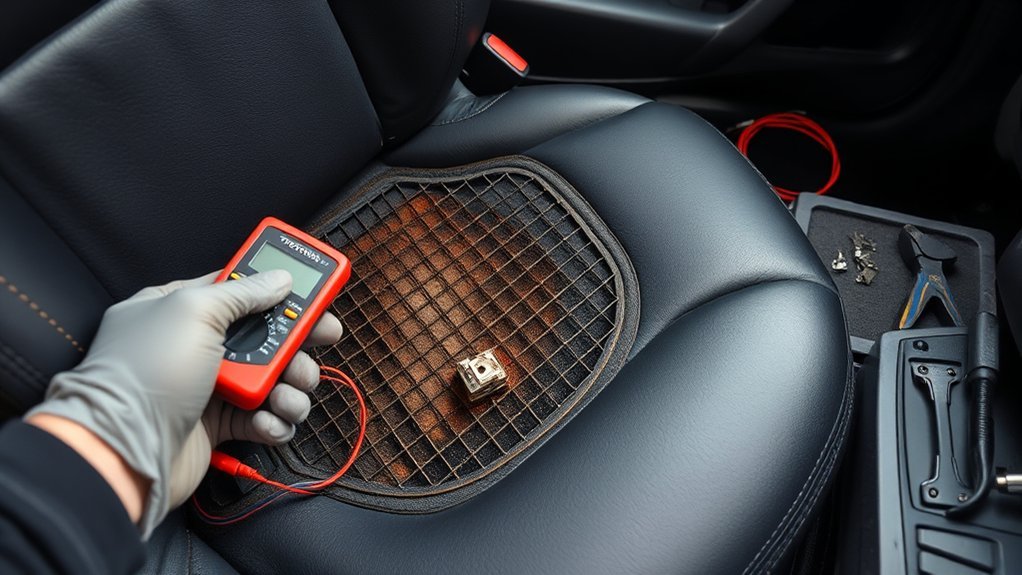
The original fixed estimates of $660 to $695, about $520 for parts, and more than $1,500 for a control module are not reliable across all Camry years, trims, locations, and repair choices. A useful estimate must identify the failed part, labor time, seat material, SRS calibration needs, and whether the repair uses a Toyota part, an upholstery repair, or an aftermarket kit.
[Amazon Products Picked for You]

Versatile Compatibility: This universal seat comfort kit is designed to fit various models of cars, pickup trucks, and other vehicles.


1.The Universal Seat comfort Kit is designed to fit into 90% of vehicles.
Average Repair Costs
Costs generally rise with disassembly and diagnosis:
- Fuse replacement: Low parts cost, but repeated failure requires paid diagnosis.
- Loose connector or minor harness repair: Often less labor than opening the seat, unless heat damage extends into the harness.
- Switch or control input repair: Price depends on whether the switch is separate or integrated into a larger control panel.
- Heater-mat replacement: Labor can be significant because the seat covering may need to be removed and refitted.
- Module, sensor, or occupant-system work: Diagnosis, programming, initialization, or calibration may add cost.
- Burned connector or extensive wiring damage: The final price depends on how much of the harness and surrounding material must be repaired.
Ask the shop for a written estimate that separates diagnosis, parts, upholstery labor, electrical repair, programming or calibration, and taxes. A VIN-based Toyota dealer quote and an independent automotive electrical or upholstery-shop quote provide a better comparison than a generic national price.
Replacement Parts Availability
Replacement options may include a Toyota heater pad or seat component, a used original-equipment seat part, a professional upholstery repair, or an aftermarket heating kit. Match any part to the exact seat configuration, including manual or power adjustment, ventilation, airbag equipment, upholstery, and occupancy sensing.
An aftermarket kit can be economical, but installation must not interfere with a side-airbag seam, occupant sensor, seat wiring, or seat-cover attachment. Professional installation is the safer choice when the seat contains SRS or occupant-classification components.
DIY vs. Professional Seat Heater Repairs
Basic observation and fuse checks are reasonable for many owners. The risk rises once the job requires connector pin testing, seat removal, upholstery removal, SRS-area work, module diagnosis, or calibration.
| Reasonable DIY Checks | Better Left to a Professional |
|---|---|
| Compare both seats and heat zones | Removing the seat or upholstery |
| Read the owner’s manual and locate the correct fuse | Testing near side-airbag or occupant-sensor wiring |
| Inspect visible wiring without unplugging connectors | Repairing melted terminals or a damaged harness |
| Check a removed fuse for continuity | Performing powered pin tests without a wiring diagram |
| Record symptoms and scan results | Module programming, initialization, or occupant-system calibration |
Swapping modules or switches between seats is not a universal troubleshooting shortcut. Different part numbers, coding, connector layouts, and SRS-related functions can make a swap ineffective or unsafe. Confirm compatibility and the approved procedure first.
[Amazon Products Picked for You]
【Premium Quality & Effortless Use】Specializing in leather repair, ONine select premium materials to craft high-quality repair patches. This self-adhesive leather patch needs no heat, tools or stitching. Boasting fine smooth texture, it is waterproof, scratch-proof and durable. The strong adhesive sticks firmly without leaving glue residue, blending seamlessly with original leather for invisible natural repair.
【Premium Quality & Easy Application】As a professional leather restoration brand, Besezx always upholds premium quality standards. Our Leather repair patch requires no heating, no ironing, no tools and no sewing. It features delicate smooth texture, waterproof, wear-resistant and scratch-resistant performance. With strong self-adhesion and no glue residue, it achieves natural and seamless repair effect.

Leatherweld: For durable, long lasting fabric repair on furniture, clothes, & more, rely on LeatherWeld, our leather & vinyl repair kit. Easily repair tears, rips and cracks with no heat required
When to Seek Help From a Toyota Dealership
A Toyota dealer is especially useful when the fault involves proprietary diagnostic codes, integrated controls, warranty coverage, a service campaign, programming, or SRS and occupant-detection systems. A qualified independent automotive electrical or upholstery shop may also handle straightforward wiring or heater-pad repairs.
Warning Signs to Observe
Arrange professional inspection promptly if you notice any of the following:
- Burning plastic odor, smoke, melted insulation, or a scorched connector
- One concentrated area that becomes much hotter than the rest of the seat
- A fuse that blows more than once
- An SRS or airbag warning light after seat or wiring work
- Passenger-airbag status that no longer behaves as expected
- Heat that cuts out when the seat moves
- Water or drink intrusion near under-seat electronics
- No heat after the fuse, power, ground, and visible wiring pass inspection
Diagnostic Expertise Required
Professional diagnosis can include a body-system scan, wiring-diagram checks, voltage-drop testing, heater and sensor measurements at specified temperatures, connector terminal inspection, and confirmation of module commands. Toyota’s official manuals and repair information are model-specific, and the Toyota owner portal is the correct starting point for operation and fuse information.
Check the 17-character VIN at Toyota’s Safety Recalls and Service Campaigns lookup and the NHTSA recall lookup. Do not assume that a complaint seen online applies to every Camry year or that the absence of a seat-heater recall rules out an individual electrical fault.
Related Guides
Frequently Asked Questions
How do you diagnose a Toyota Camry heated seat that is not working?
Compare both seats, check whether the cushion and backrest fail together, verify the correct fuse, inspect visible under-seat wiring, and scan body or seat modules for codes. Then use the VIN-correct wiring diagram to test power, ground, the heater circuit, temperature sensor, switch command, and control output.
What is the most common cause of a Camry seat heater not working?
There is no single cause that applies to every Camry generation. Common diagnostic areas include the fuse, heater mat, under-seat connector, wiring, temperature sensor, switch or climate-control input, and control module. The symptom pattern and model-specific tests determine which part is actually faulty.
How much does it cost to replace a heated seat element or module?
The price varies widely by model year, seat material, failed part, labor rate, and whether upholstery removal, programming, or calibration is required. A fuse is inexpensive, while a heater-pad, harness, or module repair may cost several hundred dollars or more. Get a written VIN-based estimate after diagnosis.
How do I reset my Toyota Camry seat warmer?
There is no universal Camry seat-warmer reset. Disconnecting the battery for 10 to 15 minutes is not a confirmed repair and may erase settings or create additional initialization needs. Check the owner’s manual, scan for codes, and repair the underlying fuse, wiring, heater, sensor, switch, or module fault.
Why does only the seat cushion or backrest heat?
The cushion and backrest may use separate heater sections connected within the same system. If one section warms and the other stays cold, suspect an open heater mat, damaged connecting wire, or connector fault in the cold section. Confirm with the correct circuit diagram and resistance specification.
Can I keep driving if the heated seat does not work?
A seat that simply stays cold usually does not prevent normal driving, but leave the heater off until it is diagnosed. Do not keep using it if there is a burning smell, smoke, melted wiring, repeated fuse failure, an airbag warning light, or an unusually hot spot.
Why does the heated-seat fuse keep blowing?
A repeated fuse failure usually means the circuit still has an overcurrent condition, such as shorted wiring, a damaged connector, or a failed heater element. Do not fit a higher-rated fuse. Stop using the circuit and have the short located.
Conclusion
A Toyota Camry seat heater can fail because of a fuse, power or ground problem, damaged under-seat wiring, an open heater mat, a temperature-sensor fault, a switch command, or a control component. Diagnose the system in that order and use specifications for the exact model year and seat configuration. Stop using the heater immediately if you notice odor, smoke, melted parts, repeated fuse failure, or a concentrated hot spot. When the repair reaches seat removal, SRS wiring, module programming, or occupant-sensor calibration, use a qualified technician.
Sources
- Toyota Manuals and Warranties — model-year-specific owner information, operating instructions, and fuse references
- Toyota Technical Information System — official service procedures, wiring diagrams, connector views, and model-specific specifications
- Toyota Safety Recalls and Service Campaigns — VIN-based Toyota recall and campaign lookup
- National Highway Traffic Safety Administration Recall Lookup — VIN and year-make-model recall information
- NHTSA Air Bag Safety — background on front and side airbag systems and why seat-area SRS work requires care
