
To manually calibrate a laptop battery, first confirm inaccurate readings, such as sudden percentage drops or shutdowns. Charge the battery to 100 percent, then keep it plugged in for two more hours. Disable sleep and hibernation, unplug the charger, and let the laptop run until it shuts off. Leave it off for three to five hours, then recharge it uninterrupted to full. This process improves charge reporting accuracy, and the next sections explain each step clearly.
Check If Your Laptop Battery Needs Calibration
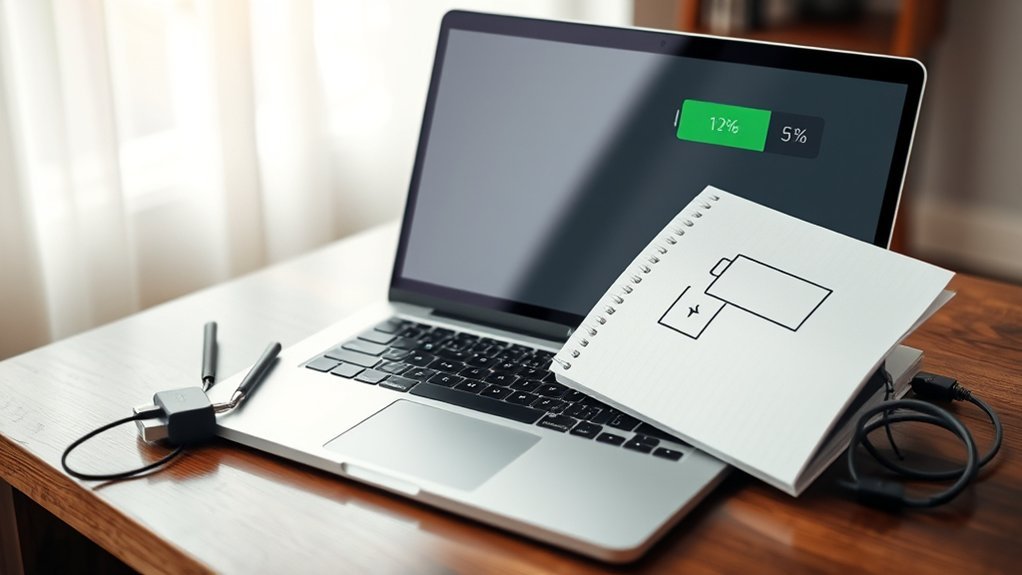
How can a user tell whether laptop battery calibration is necessary? The assessment begins with observable inconsistencies between reported charge and actual runtime. A laptop that powers off suddenly at 15–20% shows a faulty battery percentage reading. A rapid drop from 40% to 10% within minutes also signals that the battery management system’s gauge is out of sync.
Sudden shutdowns at 15–20% or steep charge drops often reveal a battery gauge that needs calibration.
If charge remains stuck at 100% for unusually long periods, tracking may need correction through calibration.
A practical review should also compare expected endurance with real discharge time. When a full charge lasts far less than normal, the user should check battery health before assuming hardware failure.
The battery health report is especially useful on newer devices: if reported capacity falls below 95%, calibration should be completed before replacement is considered. This methodical check gives the user clearer control, better diagnosis, and freedom from misleading battery data and premature expense overall.
Understand What Battery Calibration Does
Battery calibration realigns the laptop’s battery gauge by establishing accurate full-charge and low-charge reference points. This process enables the system to report an accurate reading of remaining power by mapping true capacity limits. It typically requires a full charge, a complete discharge, and an uninterrupted recharge so software can correctly interpret the battery’s actual range.
When a laptop shows abrupt percentage drops or becomes stuck at one level, battery calibration addresses that measurement error rather than the cell itself.
- It frees the user from unreliable estimates that interrupt work without warning.
- It restores confidence when charge percentages finally reflect real operating time.
- It supports battery health through periodic correction, commonly every two to three months.
- It prevents false hope by clarifying limits: calibration improves reporting, not worn-out capacity.
This distinction matters. A degraded battery may still need replacement, even after calibration produces a more stable and accurate reading for users.
Prepare Your Laptop for Calibration
Preparation begins by verifying battery health and charging the laptop to 100%.
Then, keep it connected to AC power for at least two additional hours.
Power settings should then be adjusted to disable sleep and hibernation, and Dell Power Manager or BIOS charging behavior should be set to Standard.
Once these conditions are configured, the system can proceed through a complete discharge and recharge cycle for accurate calibration.
Check Battery Health
Accuracy starts with verifying battery health before calibration begins. To check battery health, one may run `powercfg /batteryreport` in Command Prompt or PowerShell, then review the report saved in the Windows system folder for full charge capacity, design capacity, battery percentage, and battery charge behavior.
- A new battery should show at least 95% of design capacity, offering confidence and operational freedom.
- If full charge capacity falls below 90%, the report signals wear and a calibration cycle may restore accurate readings.
- A status marked “Poor” or heavy wear demands swift battery care, preventing deeper frustration and unreliable estimates.
- Regular monitoring helps detect decline early, enabling timely calibration or replacement and preserving independence from sudden shutdowns.
This method establishes a factual baseline before proceeding further.
Adjust Power Settings
Adjust the laptop’s power settings before calibration so the discharge-and-recharge cycle can run without interruption. The user should adjust power settings to stop sleep and hibernation, preventing the system from pausing before the battery percentage reaches a true low point.
Selecting High Performance keeps hardware fully available and limits automatic throttling that can distort the battery gauge during testing. It is also necessary to disable battery saver temporarily, since power restrictions may block a complete discharge.
Next, the user should confirm BIOS charging behavior is set to standard, allowing a full charge before calibration begins. Pending operating system updates should be installed if they improve battery management.
After these changes, the system is ready to charge your laptop to 100 percent, then proceed through the remaining calibration sequence without artificial limits.
Charge Your Laptop Battery to 100
The calibration sequence begins by charging the laptop battery to 100% so the system can register a full state of charge.
The device should then remain plugged in for at least two additional hours to stabilize the reading and confirm maximum capacity.
If the laptop uses a battery preservation or charge limit setting, that restriction should be disabled before charging to guarantee the battery can reach a true full charge.
Reach Full Charge
Begin by connecting the laptop to a compatible charger and charging the battery to 100%, preferably with the system powered off or in sleep mode to minimize interference with the calibration process. This controlled charge supports accurate calibration and restores confidence in battery reporting. For Dell systems, the BIOS Battery Charge Configuration should be set to Standard.
- Full charge creates a clear starting point, freeing the user from unreliable percentage estimates.
- Two additional hours on the charger help the battery stabilize for precise calibration.
- Minimal system activity reduces measurement distortion and preserves a disciplined process.
- A complete discharge after 100% allows the laptop to recognize true power limits, replacing uncertainty with control.
This methodical sequence strengthens gauge accuracy and extends practical battery service life over time.
Maintain Extra Charging
Once the battery reaches 100%, it should remain connected to the charger for at least 2 additional hours to complete the charge cycle and allow the battery gauge to stabilize. This dwell period helps the system confirm the fully charged state and improves calibration for accurate battery readings.
| Step | Action | Purpose |
|---|---|---|
| 1 | Charge to 100% | Reach target battery level |
| 2 | Keep plugged in 2 hours | Complete charge cycle |
| 3 | Prefer BIOS charging | Reduce system load |
| 4 | Avoid interruption | Preserve calibration integrity |
Maintaining this extra charging interval gives the power controller time to reconcile reported capacity with actual cell saturation. For users seeking liberation from unreliable percentages and abrupt shutdowns, this method establishes a dependable baseline before discharge testing begins. It supports consistent, accurate battery readings.
Disable Charge Limits
For manual battery calibration, any charge cap set in the BIOS or vendor power utility should be disabled so the laptop can reach a true 100% state. Set charging behavior to Standard mode to disable charge limits and permit an accurate battery percentage reading during the calibration process.
- Reclaim control by allowing the system to fully charge to 100%, then keep it connected for two additional hours.
- Trust the reset: after full charge, discharge the battery until the laptop powers off naturally.
- Restore accuracy by recharging uninterrupted to 100%, letting the controller relearn empty and full states.
- Break hidden restrictions in firmware or power software, because partial charging traps the gauge in uncertainty and undermines dependable runtime estimates and user freedom from misleading battery reports.
Drain the Battery Until the Laptop Shuts Off
Run the laptop on battery power until it fully discharges and shuts off, as this gives the system a more accurate low-end reference for the battery gauge. During this calibration phase, the device should remain unplugged and active so the battery can discharge in a controlled, observable way. This process frees the user from unreliable estimates and supports accurate readings during daily use.
In practice, the laptop will usually warn at low power, then continue toward a critical threshold, often between 5 and 10 percent, before powering down automatically. That shutdown marks the point needed for calibration, not a manual stop at a higher level.
To avoid interference, unnecessary peripherals should be disconnected, and sleep or hibernation settings should be adjusted temporarily so the system stays on until the battery reaches empty. When performed periodically, this discharge cycle helps correct battery gauge drift and improves confidence in remaining runtime estimates without dependence on misleading percentages.
Let the Battery Rest, Then Recharge Fully
Allow the battery to remain off and unused for 3 to 5 hours after the laptop shuts down from a full discharge. This pause helps let the battery rest, prevents additional wear, and gives internal chemistry time to stabilize.
Keeping the laptop inactive during this interval allows the system to register a true empty state, which is necessary to calibrate the power gauge with greater precision.
- Freedom begins with patience; restraint protects the cell from avoidable stress.
- Accuracy returns when the battery percentage can settle without interruption.
- Control improves when the user can recharge fully in one uninterrupted session to 100%.
- Confidence grows as this disciplined cycle supports stronger calibration and battery longevity.
After the rest period ends, the laptop should be connected to power and left charging continuously until full.
Repeating this method occasionally helps maintain reliable readings and steadier performance over time for the operating system.
What to Do If Battery Readings Stay Wrong
If the battery percentage remains inaccurate after a full rest-and-recharge cycle, the next step is to verify whether the problem is calibration-related or a sign of battery wear. Physical swelling, heat, or steep runtime loss usually point toward replacement, not another calibration process.
| Check | Why it matters |
|---|---|
| Run `powercfg /batteryreport` | Reveals battery health trends |
| Compare design capacity vs full charge capacity | Confirms wear level |
| Repeat calibration process | Some packs improve after several cycles |
| Disable health management on Intel MacBooks | Allows full charging during testing |
| Review community forum reports | Surfaces practical fixes |
The report provides objective evidence by comparing design capacity with present full-charge capacity. A large gap signals aging cells. If readings still drift, repeating the calibration process two or three times may stabilize reporting. On Intel-based MacBooks, battery health management should remain off during testing. Community forums can also expose model-specific faults and realistic replacement thresholds.
Frequently Asked Questions
How to Increase Laptop Battery Longevity?
Increasing laptop battery longevity requires disciplined battery maintenance tips: optimize charging habits, enable power saving settings, moderate usage patterns, install software updates, avoid deep discharges, use approved chargers, and keep charge levels within 20–80% for autonomy.
How Do I Recalibrate My Battery?
Recalibrating the battery requires charging to 100%, resting, discharging to shutdown, waiting, then recharging uninterrupted. This improves battery health, informs charging cycles, complements power settings and software updates, and may delay battery replacement decisions.
How Do I Manually Calibrate My HP Laptop Battery?
To manually calibrate an HP laptop battery, one charges fully, one discharges completely, one waits five hours, one recharges uninterrupted. This improves Battery health, refines Charge cycles, supports Battery maintenance, optimizes Power settings, and restores Laptop performance.
How Do I Reset My Laptop Battery?
To reset a laptop battery, one fully charges it, drains it through normal charge cycles, then recharges uninterrupted. This supports battery health, complements calibration tools, verifies power settings, and strengthens disciplined battery maintenance autonomy.
Conclusion
Battery calibration is neither a repair nor a replacement, but a precise correction of how the system interprets remaining charge. A laptop that once dies at 30 percent can, after calibration, report power with far greater accuracy. The contrast is simple: uncertainty versus reliable data, abrupt shutdowns versus predictable runtime. By checking need, charging fully, draining carefully, resting, and recharging, battery performance is not magically restored, yet battery management becomes clearer, steadier, and more dependable over time.
