
Baking bread is an age-old tradition that has been passed down through generations, often evoking memories of warm kitchens filled with the comforting aroma of freshly baked loaves. While modern conveniences like bread machines have made the process more accessible, there is something uniquely satisfying about crafting bread by hand. The tactile experience of kneading dough, the anticipation of watching it rise, and the joy of pulling a golden-brown loaf from the oven are all integral parts of the bread-making journey.
This article will guide you through the essential steps and techniques needed to bake bread without relying on a machine, allowing you to connect with the art of baking in a more personal way. The allure of homemade bread lies not only in its taste but also in the ability to customize flavors and textures to suit individual preferences. Whether you are a novice baker or someone with a bit more experience, understanding the fundamentals of bread-making can enhance your skills and deepen your appreciation for this culinary craft.
From selecting the right ingredients to mastering the kneading process, each step plays a crucial role in achieving that perfect loaf. This exploration will provide you with the knowledge and confidence to embark on your own bread-baking adventure, transforming simple ingredients into a delightful staple for your table.
Key Takeaways
- Baking bread without a bread machine is a rewarding and traditional process that allows for more control and creativity in the kitchen.
- Essential ingredients for baking bread include flour, water, salt, and yeast, while essential equipment includes a mixing bowl, measuring cups and spoons, and a baking sheet or loaf pan.
- Understanding the bread baking process involves knowing how to activate yeast, allowing the dough to rise, and knowing when the bread is fully baked.
- Choosing the right flour and yeast is crucial for the success of your homemade bread, with options including all-purpose flour, bread flour, and active dry yeast or instant yeast.
- Kneading and shaping the dough is an important step in the bread baking process, as it helps develop gluten and creates the desired shape for your bread.
Essential Ingredients and Equipment Needed
To embark on your bread-baking journey, it is essential to gather the right ingredients and equipment. The primary components of most bread recipes include flour, water, yeast, and salt. Flour serves as the backbone of the dough, providing structure and texture.
Different types of flour can yield varying results; for instance, bread flour has a higher protein content than all-purpose flour, which contributes to a chewier texture and better rise. Water is equally important, as it hydrates the flour and activates the yeast, while salt enhances flavor and controls fermentation. In addition to these core ingredients, you may want to consider adding sugar or fats such as butter or oil.
Sugar not only sweetens the bread but also feeds the yeast, promoting a more vigorous rise. Fats can enrich the dough, resulting in a softer crumb and improved shelf life. When it comes to equipment, having a few key tools on hand can make the process smoother.
A large mixing bowl, a sturdy wooden spoon or dough scraper, a clean surface for kneading, and a baking sheet or loaf pan are essential. A kitchen scale can also be beneficial for precise measurements, especially when working with flour.
Understanding the Bread Baking Process
The process of baking bread can be broken down into several key stages: mixing, kneading, proofing, shaping, baking, and cooling. Each stage is vital in developing the flavor and texture of the final product. Initially, the ingredients are combined in a mixing bowl to form a shaggy dough.
This is where the magic begins; as the flour absorbs water and yeast activates, gluten starts to develop. Gluten is a network of proteins that gives bread its structure and elasticity. Once mixed, the dough must be kneaded to further develop gluten.
Kneading involves folding and stretching the dough until it becomes smooth and elastic. This process not only strengthens the gluten but also incorporates air into the dough, which is essential for leavening. After kneading, the dough is left to proof or rise.
During this time, yeast ferments sugars in the dough, producing carbon dioxide gas that causes the dough to expand. This first rise typically lasts about one to two hours or until the dough has doubled in size. Understanding these stages allows bakers to appreciate how each step contributes to the overall quality of the bread.
Choosing the Right Flour and Yeast
| Flour Type | Protein Content (%) | Best for |
|---|---|---|
| All-Purpose Flour | 10-12% | Baking, pancakes, waffles |
| Bread Flour | 12-14% | Yeast breads, pizza dough |
| Whole Wheat Flour | 14-16% | Whole grain breads, muffins |
| Yeast Type | ||
| Active Dry Yeast | Longer rise times, needs to be dissolved in water | |
| Instant Yeast | Shorter rise times, can be added directly to dry ingredients |
Selecting the appropriate flour and yeast is crucial for successful bread baking. Flour types vary widely in protein content and gluten-forming potential. Bread flour is often recommended for yeast breads due to its higher protein content (typically around 12-14%), which results in a stronger gluten structure.
All-purpose flour can also be used but may yield a slightly denser loaf. For specialty breads like sourdough or whole grain loaves, consider using whole wheat flour or rye flour, which impart unique flavors and textures. Yeast is another critical component in bread-making.
There are two primary types of yeast used in home baking: active dry yeast and instant yeast. Active dry yeast requires proofing in warm water before use, while instant yeast can be mixed directly into dry ingredients without prior activation. Both types work effectively; however, instant yeast tends to produce quicker results due to its finer granules and higher potency.
Additionally, some bakers may choose to experiment with sourdough starter or wild yeast for a more complex flavor profile. Understanding these options allows bakers to tailor their recipes according to their preferences and desired outcomes.
Kneading and Shaping the Dough
Kneading is an essential skill that transforms a sticky mass of ingredients into a smooth and elastic dough. The process typically involves pressing down on the dough with your palms, folding it over itself, and turning it 90 degrees before repeating. This rhythmic motion helps develop gluten while also incorporating air into the mixture.
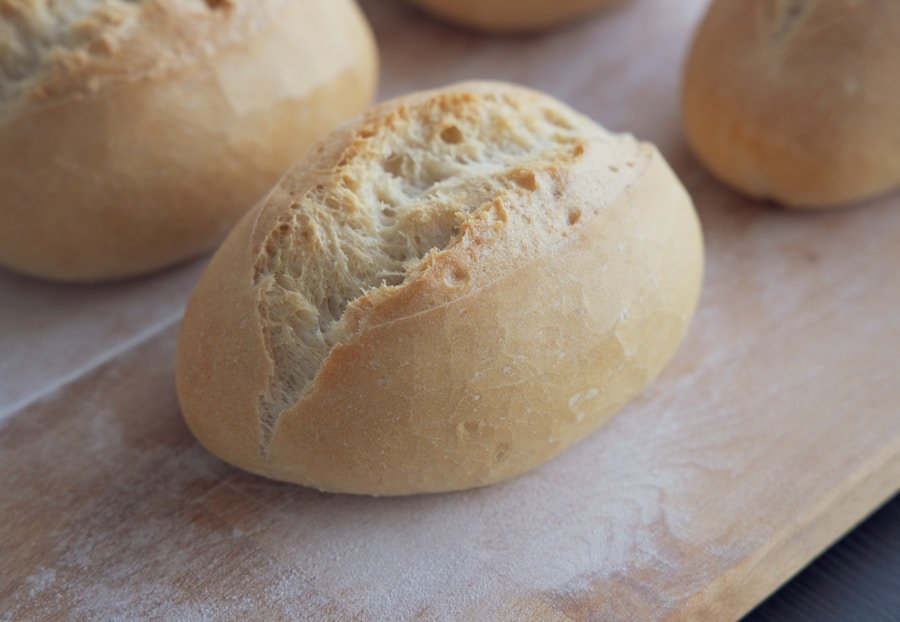
Kneading can be done by hand or with a stand mixer fitted with a dough hook; however, many bakers find that hand-kneading provides a more intimate connection with their dough. Once kneaded to perfection, shaping the dough is the next step in creating an aesthetically pleasing loaf. There are various shaping techniques depending on the type of bread being made.
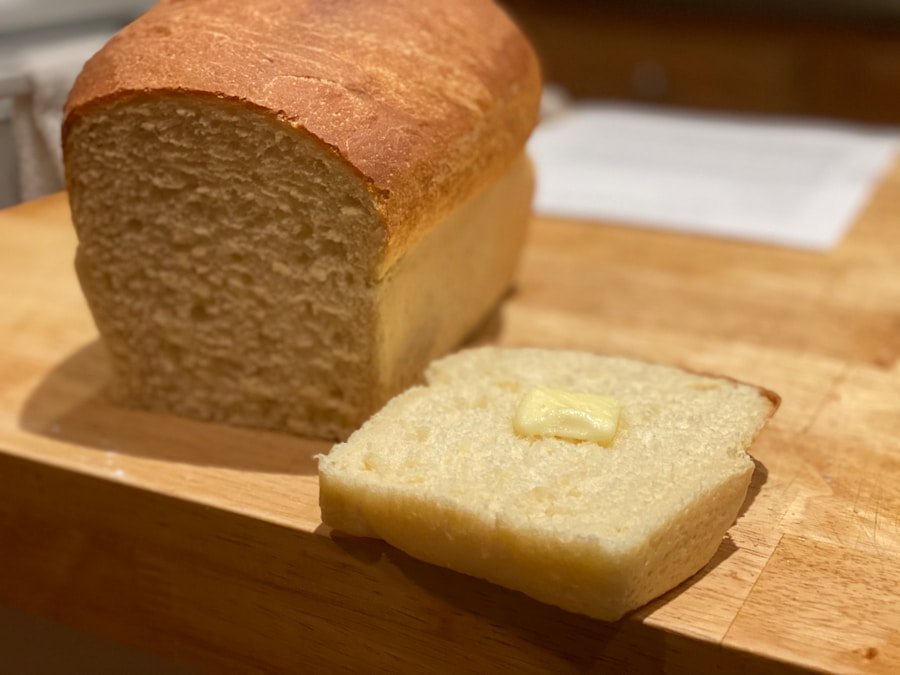
For a basic round loaf, gently flatten the dough into a rectangle before folding it into thirds like a letter. Then roll it tightly from one end to form a smooth ball. For sandwich loaves, shape the dough into an oval before rolling it tightly into a log shape that fits snugly into your loaf pan.
Proper shaping not only enhances appearance but also helps create surface tension that supports rising during proofing.
Baking and Testing for Doneness
Preheating the Oven
Preheating your oven is crucial; most recipes recommend temperatures between 375°F to 475°F (190°C to 245°C), depending on the type of bread being baked. A hot oven ensures that steam forms quickly around the dough, promoting oven spring—the rapid rise that occurs during the initial moments of baking.
Testing for Doneness
To test for doneness, bakers often rely on visual cues as well as internal temperature measurements. A well-baked loaf should have a golden-brown crust that sounds hollow when tapped on the bottom—a classic sign of doneness. Additionally, using an instant-read thermometer can provide an accurate internal temperature reading; most breads are done when they reach around 190°F to 210°F (88°C to 99°C).
Cooling the Bread
Allowing your bread to cool on a wire rack after baking is essential; this prevents moisture from accumulating at the bottom and ensures an even texture throughout.
Tips for Troubleshooting Common Bread Baking Issues
Even experienced bakers encounter challenges along their journey; however, understanding common issues can help troubleshoot effectively. One frequent problem is dense or heavy bread, which may result from insufficient kneading or under-proofing. Ensuring that your dough has been kneaded until smooth and elastic will help develop gluten properly.
Additionally, allowing adequate time for proofing ensures that yeast has enough opportunity to ferment and produce gas. Another common issue is overly dry or crumbly bread, which can occur due to too much flour being added during mixing or kneading. It’s important to measure flour accurately—using weight rather than volume can help achieve consistency across batches.
If you find your dough too dry during mixing, adding small amounts of water gradually can help achieve the desired consistency without compromising texture.
Enjoying and Storing Your Homemade Bread
Once your homemade bread has cooled completely, it’s time to enjoy the fruits of your labor! Freshly baked bread can be savored on its own or paired with various toppings such as butter, jam, or olive oil for dipping. The versatility of homemade bread allows it to complement any meal—from breakfast toast to sandwiches for lunch or dinner accompaniments.
Storing your homemade bread properly is essential for maintaining its freshness over time. For short-term storage (up to three days), keep your bread wrapped in a clean kitchen towel or placed in a paper bag at room temperature; this helps retain moisture while allowing some air circulation to prevent mold growth. For longer storage periods, consider freezing your bread by wrapping it tightly in plastic wrap followed by aluminum foil or placing it in an airtight freezer bag—this method preserves flavor and texture for up to three months.
Baking bread without a machine may seem daunting at first; however, with practice and patience, anyone can master this rewarding skill. The process not only yields delicious results but also fosters creativity and connection with culinary traditions that span centuries.
If you’re looking to enhance your kitchen skills beyond baking bread, you may want to check out this article on the 5 Best Coat Racks for Small Spaces. It offers practical solutions for organizing your entryway or bedroom. Additionally, if you enjoy hosting gatherings and serving delicious homemade bread on stylish trays, you might find the 5 Best Indoor Outdoor Serving Trays article helpful. And for those interested in upgrading their home security, the 5 Best Smart Doorbells with Video article provides insights into the latest technology available.
FAQs
What are the basic ingredients needed to bake bread without a bread machine?
The basic ingredients needed to bake bread without a bread machine are flour, water, yeast, salt, and sometimes sugar or honey.
What are the steps to knead bread dough by hand?
To knead bread dough by hand, start by mixing the ingredients together until a shaggy dough forms. Then, turn the dough out onto a floured surface and knead it by pressing and folding the dough with the heels of your hands. Continue kneading for about 10-15 minutes until the dough becomes smooth and elastic.
How long does it take for bread dough to rise?
The time it takes for bread dough to rise can vary depending on factors such as room temperature and the type of yeast used. Generally, bread dough takes about 1-2 hours to rise until it has doubled in size.
What are some tips for shaping bread dough before baking?
Some tips for shaping bread dough before baking include gently pressing the dough into a rectangle, then rolling it into a tight cylinder and tucking the ends under to form a smooth loaf shape. It’s important to handle the dough gently to avoid deflating it.
What temperature and how long should bread be baked in the oven?
Bread should be baked in a preheated oven at around 375-425°F (190-220°C) for about 20-30 minutes, depending on the size and type of bread being baked. It’s important to bake the bread until it is golden brown and sounds hollow when tapped on the bottom.
