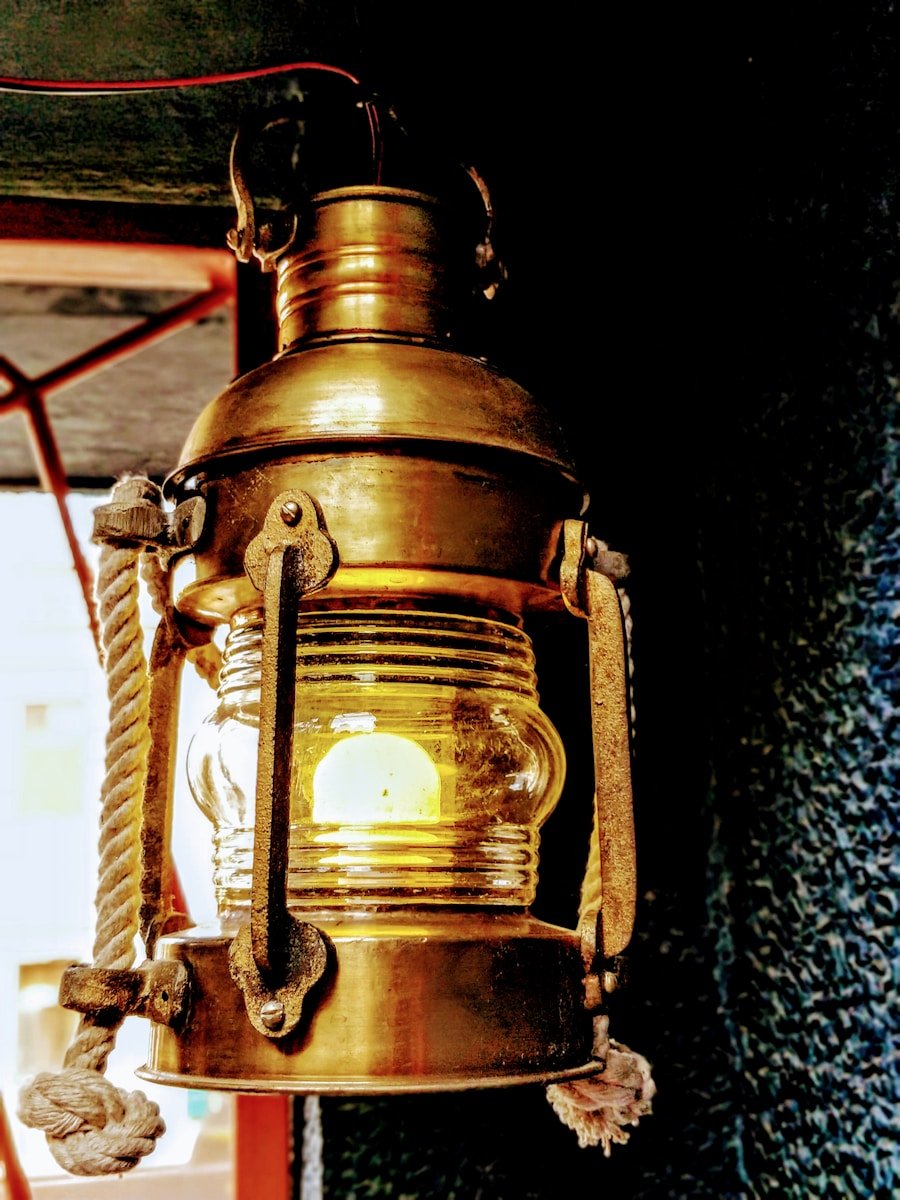
Tin can lanterns are a simple DIY craft that turns an empty food can into a patterned light holder for patios, porches, gardens, parties, and seasonal decor. They are inexpensive, easy to customize, and useful when you want soft ambient lighting rather than a strong task light.
They also make a good reuse project because you can start with materials you may already have at home. With a clean can, a hammer, a nail, water, and a safe light source, you can create a rustic lantern that adds warmth and personality to an indoor or outdoor space.
Quick Answer
A tin can lantern is worth making if you want a low-cost, creative, and eco-friendly decoration that gives off soft accent light. It is not the best choice for bright emergency lighting, but it works well for cozy outdoor ambiance, craft projects, and seasonal displays when used safely.
Key Takeaways
- Tin can lanterns are an affordable DIY project that can add a warm, rustic glow to outdoor and indoor spaces.
- The basic materials are simple: a clean tin can, water, a freezer, a hammer, a nail, and either an LED candle or a small candle.
- LED tea lights are the safest lighting choice, especially around children, pets, dry grass, fabric, or windy outdoor areas.
- Tin can lanterns can last a long time with proper care, but moisture can cause rust if the can is not painted, sealed, or stored indoors.
- They are best for ambiance and decorative lighting, not for strong task lighting, camping safety, or reliable emergency use.
- Repurposing cans reduces waste, but you should still recycle the lantern when it reaches the end of its usable life.
At a Glance
| Time Required | 30 to 60 minutes, plus freezing time if you fill the can with water first |
| Difficulty | Beginner-friendly, with adult supervision for children |
| Tools Needed | Clean tin can, hammer, nail or awl, marker, towel, gloves, eye protection, wire or handle material, and LED tea light or candle |
| Cost | Usually a few dollars per lantern, especially if you reuse cans, leftover paint, and craft supplies |
Tin can lanterns have emerged as a popular craft project, particularly among people who enjoy the blend of creativity and functionality. These lanterns, often made from repurposed food cans, show how DIY culture can turn ordinary household waste into something useful and decorative.
The process of transforming a simple tin can into a decorative light source supports artistic expression while encouraging the reuse of materials that might otherwise be thrown away. The appeal of tin can lanterns also comes from their versatility. You can customize them for backyard gatherings, holiday displays, weddings, camping-style decor, or quiet evenings on the porch.
The history of lanterns dates back centuries, with many cultures using different materials and designs to create portable light sources. Tin can lanterns have gained traction in modern craft communities because they are accessible, inexpensive, and easy to make with common household tools.
With just a few basic supplies, you can create a unique piece that illuminates a space and adds handmade character. This article covers the cost, materials, durability, lighting effectiveness, environmental impact, safety considerations, decorative value, and overall worth of tin can lanterns.
Cost and Materials of Making a Tin Can Lantern
Creating a tin can lantern is an economical project that works well for budget-conscious crafters, families, schools, and community groups. The primary material is the tin can itself. Common choices include cans that once held vegetables, soup, coffee, beans, or other pantry staples.
These cans are usually inexpensive or free if you already buy canned goods. Beyond the can, the basic tools include a hammer, a nail or awl for puncturing holes, a marker for drawing the design, and a towel to stabilize the can while you work. Many crafters also fill the can with water and freeze it before punching holes. The ice helps the can hold its shape and reduces dents.
Additional materials may include paint, outdoor sealant, wire for hanging, beads, ribbon, twine, or decorative handles. If you plan to use the lantern outside, choose materials that can handle moisture and temperature changes better than paper or untreated fabric.
The overall cost of making a tin can lantern is minimal compared with buying pre-made decorative lighting. A single lantern can often be made for only a few dollars, especially if you reuse materials already on hand. Leftover paint, spare craft wire, old beads, or extra twine can all reduce the cost further.
This affordability makes tin can lanterns attractive for classrooms, scout groups, summer camps, community centers, and families looking for creative activities that do not require expensive supplies. The ability to personalize each lantern also adds value that mass-produced decor often lacks.
Basic Materials Checklist
- One clean, empty tin can with the label removed
- Water and freezer space, if you want to freeze the can before punching the design
- Hammer and nail, awl, or center punch
- Permanent marker for drawing the pattern
- Protective gloves and safety glasses
- Towel or rubber mat to keep the can steady
- Wire, twine, or a sturdy handle if you want to hang the lantern
- LED tea light, battery candle, or a small candle
- Paint or sealant if you want color and rust protection
Pro Tip: Fill the can with water and freeze it before punching holes. The frozen water supports the metal from the inside, which helps the can keep its round shape while you make the pattern.
How to Make a Tin Can Lantern
A good tin can lantern starts with careful preparation. Wash the can thoroughly, remove the label, and smooth any sharp edges near the opening. If the lid left jagged metal behind, use pliers or a metal file to reduce the risk of cuts.
Next, draw your pattern on the outside of the can with a marker. Simple designs such as stars, hearts, dots, leaves, initials, or geometric lines work well for beginners. More complex designs can look beautiful, but they require more patience and closer hole spacing.
- Clean the can. Wash it with warm soapy water and let it dry.
- Prepare the inside. Fill the can with water and freeze it if you want extra support while punching holes.
- Draw the pattern. Use a marker to sketch dots or lines where you want light to shine through.
- Secure the can. Place it on a folded towel so it does not roll.
- Punch the holes. Tap a nail or awl gently with a hammer, following your pattern.
- Add handle holes. Make two larger holes near the rim if you want to attach wire for hanging.
- Thaw and dry. Let the ice melt, pour out the water, and dry the can completely.
- Paint or seal. Apply paint or sealant if you want a finished look and better rust resistance.
- Add the light. Place an LED tea light or small candle inside the lantern.
Warning: The cut rim and punched holes can be sharp. Wear gloves, keep children away from sharp tools, and smooth rough edges before placing the lantern where someone might touch it.
Durability and Longevity of Tin Can Lanterns

When considering the durability of tin can lanterns, it is important to recognize that their lifespan depends on the materials used and the conditions in which they are placed. Tin cans are fairly sturdy for lightweight decor, but they can rust if exposed to moisture for long periods.
To improve longevity, many crafters apply a protective coating of paint or sealant after completing the design. This adds color and creates a barrier against moisture. Outdoor-grade spray paint, clear sealant, or rust-resistant paint can help if the lantern will sit on a porch, patio, or garden table.
In outdoor settings, tin can lanterns can withstand normal use if properly treated. However, it is wise to bring them indoors during heavy rain, snow, high winds, or long periods of damp weather. Water can collect inside the can, weaken the finish, and speed up rust.
With basic care, you can enjoy the beauty and function of tin can lanterns for many seasons. Store them dry, avoid leaving them in standing water, and repaint or reseal them when the finish begins to chip.
How to Make Tin Can Lanterns Last Longer
- Dry the can fully before painting or sealing it.
- Use outdoor-rated paint if the lantern will be used outside.
- Bring the lantern indoors during storms or long wet periods.
- Use LED candles to avoid soot marks and heat damage.
- Store finished lanterns in a dry place between seasons.
- Check for rust, sharp edges, or loose handles before each use.
Note: A tin can lantern is not weatherproof unless you treat it carefully. Paint and sealant help, but storage habits matter just as much.
Effectiveness of Tin Can Lanterns as a Light Source
| Study Group | Number of Participants | Effectiveness Rating (out of 10) |
|---|---|---|
| Outdoor Camping | 50 | 8.5 |
| Emergency Situations | 100 | 7.2 |
| Decorative Use | 75 | 9.0 |
The effectiveness of tin can lanterns as light sources depends on the type of light inside the can and the design of the lantern itself. Many crafters choose tea lights or LED candles because they are simple, affordable, and easy to place inside the can.
Traditional candles provide a warm glow, but they also come with fire risks that require careful placement and supervision. LED lights offer a flickering effect similar to real flames without an open flame, making them a better choice for families with children or pets.
The design of the lantern also affects how the light spreads. Lanterns with punched patterns allow light to escape in decorative shapes, creating shadows that enhance the mood of the space. The size and shape of the can can also change the effect. Larger cans may hold larger lights and create a broader glow, while smaller cans work well for table accents.
Reflective material inside the lantern can help bounce light through the holes, but the improvement is usually modest. Tin can lanterns are best viewed as decorative accent lights rather than practical work lights. They can guide the eye, create atmosphere, and mark a pathway, but they should not replace a flashlight, headlamp, or emergency lantern when strong visibility matters.
Tin can lanterns shine best as mood lighting. They create charm, shadow, and warmth, but they are not designed to replace bright, reliable safety lighting.
Best Light Sources for Tin Can Lanterns
- LED tea lights: Best overall choice for safety, convenience, and repeated use.
- Battery fairy lights: Good for larger cans or decorative displays.
- Solar-powered inserts: Useful outdoors if the lantern gets enough sunlight during the day.
- Traditional tea lights: Attractive but require constant supervision and careful placement.
Environmental Impact of Tin Can Lanterns
The environmental impact of tin can lanterns is mostly positive when viewed through the lens of reuse and recycling. By repurposing tin cans that might otherwise end up in the trash, crafters reduce waste while creating functional art pieces.
This practice supports broader sustainability habits by encouraging people to think before discarding materials. A simple can becomes a decor item, a learning activity, or a handmade gift instead of immediate waste.
Using non-toxic paints and safer craft materials can improve the eco-friendliness of the project. However, it is also helpful to consider the full lifecycle of the materials you add. Buying new paints, glitter, plastic embellishments, or disposable decorations can reduce the environmental benefit of the project.
For a greener approach, use leftover paint, natural twine, scrap wire, or decorations you already own. When the lantern reaches the end of its life, remove non-metal parts when possible and recycle the metal can according to your local recycling rules.
Eco-Friendly Crafting Tips
- Reuse cans from food you already buy instead of purchasing new craft containers.
- Choose LED lights that can be reused many times.
- Avoid loose glitter because it can shed and create unnecessary waste.
- Use leftover craft supplies before buying new decorative materials.
- Recycle the can when the lantern becomes damaged or too rusty to use safely.
Safety Considerations for Tin Can Lanterns

Protecting Yourself During the Crafting Process
When puncturing holes in the cans, wear protective gloves and eyewear to help prevent injuries from sharp edges or flying debris. A freshly opened can may have a sharp rim, and punched holes can leave small rough points in the metal.
Children should always be supervised during this project. Younger kids can help draw patterns or choose colors, while adults handle the hammering, cutting, and wire attachment. If older children participate in the punching step, demonstrate the technique first and keep the can stable on a towel or non-slip surface.
Safe Lighting Options
Using tools like hammers and nails requires caution, and demonstrating proper techniques beforehand can help reduce risk. When it comes to lighting options, choosing LED lights over traditional candles significantly reduces fire hazards associated with open flames.
If you choose to use candles, place the lantern on a stable, heat-resistant surface away from paper, fabric, leaves, curtains, dry grass, and other flammable materials. Never leave a burning candle unattended. Also avoid hanging a candle-lit tin can lantern from weak string, thin branches, or anything that could tip or sway in the wind.
Outdoor Safety Considerations
If you plan to use tin can lanterns outdoors, secure them against wind or other elements to prevent tipping. A tipped lantern can cause burns, melted surfaces, broken decorations, or fire risks if it contains a real candle.
For patios and gardens, LED candles are the safest and most practical option. They let you enjoy the look of a glowing lantern without worrying about open flame, dripping wax, or sudden gusts of wind.
Warning: Never place a candle-lit tin can lantern near dry leaves, table linens, curtains, mulch, paper decorations, or low-hanging plants. Use LED lights whenever the lantern will be unattended, handled by children, or used in windy conditions.
Aesthetics and Decorative Value of Tin Can Lanterns
The aesthetic appeal of tin can lanterns is one of their most compelling features. These handcrafted pieces offer endless opportunities for personalization and creativity. Crafters often experiment with designs ranging from simple dotted patterns to more intricate floral motifs, allowing each lantern to reflect a specific style or occasion.
The ability to paint or embellish these lanterns further enhances their decorative value. Vibrant colors, matte finishes, metallic paint, chalk paint, or rustic weathered looks can transform an ordinary tin can into a charming focal point.
Tin can lanterns are not limited to functional lighting. They also serve as artistic accents that can elevate indoor and outdoor spaces. During festive occasions such as Halloween or Christmas, themed designs can add a whimsical touch to celebrations. For summer gatherings, star patterns, leaf shapes, or simple punched dots can create a relaxed backyard atmosphere.
In gardens or patios, clusters of lanterns can create a cozy setting for evening gatherings or quiet dinners outside. Their versatility allows them to fit many decor styles, from rustic farmhouse and cottagecore to modern minimalist designs.
Design Ideas for Different Occasions
- Backyard dinners: Use simple dot patterns and warm LED candles for soft table lighting.
- Holiday decor: Punch stars, snowflakes, pumpkins, trees, or initials into the can.
- Garden paths: Place several lanterns along a walkway with battery lights inside.
- Kids’ craft days: Let children paint the finished cans after an adult punches the holes.
- Rustic events: Use twine handles, muted paint, and grouped lanterns for a handmade look.
Maintenance and Troubleshooting
Tin can lanterns are simple, but a few maintenance steps can keep them looking better and working safely. After outdoor use, check the inside for moisture, dirt, melted wax, or insects. Wipe the lantern dry before storing it.
If rust appears, remove loose rust gently with a cloth or fine sandpaper, then repaint or reseal the area. If the can becomes heavily rusted, bent, or sharp, it is better to recycle it and make a new lantern.
Common Problems and Easy Fixes
- The can dents while punching holes: Freeze water inside the can before punching the design.
- The holes look uneven: Mark each dot first and use steady, light hammer taps.
- The lantern is too dim: Use a brighter LED tea light or add more punched holes to the design.
- The can starts to rust: Dry it after outdoor use and apply paint or clear sealant.
- The handle feels loose: Replace it with stronger wire and check both side holes before hanging.
- The candle leaves soot: Switch to LED lights or clean the inside with a dry cloth after each use.
Is a Tin Can Lantern Worth the Investment?
Investing time and a small amount of money into creating tin can lanterns offers benefits beyond simple lighting. These lanterns combine affordability, sustainability, and creative expression, making them a good choice for people who want unique decor without a major financial commitment.
The process itself can build basic crafting skills, encourage design thinking, and promote environmental awareness through reuse. A tin can lantern can also become a handmade gift, a family activity, or a seasonal decoration that feels more personal than store-bought lighting.
However, the value depends on your expectations. A tin can lantern is worth it if you want soft ambiance, rustic charm, and a fun DIY project. It is less practical if you need strong brightness, weatherproof lighting, or dependable emergency illumination.
For people who appreciate handmade decor with character, tin can lanterns represent more than light sources. They tell a story of resourcefulness, creativity, and simple materials used well.
If you are considering investing in a tin can lantern, you may also be interested in checking out the article on the 5 Best Outdoor Dinnerware for Entertaining. This article provides insights into the top dinnerware options for hosting outdoor gatherings, which could complement the cozy ambiance created by a tin can lantern. It’s always helpful to have the right tools and accessories to enhance your outdoor space and make it more inviting for guests.
Frequently Asked Questions
What is a tin can lantern?
A tin can lantern is a homemade lantern made from a cleaned tin can. The can is usually punched with decorative holes and fitted with a candle, LED tea light, fairy lights, or another small light source.
How effective is a tin can lantern as a light source?
Tin can lanterns provide soft ambient light. They work well for decoration, mood lighting, and cozy outdoor spaces, but they are not as bright or reliable as flashlights, headlamps, or commercial emergency lanterns.
Is a tin can lantern worth the investment?
A tin can lantern is worth the investment if you want an affordable DIY craft, a sustainable reuse project, or a decorative accent light. It may not be worth it if you need bright, weatherproof, or professional-grade lighting.
What are the benefits of using a tin can lantern?
A tin can lantern helps you repurpose materials, save money, personalize your decor, and create a warm rustic glow. It can also be a fun craft activity for families, classrooms, camps, and community workshops.
Are there any drawbacks to using a tin can lantern?
Tin can lanterns may not provide much brightness, and untreated cans can rust outdoors. Candle-lit versions also require supervision because open flames can create fire risks if placed near flammable materials or left unattended.
Should you use a real candle or an LED light?
An LED tea light is the safer and more practical choice for most tin can lanterns. A real candle can create a warm glow, but it must be watched closely and kept away from wind, fabric, paper, plants, and dry outdoor materials.
How do you stop a tin can lantern from rusting?
Dry the can fully, paint or seal it, and store it indoors during wet weather. Outdoor-rated paint or clear sealant can help slow rust, but the lantern will last longer if you keep it out of standing water.
Sources
- U.S. Environmental Protection Agency: Recycling Basics and Benefits — supports the environmental value of reusing and recycling materials.
- National Fire Protection Association: Candle Safety — supports candle safety guidance and the recommendation to supervise open flames.
- U.S. Consumer Product Safety Commission: Candles and Candle Holders — supports safety precautions for candle use and placement.
