When embarking on the journey of creating tin can lanterns, the first step is selecting the appropriate tin can. The most common choices are food cans, such as those that once held vegetables, soups, or fruits. These cans are typically made from aluminum or steel, both of which are suitable for crafting.
A standard size, like a 15-ounce can, is often ideal because it provides enough surface area for design while remaining manageable in terms of weight and handling. Additionally, the smooth surface of these cans allows for easier pattern application and a more polished final product. It’s also essential to consider the can’s shape and size in relation to your intended design.
Taller cans can create a more dramatic effect when lit, while shorter cans may be more stable and easier to handle. Furthermore, the thickness of the can’s material can influence how easily it can be punctured or cut. Thinner cans are generally easier to work with, but they may not hold up as well outdoors in windy conditions.
Therefore, balancing aesthetics with practicality is crucial when choosing the right tin can for your lantern project.
Key Takeaways
- Choose a tin can with a smooth surface and sturdy structure for lantern making
- Clean and dry the tin can thoroughly before starting the lantern making process
- Use stencils or freehand drawing to create unique and intricate patterns on the tin can
- Attach a durable handle to the tin can for easy hanging and carrying
- Consider using LED tea lights or string lights as safe and long-lasting light sources for the lanterns
Preparing the Tin Can for Lantern Making
Once you have selected your tin can, the next step is to prepare it for crafting. Begin by thoroughly cleaning the can to remove any residue from its previous contents. This can be done by rinsing it with warm water and soap, ensuring that no food particles remain.
After cleaning, it’s important to remove the label completely, as any adhesive left behind can interfere with your design and painting process later on. Soaking the can in warm water can help loosen the adhesive, making it easier to peel off. After cleaning and drying the can, you will need to create holes for your lantern design.
This is typically done by filling the can with water and placing it in the freezer overnight. The frozen water will provide a solid base that prevents the can from bending or warping as you work on it. Once frozen, remove the can from the freezer and take it out of the ice.
Using a hammer and a large nail or a small screwdriver, you can carefully punch holes into the can to create your desired pattern. The ice will keep the can sturdy while you work, allowing for precise and clean punctures.
Designing the Lantern Patterns
The design phase is where creativity truly shines in lantern making. Before you start punching holes into your tin can, it’s beneficial to sketch out your ideas on paper or even directly onto the can using a marker. Common designs include stars, hearts, or intricate geometric patterns that allow light to filter through beautifully.
For those who prefer a more thematic approach, seasonal motifs like leaves for autumn or snowflakes for winter can add a festive touch. To ensure that your design translates well onto the tin can, consider using a stencil or template. You can create stencils from cardboard or print them out from online resources.
By securing the stencil onto the can with tape, you can easily trace around it with a marker before proceeding to punch holes. This method not only saves time but also helps maintain symmetry and balance in your design. Additionally, experimenting with different hole sizes can create varying effects; larger holes will allow more light to escape, while smaller ones will produce a softer glow.
Adding a Handle for Easy Hanging
| Product | Number of Handles Added | Customer Satisfaction Rating |
|---|---|---|
| Backpack | 2 | 4.5/5 |
| Cookware Set | 3 | 4.8/5 |
| Laundry Bag | 1 | 4.2/5 |
To enhance the functionality of your tin can lanterns, adding a handle is an excellent idea. A handle not only makes it easier to hang your lanterns but also adds an extra decorative element to your creation. There are several methods to attach a handle, but one of the simplest involves using wire.
Craft wire is readily available at craft stores and comes in various thicknesses; choose one that is sturdy enough to support the weight of your lantern. To create a handle, cut a length of wire approximately 24 inches long. Puncture two small holes near the top edge of the can on opposite sides; these will serve as anchor points for your handle.
Thread one end of the wire through one hole and bend it back to form a loop before securing it tightly with pliers. Repeat this process on the opposite side with the other end of the wire. This method allows for easy adjustment of the handle’s height and angle, ensuring that your lantern hangs securely and looks aesthetically pleasing.
Selecting the Right Light Source
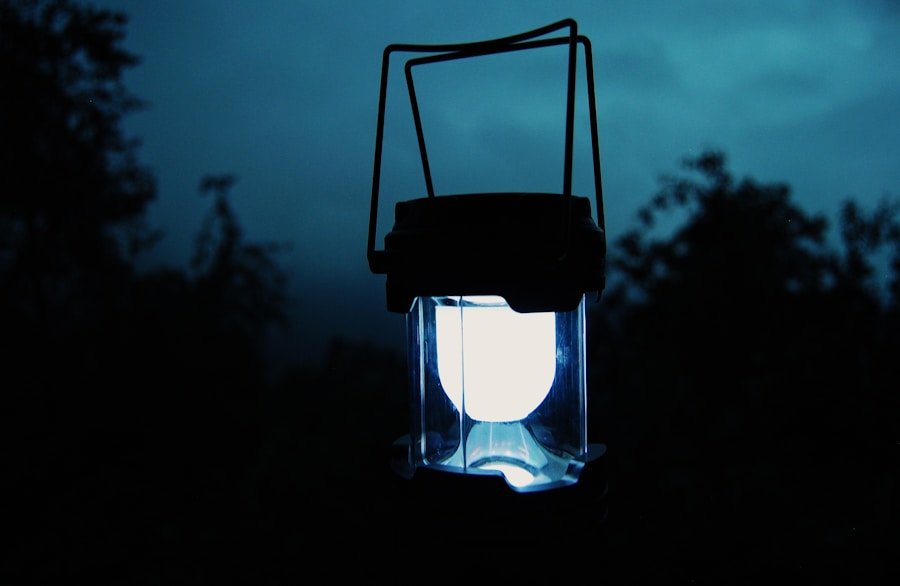
Choosing an appropriate light source is crucial for maximizing the beauty of your tin can lanterns while ensuring safety. Traditional candles are often used for their warm glow and nostalgic charm; however, they come with inherent risks such as fire hazards and melting wax. For outdoor use or in areas where safety is a concern, battery-operated LED tealights or string lights are excellent alternatives.
These options provide illumination without the risk of flames and are available in various colors and styles. If you opt for LED lights, consider using warm white bulbs to mimic the soft glow of candlelight. Some LED options even come with timers or remote controls, adding convenience to your display.
For those who wish to create a more dynamic lighting effect, colored LED lights can transform your lantern into a vibrant centerpiece for gatherings or celebrations. Whichever light source you choose, ensure that it fits comfortably within the confines of your lantern while allowing enough space for ventilation if using candles.
Safety Precautions for Tin Can Lanterns
Safety should always be a priority when crafting and displaying tin can lanterns. If you decide to use candles as your light source, it’s essential to place them on a stable surface away from flammable materials. Additionally, consider using votive candles instead of larger pillar candles; votives are less likely to tip over and are designed to be contained within holders.
Always monitor lit candles closely and never leave them unattended. For those using LED lights, while they are generally safer than traditional candles, it’s still wise to ensure that all electrical components are in good condition and suitable for outdoor use if displayed outside. If you’re using string lights, check for frayed wires or damaged bulbs before installation.
Furthermore, if you plan to hang your lanterns outdoors, ensure they are secured properly to withstand wind or rain without posing a risk of falling or causing injury.
Tips for Maximizing the Glow
To enhance the luminosity of your tin can lanterns, consider several techniques that will amplify their glow once illuminated. One effective method is to paint the interior of the can with reflective paint or aluminum foil before adding your light source. This reflective surface will bounce light around inside the can, creating a brighter effect when viewed from outside.
Additionally, using lighter colors on the exterior of your lantern will help reflect more light outward. Another way to maximize glow is by experimenting with different hole patterns and sizes. Larger holes will allow more light to escape while creating interesting shadows around them.
You might also consider layering multiple cans together; placing smaller cans inside larger ones with lights in between creates depth and enhances visual interest when lit up at night. Finally, placing your lanterns in strategic locations—such as along pathways or clustered together on tables—can create an enchanting atmosphere that draws attention and admiration.
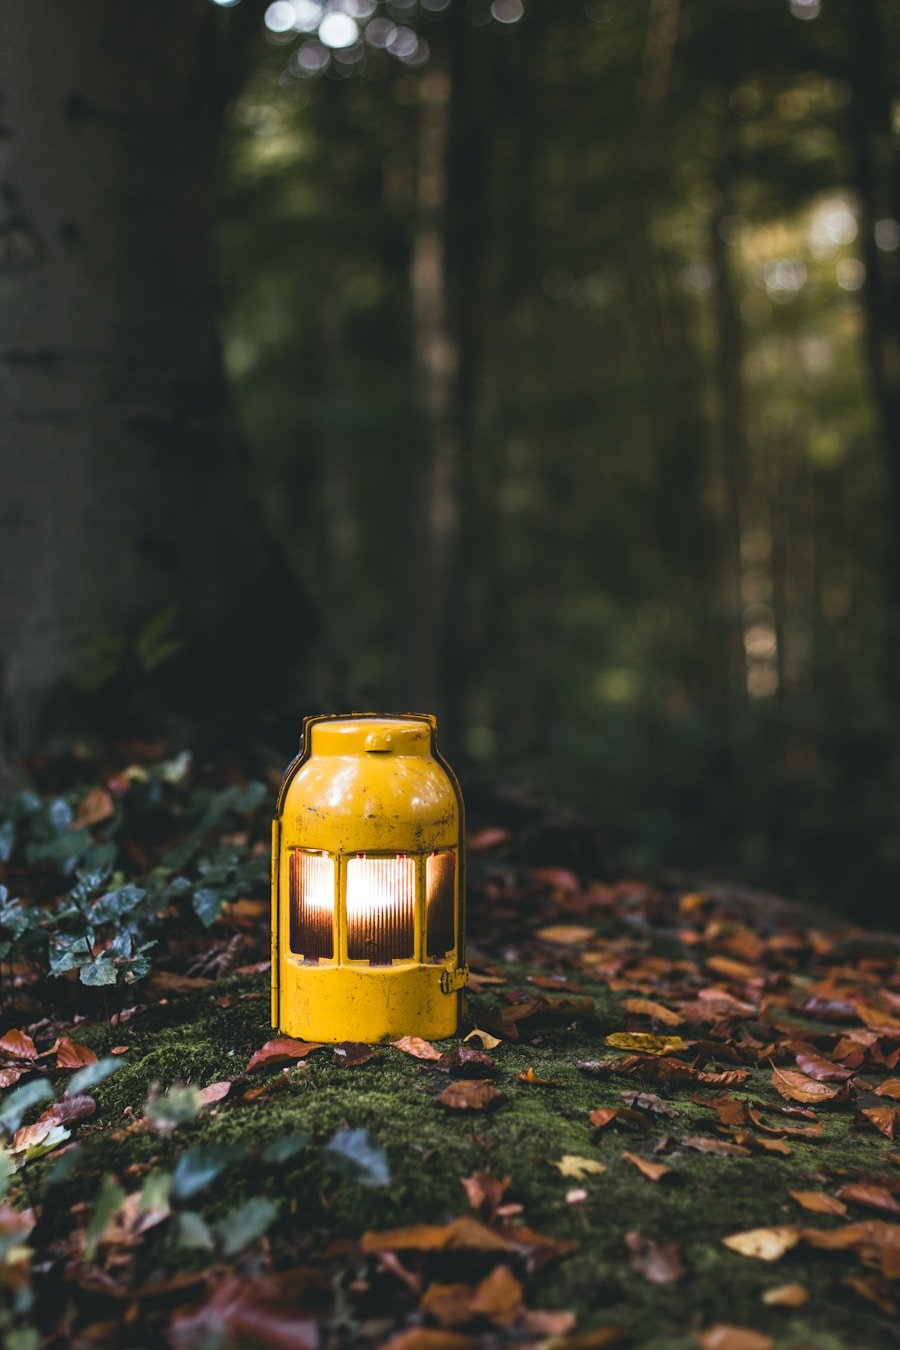
Creative Ways to Display Tin Can Lanterns
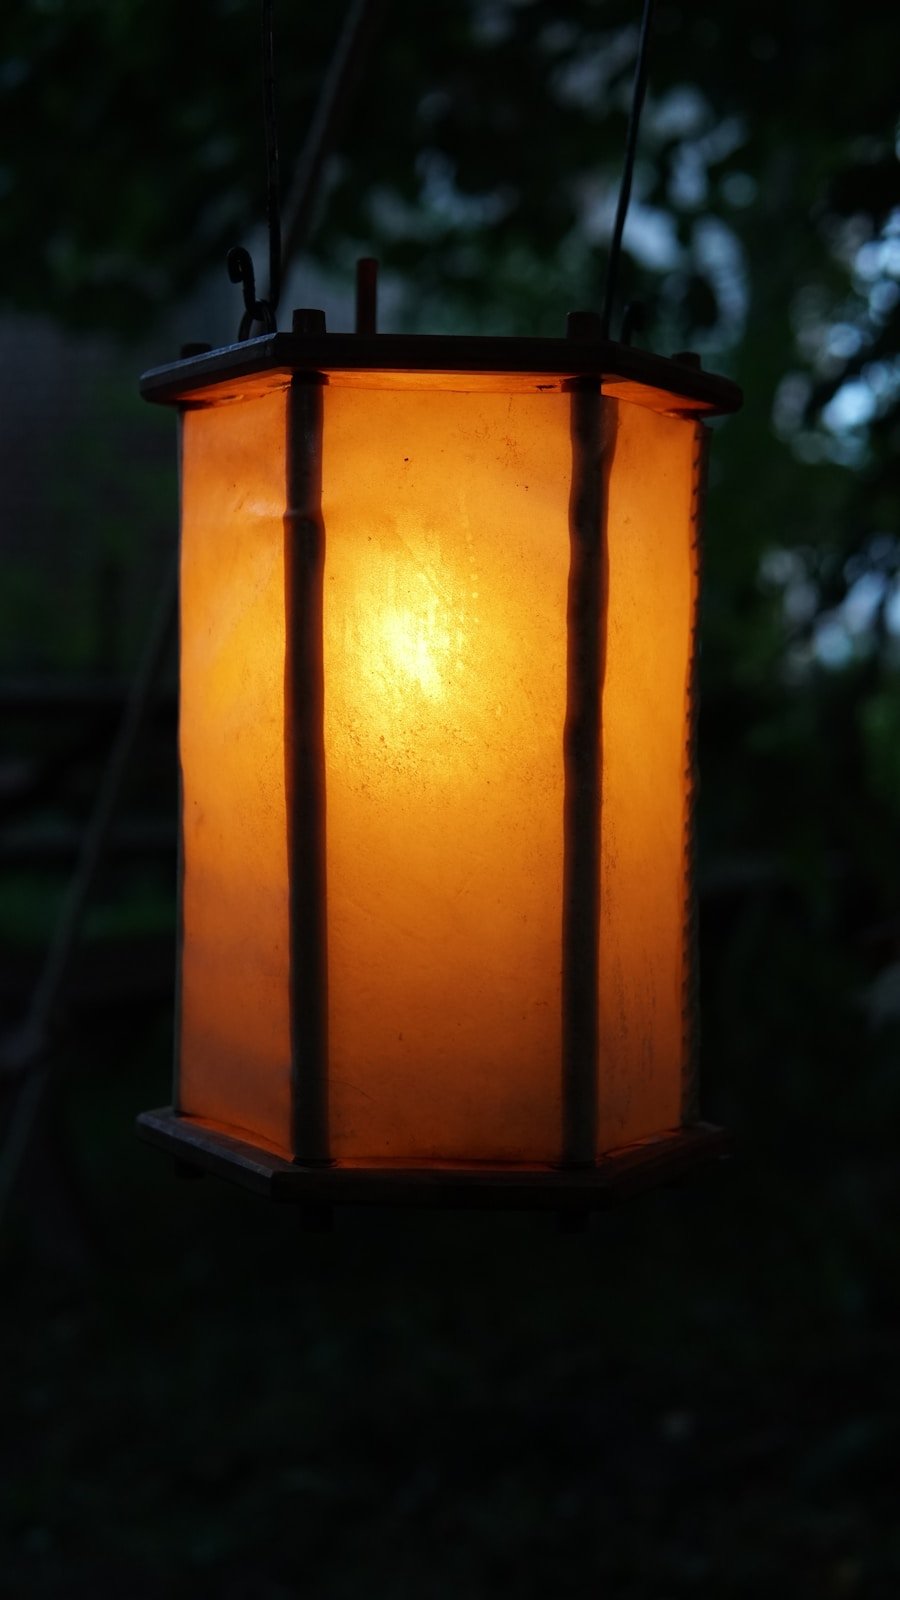
The final step in your lantern-making journey is finding creative ways to display them that highlight their beauty and functionality. One popular method is hanging them from trees or hooks in your garden or patio area; this not only adds charm but also creates an inviting ambiance during evening gatherings. You could use jute twine or decorative chains to hang them at varying heights for added visual interest.
Another innovative display idea involves creating a lantern centerpiece for outdoor dining tables or special events. Cluster several lanterns of different sizes together on a tray or wooden board adorned with natural elements like pinecones or seasonal flowers. This arrangement not only serves as an eye-catching focal point but also provides soft lighting for guests during meals or celebrations.
For those looking to incorporate their tin can lanterns into home decor, consider placing them on windowsills or mantels where they can catch natural light during the day and glow softly at night. You might also use them as part of a larger decorative scheme by painting them in coordinating colors with other elements in your space or adding embellishments like ribbons or beads for extra flair. In conclusion, crafting tin can lanterns offers an engaging way to express creativity while producing beautiful lighting solutions for various occasions.
By carefully selecting materials and employing thoughtful design techniques, anyone can create stunning lanterns that illuminate spaces both indoors and outdoors.
If you are looking to enhance your outdoor space with creative lighting solutions like tin can lanterns, you may also be interested in exploring the benefits of smart security cameras for added safety and peace of mind. Check out this article on 5 Top Smart Security Cameras for Indoors to find the perfect option for your home. Additionally, if you suffer from allergies and want to improve the air quality in your living space, consider investing in an air purifier. Learn more about the 5 Top Air Purifiers for Allergies to breathe easier. And for those looking to optimize their outdoor kitchen storage, check out the 5 Most Efficient Outdoor Kitchen Storage Solutions for practical and stylish organization ideas.
FAQs
What is a tin can lantern?
A tin can lantern is a simple and inexpensive lighting solution made from a tin can, a candle, and some basic tools. It can be used for outdoor lighting, camping, or as a decorative item.
How do you make a tin can lantern?
To make a tin can lantern, you will need a clean tin can, a hammer and nail, a candle, and some wire for hanging. Use the hammer and nail to create a pattern of holes in the can, then place the candle inside. Finally, use the wire to create a handle for hanging the lantern.
How do you use a tin can lantern effectively?
To use a tin can lantern effectively, place the candle inside the can and light it. Hang the lantern in a safe and secure location, away from flammable materials. The holes in the can will create patterns of light and shadow, providing a warm and ambient glow.
What are the safety considerations when using a tin can lantern?
When using a tin can lantern, it is important to place it on a stable surface and keep it away from anything flammable. Never leave a lit candle unattended, and be sure to extinguish the flame before leaving the lantern unattended. Additionally, be cautious when handling the hot tin can and candle.
Can a tin can lantern be used indoors?
While tin can lanterns are typically used outdoors, they can also be used indoors with proper ventilation and safety precautions. Be sure to place the lantern in a safe location away from flammable materials and never leave a lit candle unattended.
