Learning how to tie a fishing knot gives you more control over your tackle and helps prevent lost hooks, lures, and fish. Start with two beginner-friendly knots: the Improved Clinch Knot for many hook and lure setups, and the Palomar Knot when you want a simple, strong knot for many lines. With steady practice, you can tie both quickly and check them before every cast.
Quick Answer
To tie a basic fishing knot, pass the line through the hook eye, wrap the tag end around the standing line, feed it through the loop near the hook, moisten the knot, and pull it tight. The Improved Clinch Knot and Palomar Knot are two of the easiest knots for beginners to learn.
Key Takeaways
- Use the Improved Clinch Knot for many hooks, swivels, and lures on lighter setups.
- Use the Palomar Knot when you want a fast, strong knot that works well with many line types.
- Moisten each knot before tightening to reduce friction and help the wraps seat cleanly.
- Trim the tag end after the knot is snug, but leave a tiny amount of line so the knot does not slip.
- Practice with rope or cord first, then move to monofilament, fluorocarbon, or braided fishing line.
At a Glance
| Time Required | 2 to 5 minutes per knot when learning; under 30 seconds with practice |
| Difficulty | Beginner-friendly |
| Tools Needed | Fishing line, hook or lure, scissors or line clippers, and water or saliva for moistening |
| Cost | No extra cost if you already have line and tackle |
Understanding Fishing Knots
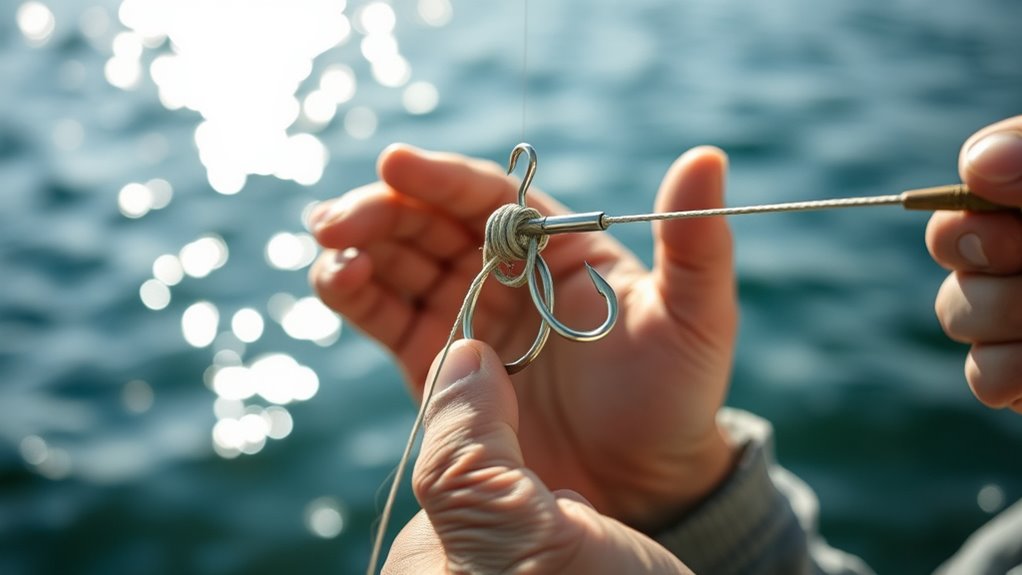
Understanding fishing knots is vital for any angler who wants a secure connection between line, hook, lure, swivel, or leader. A good knot helps your tackle stay connected when you cast, set the hook, fight a fish, or pull through weeds and current.
Different knots work better for different jobs. Some knots attach a line to a hook or lure. Others join two lines together, connect a leader, or secure backing to a reel spool. The line type also matters because monofilament, fluorocarbon, and braided line can tighten and grip in different ways.
The Palomar Knot is popular because it is simple, strong, and easy to remember. The Improved Clinch Knot is another common choice for hooks, swivels, and lures, especially when you use lighter tackle. The Blood Knot and Double Uni Knot help when you need to connect two lines.
Note: No single fishing knot is best for every setup. Match the knot to your line type, lure size, hook eye, and fishing conditions.
Effective knot tying starts with three habits: form clean wraps, moisten the line before tightening, and pull the knot snug until the wraps seat evenly. After you tie the knot, give it a firm test pull before you cast. If the wraps overlap badly, the line looks damaged, or the knot slips, cut it off and tie it again.
Step-by-Step Guide to Tying the Improved Clinch Knot
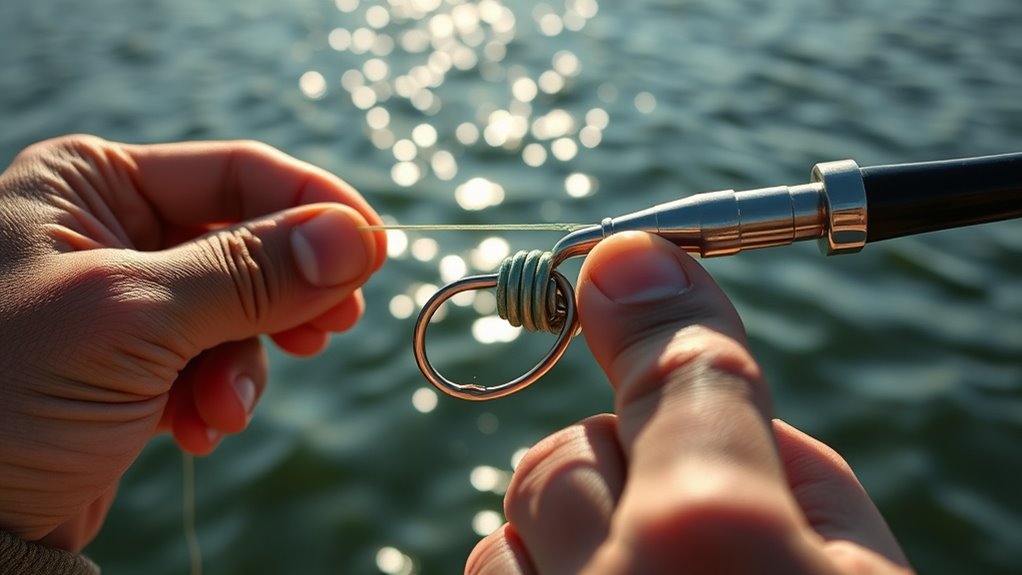
The Improved Clinch Knot is a dependable knot for tying fishing line to a hook, lure, or swivel. It is a great first knot because the steps are simple, and the finished knot is compact.
- Thread the line through the hook eye. Leave about 6 inches of tag end so you have enough line to wrap and finish the knot.
- Wrap the tag end around the standing line. Make 5 to 7 neat wraps, moving away from the hook eye.
- Pass the tag end through the small loop. This is the loop closest to the eye of the hook.
- Feed the tag end back through the larger loop. This creates the “improved” part of the knot and helps the wraps lock down.
- Moisten the knot. Use water or saliva to reduce friction while tightening.
- Pull the standing line and tag end. Tighten slowly so the wraps slide together without crossing.
- Trim the excess tag end. Leave a small amount of line beyond the knot instead of cutting it perfectly flush.
Pro Tip: If the wraps bunch up or cross over each other, cut the knot off and start again. Clean wraps usually hold better than rushed wraps.
The Improved Clinch Knot works best when the line can grip itself during tightening. It may not be the best choice for every braided-line setup because slick braid can slip more easily if the knot is not tied carefully. When using braid, test the knot firmly before fishing.
How to Tie the Palomar Knot
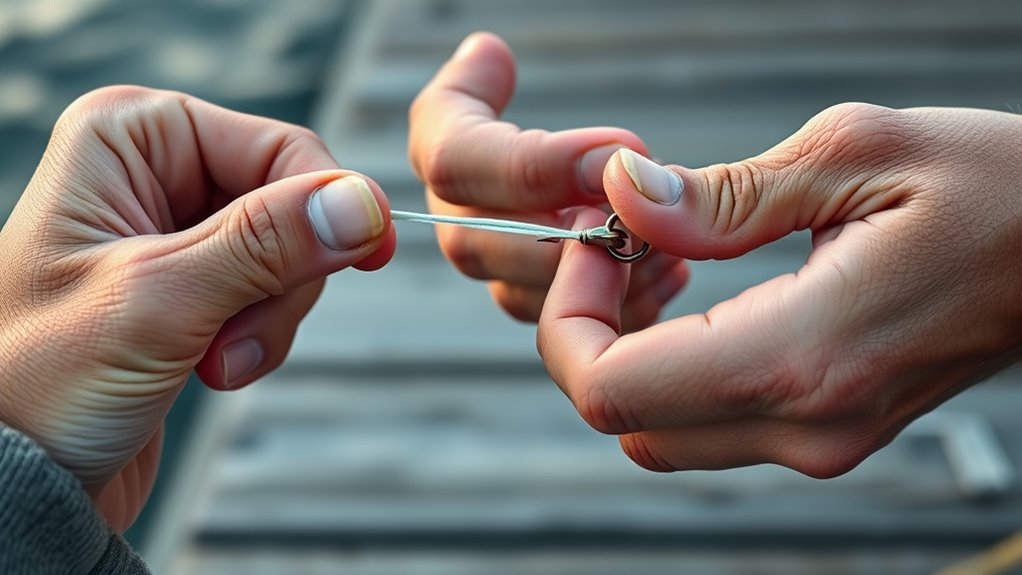
The Palomar Knot is one of the most reliable fishing knots for many common setups. It is especially useful when you want a simple knot with fewer wraps to remember.
- Double the line. Fold the line to create a loop that is long enough to pass over the hook, lure, or swivel.
- Pass the doubled line through the eye. Keep the loop open and avoid twisting it.
- Tie a loose overhand knot. Make the knot with the doubled line, while keeping the hook or lure hanging inside the loop.
- Pass the loop over the hook or lure. Move the loop all the way over the end of the hook, lure, or swivel.
- Moisten the knot. This helps the line tighten smoothly and reduces heat from friction.
- Pull both the standing line and tag end. Tighten slowly until the knot seats against the eye.
- Trim the tag end. Leave a small tag so the knot stays secure under pressure.
The Palomar Knot is beginner-friendly because the main shape is easy to see as you tie it. The biggest challenge is passing the loop over larger lures. If the loop is too short, cut the knot off and start with a longer doubled section.
Warning: Never pull a dry knot tight with force. Friction can weaken the line, especially with monofilament and fluorocarbon.
Techniques for Other Essential Fishing Knots
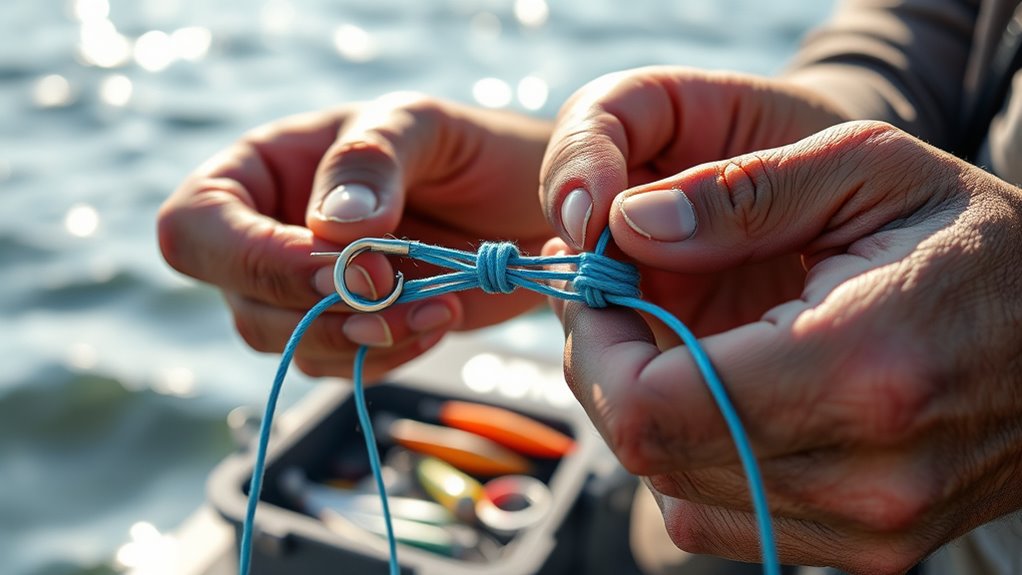
While the Palomar Knot and Improved Clinch Knot cover many basic needs, several other fishing knots are worth learning. Each one solves a different problem, so you can build a small knot toolkit for changing conditions.
Blood Knot
The Blood Knot is useful for joining two lines of similar diameter. Overlap the lines, wrap one tag end around the other line several times, then pass that tag end through the center gap. Repeat with the other tag end in the opposite direction. Moisten the knot and pull both standing lines until the wraps draw together.
Double Uni Knot
The Double Uni Knot is a practical choice when connecting two lines, including many leader-to-main-line setups. Lay the lines parallel, form a loop with one tag end, wrap inside that loop several times, and tighten. Repeat on the other side, then pull the standing lines so both knots slide together.
Snell Knot
The Snell Knot secures the line directly to the shank of a hook. It can help keep the hook aligned with the leader, which some anglers prefer for bait fishing. A common method passes the line through the hook eye, forms wraps around the hook shank, and then tightens the coils neatly against the eye.
Loop Knot
A Loop Knot creates a small loop at the lure eye instead of pulling the line tight against it. This can let some lures move more freely in the water. Keep the loop small and check it often because extra movement can add wear to the line.
Arbor Knot
The Arbor Knot helps attach fishing line to a reel spool. It is not the same as a line-to-hook knot, but it is useful when adding fresh line to your reel. Tie it carefully so the line grips the spool before you begin winding.
Mastering these techniques expands your options for different types of fishing. You can secure hooks, join leaders, spool reels, and handle tougher conditions with more confidence.
How to Choose the Right Fishing Knot
Choose your fishing knot based on what you are connecting and what line you are using. A knot that works well for a hook may not be the best option for joining two lines. A knot that holds monofilament well may need extra care with slick braided line.
| Fishing Need | Good Knot to Try | Why It Helps |
| Tying line to a hook or swivel | Improved Clinch Knot | Compact, familiar, and easy to practice |
| Tying a simple, strong hook knot | Palomar Knot | Easy steps and strong seating when tied correctly |
| Joining similar line sizes | Blood Knot | Creates a slim line-to-line connection |
| Connecting main line to leader | Double Uni Knot | Works for many mixed-line connections |
| Adding line to a reel spool | Arbor Knot | Designed to grip the spool before winding |
If you fish with light line, pay close attention to friction and line damage. If you fish around rocks, docks, weeds, or toothy fish, inspect your knot more often. Retie anytime the line looks rough, curled, flattened, or cloudy near the knot.
Tips for Practicing Knot Tying
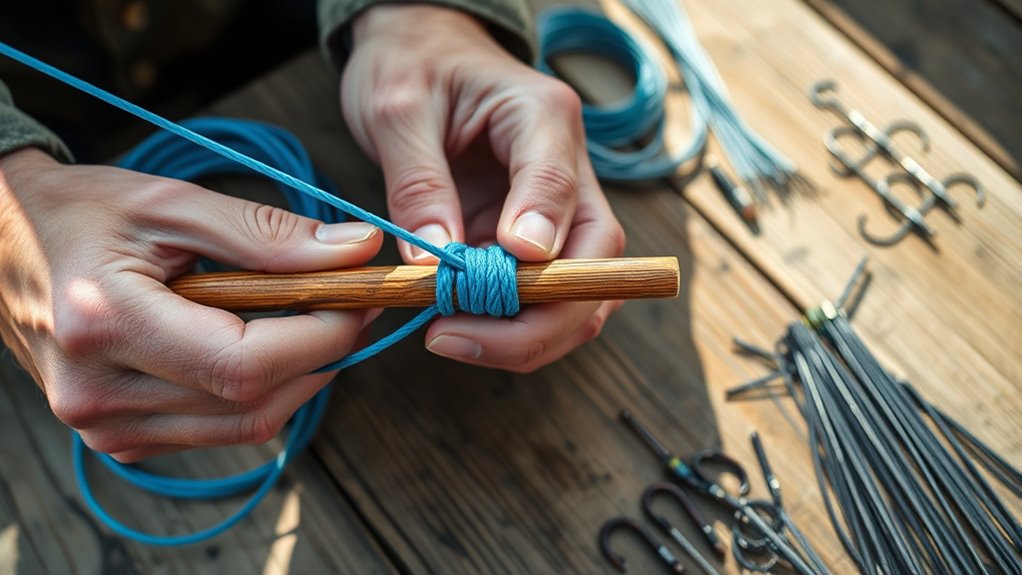
When practicing knot tying, start with a 1/4 to 1/2 inch rope or soft cord. The larger material helps you see each loop and wrap clearly. It also makes mistakes easier to spot before you move to thin fishing line.
A strong fishing knot comes from clean wraps, steady tension, and careful tightening, not from rushing the final pull.
To improve your knot tying skills, use these practice tips:
- Practice each knot slowly until you can explain every step out loud.
- Repeat the same knot many times so your hands remember the movement.
- Move from larger rope to monofilament, fluorocarbon, or braided fishing line once the pattern feels natural.
- Use online tutorials or visual aids if you learn better by watching the knot form.
- Practice in low light or with cold hands so you are prepared for real fishing conditions.
- Test every practice knot by pulling firmly on both ends before trimming.
- Keep a small piece of spare line in your tackle box so you can practice while waiting to fish.
As you improve, focus on speed only after your knots are clean and reliable. A fast knot that slips is not useful. A slower knot that holds gives you more confidence when a fish strikes.
Common Fishing Knot Mistakes to Avoid
Even simple fishing knots can fail when they are tied carelessly. Most problems come from poor wraps, dry tightening, damaged line, or choosing the wrong knot for the job.
- Skipping moisture: Dry knots create friction when tightened, which can weaken the line.
- Crossing the wraps: Overlapped wraps can pinch the line and keep the knot from seating evenly.
- Cutting the tag end too close: A tiny tag gives the knot a little room if it tightens under load.
- Using too few wraps: Some lines need enough wraps to grip properly, especially slick or thin lines.
- Forgetting to test the knot: A firm pull can reveal slipping before you make a cast.
- Retieing too late: Rough line near the knot can break when you hook a fish or snag cover.
Note: If a knot does not look right, do not try to save it. Cut it off and tie a fresh one.
Related Guides
Frequently Asked Questions
How do you tie a fishing knot step by step?
To tie a fishing knot step by step, choose the right knot, pass the fishing line through the hook eye or tackle connection, form the required wraps or loop, moisten the knot, pull it tight, and trim the tag end. Always test the knot before casting.
How do you tie a basic fisherman’s knot?
A basic fisherman’s knot is often used to join two lines. Overlap the line ends, wrap one tag end around the opposite standing line, and pass it through the loop. Repeat with the other tag end, moisten both knots, then pull the standing lines so the knots slide together.
What is the best fishing knot for beginners?
The Palomar Knot is one of the best fishing knots for beginners because it uses a simple doubled line and an overhand knot. The Improved Clinch Knot is also a useful beginner knot for hooks, swivels, and many lures.
What are common fishing knot mistakes?
Common fishing knot mistakes include tightening the knot while dry, crossing the wraps, using the wrong knot for the line type, trimming the tag end too close, and skipping the final test pull. These mistakes can cause slipping, weak spots, or breakage.
Should you wet a fishing knot before tightening it?
Yes. Wetting a fishing knot before tightening helps reduce friction as the wraps slide into place. This is especially helpful with monofilament and fluorocarbon line because heat and friction can weaken the line.
How much tag end should you leave after trimming a fishing knot?
Leave a very small tag end instead of cutting the line perfectly flush. The exact amount depends on your line and knot, but a tiny bit of extra tag helps protect against slight slipping when the knot tightens under pressure.
Conclusion
Now that you know how to tie the Improved Clinch Knot, Palomar Knot, and several other essential fishing knots, you have a stronger foundation for everyday fishing. Each knot gives your tackle a secure connection and helps reduce the risk of losing a hook, lure, or fish.
Practice each knot until the steps feel natural. Check your wraps, moisten the line, tighten slowly, and test the finished knot before you cast. With time, these small habits can make your fishing setup cleaner, stronger, and more dependable. Tight lines await!