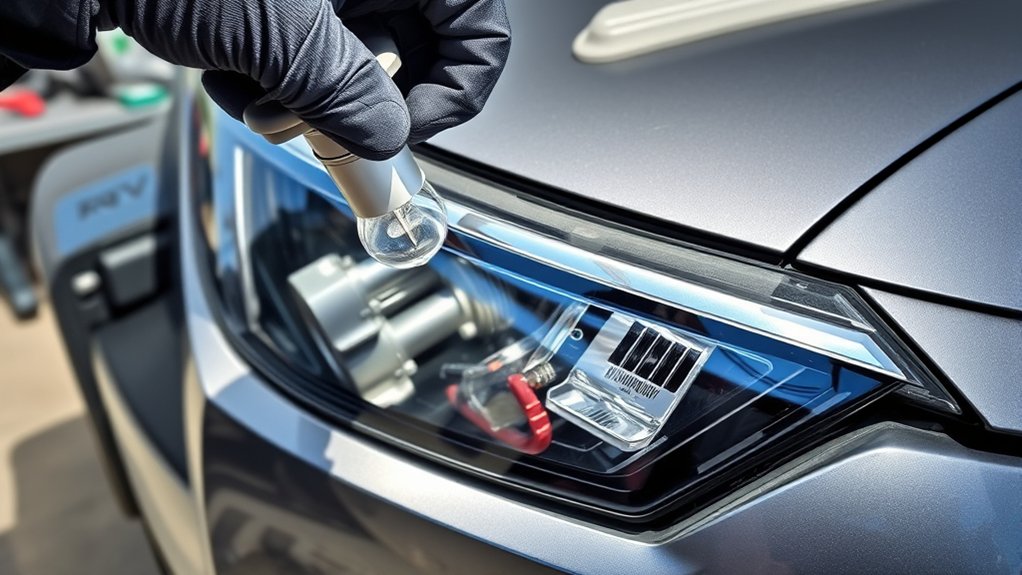
Replacing a Toyota RAV4 headlight bulb is usually a simple DIY job when your model uses replaceable halogen bulbs. The key is to confirm the correct bulb type before you buy anything, because RAV4 headlight bulbs vary by model year, trim, market, and headlight design.
Quick Answer
To replace a Toyota RAV4 headlight bulb, turn the vehicle off, let the bulb cool, open the hood, unplug the headlight connector, twist the bulb base counterclockwise, remove the old bulb, install the matching replacement without touching the glass, reconnect the plug, and test both beams.
Key Takeaways
- Always verify your RAV4 bulb type with the owner’s manual, a trusted bulb finder, your VIN, or the markings on the old bulb.
- Many RAV4 halogen bulbs release with a twist-lock base, but access and bulb type vary by model year and trim.
- Wear clean gloves and handle the new bulb by the base so skin oil does not shorten bulb life.
- Test low beams, high beams, and beam aim before driving at night.
- Be cautious with plug-in LED replacements, because they may not be legal or safe in halogen headlight housings.
At a Glance
| Time Required | 10–25 minutes for most replaceable halogen bulbs |
| Difficulty | Easy to moderate, depending on engine-bay access |
| Tools Needed | Correct replacement bulb, clean gloves, flashlight, clean cloth, and sometimes a screwdriver |
| Cost | Low to moderate, depending on bulb type and whether you replace one bulb or a pair |
Why Timely Headlight Replacement Matters
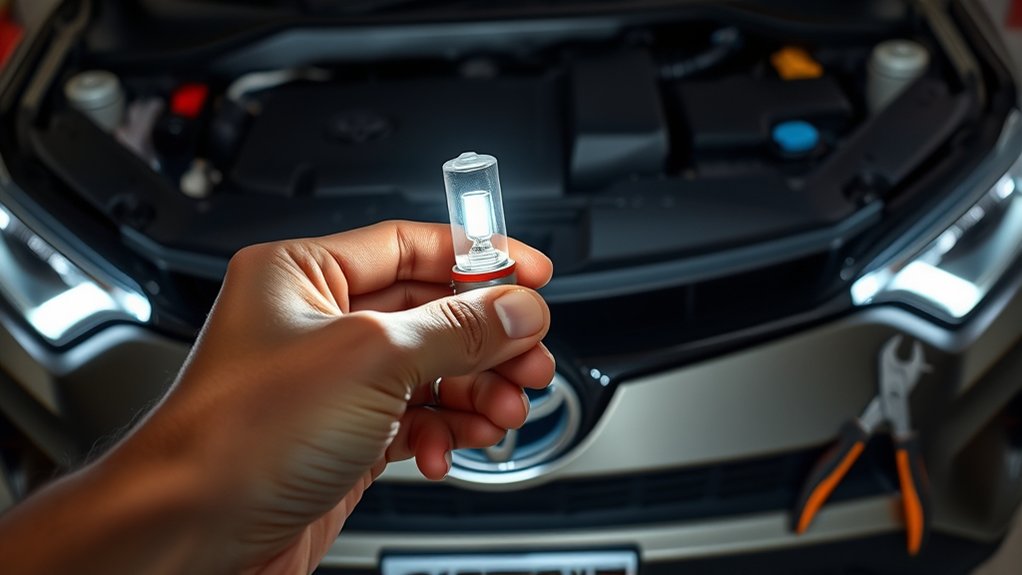
Good headlights help you see road edges, lane markings, animals, pedestrians, and stopped traffic earlier. They also help other drivers notice your RAV4 sooner in rain, fog, and low-light conditions.
Dim or burned-out bulbs can reduce your forward visibility and make your vehicle harder to see. That can raise your risk during nighttime driving, especially on rural roads or poorly lit streets.
The Insurance Institute for Highway Safety reports that vehicles with good-rated headlights have fewer nighttime single-vehicle and pedestrian crashes than vehicles with poor-rated headlights.
Headlight bulbs can also fade before they fully burn out. If one bulb looks yellow, weak, or uneven compared with the other side, replace it soon instead of waiting for complete failure.
How to Identify the Right Headlight Bulb for Your RAV4
Do not buy a RAV4 headlight bulb based only on a general online claim. Toyota RAV4 bulb types vary by model year, trim, market, and whether the vehicle has halogen or LED headlights.
Start with your Toyota owner’s manual. Then confirm the fit with a trusted bulb finder, such as the SYLVANIA Automotive Bulb Replacement Guide, your VIN, or the number stamped on the old bulb.
Note: Some RAV4 model years use separate bulbs for low and high beams, while others use a single dual-beam bulb. Newer trims may use LED headlight assemblies that are not serviced like a simple halogen bulb.
If you still have the old bulb installed, remove it carefully and check the base for a printed bulb code. Common automotive bulb codes include 9005, 9006, H11, and 9012, but the correct choice depends on your exact RAV4.
When you shop in person, ask the parts counter to check your year, trim, and headlight type. When you shop online, enter the full vehicle details instead of relying on a product title alone.
Tools and Safety Before You Start
Gather everything before you open the hood. You will usually need the correct bulb, clean gloves, a flashlight, and a clean cloth. Some RAV4 layouts may also require a Phillips screwdriver or flathead screwdriver if a cover blocks access.
Warning: Turn the headlights and ignition off, let the old bulb cool, and never touch the glass part of a halogen bulb with bare fingers. Hot bulbs can burn skin, and skin oil can create hot spots on the new bulb.
Park on a flat surface, set the parking brake, and make sure you have enough light to see behind the headlight assembly. Keep loose sleeves, jewelry, and tools away from belts, fans, and other moving parts.
Step-by-Step Guide to Opening the Hood Safely
To open the hood of your Toyota RAV4, locate the hood release latch under the driver-side dashboard, usually to the left of the steering column. Pull the latch until the hood pops up slightly.
Move to the front of the vehicle, lift the hood slightly, and release the secondary safety lever under the hood edge. Raise the hood fully and secure it with the hood prop if your RAV4 uses one.
- Check that the hood is stable before placing your hands near the headlight area.
- Keep the work area clear of tools, rags, and loose packaging.
- Avoid touching hot engine parts if the vehicle was recently driven.
- Before closing the hood, make sure no tools or bulb packaging remain in the engine bay.
Removing Your Old Headlight Bulb Made Easy
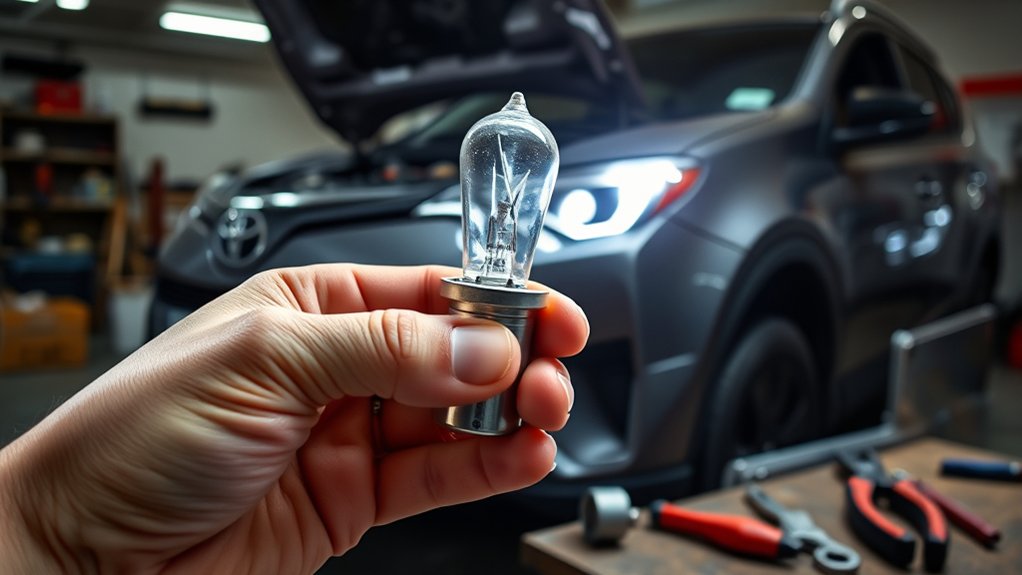
Start with the vehicle off and the hood secured. Stand behind the headlight you want to replace and locate the bulb connector at the rear of the headlight assembly.
On many RAV4 halogen setups, the bulb base releases by turning it counterclockwise. Do not force it. If it will not move, check for a locking tab, a dust cover, or a different bulb style before applying more pressure.
- Grip the bulb base or connector, not the glass.
- Rotate the bulb base counterclockwise until it unlocks.
- Pull the bulb straight out of the headlight housing.
- Press the connector tab and separate the old bulb from the wiring plug.
- Compare the old and new bulbs to confirm the base, tabs, and connector match.
If the connector looks melted, cracked, corroded, or loose, stop and inspect it before installing the new bulb. A damaged socket can cause flickering, repeated bulb failure, or overheating.
How to Install Your New Headlight Bulb
Put on clean gloves before handling the new bulb. Hold the bulb by the plastic or metal base and keep the glass clean. If you accidentally touch the glass, clean it with a lint-free cloth and a small amount of rubbing alcohol, then let it dry.
- Attach the wiring connector to the new bulb until it clicks securely.
- Line up the tabs on the bulb base with the slots in the headlight housing.
- Insert the bulb straight into the housing without scraping the glass.
- Rotate the bulb clockwise until it locks in place.
- Gently tug the connector to confirm it is seated.
Pro Tip: If one halogen bulb failed from age, consider replacing the matching bulb on the other side. A new bulb beside an old bulb can create uneven brightness and color.
After installation, make sure the bulb sits flush and the connector does not pull against nearby parts. Reinstall any dust cover or access panel you removed.
How to Test Your New Headlights
Testing the bulb takes only a few minutes, and it helps you catch a loose connector before you drive. Turn on the headlights and check both sides from outside the vehicle.
Visual Inspection Of Lights
Start with the low beams. Both headlights should illuminate evenly, with no flickering, pulsing, or delayed start. Then switch to high beams and confirm the high-beam indicator works on the dashboard.
- Check that the new bulb is as bright as the opposite side.
- Look for flickering, which may point to a loose connector or weak contact.
- Inspect the lens for heavy haze, cracks, water, or dirt.
- Confirm that any dust cover or access cover is back in place.
Check Beam Alignment
Park your RAV4 on a level surface facing a flat wall or garage door about 25 feet away. Turn on the low beams and compare the height and direction of both beam patterns.
The cutoff should look even from side to side. If one beam points much higher, lower, or farther outward than the other, check that the bulb is fully seated. A bulb installed at the wrong angle can throw light into oncoming traffic or leave dark spots ahead.
If the bulb is seated correctly but the beam still looks wrong, use the headlight aim instructions in your owner’s manual or have a qualified technician adjust it.
Nighttime Road Test
After the visual test, take a short drive in a safe, low-traffic area after dark. Confirm that the road ahead is evenly lit and that road signs, lane markings, and shoulders are easy to see.
- Watch for flickering over bumps.
- Make sure the beam does not point into other drivers’ eyes.
- Check that low beams and high beams both work.
- Return home and recheck the connector if the light cuts in and out.
What to Do If the New Bulb Does Not Work
If the new bulb does not turn on, do not assume the bulb is defective right away. A simple connection issue is common after a bulb swap.
- Check the connector: Unplug it and reconnect it until it clicks.
- Check the bulb type: Compare the old and new bulb bases again.
- Swap sides if safe: If the same bulb works on the other side, the problem may be the socket, fuse, or wiring.
- Inspect the fuse: Use the fuse information in your owner’s manual and replace only with the same amperage rating.
- Look for socket damage: Melted plastic, corrosion, or a burnt smell needs service attention.
If both headlights fail at the same time, check the fuse, relay, headlight switch, and battery condition before replacing more bulbs.
Top Mistakes to Avoid During Headlight Replacement
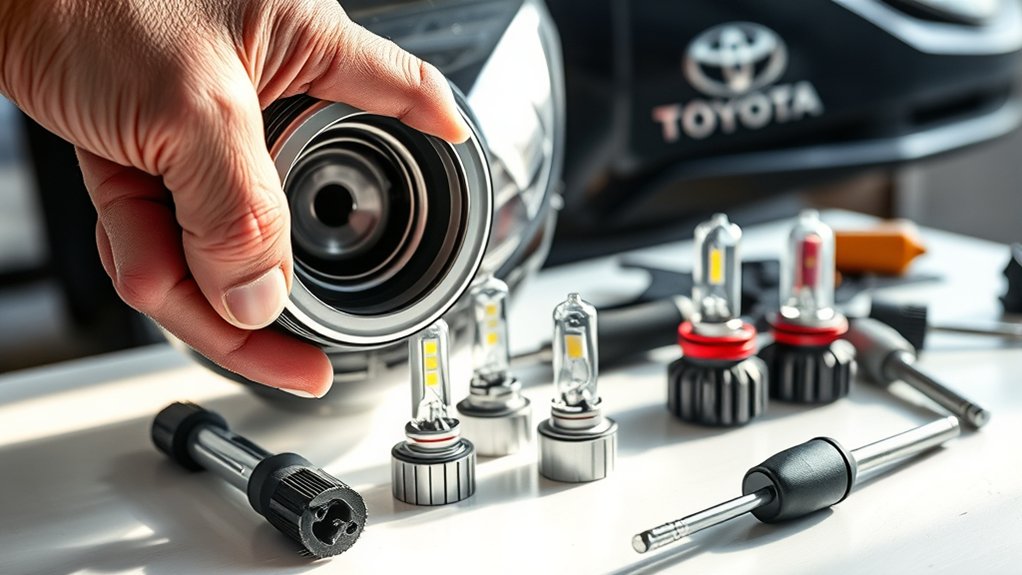
The biggest mistake is buying the wrong bulb. Always verify your RAV4’s year, trim, and headlight type before ordering a replacement.
Another common mistake is touching the glass on a halogen bulb. Oil from your fingers can create a hot spot, which may shorten the bulb’s life.
Do not force the connector or twist the bulb in the wrong direction. If the bulb does not release, pause and inspect the locking tabs. Forcing the bulb can damage the headlight housing or wiring.
Do not skip the test step. A loose connector may work while parked but flicker while driving over bumps.
Finally, do not install plug-in LED bulbs in a halogen headlight housing without checking legality and beam pattern. The National Highway Traffic Safety Administration explains that LED light sources must be part of a compliant headlamp design, and LEDs are not currently permitted as replaceable bulbs in replaceable-bulb headlamps under FMVSS No. 108.
When You Should Not Replace the Bulb Yourself
Some RAV4 headlight problems are not simple bulb failures. Get professional help if your RAV4 has a sealed LED headlight assembly, water inside the housing, melted wiring, broken tabs, repeated fuse failures, or a headlight warning that returns after replacement.
You should also consider a technician if access is too tight, the bulb will not unlock, or the beam pattern looks wrong after installation. A small installation error can create glare for other drivers or reduce your own nighttime visibility.
Eco-Friendly Bulb Disposal Options
Disposal depends on the bulb type. Typical halogen headlight bulbs do not follow the same disposal rules as fluorescent or CFL bulbs, but you should still prevent broken glass and follow local waste rules.
- Halogen bulbs: Let the bulb cool, place it in the new bulb’s packaging or wrap it to contain glass, and follow your local trash or recycling guidance.
- LED bulbs: Check local e-waste or recycling options, especially if the bulb includes electronics or a cooling fan.
- HID bulbs: Use a local hazardous-waste or automotive recycling option if required in your area.
- CFL or fluorescent bulbs: Recycle them through approved programs because many contain mercury. The U.S. Environmental Protection Agency recommends using local recycling options for CFLs, fluorescent bulbs, and other mercury-containing bulbs.
Related Guides
Frequently Asked Questions
Can I replace a RAV4 headlight bulb without professional help?
Yes, you can replace many Toyota RAV4 halogen headlight bulbs at home if the bulb is accessible and the wiring is in good condition. If your RAV4 has a sealed LED assembly, damaged wiring, or moisture inside the headlight, use a qualified technician.
How often should I replace my RAV4 headlight bulbs?
Replace a headlight bulb when it burns out, becomes noticeably dim, flickers, or changes color. If one older halogen bulb fails, replacing the pair can keep both sides closer in brightness and color.
Are LED bulbs better than halogen for my RAV4?
Factory LED headlight assemblies can perform very well, but plug-in LED bulbs are not automatically a safe or legal replacement for halogen bulbs. Check your owner’s manual, local rules, and headlight design before using any LED retrofit bulb.
What tools do I need for RAV4 headlight bulb replacement?
You usually need the correct replacement bulb, clean gloves, a flashlight, and a clean cloth. Some RAV4 models may also need a screwdriver if an access cover blocks the rear of the headlight assembly.
Will replacing one bulb require replacing the other?
It is not always required, but it is often smart with older halogen bulbs. Replacing both bulbs helps keep brightness and color even, especially if both bulbs have been in service for the same amount of time.
Why does my new RAV4 headlight bulb flicker?
Flickering can come from a loose connector, wrong bulb type, corroded socket, weak electrical contact, damaged wiring, or an incompatible LED retrofit bulb. Recheck the connector first, then inspect the socket and fuse if the problem continues.
Conclusion
Replacing a Toyota RAV4 headlight bulb is manageable when you confirm the correct bulb, work safely, and test the light before driving. The most important step is fitment verification, because RAV4 bulb types and headlight designs vary across years and trims.
Use clean gloves, avoid touching the bulb glass, lock the bulb fully into the housing, and check the beam pattern afterward. If you see damaged wiring, water in the housing, repeated fuse problems, or a sealed LED assembly, let a qualified technician handle the repair.
Sources
- Toyota Owners Manuals and Warranties — year-specific owner manual lookup and vehicle guidance.
- SYLVANIA Automotive Bulb Replacement Guide — replacement bulb lookup support.
- Insurance Institute for Highway Safety: Headlights — headlight visibility and nighttime crash research.
- National Safety Council: Driving at Night — nighttime driving risk context.
- NHTSA FMVSS No. 108 LED Headlight Interpretation — LED replaceable-bulb compliance guidance.
- U.S. EPA: Recycling and Disposal of CFLs and Other Mercury-Containing Bulbs — bulb recycling and disposal guidance.
