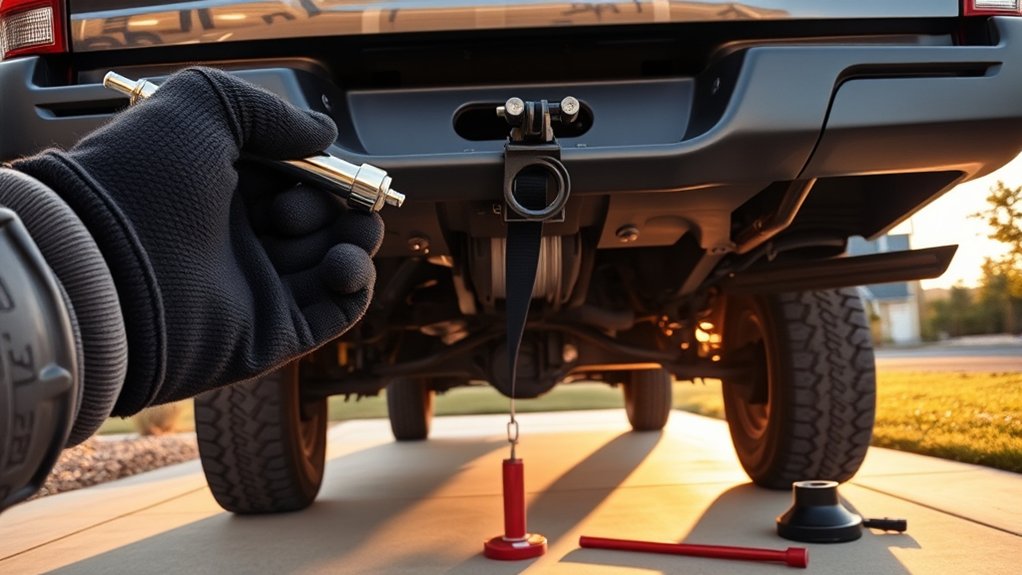
Lowering a Toyota Tacoma’s under-bed spare tire is straightforward when the factory cable hoist works correctly. The most important detail is the turning direction: use the factory jack-handle extensions to turn the hoist counterclockwise to lower the tire and clockwise to raise it. Tool storage and access details can vary by model year and cab style.
Quick Answer
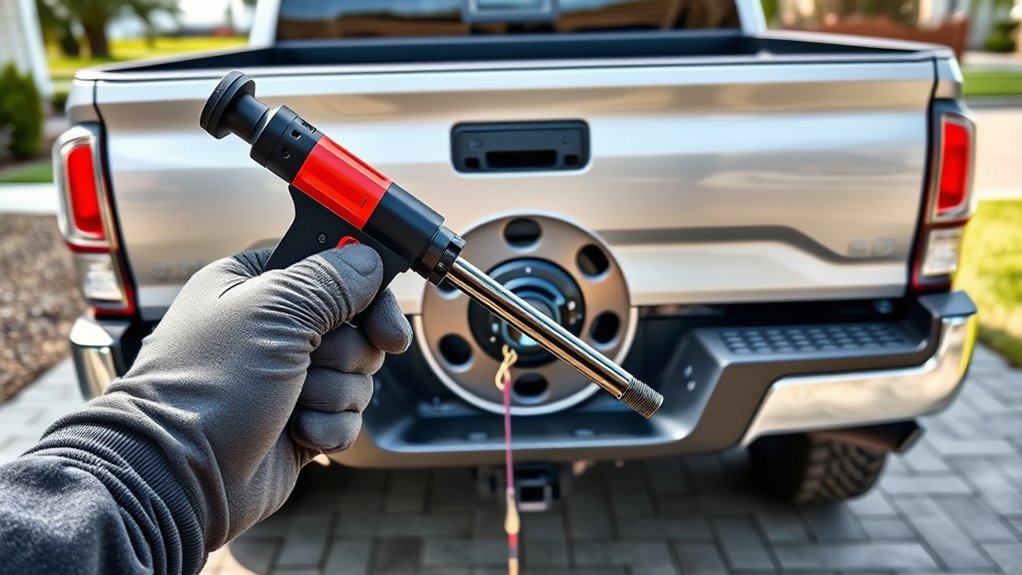
Retrieve and assemble the factory spare-tire lowering tool, insert it through the access opening near the rear bumper, and turn it counterclockwise. Continue until the spare rests on the ground and the cable has enough slack. Pull the wheel out, tilt the hoist retainer through its center opening, and remove the spare.
Key Takeaways
- Counterclockwise lowers the spare; clockwise raises it.
- Tool storage varies by Tacoma model year, cab style, and equipment.
- Lower the spare before lifting the truck with the jack.
- Create cable slack before tilting the retainer plate through the wheel opening.
- Stop if the cable is frayed, the drive slips, or the hoist requires excessive force.
- Check the spare’s cold pressure and condition before installing it.
At a Glance
| Time Required | About 5 to 15 minutes when the hoist works normally |
| Difficulty | Easy, with moderate lifting required |
| Tools Needed | Factory jack handle and extension rods, gloves, flashlight, wheel chock, and tire-pressure gauge |
| Cost | Usually $0 with the factory tools; repair costs vary if the hoist or cable is damaged |
Locate the Tools and Prepare the Tacoma Safely
Park on firm, level ground away from moving traffic. Switch on the hazard lights, place an automatic transmission in Park, or leave a manual transmission in first gear or reverse. Set the parking brake firmly and chock a wheel diagonally opposite the flat tire.
Warning: Do not change a tire beside fast-moving traffic or on unstable, sloped, muddy, or soft ground. Lower the spare before raising the Tacoma, and never place any part of your body beneath a vehicle supported only by its factory jack.
Find the Factory Lowering Tool
Many Tacoma models store the jack, lug wrench, jack handle, and extension rods under or behind a rear seat. Other configurations may use a different storage compartment. Check the Toyota manual for your exact model year and cab style when the tools are not in the expected location.
The spare-tire lowering assembly may include several extension rods and a jack handle or lug wrench that acts as the crank. Join the pieces in the order shown in your manual. The sections should fit securely without being hammered or forced together.
Inspect the Tools and Work Area
- Check the extension rods for bends, heavy rust, or damaged connecting ends.
- Make sure the jack handle or lug wrench fits the final extension securely.
- Use a flashlight to inspect the access opening near the rear bumper or license-plate area.
- Remove packed dirt or debris that could prevent the tool from entering straight.
- Check whether the truck has a factory, dealer-installed, or aftermarket spare-tire lock.
- Keep children and bystanders away from the rear of the truck.
You do not need to place the jack beneath the truck merely to lower the spare. Keep the jack nearby for the later wheel-changing process, but do not raise the Tacoma until the spare is on the ground and ready to use.
Assemble and Engage the Spare-Tire Lowering Tool
Assemble the Handle and Extensions
- Lay the factory tool pieces on clean ground so you can identify each section.
- Connect the extension rods in the order shown in the model-year owner’s manual.
- Attach the jack handle or lug wrench to the outer end.
- Pull gently on each connection to confirm that the pieces will not separate while turning.
Do not substitute loosely fitting rods, screwdrivers, or other improvised tools. They can slip, damage the hoist drive, or injure your hands.
Insert the Tool Into the Hoist Access Opening
Locate the spare-tire hoist access opening near the center of the rear bumper or license-plate area. Insert the extension straight through the opening until its inner end engages the hoist drive.
You may need to rotate the handle slightly while applying gentle inward pressure. When the tool engages correctly, it should feel seated rather than loose or springy.
Pro Tip: If the handle spins without resistance, withdraw it slightly, realign it, and try again. Do not assume the hoist is broken until you have confirmed that the extension is fully engaged.
How to Lower the Toyota Tacoma Spare Tire
- Hold the assembled handle securely. Keep your hands away from the joints between extension pieces.
- Turn the handle counterclockwise. Use smooth, controlled rotations rather than sharp jerks.
- Watch the spare descend. Stand where you can see the wheel without placing your head, hands, or feet beneath it.
- Continue until the tire rests on the ground. The cable must have enough slack for you to pull the tire rearward.
- Stop turning once sufficient slack is available. Unwinding a large amount of unnecessary cable can encourage tangling or kinking.
The spare should lower gradually on its cable. If the handle becomes unusually hard to turn, the tire moves unevenly, or the cable makes sharp cracking sounds, stop and inspect the system before continuing.
Remove the Hoist Retainer and Pull Out the Spare
After the tire rests on the ground, pull it toward the rear of the truck until you can reach the center opening. Add another counterclockwise turn if the cable is still tight.
- Support one edge of the tire with a gloved hand.
- Lift or angle the center of the wheel enough to expose the hoist retainer plate.
- Rotate the retainer so its narrow edge aligns with the wheel’s center opening.
- Pass the retainer and cable through the opening.
- Roll or slide the spare away from the truck and place it flat on stable ground.
Do not allow the wheel to swing from the cable. A full-size Tacoma wheel is heavy enough to injure your hands or feet if it drops or rolls unexpectedly.
What to Do if the Spare Will Not Lower
Work through these checks in order:
- Confirm the direction. Turn counterclockwise to lower the spare.
- Reseat the extension. A partially engaged tool may rotate without driving the hoist.
- Check for a lock. Remove or unlock any spare-tire security device before operating the hoist.
- Relieve tension. Turn the handle slightly clockwise, then try lowering it counterclockwise again.
- Inspect for debris. Mud, gravel, corrosion, or a bent access guide can block engagement.
- Stop if the drive slips. Repeated slipping may indicate a rounded tool end or damaged hoist drive.
- Inspect the visible cable. Do not continue if it is frayed, kinked, severely rusted, or separating.
Note: An aftermarket rear bumper, hitch accessory, spare-tire lock, or modified suspension may change access to the factory hoist. Follow the accessory manufacturer’s instructions when nonfactory equipment blocks the original access path.
Do not use an impact wrench or long breaker bar to force the mechanism. Excessive torque can strip the hoist drive or break a weakened cable. A seized or damaged carrier should be inspected by a qualified repair shop.
Inspect the Spare Tire and Carrier Before Use
Before installing the spare, check whether it is safe and properly inflated. The National Highway Traffic Safety Administration recommends checking every tire, including the spare, at least monthly while cold. Use the pressure shown on the Tacoma’s Tire and Loading Information label or in its owner’s manual, not the maximum pressure molded into the tire sidewall.
- Measure the cold tire pressure with an accurate gauge.
- Look for cuts, cracks, bulges, exposed cords, or severe weathering.
- Check the tread for damage and embedded objects.
- Inspect both sides of the wheel for bends, cracks, and heavy corrosion.
- Check the hoist cable for broken strands, kinks, and rust.
- Inspect the retainer plate and mounting surfaces for deformation.
A spare that is flat, badly aged, visibly damaged, or unable to hold pressure should not be relied on for normal driving. Arrange roadside assistance when the spare cannot be used safely.
Reinstall and Secure the Spare Tire Correctly
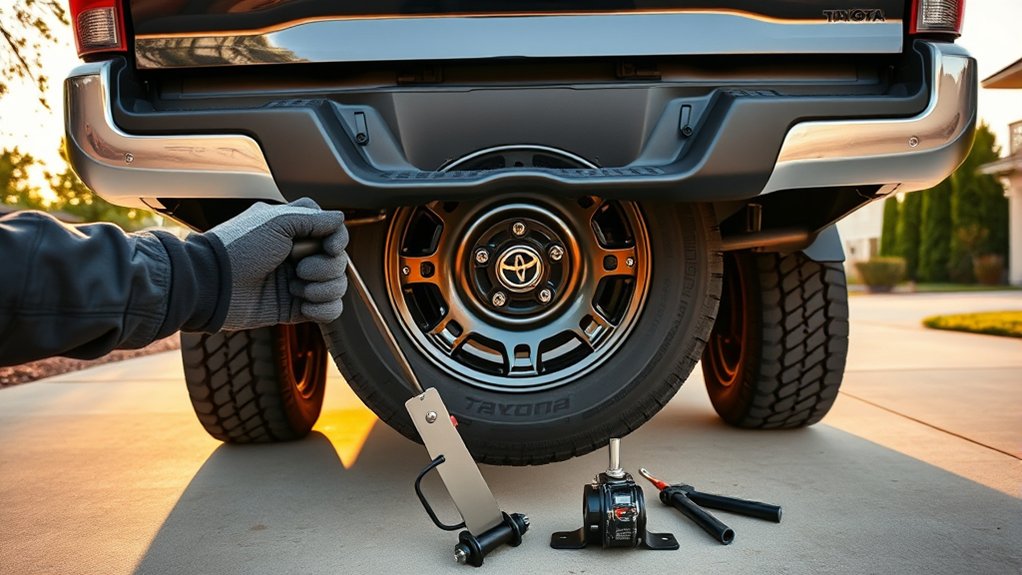
Reinstall the spare or removed road wheel as soon as practical. Leaving the cable and retainer hanging can allow them to strike the road, collect dirt, or become damaged.
- Position the wheel beneath the carrier. Match the storage orientation shown in your model-year manual or the orientation in which the wheel was originally stored.
- Insert the retainer. Turn the retainer plate sideways, pass it through the wheel’s center opening, and rotate it so it lies flat against the wheel.
- Center the wheel. Move the tire beneath its storage position so it will rise evenly.
- Remove cable slack. Turn the lowering tool clockwise while watching the retainer remain centered.
- Raise the wheel. Continue turning clockwise until the tire seats firmly against the underside of the truck.
- Check the position. Make sure the wheel is level and is not trapped against wiring, exhaust components, the hitch, or the bumper.
- Perform a pull test. Push and pull the tire from more than one side. It should not swing, rattle, or shift noticeably.
- Store the tools. Separate and return the extensions, handle, lug wrench, and jack to their designated holders.
Use firm hand pressure when seating the wheel, but do not add an impact wrench or an extension pipe for extra leverage. If the carrier cannot hold the tire securely, have it repaired before driving.
Related Guides
Frequently Asked Questions
Which way do you turn the Tacoma spare-tire tool?
Turn the factory tool counterclockwise to lower the common cable-operated spare carrier. Turn it clockwise to raise and secure the wheel. Check the owner’s manual for your exact model year before using a different carrier or aftermarket system.
Where is the Toyota Tacoma spare-tire tool stored?
Many Tacoma models store the jack, handle, lug wrench, and extension rods under or behind a rear seat. The exact location and tool arrangement can differ by cab style and model year, so check the model-specific owner’s manual when the compartment is not obvious.
Why does the handle turn without lowering the spare?
The extension may not be fully engaged with the hoist drive. Withdraw it slightly, realign it, and push it in while rotating gently. Also check for a spare-tire lock, damaged tool end, stripped drive, or an aftermarket bumper that changes the access angle.
What should I do if the Tacoma spare-tire hoist is stuck?
Turn the handle slightly clockwise to relieve tension, reseat the tool, and try lowering it counterclockwise again. Stop if the cable is frayed, the drive slips, or heavy force is required. Do not use an impact wrench; have a seized or damaged hoist serviced.
Do I need to jack up the Tacoma before lowering the spare?
No. Lower the spare and confirm that it is usable before lifting the truck. This prevents you from discovering a flat or damaged spare after the vehicle is already raised.
How tight should the spare be under the truck?
Raise it until the wheel sits firmly and evenly against its storage supports. It should not swing, rattle, or move during a firm pull test. Use normal hand force and follow the owner’s manual rather than applying extra leverage or power tools.
Conclusion
To lower a Toyota Tacoma spare tire, assemble the factory handle and extensions, engage the hoist through the rear access opening, and turn counterclockwise until the wheel rests on the ground. Create enough slack to tilt the retainer through the wheel opening, then inspect the spare before installing it.
When storing the wheel again, position the retainer correctly and turn clockwise until the tire sits firmly beneath the truck. Finish with a pull test, and stop using the carrier if its cable, drive, or mounting hardware is damaged.
Sources
- Toyota Manuals and Warranties – model-year and vehicle-specific owner’s manuals.
- Toyota Tacoma Owner’s Manual – factory tool, spare-carrier, and emergency procedure guidance.
- NHTSA TireWise – spare-tire pressure, tire condition, aging, and maintenance guidance.
- Bridgestone Tire Maintenance – general tire inspection and maintenance information.

