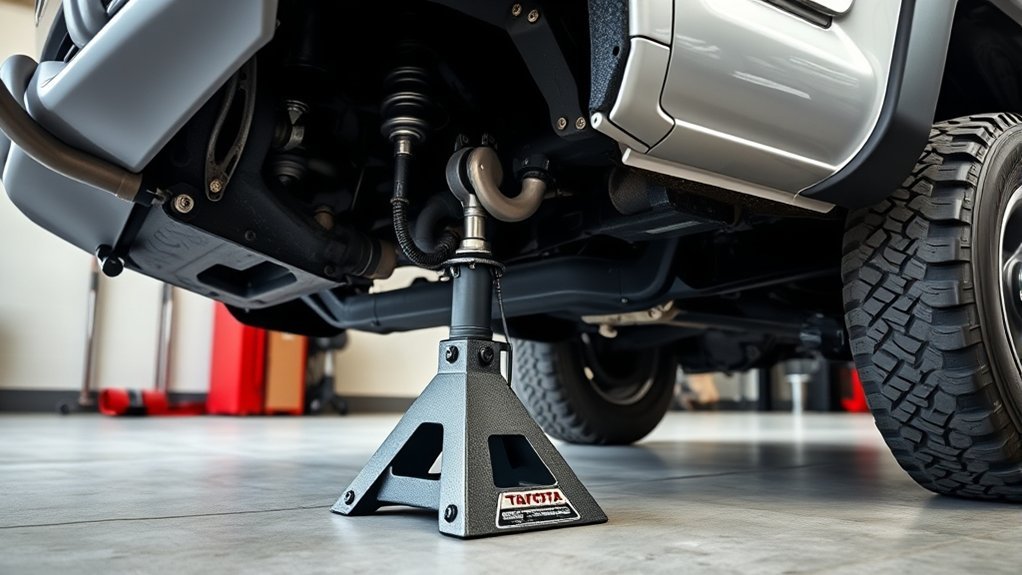
Jack placement on a Toyota Tacoma depends on the model year, drivetrain, suspension, and the type of lift you’re performing. Before raising the truck, find the lifting diagram in the owner’s manual for your exact Tacoma and inspect the frame, jack, stands, and working surface.
Quick Answer
For a Toyota Tacoma, use only the jacking and support points shown in the owner’s manual for your exact model year. Common locations include reinforced crossmembers, frame points, and the rear axle housing, but designs vary. Work on level pavement, chock the wheels that stay down, and support the truck with rated jack stands before going underneath.
Key Takeaways
- Confirm the approved lift and support points in the manual for your Tacoma’s exact year and configuration.
- Chock the wheels that will remain on the ground, not automatically the rear wheels.
- Never work under a Tacoma supported only by a hydraulic or factory emergency jack.
- Do not assume a skid plate, suspension arm, sheet-metal panel, or plastic cover is load-bearing.
- Lift only as high as the job requires and use the lowest practical jack-stand setting.
At a Glance
| Time Required | About 20–30 minutes for setup, lifting, stability checks, and lowering |
| Difficulty | Moderate; correct equipment placement is safety-critical |
| Tools Needed | Rated floor jack, rated jack stands, wheel chocks, owner’s manual, work gloves, and a light |
| Cost | No added cost if you already own suitable equipment; equipment cost varies by capacity, lift range, and brand |
Warning: Never put any part of your body under a Tacoma supported only by a jack. After raising the truck, transfer its weight to correctly positioned jack stands and confirm that the vehicle is stable before beginning work.
Where to Place the Jack on a Toyota Tacoma
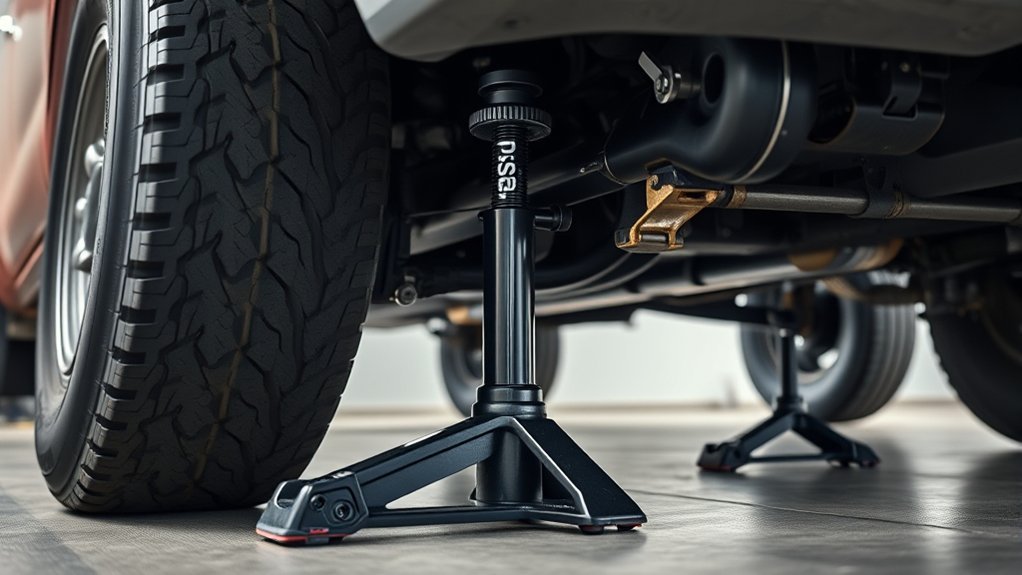
The correct Toyota Tacoma jack points depend on the model year and the type of lifting equipment. Use the diagram in the Toyota owner’s manual for your selected vehicle as the final authority.
Some Tacoma service procedures use a reinforced front crossmember for a centered front lift and a designated rear axle or differential-housing location for a centered rear lift. Side or corner lifting may use specified frame points. However, you should not assume that any crossmember, frame bend, axle tube, or suspension part is approved simply because it looks strong.
Identify the Correct Lifting Diagram
Confirm the truck’s model year, cab, drivetrain, and suspension before lifting it. A fourth-generation Tacoma, a third-generation Tacoma, and an older two-wheel-drive truck may have different underbody layouts and instructions.
- Use the owner’s manual for emergency tire-change points.
- Use Toyota service information when a repair requires floor-jack or stand locations not shown in the basic manual.
- Check whether an aftermarket skid plate, lift kit, step, or suspension part blocks the approved point.
- Stop if rust, impact damage, crushed metal, or a missing fastener affects the intended contact area.
Note: The factory emergency jack and its points are intended primarily for roadside wheel changes. A garage floor jack may use different service lift points, so do not treat the emergency-jack diagram as a universal floor-jack diagram.
Lift a Toyota Tacoma: Step-by-Step
1. Prepare the Truck and Work Area
Park on firm, level pavement away from traffic. Do not lift on a slope, loose gravel, soft soil, hot asphalt, or a surface that allows the jack or stands to sink or roll.
- Shift an automatic transmission into Park.
- Place a manual transmission in first gear or reverse, following the owner’s manual.
- Set the parking brake.
- Switch off the engine and remove the key or keep the smart key away from the truck.
- Remove passengers, pets, and loose cargo that could move.
2. Chock the Wheels That Stay on the Ground
If you’re lifting the front, chock the rear wheels. If you’re lifting the rear, chock the front wheels. Place chocks snugly against the tires on both sides of the axle that remains on the ground when possible.
The parking brake is an added safeguard, but it does not replace wheel chocks. Its effectiveness may change when the rear wheels are raised.
3. Inspect the Jack and Stands
Read the capacity labels and instructions before use. Under OSHA’s jack requirements, the jack must have sufficient rated capacity for the load, and the raised load must be secured promptly.
- Do not use a leaking hydraulic jack.
- Reject bent, cracked, heavily rusted, or unstable stands.
- Check that locking teeth, pins, and saddles are undamaged.
- Confirm that the jack reaches the approved point without exceeding its lift limit.
- Search the CPSC recall database if you are unsure about older equipment.
4. Position and Raise the Jack
Center the jack saddle under the approved lifting point. The saddle should contact solid metal evenly without touching nearby hoses, wiring, plastic, thin sheet metal, or moving suspension parts.
Pump the handle slowly while watching the saddle and truck. Stop immediately if the jack leans, rolls sideways, twists, slips, makes unusual noises, or begins contacting an unintended part.
5. Install the Jack Stands
Raise the Tacoma only high enough to place the stands at the approved support points. Set both stands to equal heights when supporting the same axle, unless Toyota specifies a different arrangement.
Slowly lower the jack until the stands carry the vehicle’s weight. Keep hands, feet, tools, and clothing away from pinch points during the transfer.
6. Verify Stability Before Working
Check that each stand sits flat and that its saddle is fully seated against the approved support point. From outside the vehicle’s footprint, apply a controlled push at a solid body area. The truck should not rock, slide, or shift on the stands.
You may leave the floor jack lightly contacting its approved lifting point as a backup when it does not obstruct the work. It must not carry the primary load or replace jack stands.
A hydraulic jack raises the Tacoma. Correctly positioned jack stands support it while you work.
Set Jack Stands on Approved Frame or Support Points
Place jack stands only at the support locations identified for your Tacoma. These may be reinforced frame sections or other designated support points, but not every visible frame section or crossmember is suitable.
The stand saddle should match the contact area without resting on a rounded edge, weld bead, bracket, brake line, fuel line, wiring harness, or damaged metal. Do not force a flat saddle onto a narrow or angled location where it can slip.
Check the stand manufacturer’s label carefully. Capacity markings may be stated for one stand or for a matched pair, depending on the product. The combined support capacity must exceed the load being placed on the stands, and you must follow the manufacturer’s instructions.
Pro Tip: Before lifting, use a bright work light to identify the approved metal contact areas from the manual’s diagram. This reduces the chance of confusing a nearby skid plate, bracket, or suspension part with the actual point.
What Not to Jack On
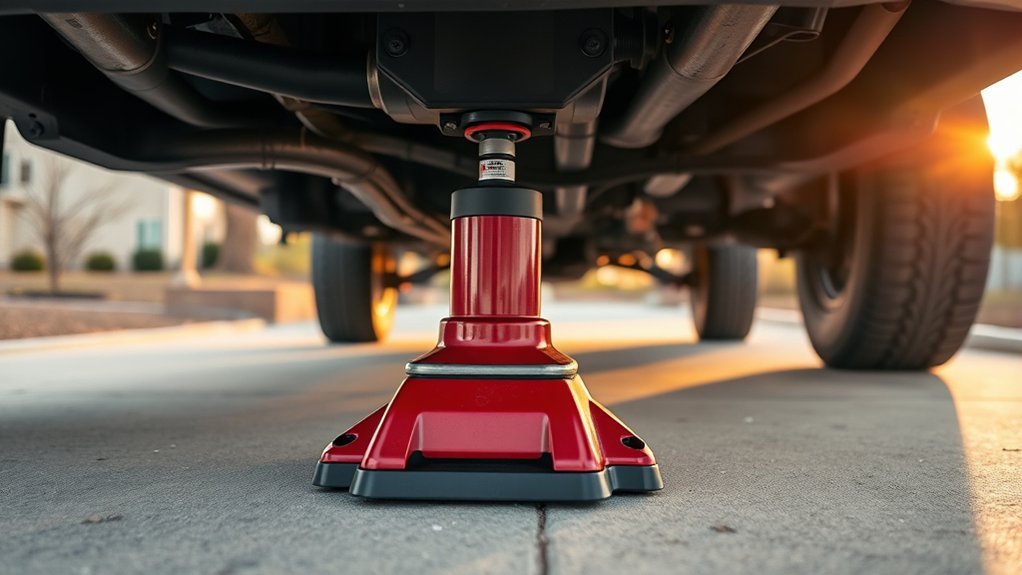
Do not place a jack or stand under a part merely because it appears solid. Concentrated lifting force can bend a component, damage alignment, crush a line, or allow the truck to slip.
Avoid Thin Skid Plates
A factory or aftermarket skid plate may cover a genuine lift point, but that does not make the plate itself a lifting surface. Thin plates can bend, pull against their mounting bolts, or shift the jack saddle.
- Remove the plate when its manufacturer or Toyota procedure requires access to the approved point.
- Do not place a jack on a skid-plate bolt, edge, drain opening, or unsupported span.
- Use a skid plate as a lift point only when its manufacturer explicitly approves that use for the exact vehicle and provides instructions.
Do Not Assume a Control Arm Is a Jack Point
Lower control arms carry suspension loads, but that does not automatically make every section suitable for a floor jack or stand. A poorly placed saddle can slip, damage the arm, disturb a sensor or brake component, or load the suspension unexpectedly.
Use a control arm only when Toyota’s service information for your exact Tacoma and procedure identifies the location. Otherwise, use the documented frame, crossmember, or axle point.
No Plastic, Thin Sheet Metal, or Trim
Never lift from a plastic bumper, air dam, rocker cover, step trim, splash shield, floor pan, fuel tank, exhaust part, driveshaft, or unsupported body panel. These parts are not designed to carry concentrated lifting force.
- Keep the saddle clear of brake and fuel lines.
- Do not support the truck on wood scraps, concrete blocks, bricks, or stacked loose objects.
- Do not use a tow hook, recovery point, or trailer-hitch component unless the applicable manufacturer explicitly approves it as a lifting point.
Pick the Right Jack and Stands for a Tacoma
A quality 3-ton floor jack is a practical choice for many Tacomas because it commonly provides useful capacity, chassis clearance, lift range, and a wide footprint. However, “3 ton” is not a universal rule by itself.
Choose Capacity, Reach, and Lift Range Together
The jack must have sufficient marked capacity for the load it will raise. It must also fit beneath the truck, reach the approved point, and lift high enough without exceeding its travel limit.
- Check the jack’s rated capacity and instructions.
- Confirm the minimum saddle height fits under the truck.
- Confirm the maximum lifting height is sufficient for the approved point and stand placement.
- Choose a wide, stable base and a saddle that fits the contact area.
- Use only compatible adapters approved by the jack manufacturer.
A 2-ton jack is not automatically unsafe solely because the truck’s total curb weight exceeds two tons. The actual load on the jack may be less than the truck’s total weight. However, a smaller jack may lack suitable reach, stability, saddle size, or lift height. A 3-ton model often provides a more useful margin for a midsize truck.
Pick Properly Rated Jack Stands
Choose stands that meet the needed capacity and height range. Equipment built and labeled to a recognized portable automotive service equipment standard offers clearer operating and inspection guidance. The current ASME PASE standard covers automotive jacks and stands.
Use matched stands when supporting one axle. Keep the extension as low as practical, fully engage the lock, and never exceed the labeled maximum height or capacity.
How to Lower the Tacoma Safely
- Remove tools, drain pans, parts, and people from beneath and around the truck.
- Confirm the wheels are installed and fasteners are correctly tightened when the repair involved wheel removal.
- Position the floor jack under the approved lifting point.
- Raise the truck slightly until the stands are free.
- Remove the stands without reaching beneath an unsupported vehicle.
- Lower the jack slowly and smoothly until all tires contact the ground.
- Remove the jack and wheel chocks.
- Perform any required final wheel-fastener torque check on the ground.
Do not crawl beneath the truck to retrieve a trapped stand. Raise and reposition the vehicle using the approved procedure.
Modified, Rusted, or Damaged Tacomas
Lift kits, lowering components, larger tires, rock sliders, aftermarket bumpers, and skid plates can change access and the equipment needed. They do not automatically create new approved jack points.
- Lifted truck: Confirm that the floor jack and stands have enough rated height without unstable extensions.
- Lowered truck: Use approved low-profile equipment rather than driving onto loose blocks.
- Aftermarket skid plate: Follow its removal or lifting instructions and verify the point beneath it.
- Frame rust or collision damage: Do not lift from weakened, cracked, perforated, bent, or poorly repaired metal.
- Hybrid or heavily equipped model: Use the exact manual and avoid orange high-voltage components and protected underbody systems.
Have a qualified repair shop lift the truck when an approved point is damaged, inaccessible, or unclear.
Common Problems and Quick Troubleshooting
- The jack leans or rolls sideways: Lower the truck immediately. Recheck the surface, saddle alignment, wheel chocks, and lift point.
- The jack sinks into the ground: Stop and move to firm, level pavement. Do not continue on soil, gravel, or soft asphalt.
- The saddle contacts a skid plate: Lower the truck and follow the approved plate-removal or access procedure.
- The jack reaches its maximum height before the stand fits: Use equipment with the proper lift range. Do not stack loose blocks on the jack.
- The stand saddle does not sit flat: Use the correct support location or a manufacturer-approved adapter.
- The truck rocks after load transfer: Raise it, reposition the stands, and repeat the stability check.
- Hydraulic pressure drops: Stop using the jack and have it repaired or replaced.
- You cannot identify the point: Do not guess. Check the exact Toyota manual or use a professional lift.
Related Guides
Frequently Asked Questions
How do you find the correct jack points without damaging the vehicle?
Use the lifting diagram in the owner’s manual or Toyota service information for the exact model year and configuration. Match the diagram to visible reinforced metal, and stop if a skid plate, rust, damage, or modification makes the location unclear.
Where should you put a floor jack under a Toyota Tacoma?
Use the floor-jack point specified for your Tacoma and the lift you are performing. Depending on the model and procedure, Toyota may identify a reinforced front crossmember, a rear axle or differential-housing point, or designated frame locations. Do not choose a point by appearance alone.
Do Toyota Tacoma jack points change by model year?
Yes. Tacoma generations and configurations use different frames, suspension layouts, underbody protection, and powertrains. Use the manual selected for the truck’s exact year or VIN rather than relying on a diagram for another generation.
What is the best height for lifting a Toyota Tacoma?
No universal measurement applies. Raise the Tacoma only high enough to complete the job and install the stands correctly. Use the lowest practical stand setting because unnecessary height reduces the stability margin.
Can you leave the floor jack under the Tacoma while working?
You may leave it lightly contacting an approved point as a backup if it does not obstruct the repair. The Tacoma’s weight must rest on correctly positioned jack stands. Never treat hydraulic pressure as the primary support.
Conclusion
Safe Toyota Tacoma jack placement starts with the manual for the exact truck. Work on level pavement, chock the wheels that remain on the ground, use equipment with suitable capacity and lift range, and transfer the load to approved jack-stand points before going underneath.
Do not guess based on a part’s size or appearance. Stop when a point is hidden, damaged, rusted, modified, or unclear. Lifting only as high as necessary and checking stability before work gives you a safer, more controlled setup.
Sources
- Toyota Manuals and Warranties — model-year and VIN-specific owner documentation
- Toyota Tacoma Owner’s Manual through Toyota Technical Information — manufacturer operating and vehicle-specific guidance
- OSHA 29 CFR 1910.244: Jacks — jack capacity, securing raised loads, inspection, and maintenance requirements
- ASME PASE-2024 — safety standard covering portable automotive jacks and stands
- U.S. Consumer Product Safety Commission Recall Database — recall checking for jacks, stands, lifts, and other consumer equipment
