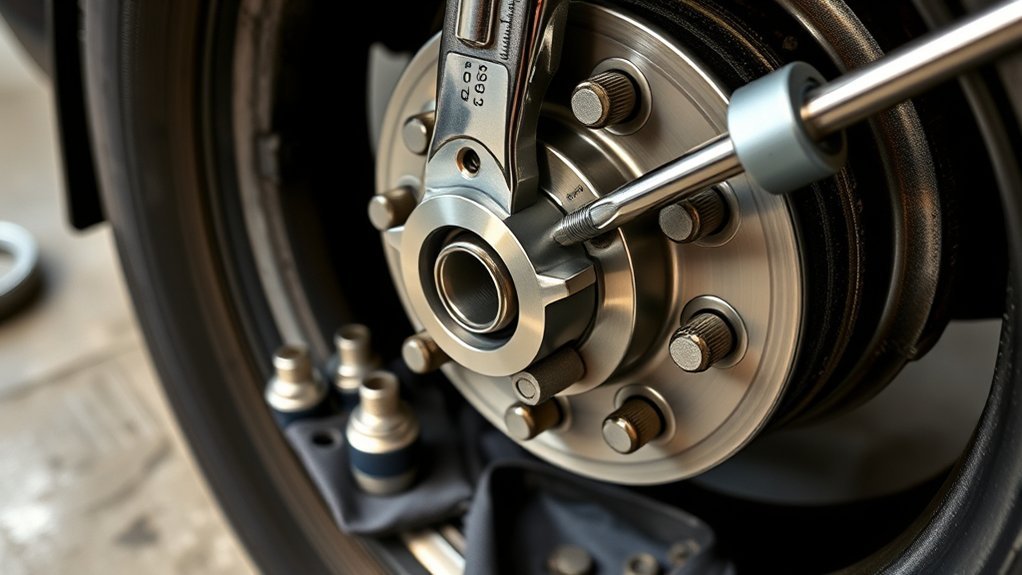
Toyota Tacoma lug nut torque is not one universal number. Toyota documentation reviewed for this update lists 85 ft-lbf (113 N·m) on 2005–2008 trucks, 83 ft-lbf (113 N·m) on 2009–2023 trucks, and two fourth-generation values: 97 ft-lbf (131 N·m) for factory aluminum wheels and 154 ft-lbf (209 N·m) for factory steel wheels on applicable 2024–2026 configurations. First-generation and aftermarket setups still require exact-fit verification. Last updated: September 19, 2026.
Quick Answer
For factory-wheel U.S.-market Tacomas, use the exact model-year and wheel-type specification: 2005–2008 Toyota manuals list 85 ft-lbf (113 N·m); 2009–2023 applications use 83 ft-lbf (113 N·m); and 2024–2026 factory wheels use 97 ft-lbf (131 N·m) for aluminum or 154 ft-lbf (209 N·m) for steel where specified. Hand-start clean, dry fasteners and finish in a star or crisscross pattern with a calibrated torque wrench.
Key Takeaways
- Do not apply one Tacoma torque value across every model year.
- Toyota’s 2005–2008 manuals list 113 N·m as 85 ft-lbf; 2009–2023 factory-wheel applications use 83 ft-lbf (113 N·m).
- For 2024–2026 factory wheels, identify wheel material before tightening: aluminum uses 97 ft-lbf (131 N·m), while steel uses 154 ft-lbf (209 N·m) on applicable configurations.
- Do not assume every Tacoma uses the same lug thread, bolt pattern, seat type, or socket size.
- Hand-start every nut, snug in a star or crisscross pattern, and complete final tightening with a torque wrench.
- Keep threads dry unless Toyota or the wheel/fastener manufacturer explicitly instructs otherwise, and follow the vehicle or wheel maker’s recheck interval.
At a Glance
| Time Required | 5–10 minutes for a torque check; about 20–40 minutes per wheel when removing and reinstalling it |
| Difficulty | Beginner for an on-ground torque check; intermediate when lifting the truck or replacing wheel hardware |
| Tools Needed | Calibrated 1/2-inch-drive torque wrench, correctly fitting six-point socket, breaker bar, wheel chocks, and jack stands if removing a wheel |
| Cost | No additional cost if you already own the tools; otherwise the cost of a suitable torque wrench and socket |
Deal tip: A click-type torque wrench is the easiest way to hit these values. See the EPAuto torque wrench and other picks in our tool deals for Prime Big Deal Days.
Toyota Tacoma Lug Nut Torque Specifications by Model Year

The correct Toyota Tacoma lug nut torque depends on model year and, on fourth-generation trucks, wheel material. The table below summarizes verified U.S.-market factory guidance. Toyota’s exact owner’s manual for your truck remains the controlling source.
| Model Years | Generation | Factory Torque Guidance | Important Note |
|---|---|---|---|
| 1995–2004 | First generation | 83 ft-lbf (110 N·m) appears in verified first-generation Toyota documentation | Verify the exact year and 2WD/PreRunner/4WD wheel configuration before service. |
| 2005–2008 | Second generation | 85 ft-lbf (113 N·m) | Toyota owner’s manuals for these years list 113 N·m as 85 ft-lbf. Preserve the manufacturer’s stated figure rather than recalculating the conversion. |
| 2009–2015 | Second generation | 83 ft-lbf (113 N·m) | Applies to factory-style wheel installations; verify non-factory wheels and fasteners separately. |
| 2016–2023 | Third generation | 83 ft-lbf (113 N·m) | Use the exact manual when wheel or lug hardware is not factory-style. |
| 2024–2026 | Fourth generation | Aluminum: 97 ft-lbf (131 N·m) Steel: 154 ft-lbf (209 N·m) |
Wheel material is part of the torque decision. Do not carry an older 83 ft-lbf value onto a fourth-generation truck. |
Unit note: Toyota’s 2005–2008 manuals print 113 N·m as 85 ft-lbf, while later Tacoma manuals print the same 113 N·m value as 83 ft-lbf. Do not average or recalculate the published figures; use the value and unit printed for your exact model year and wheel configuration.
Three checks before setting the wrench: confirm the model year, identify whether the installed wheel is factory aluminum or steel where the manual distinguishes them, and verify whether the wheel/lug hardware is OEM-style or aftermarket. If any of those are uncertain, stop and check the exact documentation first.
For the controlling specification, use Toyota’s official manuals and warranties portal. Toyota provides information by model year, and the exact manual should take priority over any general online chart.
The biggest fourth-generation trap is treating 97 ft-lbf as universal. Toyota distinguishes factory aluminum wheels at 97 ft-lbf from factory steel wheels at 154 ft-lbf on applicable 2024–2026 configurations.
Required Tools and Torque Wrench Calibration
Use a torque wrench that comfortably covers the required value without placing the setting at the extreme bottom or top of its range. A 1/2-inch-drive wrench is normally the practical choice for Tacoma wheel nuts because it offers suitable capacity and accepts common wheel sockets.
- A calibrated 1/2-inch-drive torque wrench
- A six-point socket that fully seats on the installed lug nut
- A breaker bar or lug wrench for loosening nuts
- Wheel chocks
- A correctly rated floor jack and jack stands when removing a wheel
- A clean rag and a suitable non-abrasive brush for the hub face
- Gloves and eye protection
Warning: Do not use a torque wrench as a breaker bar, and do not rely on an impact wrench for final tightening. Impact tools can exceed the required torque before you realize it.
[Amazon Products Picked for You]

Quick Torque Setting: Simple and fast torque setting, pull down the locking knob and hold it down to rotate to the torque you need. Release the hand and the locking knob will automatically rebound to lock the torque value. And the designer referred to the appearance of the flashlight handle and designed a non slip and labor-saving knurled handle, making it more comfortable and easy to hold when using
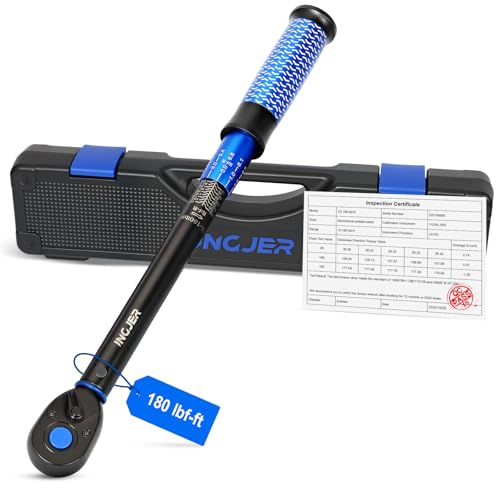
PRECISION-CALIBRATED FOR ACCURACY & RELIABILITY: Experience unparalleled accuracy with a 1/2" torque wrench certified to ±3% (clockwise). Each tool is meticulously calibrated and tested against rigorous standards to ensure consistent, repeatable performance. Prevent under-torquing (which can lead to loosening) and over-torquing (which can cause damage and failure), protecting your valuable equipment and projects.
Torque Wrench Types
A click-type wrench is durable and straightforward, while a digital wrench may provide audible, visual, or vibration alerts. Neither type is automatically more accurate in every case. Check the stated accuracy, operating direction, usable range, and calibration certificate for the specific tool you own.
Apply smooth pressure near the center of the handle. Stop pulling as soon as a click-type wrench releases or a digital wrench signals that the set value has been reached. Repeatedly clicking the same nut can add torque beyond the intended setting.
Calibration Frequency
Calibration frequency depends on use, storage, impacts, overloads, the wrench manufacturer’s requirements, and any quality-control program you follow. When no separate control procedure is used, 12 months or 5,000 cycles is a commonly cited default under ISO 6789-1; Norbar’s calibration guidance explains why use conditions can justify a shorter interval. ISO 6789-2:2017 covers calibration methods and measurement uncertainty for hand torque tools.
Have the wrench checked if it was dropped, overloaded, exposed to corrosion, or begins producing inconsistent results. A damaged or unverified wrench should not be trusted for a safety-critical wheel installation.
Storage and Care
Keep the wrench clean, dry, and inside its protective case. Store an adjustable click-type wrench at its lowest marked setting, not below the scale. Follow the manufacturer’s shutdown and battery-storage directions for an electronic wrench.
Do not leave a click-type wrench under spring tension at a high setting for long periods. Record calibration dates and repairs so you know whether the tool is suitable for the next wheel service.
Socket, Thread, and Lug Nut Fitment
Do not treat 13/16 inch, 21 mm, and 22 mm as automatically interchangeable. A 13/16-inch socket measures about 20.6 mm across the flats; a 21 mm socket is slightly larger, and a 22 mm socket is larger again. Use the six-point socket that fully seats on the actual nut with minimal play.
Note: Lug-nut hex size and stud thread size describe different parts. Knowing the stud thread does not tell you which socket fits the installed nut.
Many second- and third-generation Tacoma applications use M12x1.5 wheel studs, while fourth-generation hardware changed. Before buying replacement nuts, studs, wheel locks, or spacers, verify the exact year and installed wheel. For a deeper fitment breakdown, see the Tacoma lug nut size and seat-type guide and the Tacoma wheel bolt-pattern guide.
The lug-nut seat must also match the wheel. Common designs include conical, flat or mag-style, and ball seats. A nut can have the correct thread while still being unsafe because its seat does not match the wheel.
[Amazon Products Picked for You]

SPECIFICATION: Chrome closed end lug nuts with M12 x 1.5 thread - 3/4" (19 mm) hex - 35 mm length - 22 mm width, tapered 60 degree seat, solid one-piece conical lug nuts. After professional factory testing, it is more suitable for your car
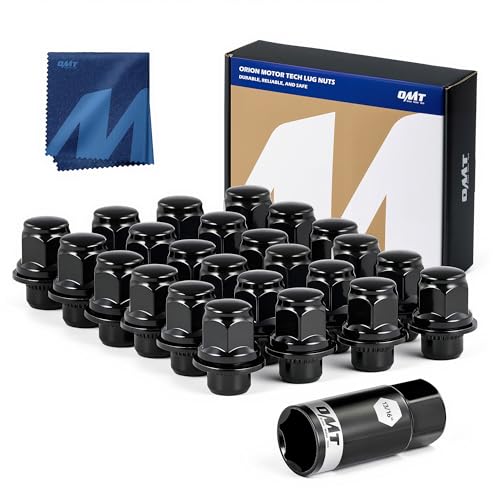
SET OF 24 LUG NUTS: This package includes 24 Orion Motor Tech 12mm x 1.5 lug nuts with a mag seat (1.46" high by 1.18" wide), a socket, and instructions for use to get all your wheels back on the road as soon as possible

Specifications: M12x1.5 thread - closed end bulge style lug nuts - conical 60 degree seat - 3/4" 19mm hex - 1.38" long - 0.87" 22mm wide - color: Chrome/Silver - 24PCS,Warning: Not fit for Toyota original Mag Flat OEM wheel
Vehicle Preparation: Jacking Safety and Hub Cleaning
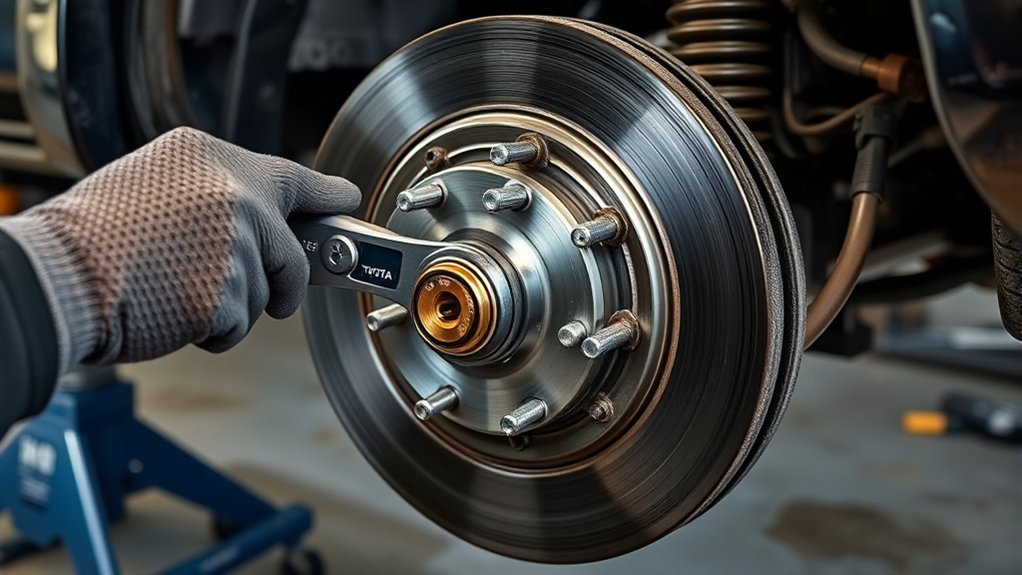
Park on firm, level ground, shift into Park or first gear, set the parking brake, and chock a wheel that will remain on the ground. If you are only checking the torque of an installed wheel, leave the truck on the ground. You do not need to jack it up.
| Step | Tool | Purpose |
|---|---|---|
| Secure | Parking brake and wheel chocks | Prevent vehicle movement |
| Lift | Floor jack and jack stands | Support the truck during wheel removal |
| Inspect | Rag and suitable brush | Remove contamination from the mounting face |
Loosen the nuts slightly before lifting the truck. Use only the jacking and support points identified in the owner’s manual. Once raised, place correctly rated stands under approved support points and lower the truck onto them. Never work under or around a raised vehicle supported only by a hydraulic jack.
Inspect the wheel mounting face, hub, studs, and lug nuts. Remove loose dirt, heavy rust flakes, and debris that could prevent the wheel from seating flat. Do not grind away sound metal or coat the mating surfaces with grease.
Warning: Wheel-stud torque specifications normally assume clean, dry threads. Do not apply oil, grease, or anti-seize unless Toyota or the wheel and fastener manufacturer explicitly instructs you to do so.
Step-by-Step: Hand-Start, Snug, and Final Torque
- Confirm the specification. Check the model year, installed wheel material/type, and approved torque value before touching the torque wrench.
- Inspect the parts. Stop if a stud is cracked, stretched, badly corroded, cross-threaded, or missing. Replace damaged hardware before driving.
- Seat the wheel. Place the wheel squarely against the clean hub face without trapping dirt or rust between the surfaces.
- Hand-start every lug nut. Turn each nut several full rotations by hand. A nut that will not turn easily may be cross-threaded or incompatible.
- Snug in a star or crisscross pattern. Use a hand tool to draw the wheel inward gradually. Do not fully tighten one nut while the others remain loose.
- Complete an intermediate pass. Set the torque wrench to approximately half the confirmed final value and tighten every nut in the same crisscross sequence.
- Prevent the wheel from rotating. Lower the truck until the tire lightly contacts the ground, or use another approved method that keeps the wheel seated without placing the vehicle in an unstable position.
- Apply final torque. Set the wrench to the exact value confirmed in Step 1 and tighten each nut once in the specified star or crisscross pattern.
- Verify the pattern. Make one orderly confirmation pass at the same setting. Stop when the wrench signals; do not keep pulling or repeatedly click the tool.
- Lower and inspect. Fully lower the truck, remove the equipment, and check that every nut is present and properly seated.
Pro Tip: Mark each completed nut with a removable chalk line after the final pass. The marks help you follow the pattern and make a later visual check easier.
Tacoma Model Differences and Special-Case Torque
Tacoma torque changes are not a simple generation-only rule. Toyota’s 2005–2008 owner’s manuals list 113 N·m as 85 ft-lbf, while 2009–2023 factory-wheel applications use 83 ft-lbf (113 N·m). On 2024–2026 trucks, Toyota distinguishes factory aluminum wheels at 97 ft-lbf (131 N·m) from factory steel wheels at 154 ft-lbf (209 N·m) on applicable configurations.
Differences in lug count, wheel material, stud diameter, lug-nut seat, and aftermarket hardware can change the approved procedure. Do not identify a wheel solely by the truck’s model name or appearance.
When the vehicle manual, wheel documentation, and fastener instructions appear to conflict, stop and contact the wheel manufacturer, Toyota dealer, or a qualified tire professional. Do not choose the highest figure or average the values.
Aftermarket Wheels, Wheel Locks, and Seat Types
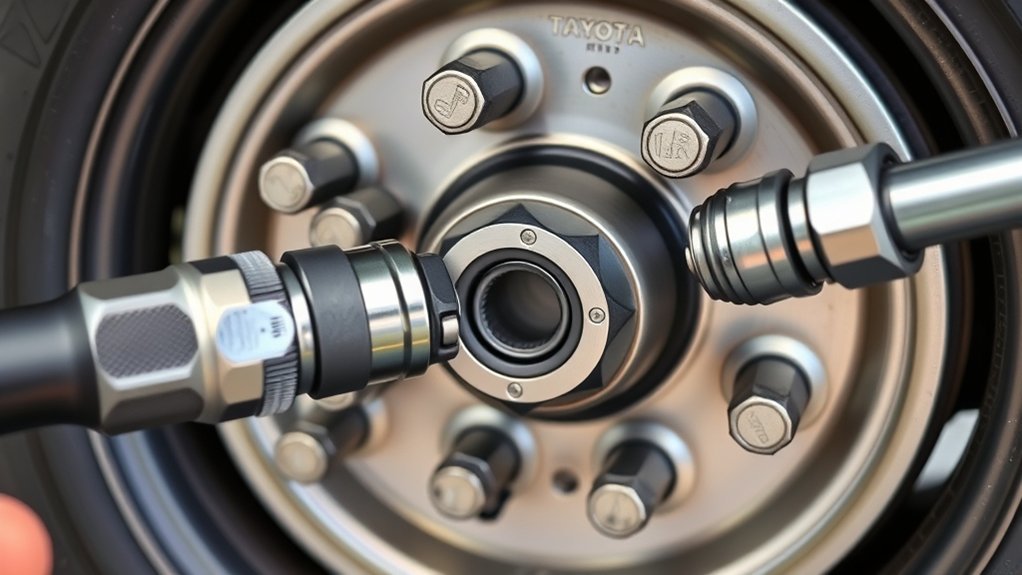
Aftermarket wheels may require different lug nuts even when the wheel fits the truck’s hub and bolt pattern. Verify the thread, seat shape, shank length, nut diameter, socket clearance, and required thread engagement before installation.
Use the torque value approved for the complete combination of vehicle, wheel, and fastener. Never substitute a broad range such as 83–100 ft-lbf for documented instructions.
[Amazon Products Picked for You]

One-piece Solid lug nuts feature durable design and provide perfect replacement for your Tacoma, 4Runner, Corolla, GX470

12mmx1.5 Factory OEM Mag Washer Style Black Lug Nuts for Tacoma 6 Lug, 4 Runner, FJ Cruiser MATRIX GX460 GX470

One Piece Design: Our wheel lug nuts are a great choice to replace the original two-piece design nuts. They feature a sturdy one-piece construction and are heat-treated, which effectively prevents the expansion and cracking issues commonly found in original nuts.
Matching Seat Type
A conical-seat nut must contact the wheel through its tapered surface. A flat or mag-style nut may use a washer and shank, while a ball-seat nut has a rounded contact surface. Mixing these designs can leave only a small area carrying the load, even when the torque wrench reaches its setting.
On 2024–2026 factory Tacoma wheels, Toyota shows washer-style/flat contact for the aluminum-wheel installation and tapered contact for the steel-wheel installation. Do not assume the nut used with one factory wheel type is interchangeable with the other.
Install one nut by hand and inspect how it contacts the wheel before completing the set. All nuts on the wheel should be the same approved type unless the wheel manufacturer provides a different design for a specific position.
Wheel Lock Options
A wheel lock must match the same thread, seat, engagement, and torque requirements as the standard lug nut it replaces. Keep the lock key in a known location inside the truck, but not loose where it can become a projectile.
Fit the key squarely onto the lock and apply slow, straight pressure with the torque wrench. Replace a rounded key or damaged lock rather than forcing it with an impact tool.
Common Mistakes, Troubleshooting, and Safety Tips
- Using one value for every Tacoma: Confirm the model year before setting the wrench.
- Finishing with an impact wrench: Use the impact only for controlled run-down when appropriate, then complete final torque by hand.
- Applying lubricant without instructions: Lubricated threads can produce greater clamping force at the same wrench setting.
- Using a loose socket: A poorly fitting socket can round the nut and make roadside removal difficult.
- Cross-threading: Every nut should begin smoothly by hand for several rotations.
- Tightening in a circle: Use a diagonal or star sequence so the wheel seats evenly.
- Ignoring the hub face: Rust or debris can create a false torque reading and permit later settling.
- Repeatedly clicking the wrench: Stop at the first clear signal instead of adding extra force.
- Skipping damaged hardware: Replace swollen, cracked, stripped, or heavily corroded nuts and studs.
If the wrench clicks immediately before a nut moves, the nut may already be at or above the selected setting. Do not loosen it merely to “hear another click” unless you are intentionally removing and reinstalling the wheel. If you suspect previous over-tightening, have the studs and nuts inspected.
Stop driving if you notice wheel wobble, new steering vibration, metallic clicking, a missing nut, elongated wheel holes, or repeated loosening. Arrange a tow or professional inspection instead of tightening a visibly damaged assembly at the roadside.
When to Recheck or Replace Lug Nuts and Studs
Check the applicable manual or wheel-maker instructions after any wheel removal, tire replacement, rotation, brake repair involving wheel removal, or change to aftermarket wheels. Recheck intervals are not universal: some Toyota manuals specify their own post-service interval, while Continental recommends checking newly fitted wheels after approximately 50 km (about 30 miles). Follow the vehicle or wheel manufacturer when it gives a specific interval.
For a retorque check, park on level ground, set the parking brake, and leave the truck resting on its tires. Set the torque wrench to the correct value and follow the star or crisscross pattern. Do not loosen each nut first unless the applicable procedure specifically requires removal and reinstallation.
Replace a lug nut if its threads bind, its seat is deformed, its outer shell has swollen, or the socket no longer fits securely. Replace a stud if its threads are stripped, it is visibly stretched or cracked, or it spins in the hub.
Persistent loosening is not normal. It can indicate incompatible seats, insufficient thread engagement, contamination, damaged wheel holes, a distorted wheel, or failed studs. Have the complete assembly inspected before further driving. If you are rechecking after a routine rotation, the Tacoma tire-rotation guide covers the related service sequence.
Frequently Asked Questions
What is the torque spec for the lug nuts on a Toyota Tacoma?
It depends on year and wheel type. Toyota’s 2005–2008 manuals list 85 ft-lbf (113 N·m); 2009–2023 factory-wheel applications use 83 ft-lbf (113 N·m). For 2024–2026 factory wheels, Toyota specifies 97 ft-lbf (131 N·m) for aluminum and 154 ft-lbf (209 N·m) for steel on applicable configurations. Verify first-generation and aftermarket setups separately.
Do 2024–2026 Tacoma steel and aluminum wheels use the same torque?
No. Toyota’s fourth-generation specifications distinguish the wheel material: factory aluminum wheels use 97 ft-lbf (131 N·m), while factory steel wheels use 154 ft-lbf (209 N·m) on applicable configurations. Identify the installed wheel before setting the wrench.
Is a 1/2-inch or 3/8-inch torque wrench better for lug nuts?
A 1/2-inch-drive torque wrench is normally the better choice because its range and drive size are suited to Tacoma wheel torque. Use a 3/8-inch wrench only if its documented range and accuracy comfortably cover the required setting.
Is a 50-mile retorque necessary?
Do not treat 50 miles as a universal Toyota interval. Continental recommends about 50 km, or 30 miles, for newly fitted wheels, while vehicle and wheel manufacturers may specify different distances. Follow the exact Toyota manual or wheel-maker instructions for your setup.
What is the torque on Toyota wheel nuts?
Toyota does not use one wheel-nut torque across every vehicle or Tacoma generation. Use the exact model-year manual and wheel configuration rather than a brand-wide number.
Can I tighten Tacoma lug nuts with an impact wrench?
You may use a controlled impact tool to run nuts down gently, but it should not determine final torque. Hand-start every nut and complete the final star-pattern pass with a calibrated torque wrench.
Should I put anti-seize or grease on Tacoma wheel studs?
Not unless Toyota or the approved wheel and fastener instructions specifically require it. Published wheel-nut torque procedures normally assume clean, dry threads, and lubricant changes the relationship between wrench torque and clamping force.
Why does my torque wrench click before the lug nut turns?
The nut may already be at or above the selected torque, or friction and corrosion may be affecting the reading. Do not keep pulling. If previous over-tightening or damaged hardware is possible, remove and inspect the assembly using the proper service procedure.
Conclusion
Use the torque value for the exact Tacoma and wheel in front of you. Toyota documentation reviewed for this update lists 85 ft-lbf (113 N·m) for 2005–2008 trucks, 83 ft-lbf (113 N·m) for 2009–2023 factory-wheel applications, and—on 2024–2026 factory wheels—97 ft-lbf (131 N·m) for aluminum or 154 ft-lbf (209 N·m) for steel on applicable configurations. Verify first-generation, replacement-hardware, and aftermarket-wheel setups separately.
A safe installation depends on more than the number on the wrench. Clean the hub, keep the threads dry unless specifically instructed otherwise, match the lug-nut seat to the wheel, hand-start every nut, and tighten progressively in a star or crisscross pattern. Recheck at the interval specified for your vehicle or wheel, and stop driving if a wheel repeatedly loosens or shows damaged hardware.
Sources
- Toyota Manuals and Warranties — model-year-specific owner’s manuals and official vehicle guidance
- 2005 Toyota Tacoma Manuals — second-generation owner information, including the 85 ft-lbf specification
- 2008 Toyota Tacoma Manuals — second-generation owner information
- 2009 Toyota Tacoma Manuals — second-generation documentation listing 113 N·m / 83 ft-lbf
- 2023 Toyota Tacoma Manuals — third-generation owner information
- 2024 Toyota Tacoma Manuals — fourth-generation wheel-specific owner information
- 2025 Toyota Tacoma Manuals — fourth-generation owner information
- 2026 Toyota Tacoma Manuals — current fourth-generation owner information
- Continental: Retorquing Wheels — tightening sequence, contamination risks, and post-installation checks
- Norbar: Torque Wrench Calibration — recalibration interval guidance and ISO 6789 context
- ISO 6789-2:2017 — calibration and measurement-uncertainty requirements for hand torque tools
- NHTSA TireWise — official tire and wheel-maintenance safety guidance
