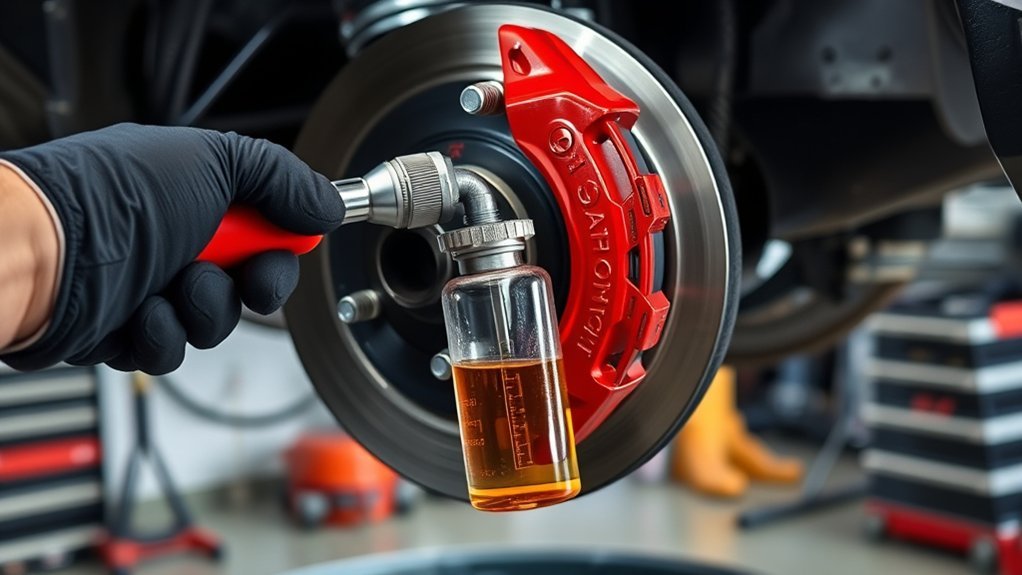
Replacing a Toyota Tacoma brake caliper is a safety-critical job, and the correct details depend on the truck’s model year, axle, brake package, and hydraulic system. The basic workflow is straightforward—support the truck, remove the wheel and old caliper, install the correct replacement, reconnect the brake hose, bleed trapped air, and verify a firm pedal—but you should not use one generic bleeding order or torque value for every Tacoma.
Quick Answer
To replace a Toyota Tacoma brake caliper, support the truck on jack stands, remove the wheel, disconnect and cap the brake hose, install the correct replacement, reconnect the hose with specified hardware and torque, then bleed the circuit using the exact model-year Toyota procedure. Do not drive until the pedal is firm and all connections stay dry.
Key Takeaways
- Match the replacement caliper to the exact Tacoma year, axle, side, and brake package before removing anything.
- Never work under a truck supported only by a floor jack, and never allow oil, grease, or general-purpose lubricant onto the brake pad or rotor friction surfaces.
- Do not assume a universal right-rear-first bleeding order. Tacoma bleeding procedures vary, and some situations require Toyota Techstream or an equivalent factory-capable procedure.
- After installation, the brake pedal must be firm, the reservoir must be at the correct level, and every hose, fitting, bleeder, and caliper seal must remain dry before the truck is driven.
At a Glance
| Time Required | Varies by model year, corrosion, access, and bleeding needs; plan enough time to complete leak checks and a safe pedal test without rushing. |
| Difficulty | Intermediate to advanced DIY because the hydraulic brake system must be opened and bled correctly. |
| Tools Needed | Floor jack, rated jack stands, wheel chocks, sockets/wrenches, flare-nut wrench, torque wrench, brake bleeding kit or clear hose and bottle, drain pan, line plug/cap, brake cleaner, gloves, and eye protection. |
| Cost | Varies widely with model year, axle, OEM vs. remanufactured parts, brake pads/hardware, fluid, and whether professional bleeding or diagnostics are required. |
Warning: Brakes are a primary safety system. If you cannot identify the correct factory procedure, cannot obtain a firm pedal, see any brake-fluid leak, or trigger a brake/ABS/parking-brake warning that does not clear after the specified procedure, do not road-test the truck. Have it towed or professionally inspected.
Understanding the Importance of Brake Caliper Replacement
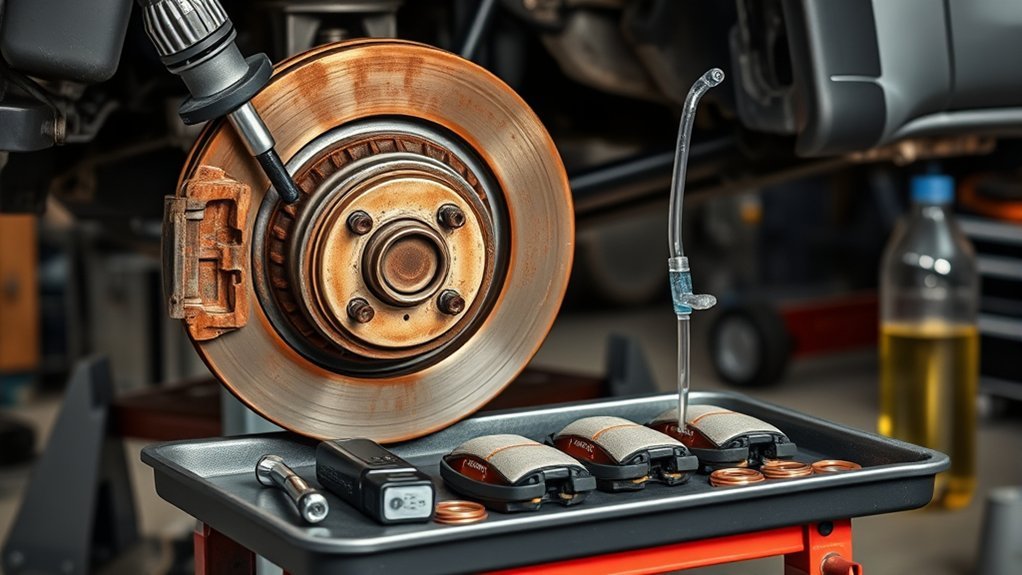
When a brake caliper fails, replacement may be necessary to restore safe, even braking. A caliper can leak brake fluid, seize so the brake drags, fail to apply enough clamping force, or allow uneven pad wear. Depending on the failure, you may notice pulling during braking, excessive heat or odor at one wheel, uneven pad wear, a soft or sinking pedal, visible fluid, or reduced braking performance.
Installing a new brake caliper is more than swapping one part. The brake hose connection must seal correctly, the caliper must be installed on the correct side with the bleeder positioned properly, the mounting fasteners must be tightened to the exact Toyota specification for that configuration, and the hydraulic system must be bled without allowing the reservoir to run dry.
Air in a hydraulic brake circuit can compress under pedal pressure and create a soft or spongy pedal. Brake fluid loss can also reduce braking ability. Toyota’s maintenance guidance calls for inspection of brake components, hoses, and brake-fluid condition, while exact service procedures and specifications vary by model year.
A caliper replacement is not finished when the bolts are tight. It is finished only when the correct fluid level is restored, the pedal is firm, the system is leak-free, and the truck passes the required brake-system checks.
Model-Year and Brake-System Differences You Must Check First
Toyota Tacoma brake systems are not identical across generations. Earlier trucks may use front disc brakes with rear drums, while the 2024 Tacoma introduced four-wheel disc brakes and an electronic parking brake. Brake booster, ABS/VSC, wheel size, caliper size, and bleeding procedures can also differ by year and configuration.
Before ordering a caliper or loosening a brake line, confirm the VIN, model year, front or rear axle, left or right side, wheel/brake package, and whether the truck has an electronic parking brake. Use Toyota’s Technical Information System or the exact factory repair manual for torque values, bleeding instructions, and any required scan-tool or service-mode steps.
Note: For 2024–2025 Tacoma owners, also check the VIN for NHTSA recall 25V-058. NHTSA’s July 2, 2025 update lists 221,846 potentially involved trucks with 16-inch brakes; the issue concerns rear brake-hose damage and possible fluid leakage. A recall repair is separate from ordinary caliper replacement.
[Amazon Products Picked for You]

【Compatibility】: This brake caliper pins bushing kit is compatible with Cadillac 2008-2013 CTS, Lexus 2010-2012 HS250h, Scion 2011-2015 tC and xB (2008-2015 models), and Toyota 2010-2017 Prius. For more models, please refer to the product details

Adaptation: Fit for Toyota Tacoma 2005 2006 2007 2008 2009 2010 2011

[High-Quality Materials]: Caliper pin dust covers are made of high-quality rubber, making them sturdy, durable, resistant to wear and deformation, and providing excellent sealing for long-term use.
Tools and Materials You’ll Need for the Job
To replace a Toyota Tacoma brake caliper safely, gather the correct tools before lifting the truck. At minimum, you will normally need a floor jack, rated jack stands, wheel chocks, a socket set, combination wrenches, a flare-nut or line wrench, a torque wrench, a drain pan, a brake bleeder kit or clear hose and bottle, brake cleaner, clean rags, gloves, eye protection, and fresh brake fluid that matches the specification for your exact Tacoma.
You also need the correct replacement caliper. New brake pads are not automatically required just because a caliper is replaced, but the pads on both sides of the axle should be inspected. Replace the pad set if the pads are contaminated with brake fluid, heat-damaged, worn beyond specification, tapered from a sticking caliper, or otherwise unserviceable. Inspect the rotor and brake hose at the same time.
Keep a purpose-made brake-line plug or cap available to reduce fluid loss and contamination when the hose is disconnected. A rubber vacuum cap may fit some fittings temporarily, but use it only if it is compatible with brake fluid and seals securely; a dedicated brake-system cap or plug is the safer choice.
If your caliper uses a banjo-style hose fitting, have the new sealing washers or other specified sealing hardware ready. Do not reuse a sealing washer when the service procedure calls for replacement.
For brake fluid, follow the exact owner’s manual or reservoir-cap specification. For example, Toyota lists FMVSS No. 116 DOT 3/SAE J1703 or FMVSS No. 116 DOT 4/SAE J1704 for the 2024 Tacoma. Use freshly opened fluid and do not mix in an unapproved type.
[Amazon Products Picked for You]
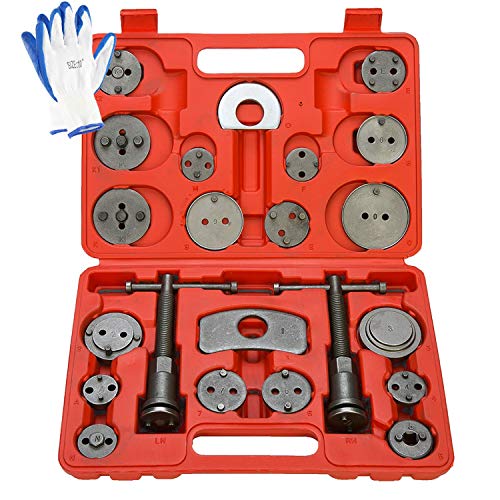
Ideal for 4 wheel drive cars/trucks

Durable Material: The brake caliper compression tool is carbon steel construction with a rust-proof blasted finish, these blades will stand up to heavy use and accidental drops. It’s perfect for everyone from DIY novices to professional mechanics.

Direct replacement - this disc brake caliper repair kit is designed to match the original components required to repair the caliper and restore proper operation of disc brakes on specified vehicles
How to Remove the Old Brake Caliper
Start on a level, solid surface. Secure the truck so it cannot roll, loosen the wheel fasteners before lifting, raise the vehicle at the specified lifting point, and support it with rated jack stands. Never place any part of your body under a vehicle supported only by a hydraulic jack.
Remove the wheel and inspect the brake assembly before disconnecting anything. Look for wetness around the caliper, hose, fitting, and bleeder; uneven pad wear; cracked or swollen hoses; heat discoloration; damaged boots; and rotor scoring or cracking. If the problem is actually a damaged hose, seized slide, contaminated pad, or another hydraulic fault, replacing only the caliper may not solve it.
[Amazon Products Picked for You]
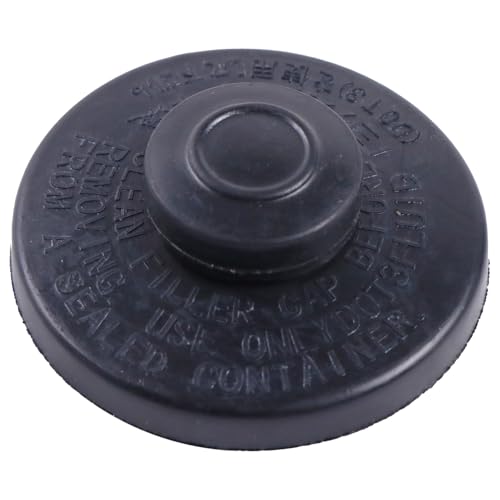
Part Number:47230-12040 47230-06010 4723012040

High Quality: Made of durable flexible nitrile rubber, are durable, high temperature resistance
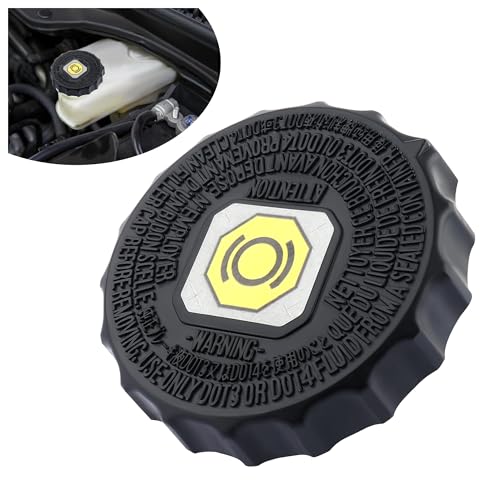
🌀 Compatible Models: Compatible with Toyota 2019-2023 RAV4, 2021-2023 Mirai, 2016-2023 Prius, 2021-2023 Sienna, 2019-2022 Avalon, 2018-2023 Camry, 2021-2023 Venza, 2019-2023 Corolla, 2022-2023 Tundra, 2005-2015 Tacoma, 2006-2023 4Runner, 2007-2014 FJ Cruiser, 2017-2023 Highlander, 2008-2021 Land Cruiser.
Prepare Tools and Equipment
- Confirm the replacement caliper matches the exact Tacoma year, axle, side, and brake package.
- Position a drain pan below the brake hose connection and protect painted surfaces from brake fluid.
- Keep the reservoir cap area clean so dirt cannot enter the hydraulic system.
- Set out the correct line wrench, socket, torque wrench, bleeder hose, line cap/plug, and replacement sealing hardware before opening the brake circuit.
Brake dust should not be blown away with compressed air. OSHA warns that automotive brake work can involve hazardous dust, including asbestos on some friction materials, and describes wet-cleaning or HEPA-controlled methods for reducing exposure.
Disconnect Brake Lines Safely
Disconnect the brake hose only when you are ready to install the replacement caliper. Use the correct flare-nut wrench or socket for the fitting so you do not round it. Do not twist the flexible hose, and do not pinch it with locking pliers unless the exact manufacturer procedure specifically permits a suitable hose clamp.
As soon as the line is open, cap or plug it with a brake-fluid-compatible fitting to limit fluid loss and reduce the chance of dirt or air entering the system. If the caliper uses a banjo bolt, note the original hose orientation and prepare the specified new sealing washers for installation.
| Step | Action | Why It Matters |
|---|---|---|
| 1. Lift Vehicle | Use the correct lift point and rated jack stands | Prevents vehicle movement or collapse |
| 2. Control Fluid | Use a drain pan and compatible line cap/plug | Limits fluid loss and contamination |
| 3. Loosen Fitting | Use the correct line wrench or socket | Reduces fitting damage |
| 4. Inspect | Check hose, pads, rotor, hardware, and mounting points | Finds related faults before reassembly |
After the hose is controlled, remove the caliper mounting fasteners and lift the old caliper away. Do not allow the brake hose or line to carry the caliper’s weight at any point in the process.
Installing the New Brake Caliper: Critical Considerations
Compare the new caliper with the removed part before installation. Mounting ears, piston arrangement, hose connection, and bleeder location should match. A left/right mix-up can place the bleeder below the highest point in the caliper, trapping air even after repeated bleeding.
- Inspect the Caliper: Check the new unit for shipping damage, damaged threads, torn boots, missing hardware, or protective plugs that still need removal.
- Position It Correctly: Install the correct left/right caliper and confirm the bleeder is at or near the top of the fluid cavity as designed.
- Use Correct Hardware: Install new hose sealing washers or other one-time-use hardware when required by the service procedure.
- Torque to Factory Specification: Tighten caliper fasteners, hose/banjo fittings, bleeders, and wheel fasteners to the exact specification for the truck. Do not use a generic Tacoma value.
- Monitor Brake Fluid: Keep the reservoir above the minimum level during bleeding so air is not drawn deeper into the system.
Pro Tip: Before connecting the brake hose, verify the bleeder location. If the bleeder is not positioned at the caliper’s high point, trapped air may remain no matter how much fluid you push through it.
If new pads are installed, use brake-specific lubricant only where the vehicle or brake manufacturer specifies it, such as certain slide-pin or pad-abutment contact points. Keep lubricant, oil, and grease completely off the rotor and pad friction surfaces.
Connecting the Brake Line Correctly
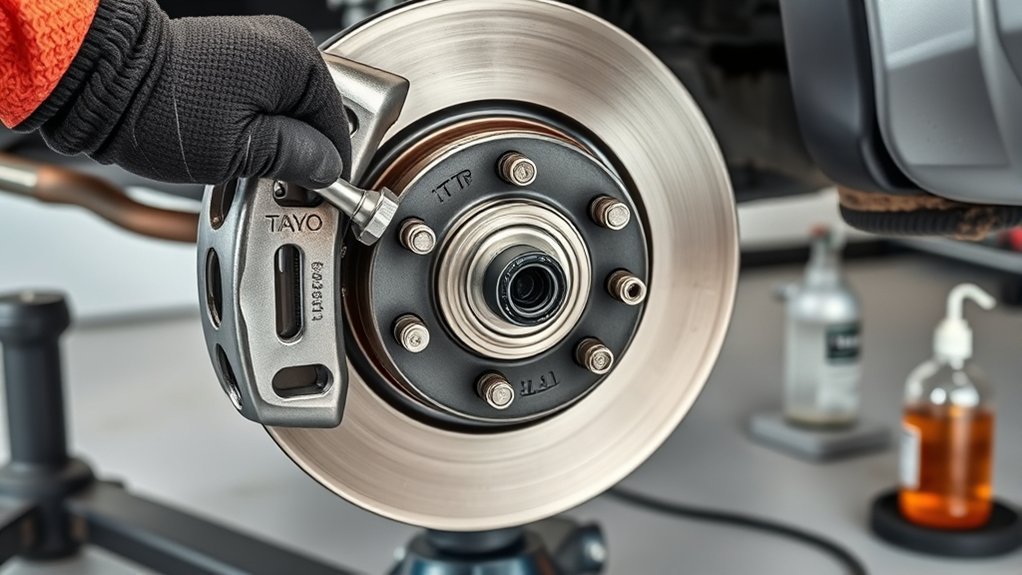
Connecting the brake line to the new caliper requires clean threads, correct hose orientation, and the specified sealing hardware. Remove the temporary cap or plug only when the caliper is ready. Start threaded fittings by hand whenever possible to avoid cross-threading.
If the hose attaches with a banjo bolt, position the hose exactly as required so it will not rub the wheel, suspension, or other components through the full range of steering and suspension movement. Install the specified new sealing washers and tighten the connection to the exact factory specification.
If the truck uses a threaded line connection, make sure the fitting starts freely and the line is not under tension. A fitting that resists hand-starting may be misaligned or cross-threaded. Stop and correct the alignment rather than forcing it.
After tightening the connection, wipe the area dry. This makes a fresh leak easier to see during the pressure check. Brake-fluid seepage at a hose fitting, bleeder, piston seal, or line connection is not acceptable.
Bleeding Your New Brake Caliper for Optimal Performance
Bleeding removes air introduced when the hydraulic circuit was opened. The original idea of always starting at the right rear wheel, then moving to the left rear and front wheels, is not a safe universal rule for every Tacoma. Toyota bleeding procedures differ by generation and brake system, and some configurations or repair conditions require Techstream-controlled actuator bleeding.
If only one caliper was opened, the reservoir never ran low, and the rest of the hydraulic system remained sealed, the factory procedure may allow bleeding of the affected circuit without a complete system bleed. However, if the pedal remains soft, the reservoir ran dry, the master cylinder or ABS/brake actuator was opened, or multiple hydraulic lines were disconnected, follow the full Toyota service procedure for that exact truck.
Basic Manual Bleeding Workflow
- Fill the reservoir with the brake fluid specified for the exact model year and keep it above the minimum mark throughout the procedure.
- Attach a clear hose to the bleeder and place the other end in a suitable container.
- Follow the model-specific pedal and bleeder sequence. In a common manual method, an assistant slowly applies and holds pedal pressure while the bleeder is opened briefly, then the bleeder is closed before the pedal is released.
- Repeat only as required until the discharged fluid is free of air bubbles and the pedal response is correct.
- Top off the reservoir to the specified level, clean spilled fluid immediately, and inspect every opened connection for leaks.
Do not rapidly pump the pedal without regard to the factory procedure, and do not let the reservoir run dry. On Tacoma systems that require a scan-tool-assisted bleed, attempting to purge actuator air with a generic manual sequence may leave air trapped or create additional problems.
Warning: If air may have entered the ABS/brake actuator, if the master-cylinder reservoir emptied, or if the pedal remains soft after a normal bleed, stop. Toyota service procedures for some Tacoma brake systems call for Techstream actuator bleeding.
How to Fix Common Brake Pressure Problems
If the pedal is soft, pressure is weak, or no fluid comes from the bleeder after a caliper replacement, do not assume the new caliper is the only possible cause. Check the entire area you disturbed and work from the simplest faults to the more complex ones.
Inspect Caliper for Defects
Inspect the new caliper for leaks, damaged threads, torn boots, or casting damage. Confirm that the correct left/right part was installed and that the bleeder is at the proper high point. A caliper with the bleeder too low can trap an air pocket that ordinary bleeding may not remove.
- Check the caliper body and piston area for fresh fluid.
- Confirm the brake hose connection is dry and the hose is not twisted.
- Verify that the bleeder screw passage is open and that the screw is not blocked or damaged.
- Confirm the pads and hardware are installed correctly and can move as designed.
Check Brake Line Connections
Loose or damaged hydraulic connections can leak and reduce braking performance. Wipe every opened connection clean, apply pedal pressure according to the service procedure, and inspect for fresh moisture. Also inspect the flexible hose for kinks, swelling, cracking, abrasion, or internal restriction.
| Symptom | Likely Checks | Next Step |
|---|---|---|
| Fluid at fitting | Hose seating, sealing washers, threads, torque | Stop and correct the leak before driving |
| No fluid at bleeder | Reservoir level, blocked bleeder, kinked/restricted hose, line obstruction, actuator procedure | Diagnose the restriction; do not force the vehicle into service |
| Soft pedal | Trapped air, low fluid, leak, wrong caliper orientation, actuator air | Repeat the correct bleed procedure or use factory-capable service equipment |
| Brake drag or pulling | Caliper/pads, slide hardware, hose restriction, rotor condition | Correct the mechanical or hydraulic fault before road use |
Bleed Air From System
If trapped air is suspected, use the exact Toyota procedure for the brake system rather than a memorized wheel order. Older and newer Tacomas can use different booster and stability-control arrangements. Some Toyota service procedures specify Techstream functions when the brake actuator or master-cylinder circuit contains air.
Keep the brake fluid reservoir above the minimum mark throughout the process. If the reservoir empties, stop and follow the expanded factory bleeding procedure instead of simply adding fluid and continuing.
After bleeding, the pedal should be firm and repeatable. A pedal that slowly sinks under steady pressure, requires pumping to build pressure, or remains unusually soft indicates a problem that must be resolved before driving.
Post-Installation Safety Checks Before Driving
Before reinstalling the wheel, inspect the hose routing through the steering and suspension range available at that corner. Make sure the hose is not twisted, stretched, pinched, or positioned where it can rub the tire, wheel, control arm, shock, or other hardware.
Reinstall the wheel and tighten the wheel fasteners to the exact Toyota specification for that model year and wheel type. Do not assume all Tacoma wheels use the same torque value.
With the truck safely supported or on the ground as directed by the procedure, press the brake pedal and verify that it becomes firm. Hold steady pressure and check every opened fitting, the bleeder, the hose, and the caliper for leakage. Confirm the reservoir level and make sure no brake or ABS warning remains that requires service.
If new pads were installed, follow the pad manufacturer’s bedding procedure. Any initial test should be done only after the system passes the static checks, at very low speed in a safe area away from traffic. Stop immediately if the pedal feels soft, the truck pulls strongly, a wheel drags, or a warning light appears.
Maintaining Your Brake System After Replacement
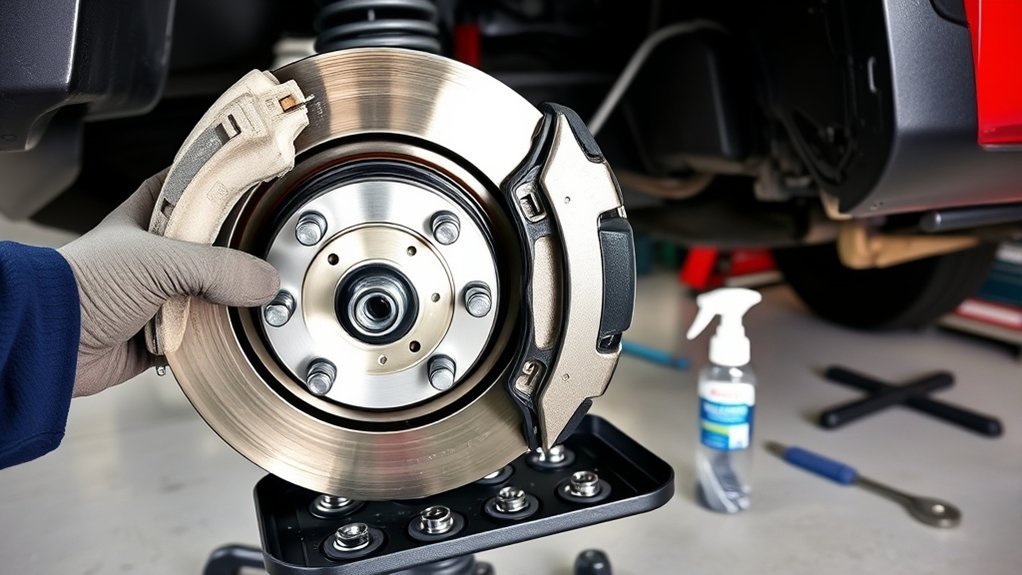
After replacing a brake caliper, inspect the repair area again after the first safe low-speed check and whenever you notice a change in pedal feel, pulling, odor, noise, warning lights, or fluid level. A fresh repair should remain completely dry.
Do not rely on a universal “replace brake fluid every two years” rule for every Tacoma. Toyota’s 2024 Tacoma maintenance guide, for example, calls for inspection of brake-fluid level and condition within scheduled maintenance rather than publishing one blanket two-year replacement interval. Follow the maintenance guide for your exact model year and replace fluid when Toyota specifies it or when condition/testing and service needs justify it.
Keep a record of caliper replacement, pad/rotor work, fluid used, bleeding performed, and any follow-up inspection. This makes it easier to diagnose future changes and avoids repeating work unnecessarily.
| Maintenance Task | When to Do It |
|---|---|
| Inspect brake lines and hoses | At factory-scheduled inspections and any time damage, rubbing, corrosion, or leakage is suspected |
| Check brake fluid level/condition | At scheduled maintenance and whenever pedal feel or warning indicators change |
| Bleed brake system | When the hydraulic circuit is opened, air is present, or the factory procedure requires it |
| Replace brake fluid | Follow the exact model-year Toyota maintenance guidance and fluid condition; do not use a universal two-year rule |
| Check repair for leaks | Immediately after bleeding, during the static pressure check, and after the first safe low-speed verification |
When to Seek Professional Help With Brake Repairs?
Bring the Tacoma to a qualified technician when the repair moves beyond a straightforward caliper swap or when any safety check fails. Professional help is especially appropriate in these situations:
- Spongy or Sinking Pedal: The pedal remains soft, requires pumping, or sinks under steady pressure after correct bleeding.
- ABS/Actuator Bleeding Needed: The reservoir ran dry, the master cylinder or brake actuator was opened, or Toyota’s procedure calls for Techstream.
- Brake-Fluid Leak: Any hose, hard line, fitting, bleeder, caliper seal, or master-cylinder area is wet.
- Electronic Parking-Brake or Brake Warning: A warning appears after rear-brake work or does not clear after the specified initialization/service procedure.
- Damaged or Seized Hardware: A brake line is rounded, seized, kinked, corroded, or cannot be sealed correctly.
- Installation Uncertainty: You cannot verify the correct caliper, torque specifications, hose routing, bleeding sequence, or service-mode requirements.
Braking problems are not an area for trial-and-error road testing. If the system does not pass the static leak and pedal checks, keep the truck off the road.
Frequently Asked Questions
How do you bleed brake lines after replacing a Toyota Tacoma caliper?
Use the bleeding procedure for the exact Tacoma model year and brake system. Keep the reservoir above the minimum level, connect a clear hose to the bleeder, and purge air as the factory procedure directs. Do not assume every Tacoma uses the same right-rear-first wheel order. If the reservoir ran dry, the ABS/brake actuator contains air, or the pedal remains soft, a Techstream-assisted procedure may be required.
Is there a class action lawsuit for Toyota Tacoma brakes?
A proposed class action was filed in 2025 concerning the 2024–2025 Tacoma rear-brake-hose recall, but public federal docket records show the later Texas case was voluntarily dismissed in August 2025. The earlier claim that “over 30% of owners” had significant brake problems is not supported. Separately, NHTSA recall 25V-058 remains the key official safety action to check by VIN for affected 2024–2025 trucks.
What is the most common problem with a Toyota Tacoma?
There is no single verified “most common problem” that applies to every Tacoma generation and model year. For brake complaints specifically, worn pads or rotors, sticking calipers, damaged hoses, fluid leaks, and hydraulic or ABS-related faults can all cause symptoms. Diagnose the actual symptom rather than assuming caliper wear is the cause.
Is it okay to spray WD-40 on brake calipers?
Do not spray general-purpose oil or lubricant over an assembled brake caliper, rotor, or pads. Lubricant contamination on friction surfaces can reduce braking performance. Use brake cleaner where appropriate and use only brake-specific lubricant on the exact slide, pin, or pad-contact points specified by the vehicle or brake-component manufacturer.
Conclusion
Replacing a Toyota Tacoma brake caliper can be a reasonable DIY repair for an experienced person with the correct tools, but the safety-critical details are model-specific. Verify the exact caliper, keep the hydraulic system clean, use the correct sealing hardware and torque values, bleed the brake system according to Toyota’s procedure, and do not drive until the pedal is firm and every connection is leak-free.
If the repair produces a soft pedal, warning light, fluid leak, brake drag, or uncertainty about ABS/actuator bleeding or the electronic parking brake, stop and use professional service rather than guessing. A reliable brake repair is measured by correct operation and verified safety checks—not simply by getting the new caliper bolted in place.
Sources
- Toyota 2024 Tacoma Owner’s Manual — Maintenance Data — brake-fluid specifications and model-specific maintenance data.
- Toyota Technical Information System — factory repair information, procedures, specifications, and Techstream resources.
- NHTSA Safety Recall Report 25V-058, updated July 2, 2025 — 2024–2025 Tacoma rear brake-hose recall scope and safety risk.
- OSHA Appendix F — Automotive Brake and Clutch Repair — brake-dust exposure controls and cleaning practices.
- Akebono Brake Service Recommendations — brake-lubricant application guidance and warning against lubricant on friction surfaces.
