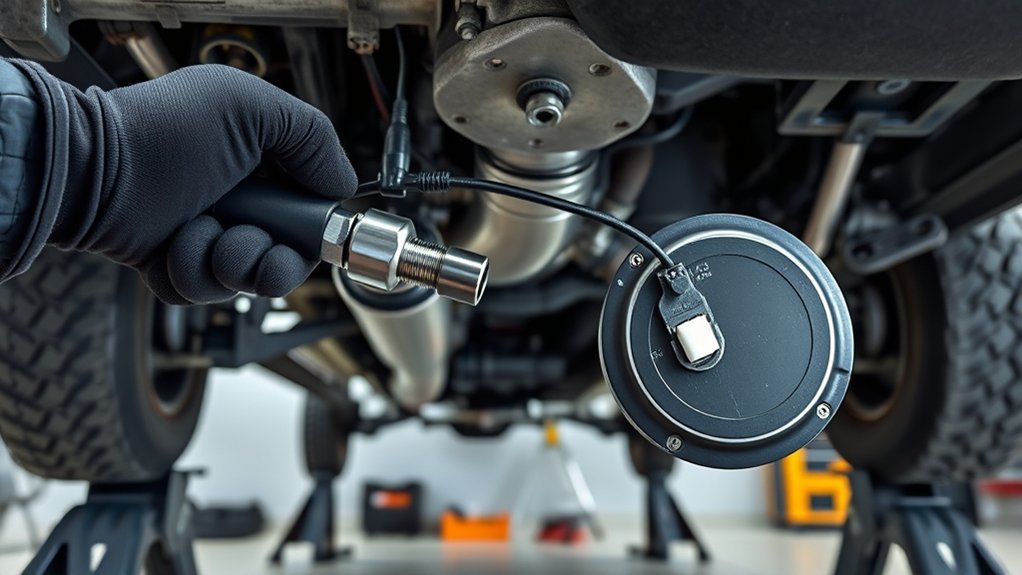
Replacing an oxygen sensor on a Toyota Tacoma can be a manageable DIY repair, but the job should start with diagnosis rather than simply replacing the sensor named in a trouble code. Depending on the Tacoma’s model year, engine, emissions specification, and sensor position, the truck may use a conventional heated oxygen sensor, a wideband air/fuel-ratio sensor, or both. Confirm the exact sensor first, then use the correct removal method and installation specification.
Quick Answer
To replace a Toyota Tacoma oxygen or air/fuel-ratio sensor, first scan the stored code and confirm the exact bank and sensor. Let the exhaust cool, disconnect the sensor connector, remove the sensor with the correct socket or flange fasteners, install the exact direct-fit replacement to its specified torque, reconnect it, clear codes, and verify the repair.
Key Takeaways
- Do not replace a sensor solely because an OBD-II code mentions it; wiring faults, intake leaks, exhaust leaks, and other engine problems can produce sensor-related codes.
- Bank 1 is the engine bank containing cylinder No. 1; Sensor 1 is normally upstream of the catalytic converter and Sensor 2 is normally downstream.
- Tacomas can use both conventional oxygen sensors and wideband air/fuel-ratio sensors, so verify the exact direct-fit part before buying.
- Use only the thread coating supplied or approved by the sensor manufacturer. Do not automatically add anti-seize to a pre-coated sensor.
- Keep oxygen-sensor electrical connectors clean and dry. Do not pack them with dielectric or silicone grease unless the sensor manufacturer specifically instructs you to do so.
At a Glance
| Time Required | About 30–90 minutes for an accessible sensor; considerably longer if the sensor, flange, or exhaust threads are badly rusted or seized. |
| Difficulty | Moderate. Correct diagnosis and access are often more difficult than installing the replacement sensor. |
| Tools Needed | OBD-II scan tool, ratchet, appropriate oxygen-sensor socket or wrench for a threaded sensor, hand tools for a flange-mounted sensor, torque wrench, penetrating oil if needed, wheel chocks, approved jack stands or ramps when underbody access is required, gloves, and eye protection. |
| Cost | DIY cost is mainly the correct direct-fit sensor plus minor supplies. Professional replacement commonly costs several hundred dollars once diagnosis, parts, labor, location, and sensor accessibility are included. |
Understanding the Role of Oxygen Sensors in Your Tacoma
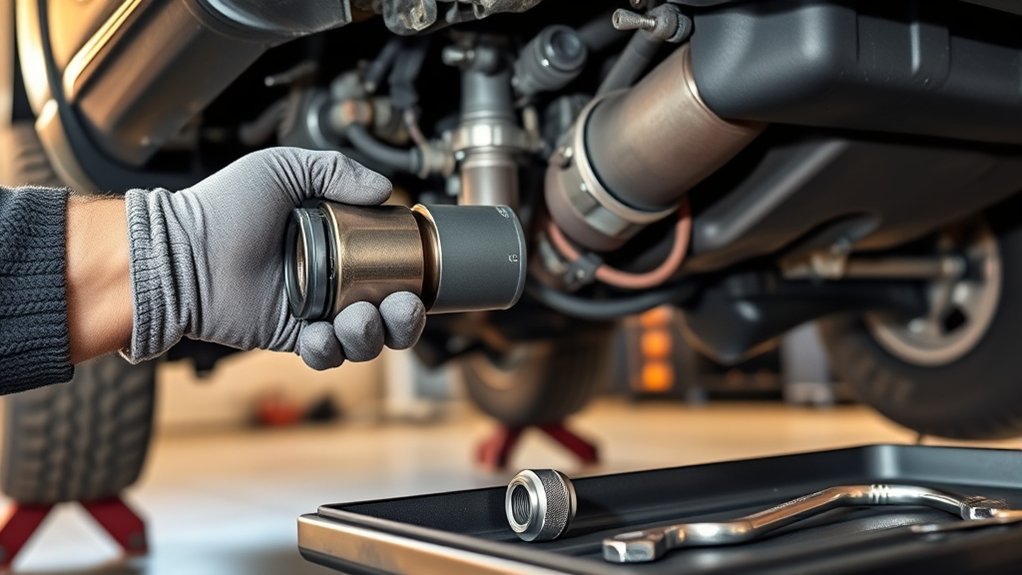
Oxygen and air/fuel-ratio sensors are important parts of your Toyota Tacoma’s engine-management and emissions systems. They measure conditions in the exhaust so the engine control module can monitor combustion, adjust fuel control, and check catalytic-converter operation.
Do not assume every sensor on a Tacoma is the same type. Toyota applications can use conventional heated oxygen sensors as well as wideband air/fuel-ratio sensors. DENSO explains the technical differences between air/fuel sensors and conventional oxygen sensors.
Upstream sensors are positioned before the catalytic converter. They are primarily involved in monitoring and controlling the air-fuel mixture. Downstream sensors are positioned after the converter and are commonly used by the OBD system to help monitor catalytic-converter performance.
On a V-type engine, Bank 1 is the bank containing cylinder No. 1. Sensor 1 normally means the upstream sensor and Sensor 2 normally means the downstream sensor. DENSO’s O2 and A/F sensor troubleshooting guide uses cylinder No. 1 as the key reference for locating Bank 1.
A failing sensor can contribute to poor fuel control, increased emissions, drivability problems, or a check-engine light. However, a sensor-related code does not automatically prove that the sensor itself has failed.
Diagnose the Problem Before Replacing the Sensor
Before ordering a sensor, connect an OBD-II scan tool and record the stored and pending diagnostic trouble codes. Note the complete designation, including the bank and sensor number when shown.
Then inspect the surrounding system. A sensor can report an abnormal condition caused by something else, including:
- Damaged, melted, stretched, or corroded sensor wiring
- A loose or contaminated electrical connector
- An exhaust leak ahead of or near the sensor
- An intake or vacuum leak that creates a lean mixture
- Fuel-pressure or injector problems
- Misfires or ignition problems
- Oil, coolant, silicone, or other contamination reaching the sensor element
- An incorrect replacement sensor installed previously
DENSO documents cases where replacing an air/fuel sensor did not solve a lean-condition code because an unrelated air leak was causing the sensor to report a lean mixture. Diagnosing the system first can prevent replacing a good sensor.
Pro Tip: Save the original trouble codes and freeze-frame information before clearing anything. They can help confirm which sensor circuit was affected and the engine conditions present when the fault occurred.
Finding the Right O2 Sensor for Your Tacoma
Choosing the correct replacement is essential because an oxygen sensor and an air/fuel-ratio sensor are not automatically interchangeable.
Match the replacement to your Tacoma’s exact model year, engine, emissions configuration, sensor position, connector, and catalog application. A 2010 Tacoma, for example, should not be treated as though every engine and emissions package uses one universal sensor.
DENSO has documented cases in which installing a conventional oxygen sensor where an air/fuel sensor was required immediately caused a new diagnostic trouble code. For that reason, use an application-specific direct-fit sensor rather than choosing a part solely by appearance or wire count.
A quality DENSO, Bosch, NTK/NGK, Toyota Genuine, or other correctly specified direct-fit sensor can be appropriate when it matches the exact application. There is no need to claim that one reputable manufacturer universally outperforms every other manufacturer.
Note: If two sensors look similar but have different part numbers, connector indexing, heater specifications, or A/F-versus-O2 designations, do not interchange them. Verify the application before installation.
Tools and Safety Preparation
Gather the tools before starting. Many threaded oxygen sensors use a slotted oxygen-sensor socket or suitable wrench, while some applications use a flange retained by nuts. You may also need a ratchet, extensions, torque wrench, small screwdriver for a connector lock, penetrating oil, and an OBD-II scanner.
Warning: Exhaust components can cause severe burns. Let the exhaust cool to a safe handling temperature before working around the sensor. If you must work underneath the Tacoma, park on a hard, level surface, chock the wheels, use the manufacturer’s approved lift points, and support the truck with properly rated jack stands or ramps. Never rely on a hydraulic jack alone.
Before loosening the sensor, inspect its electrical harness and note the original routing. The replacement harness must be kept away from hot exhaust components, sharp edges, and moving parts.
How to Remove and Install Your Oxygen Sensor
Once you have confirmed the faulty sensor and obtained the correct direct-fit replacement, follow this general procedure. Because Tacoma configurations vary, use the exact Toyota service information or the replacement-sensor manufacturer’s instructions when a model-specific torque or removal sequence differs.
- Confirm the sensor location. Match the diagnostic code to the correct Bank and Sensor position before disconnecting anything.
- Let the exhaust cool and secure the truck. Use eye protection and safe lifting equipment if underbody access is necessary.
- Inspect the wiring and connector. Look for heat damage, broken insulation, corrosion, pulled wires, or an improperly routed harness.
- Disconnect the electrical connector. Release the locking tab rather than pulling on the wires. A small flat-tip screwdriver can help depress a stubborn locking tab.
- Apply penetrating oil when needed. If the sensor or flange hardware is corroded, apply penetrating oil around the threaded area or fasteners and allow it time to work. Keep chemicals away from the sensing tip of the replacement sensor.
- Remove the old sensor. For a threaded sensor, use the correct oxygen-sensor socket or wrench and turn it counterclockwise. For a flange-mounted sensor, remove the retaining nuts or bolts evenly and remove the sensor without damaging the mounting surface.
- Inspect the mounting area. Check the threads, bung, studs, gasket surface, and surrounding exhaust for damage. If the threads are stripped or the bung is cracked, repair the exhaust mounting point before installing the new sensor.
- Check the new sensor’s thread preparation. Many replacement sensors already have the correct thread coating. Do not automatically add extra anti-seize. If the sensor manufacturer supplies or specifically requires a compound, apply only the specified amount to the threads and keep it completely off the sensing element.
- Start the sensor carefully. Thread a screw-in sensor by hand first to avoid cross-threading. On a flange-mounted design, install the correct gasket if required and start the fasteners evenly.
- Tighten to specification. Use a torque wrench and the specification supplied for the exact sensor/application. Do not substitute “as tight as possible” for a torque specification. Toyota’s Technical Information System contains model-year-specific repair information.
- Reconnect and route the harness. Make sure the connector locks fully and route the wiring in its original clips away from the exhaust and moving components.
- Clear and verify. Use the scan tool to clear the relevant code after the repair, start the engine, check for exhaust leaks, and confirm that the fault does not immediately return.
Walker Products’ oxygen-sensor installation guidance similarly recommends verifying the replacement type, using the appropriate sensor socket, starting the sensor carefully, tightening it to specification, reconnecting the harness, and securing the wiring away from damage.
Common Challenges and Solutions When Replacing Oxygen Sensors
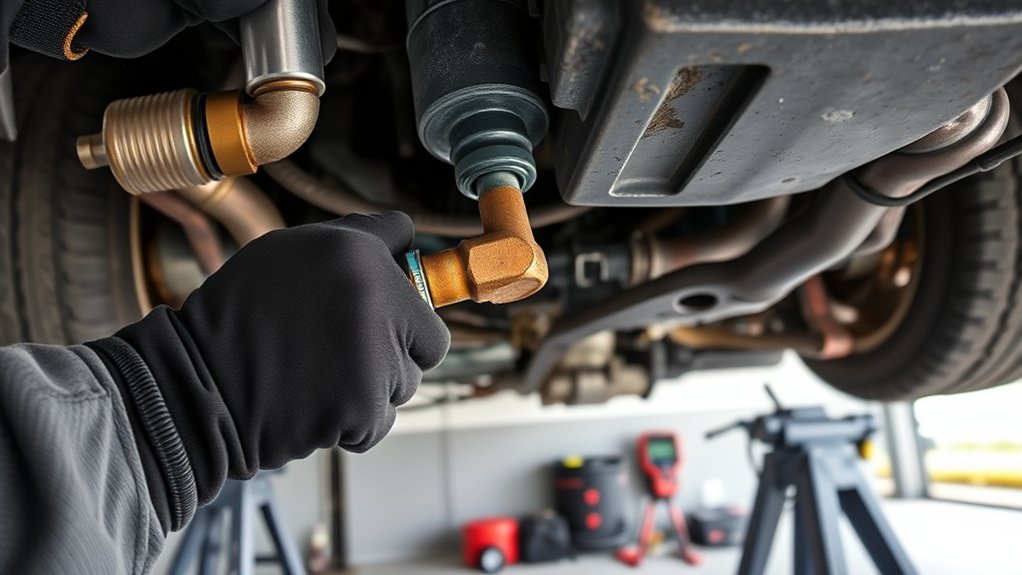
Age, heat cycles, road salt, corrosion, and limited access can make a sensor much harder to replace than it appears. Do not escalate immediately to impact tools or chisels around delicate exhaust and electrical components.
Here is a safer troubleshooting reference:
| Challenge | Better Approach |
|---|---|
| Sensor seized by corrosion | Use penetrating oil, the correct sensor socket, and controlled force. Stop if the exhaust bung begins to distort. |
| Connector is difficult to reach | Use proper extensions, lighting, and access from the correct side of the vehicle. Remove only components identified by the service procedure. |
| Threads are damaged | Repair the bung/thread condition before installing the replacement. Severe damage may require exhaust repair or welding by a qualified technician. |
| New sensor does not fit the connector | Stop and recheck the exact part number, engine, emissions package, and Bank/Sensor position rather than modifying the connector. |
| Code returns after replacement | Check wiring, exhaust leaks, intake/vacuum leaks, fuel trim, misfires, heater-circuit power, and whether the correct sensor type was installed. |
| Repair takes much longer than expected | A clean, accessible sensor may be straightforward, while a seized sensor can turn into an exhaust-repair job. Do not force damaged hardware simply to meet a time estimate. |
If the sensor will not loosen with controlled force, the bung begins twisting, or the threads come out with the sensor, stopping early can prevent a minor sensor replacement from becoming a much larger exhaust repair.
Tips for Ensuring Long-Lasting Sensor Performance After Installation
After installation, inspect the connector and harness again. The connector should be fully seated, clean, and protected by its original seals and locking mechanism.
Do not pack the oxygen-sensor connector with dielectric or silicone grease. Bosch warns that adding dielectric grease can interfere with the sensor’s ability to obtain reference air, and DENSO advises checking that sensor connectors are free of grease, lubricants, and chemicals. See the Bosch Oxygen Sensor Tech Tips and DENSO technical guidance for additional detail.
Keep the sensor harness clipped in its intended route so it cannot rub against sharp metal, contact the exhaust, or become stretched by engine movement.
Also repair exhaust leaks, intake leaks, misfires, excessive oil consumption, coolant contamination, or overly rich fuel conditions. These problems can create misleading sensor readings and can shorten sensor life.
After the repair, use your scan tool to confirm that the sensor-related code remains absent. Where supported, examine live data to make sure the repaired circuit responds normally.
Be aware that clearing diagnostic codes can also reset OBD readiness information. If the truck must undergo an emissions inspection, the required monitors may need normal driving before they report ready again. The U.S. EPA explains how OBD-II systems store faults and monitor emissions-related systems.
Frequently Asked Questions
Can you replace Toyota Tacoma O2 sensors yourself?
Yes. A mechanically experienced DIYer can often replace an accessible oxygen or A/F sensor with an OBD-II scanner, proper hand tools, a sensor socket or wrench, and a torque wrench. The job becomes less suitable for DIY repair when the sensor is severely seized, the exhaust bung is damaged, or safe underbody access is unavailable.
How much does it cost to replace an oxygen sensor on a Toyota Tacoma?
There is no single accurate price for every Tacoma. Cost changes with model year, engine, upstream versus downstream position, O2 versus air/fuel sensor design, part brand, diagnosis, labor rate, and whether rust makes removal difficult. DIY cost is primarily the direct-fit sensor and supplies, while professional replacement commonly totals several hundred dollars.
How long does it take to replace an O2 sensor?
An easily accessible sensor may be replaced in roughly 30–90 minutes by someone with the right tools. A rusted or seized sensor can take much longer, especially if damaged threads, a distorted exhaust bung, or difficult connector access must be repaired.
What should you do after replacing the oxygen sensor on a Toyota?
Check that the connector is locked, the harness is safely routed, and there are no exhaust leaks. Then clear the relevant diagnostic code with a scan tool, start the engine, and verify that the code does not return. Live-data monitoring can provide additional confirmation when your scan tool supports it.
Does an oxygen-sensor code always mean the sensor is bad?
No. Sensor-related and fuel-trim codes can also be caused by wiring faults, exhaust leaks, vacuum leaks, fuel-delivery problems, misfires, contamination, or an incorrect sensor. Diagnose those possibilities before buying a replacement.
Should you put dielectric grease on an O2-sensor connector?
Not as a general rule. Some oxygen sensors depend on a clean reference-air path through the sensor wiring or connector. Bosch and DENSO technical guidance warns against grease or similar contamination in these connectors. Follow the instructions supplied with the exact sensor if they differ.
Conclusion
Replacing a Toyota Tacoma oxygen or air/fuel-ratio sensor is much more reliable when you diagnose the circuit first and identify the exact sensor before buying parts. Confirm the Bank/Sensor location, inspect for wiring and leak problems, work only on a safely cooled and supported vehicle, use the correct removal method, follow the sensor’s specified thread and torque instructions, and keep its connector clean. After installation, clear the fault and verify that it does not return. Those steps help avoid unnecessary parts replacement and give the new sensor the best chance of operating correctly.
Sources
- Toyota Technical Information System — model-year-specific Toyota repair manuals and service information.
- DENSO O2 and A/F Sensor Troubleshooting — sensor types, Bank/Sensor identification, testing, and possible causes of abnormal readings.
- DENSO Lambda Sensor Catalogue and Fault Guide — sensor contamination, connector inspection, and installation guidance.
- Bosch Oxygen Sensor Tech Tips — oxygen-sensor wiring, connector, contamination, and dielectric-grease guidance.
- Walker Products Oxygen Sensor Installation Guide — tools, removal, installation, torque, and harness-routing guidance.
- U.S. EPA OBD-II Test Procedures — OBD fault detection, diagnostic trouble codes, and malfunction-indicator operation.