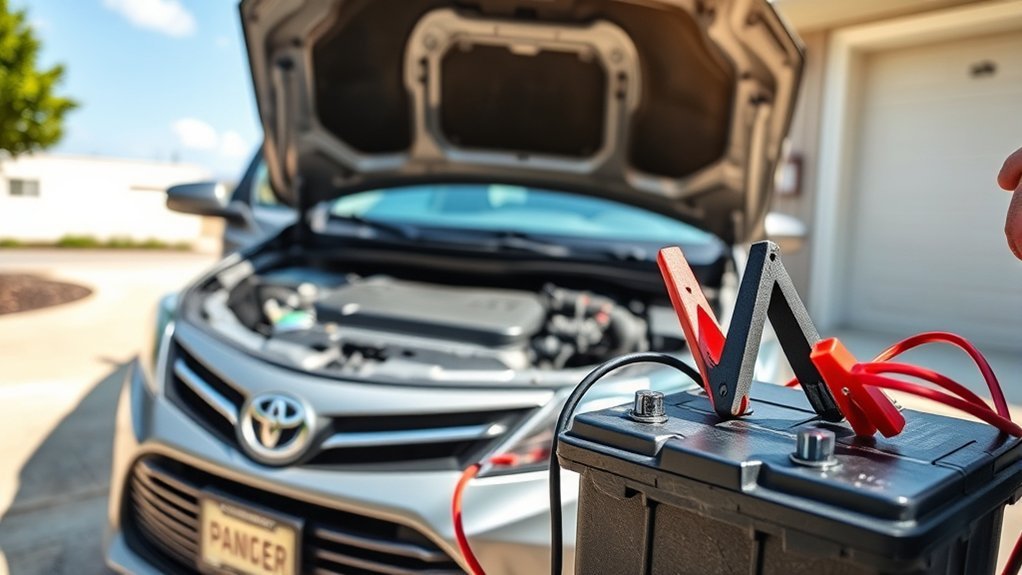
A discharged 12-volt battery can leave a Toyota Camry with no crank, dim lights, or—on a hybrid—no READY indicator. The correct connection points vary by model year and powertrain, so check your owner’s manual before attaching a clamp. The steps below explain the standard order while covering both non-hybrid and hybrid Camrys.
Quick Answer
Confirm the Camry’s approved positive connection point and metal ground. Connect red to the Camry positive point, red to donor positive, black to donor negative, and black to the Camry ground. Start the donor, start the Camry or confirm READY, then remove all four clamps in exact reverse order.
Key Takeaways
- Use the positive battery terminal on many non-hybrid Camrys or the designated under-hood jump terminal on a hybrid, as shown in the model-year owner’s manual.
- Only jump-start the 12-volt system. Never connect jumper cables to a hybrid traction battery, inverter, orange cable, or another high-voltage component.
- Connect the final black clamp to the Camry’s approved metal ground, not automatically to its discharged battery’s negative terminal.
- Do not jump-start a cracked, leaking, swollen, frozen, smoking, or unusually hot battery.
- After the Camry starts, arrange a battery and charging-system test. A successful boost does not prove the battery is healthy.
At a Glance
| Time Required | About 10–20 minutes, excluding battery testing or controlled recharging |
| Difficulty | Beginner, but safety-critical |
| Tools Needed | Owner’s manual, passenger-vehicle-rated jumper cables and a compatible 12-volt donor vehicle, or an approved jump pack; eye protection and gloves |
| Cost | No direct cost if suitable equipment is already available; otherwise the cost of cables, a jump pack, or roadside service |
Warning: Stop if the battery is cracked, leaking, swollen, frozen, smoking, unusually hot, or producing a strong rotten-egg smell. Keep flames, cigarettes, sparks, jewelry, and metal tools away. On a hybrid, never touch orange high-voltage cables or attempt to boost the traction battery.
How to Jump-Start Your Toyota Camry Safely
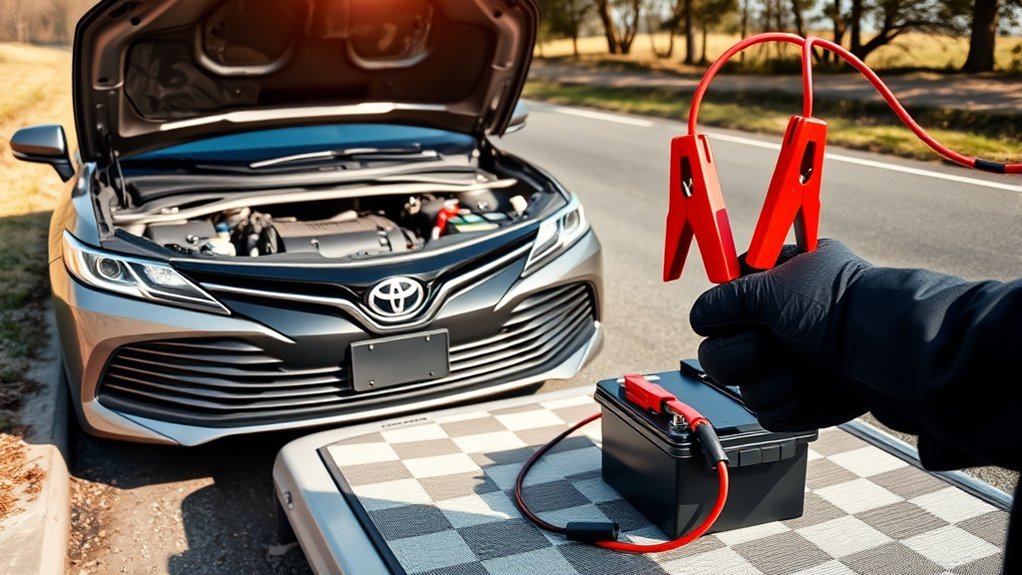
The standard clamp order is similar across many vehicles, but the Camry connection points are not universal. Before proceeding, use the Toyota owner’s-manual selector to confirm the instructions for your model year, powertrain, and market.
Identify Your Camry’s Connection Points
Many non-hybrid Camrys use the positive terminal on the 12-volt battery under the hood. The final negative connection should still go to the solid metal ground specified by the manual rather than automatically to the discharged battery’s negative terminal.
A hybrid Camry may store its 12-volt battery away from the engine compartment while providing a dedicated positive jump terminal in the under-hood fuse or relay box. Toyota’s published hybrid battery-boosting procedure directs users to open the fuse-box and jump-terminal covers, connect to the designated positive terminal, and use the approved metallic ground point.
The current Camry lineup is hybrid, so owners of newer models should expect to start the hybrid system and look for the READY indicator rather than waiting for a conventional starter-cranking sound. See Toyota’s current Camry information and your model-year manual for exact details.
A hybrid Camry’s high-voltage traction battery is not the battery you boost. The jump-start procedure applies only to the low-voltage 12-volt system.
When Not to Jump-Start the Camry
Do not connect jumper cables if:
- The battery case is cracked, swollen, leaking, frozen, smoking, or unusually hot.
- You see damaged, loose, melted, or heavily corroded cables that cannot make a safe connection.
- The battery or vehicle has been submerged or seriously damaged in a collision.
- You cannot identify the approved positive and ground points.
- The donor source is not a compatible 12-volt system.
- The jumper-cable insulation or clamps are damaged.
- Fuel is leaking or you smell gasoline.
Use roadside assistance or a qualified technician instead of taking a chance. Toyota Canada offers battery boosting and towing as part of its applicable roadside-assistance programs; coverage depends on the vehicle and plan.
Essential Items for Jump-Starting Your Toyota Camry
Prepare all equipment before positioning the vehicles. Searching for a clamp or manual after a cable has been connected increases the chance of an accidental short circuit.
[Amazon Products Picked for You]
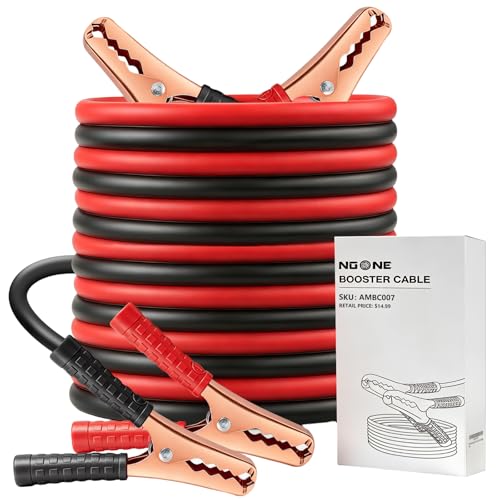
UNIVERSAL FITMENTS :NOONE 10 FT car jumper cables support 200A peak current for jumping start 12/24V car battery. So NOONE booster cables are suitable for your vehicles with up to 3.0 L Gas Engines

Strong And Safe Clamps: The TOPDC Jumper Cables booster cable has four giant alligator clamps with strong jagged teeth and springs for excellent grip force. The jaws are strong and make connections easy. And the High Peak Jumper Cables has insulating rubber material to prevent electric shock and protect the safety of users. The clamps are engineered with reinforced structure and well-designed jaws that provide a firm, secure grip on both top-post and side-terminal batteries, ensuring long-lasting durability and ease of use.
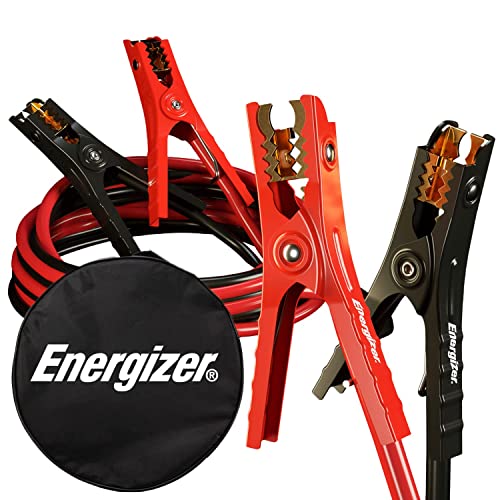
ENERGIZER 16 FEET JUMPER CABLES - 6 Gauge, 16 FT booster battery jumper cables for jump starting a dead or weak battery. Ideal for trucks, SUVs, full-size cars, mid-size cars and small/compact cars
Jumper Cables Specifications
Use booster cables intended and rated for starting 12-volt passenger vehicles. The cables should have:
- Undamaged, flexible insulation with no exposed conductor.
- Clearly identified red positive and black negative leads.
- Strong, insulated clamps that grip the approved terminals securely.
- A current rating and conductor size suitable for the vehicle and cable length.
- Enough length to connect the vehicles without stretching, crossing moving parts, or allowing the vehicles to touch.
There is no universal Toyota requirement that every Camry owner use a 20-foot, 4- or 6-gauge set. Cable performance depends on the conductor material, current rating, length, clamp quality, and product design. Follow the instructions supplied with the cables.
Safety Gear Recommendations
Wear safety glasses and protective gloves. Closed-toe shoes and sleeves provide additional protection from accidental contact with battery residue or hot engine-compartment parts.
Remove rings, watches, bracelets, and other conductive jewelry before working near a battery. Keep a first-aid kit available. A properly rated vehicle fire extinguisher is useful emergency equipment, but it does not make a damaged or smoking battery safe to approach.
Using a Portable Jump Starter
A compatible portable jump pack can remove the need for a donor vehicle. Confirm that the pack is approved for a 12-volt passenger vehicle and can support the Camry’s powertrain. Follow both the jump-pack instructions and the Camry owner’s manual.
With most packs, you connect the positive clamp to the Camry’s approved positive point and the negative clamp to the approved ground point. Do not activate the pack until the clamps are secure and correctly polarized. Some packs require a special override mode when battery voltage is extremely low; use that mode only as the pack manufacturer directs.
Step-by-Step Instructions for Starting the Engine
1. Prepare Both Vehicles
- Move the donor vehicle close enough for the cables to reach, but do not let the vehicles touch.
- Place both vehicles in Park, apply both parking brakes, and switch off the ignition or hybrid system.
- Turn off headlights, climate control, audio, heated seats, chargers, and other accessories.
- Open both hoods and identify the correct positive and negative connection points.
- Inspect the batteries, terminals, ground point, cables, and surrounding area for damage.
- Route the cables away from cooling fans, pulleys, belts, and other moving or hot components.
Note: An electric cooling fan can begin operating even when the gasoline engine is not running. Keep hands, clothing, tools, and cables clear of every fan and belt.
2. Follow the Proper Cable Connection Order
Keep all four clamps separated while making the connections. Do not allow a connected positive clamp to touch metal.
- Red to the Camry: Attach one red clamp to the discharged Camry’s positive battery terminal or designated positive jump terminal.
- Red to the donor: Attach the other red clamp to the donor battery’s positive terminal.
- Black to the donor: Attach one black clamp to the donor battery’s negative terminal.
- Black to the Camry ground: Attach the remaining black clamp to the solid, stationary metallic ground specified for the Camry. Keep it away from the battery, fuel-system components, fans, belts, and the hybrid inverter.
Gently check each clamp for a secure grip. Do not reposition a clamp by touching its exposed metal jaws after the circuit is complete.
3. Start the Donor and Then the Camry
After all four connections are secure, start the donor vehicle. Follow its owner’s manual as well as the Camry manual. Toyota’s hybrid boosting guidance instructs the operator to hold the donor engine slightly above idle for about five minutes before attempting to start the hybrid system.
For a non-hybrid Camry, start the engine normally. Avoid prolonged continuous cranking. If the engine does not start, stop and recheck the clamps and manual before trying again.
For a hybrid Camry:
- Keep the selector in Park.
- Press and hold the brake pedal.
- Press the power button normally.
- Confirm that the READY indicator appears.
The gasoline engine may remain off even though the hybrid system has started successfully. READY—not engine noise—is the confirmation that the vehicle can operate.
Warning: Do not keep making repeated start attempts if the cables become hot, the clamps spark excessively, smoke appears, insulation softens, or the Camry still will not start. Switch off the donor vehicle if it is safe to do so and call for qualified assistance.
4. Disconnect the Jumper Cables in Reverse Order
Keep the Camry running or in READY mode unless its manual directs otherwise. Remove the clamps without letting them touch each other or moving components:
- Remove the black clamp from the Camry’s metal ground.
- Remove the black clamp from the donor battery’s negative terminal.
- Remove the red clamp from the donor battery’s positive terminal.
- Remove the red clamp from the Camry’s positive battery terminal or jump terminal.
Close the positive jump-terminal cover, fuse-box cover, battery cover, and hood as applicable. Confirm that no cable, tool, or protective cover has been left loose in either engine compartment.
Next Steps After Starting Your Toyota
A jump-start supplies enough external power to start the vehicle, but it does not prove that the battery has recovered or that the charging system is working correctly. There is no universal 15-minute idle period that guarantees a full recharge.
If the battery was discharged because a light or accessory was left on, the vehicle’s charging system may restore part of the lost charge. A deeply discharged battery can require several hours on a compatible controlled charger, and a damaged or worn battery may not retain that charge at all.
Keep the vehicle running or in READY mode long enough to reach a safe location or service facility, subject to the owner’s-manual instructions. Avoid switching it off somewhere that would leave you stranded again.
Arrange a battery and charging-system inspection when:
- The cause of the discharge is unknown.
- The vehicle needed more than one recent jump-start.
- The battery warning light remains on.
- Lights flicker or electrical systems reset.
- The engine cranks slowly after the boost.
- The hybrid system displays a warning or fails to remain in READY mode.
Pro Tip: If the battery was deeply discharged, use a compatible smart charger or have it professionally charged and tested. A short drive may add charge, but it cannot repair internal battery damage or confirm adequate reserve capacity.
How to Troubleshoot Jump-Start Problems
If the Camry does not start, stop repeating the same attempt and work through the following checks.
- Check the connection points: Confirm that every clamp is attached to the approved terminal or ground, not paint, plastic, corrosion, a loose bracket, or a hybrid high-voltage component.
- Check clamp contact: A clamp can appear connected while touching only terminal dirt or insulation. Disconnect safely before cleaning or repositioning it.
- Check the donor source: The donor battery or jump pack may not have enough available power.
- Switch off loads: Headlights, fans, defrosters, seat heaters, chargers, and audio equipment consume power needed for starting.
- Confirm Park and brake input: A Camry may not start if it does not recognize Park, the brake pedal, or the smart key.
- Observe the dashboard: Note whether the lights remain dark, flicker, illuminate normally, or display a specific warning.
- Listen carefully: Rapid clicking, one heavy click, normal cranking without starting, and complete silence indicate different fault categories.
| Symptom | Possible causes | Next action |
|---|---|---|
| No dashboard lights | Very low 12-volt battery, poor clamp contact, loose battery connection, or main power-circuit fault | Stop, verify the approved connections, and seek service if power remains absent |
| Rapid clicking | Insufficient voltage, weak donor source, high-resistance connection, or discharged battery | Switch off loads and inspect all cable connections before another brief attempt |
| One heavy click | Low available current, starter circuit, starter motor, or mechanical issue | Do not keep cranking; arrange diagnosis |
| Engine cranks normally but will not start | Problem may involve fuel, ignition, immobilizer, engine management, or another non-battery fault | Stop treating it as a battery-only problem and obtain diagnostic help |
| Hybrid dashboard turns on but READY does not appear | Low 12-volt supply, Park/brake/key recognition issue, hybrid-system warning, or another fault | Confirm Park, press the brake firmly, check the key and clamps, then call for service if READY remains off |
| Cables or clamps become hot | Poor contact, undersized or damaged cables, reversed connection, or excessive current | Stop immediately and disconnect safely; do not reuse damaged equipment |
[Amazon Products Picked for You]

POWERFUL CAR BATTERY JUMP STARTER: The ET03 car battery jump starter can easily jump-start all 12V common vehicles with up to 8.0L gas and 7.0L diesel engines in seconds with its peak current reaching 4000 amps. Supports 50 jump starts at most on a single charge and suitable for lawnmowers, motorcycles, passenger cars, trucks, and even boats, etc.
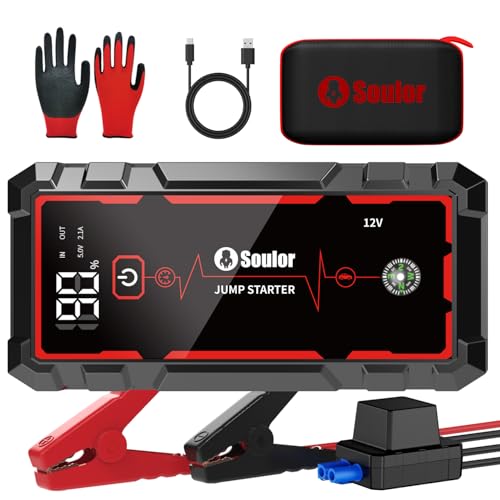
Dead Battery Jump Starting:It can jump-start 12V vehicles (cars, motorcycles, etc.) up to 40 times on a single full charge. Operates stably in extreme temperatures from -4°F to 140°F, ensuring consistent performance when you need it most. The built-in Forced Start function enables successful ignition even when the car battery is severely depleted, keeping you prepared for any roadside emergency.

【 All in 1 | Car Starter, OBD2 Scanner, Battery Tester 】Upgraded multi-functional AP04 quickly starts vehicles with completely dead battery. The OBD2 scanner provides accurate diagnosis of engine faults, identifies potential vehicle problems in advance and avoid unnecessary repair costs. The battery tester checks real-time battery health. For DIYers, new or experienced drivers, it is an essential tool for daily self-checks and dealing with roadside emergencies.
Is It Time for a New Battery?
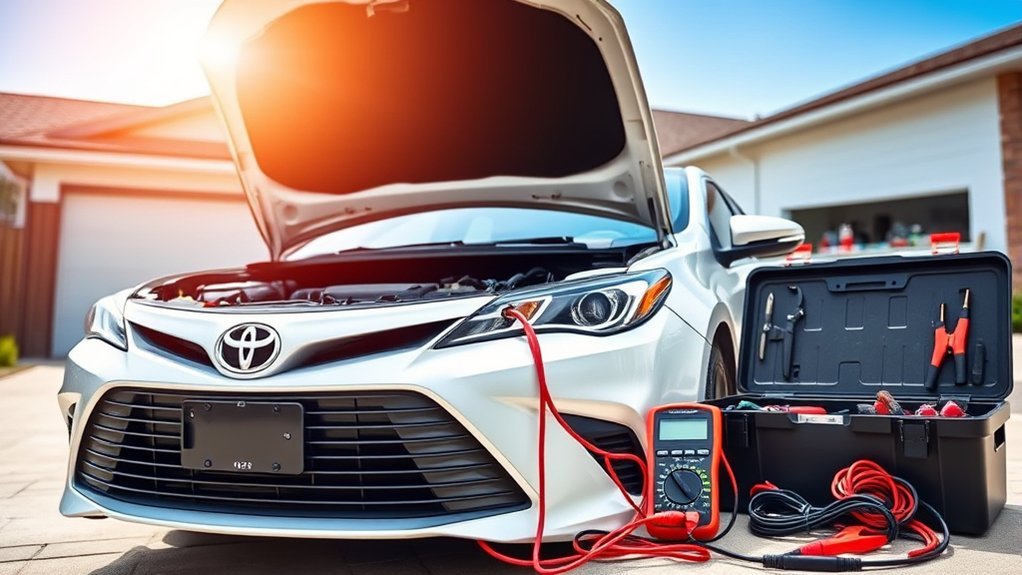
Repeated jump-starts, slow cranking, electrical resets, or an unexplained discharge justify a professional battery test. Battery voltage is useful evidence, but a single reading does not measure cranking performance or reserve capacity.
[Amazon Products Picked for You]

Catch Battery Problems Early: Featured in two videos by Project Farm, a popular YouTube channel with millions of subscribers, the ANCEL BA101 helps you quickly spot battery issues before they leave you stranded. It provides easy-to-understand readings for State of Health (SOH), State of Charge (SOC), voltage, current, CCA, plus cranking and charging system tests, so you can better understand your battery and help avoid unexpected breakdowns

🔥【A MUST HAVE TOOL IN YOUR GARAGE】 - With up-to-date testing technology, it provides a quick reading to determine whether a vehicle battery needs a jump or replacement and also the output status of the alternator. All you have to do is log in and play. Save your time and money.
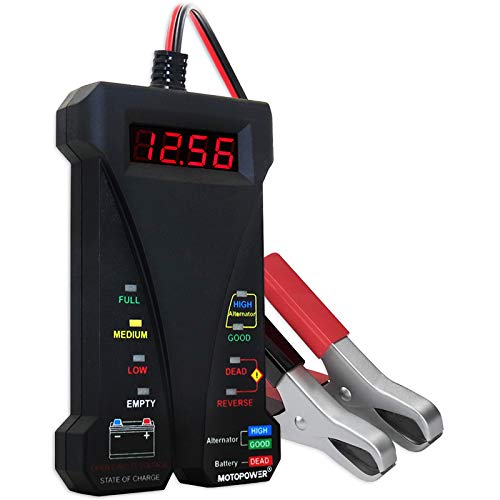
Effortless Operation - Boasting a “plug-and-test” design, there's no need for complex set-up procedures. Just connect it to the battery following simple steps. Without starting the vehicle, you can read the battery status, and after starting, quickly obtain the alternator status. Whether you're a professional mechanic or an ordinary car owner, you can easily use it to quickly determine if the battery needs jump - starting, replacement, or if the alternator output is normal.
Understanding Battery Voltage
A fully charged conventional 12-volt battery commonly measures about 12.6 volts with the engine and accessories off after the battery has rested. A much lower reading indicates a reduced state of charge, but the battery may need charging before it can be judged fairly.
With a conventional gasoline engine running, a reading in roughly the 13- to 15-volt range commonly shows that the charging system is supplying voltage. These are general reference values, not universal pass-or-fail limits. See the AAA battery-versus-alternator testing guide for the distinction between engine-off and running measurements.
Many hybrids do not use a conventional alternator. Instead, a DC-to-DC converter steps down high-voltage energy to support and recharge the 12-volt system while the vehicle is in READY mode. The NHTSA hybrid and electric-vehicle safety guide explains this distinction.
A technician can perform a load or conductance test and evaluate the charging system, terminal condition, parasitic draw, and diagnostic trouble codes. Replacement may be appropriate if the battery fails testing, cannot retain a charge, is physically damaged, or repeatedly leaves the vehicle unable to start.
Signs the Battery or Charging System Needs Attention
- Slow or inconsistent cranking on a non-hybrid Camry.
- Delayed startup or failure to enter READY mode on a hybrid.
- Frequent need for jump-starts.
- Headlights or interior lights that dim sharply with electrical loads.
- Battery or charging-system warning lights.
- Corroded, loose, damaged, or overheating terminals.
- A swollen or leaking battery case.
- Repeated loss of clock, radio, window, or other stored settings.
- A battery that is near or beyond its expected service life and performs poorly in testing.
Additional Tips for Maintaining Your Toyota Battery
- Inspect for corrosion: Check the 12-volt battery connections or accessible jump terminal during routine maintenance. Do not place tools across terminals.
- Switch accessories off: Confirm that lights, audio equipment, climate controls, and plugged-in accessories are off before leaving the vehicle.
- Use the vehicle regularly: Long storage periods can allow the 12-volt battery to discharge. Driving frequency alone does not guarantee adequate charging if trips are short or the battery is weak.
- Use an approved maintainer for storage: A compatible smart maintainer may be useful when a vehicle will sit unused, but connect it only as the owner’s manual and charger manufacturer direct.
- Do not disconnect the battery casually: Some Toyota models have a battery-state sensor at the negative terminal, and disconnecting the battery may erase settings or require system initialization.
- Test before severe weather: Cold temperatures reduce available starting performance, making a marginal battery more likely to fail.
- Investigate unexplained discharge: A light left on is different from a parasitic draw, loose terminal, charging-system fault, or failing battery.
Toyota Canada’s 12-volt battery preparation guidance recommends checking terminal corrosion, turning off unused accessories, and arranging a battery health check when the battery’s condition is uncertain.
What to Do If Your Toyota Camry Won’t Start
A no-start condition is not always a dead battery. Use the symptoms to decide whether another jump attempt is reasonable or whether the vehicle needs diagnosis.
| What You Observe | What It May Mean | Recommended Response |
|---|---|---|
| No lights or electrical response | Discharged battery, loose connection, poor ground, or main electrical fault | Verify safe clamp placement once; seek service if power remains absent |
| Lights are bright but there is no crank | Park/neutral switch, brake switch, smart-key recognition, starter circuit, or another control issue | Confirm Park, brake input, and key recognition; arrange diagnosis if unchanged |
| Rapid clicking and dimming lights | Low available voltage or a high-resistance connection | Stop and inspect the approved cable connections and donor source |
| Normal cranking but no engine start | Likely not a simple battery problem | Do not continue jump attempts; obtain diagnostic assistance |
| The Camry starts but soon shuts down | Charging-system, battery-connection, fuel, engine-management, or hybrid-system fault | Move only if safe and seek immediate testing or towing |
| Warning lights remain after startup | Stored low-voltage faults or an active vehicle-system problem | Consult the manual and arrange a diagnostic scan |
Call roadside assistance when the battery is damaged, the correct connection points cannot be identified, cables heat or smoke, the vehicle has collision or flood damage, the hybrid does not enter READY mode, or the Camry still will not start after a correctly performed attempt.
Frequently Asked Questions
Where do you put jumper cables on a Toyota Camry?
Connect the first red clamp to the Camry’s approved positive battery terminal or under-hood jump terminal. Connect the second red clamp to donor positive, the first black clamp to donor negative, and the final black clamp to the Camry’s designated solid metal ground. Locations vary by model year, so confirm them in the owner’s manual.
Can you damage a Toyota’s alternator by jump-starting it?
A correctly performed jump-start with compatible 12-volt equipment is a standard emergency procedure. Reversed polarity, the wrong system voltage, shorted clamps, or unsuitable connection points can damage electrical components. Hybrid Camrys generally use a DC-to-DC converter for the 12-volt system rather than a conventional alternator.
What is the safest way to jump-start a car?
Read both vehicle manuals, inspect the batteries and cables, keep the vehicles from touching, turn all systems off, and identify the approved connection points. Connect positive clamps first, connect the final negative clamp to the disabled vehicle’s designated ground, start the vehicles as directed, and remove the clamps in reverse order.
What are the five main steps for jump-starting a Toyota Camry?
First, inspect and prepare both vehicles. Second, identify the Camry’s positive and ground points. Third, connect the four clamps in the correct order. Fourth, start the donor and then start the Camry or confirm READY. Fifth, remove the clamps in reverse order and arrange battery testing.
Can you jump-start a Toyota Camry Hybrid?
Yes, the Camry Hybrid’s discharged 12-volt system can normally be boosted through its designated connection points. Open the under-hood fuse-box and positive jump-terminal covers if directed by the manual, use the approved metal ground, and confirm that the READY indicator illuminates. Never connect to the high-voltage traction battery.
Can a Camry Hybrid be used to jump-start another vehicle?
Do not assume that it can. A hybrid’s 12-volt system may not be designed to supply another vehicle’s starter current, and the under-hood jump terminal may be intended only for receiving a boost. Check the exact Camry owner’s manual. When the manual does not expressly permit it, use a suitable jump pack or roadside service instead.
How long should a Camry run after a jump-start?
There is no universal idle time that guarantees a full recharge. Keep the Camry running or in READY mode long enough to reach a safe place or service facility, as permitted by the owner’s manual. Then have the 12-volt battery charged and tested, especially after a deep or unexplained discharge.
Why will my Camry not start even with jumper cables attached?
Possible causes include poor clamp contact, a weak donor source, a damaged battery, loose battery connections, a starter or control-circuit fault, an immobilizer issue, or a non-battery engine or hybrid-system problem. Stop if the cables heat or smoke, and seek professional diagnosis if a correctly performed attempt fails.
Conclusion
To jump-start a Toyota Camry safely, begin with the model-year owner’s manual and use only the approved 12-volt positive and ground points. Connect the cables in the correct order, confirm READY on a hybrid, and disconnect in reverse order. Stop immediately if the battery or cables show signs of damage, heat, or smoke.
After a successful boost, have the battery and 12-volt charging system tested. A jump-start can get the Camry moving again, but it does not identify why the battery discharged or guarantee that the problem will not return.
Sources
- Toyota Owner’s Manuals and Warranties — model-year-specific connection points, warnings, and starting procedures
- Toyota Canada Hybrid Battery Boosting Steps — hybrid jump-terminal, ground, donor-engine, READY-indicator, and cable-removal procedure
- Toyota Canada Camry Overview — current hybrid Camry powertrain context
- NHTSA Electric and Hybrid Vehicle Battery Safety — distinction between the 12-volt battery and high-voltage traction battery
- Toyota Canada 12-Volt Battery Care — terminal inspection, accessory use, storage, and battery-health guidance
- AAA Battery Versus Charging-System Guide — engine-off battery voltage and running-system testing context
