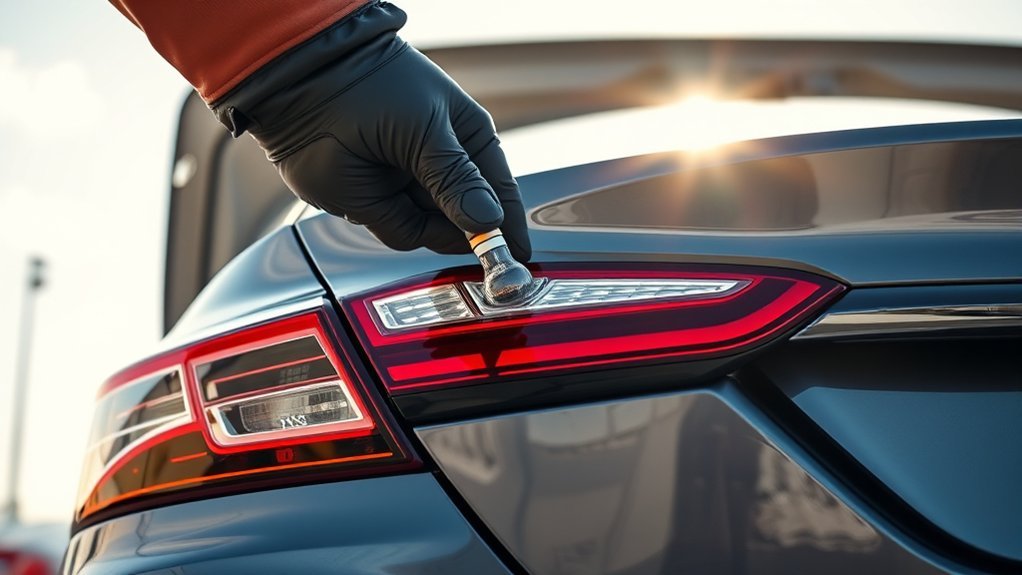
A failed brake light on your Toyota Camry may come from a serviceable bulb, an integrated LED lamp, a damaged socket, a fuse, the brake-pedal switch, a connector, or wiring. Before removing trunk trim or buying a part, identify which stop lamp has failed and check the owner’s manual or Toyota parts information for your exact model year, trim, market, lamp position, and VIN.
Quick Answer
First determine whether the failed Camry brake light has a removable bulb socket or is part of a sealed LED assembly. Replace a serviceable bulb with the exact specified type, then test all three brake lights. Do not pry open an integrated LED lamp; diagnose its connector and circuit or replace the correct assembly.
Key Takeaways
- There is no single brake-light bulb number that applies to every 2018-2023 Toyota Camry.
- Test the left, right, and center high-mounted stop lamps before removing any trim.
- A removable socket may contain a serviceable bulb; a sealed LED assembly normally does not.
- Use the owner’s manual, VIN, old-bulb marking, or Toyota parts information to identify the replacement.
- Never install a higher-amperage fuse or force open a bonded lamp housing.
- If all brake lights fail or remain on, arrange electrical diagnosis rather than replacing random parts.
At a Glance
| Time Required | Roughly 20-45 minutes for a confirmed serviceable bulb; LED-assembly or circuit diagnosis may require additional shop time |
| Difficulty | Easy to moderate for an accessible removable bulb; professional service is recommended for sealed LED assemblies and circuit faults |
| Tools Needed | Flashlight, clean gloves, plastic trim tool or screwdriver, and the socket or wrench specified for the vehicle’s fasteners |
| Cost | Varies by bulb, socket, LED lamp assembly, wiring repair, labor, and vehicle configuration |
Warning: Park on a level surface, apply the parking brake, switch off the lights and ignition, remove the key, and let hot lamp components cool. Repair an inoperative brake light before normal road use. Hazard flashers are not a substitute for working stop lamps.
How to Handle a Brake Light Failure in a 2018-2023 Toyota Camry
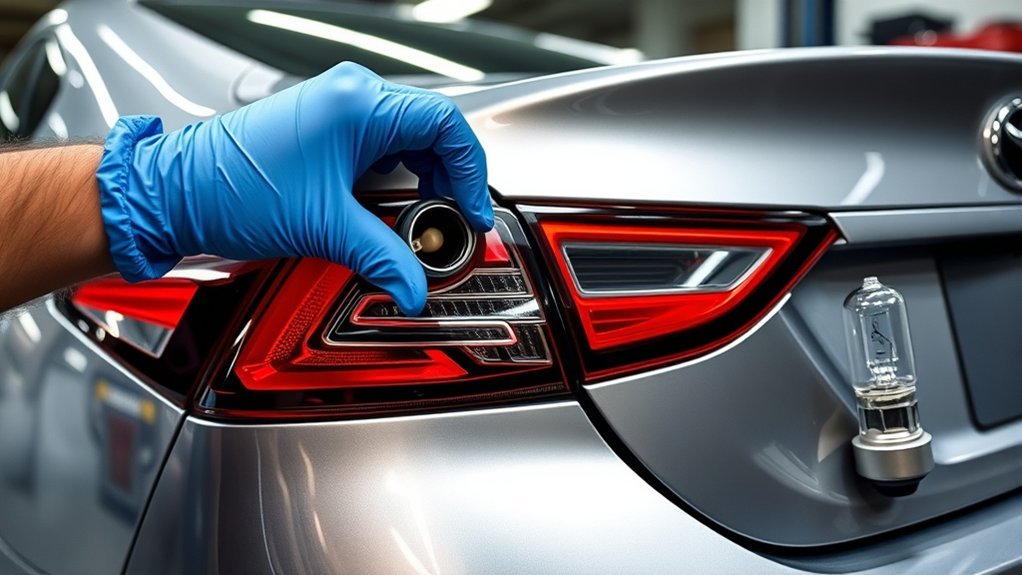
Begin by identifying the failed lamp. Ask a helper to press and release the brake pedal while you check the left stop lamp, right stop lamp, and center high-mounted stop lamp. A phone camera or the reflection from a garage door can help when you are working alone, but a helper provides the clearest test.
Do not assume that a red rear lamp is performing the brake-light function merely because it illuminates with the headlights. Tail lamps operate at a lower intensity, while stop lamps become bright when the brake pedal is pressed.
| Lamp Function | When It Operates | What It Tells You |
|---|---|---|
| Stop or brake lamp | Brake pedal is pressed | The function covered by this guide |
| Tail lamp | Parking lights or headlights are on | A working tail lamp does not prove that the brake function works |
| Turn signal | Turn signal or hazard switch is active | May use a different light source in the same housing |
| Backup lamp | Transmission is placed in reverse | Not a brake-light bulb even when mounted nearby |
Confirm Whether the Brake Light Uses a Bulb or LED Assembly
Next, identify the light-source type. Toyota provides model-year owner information for the 2018 Camry and 2023 Camry. These links concern U.S.-market vehicles; Canadian and other-market specifications may differ.
Use the owner’s manual, the old bulb’s markings, or Toyota’s official parts catalog to verify the lamp position and replacement part. Trim, market, production date, and lamp design can change the service method, so a bulb number listed for another Camry should not be treated as universal.
| What You Find | Likely Service Path |
|---|---|
| A removable socket that turns and comes out of the housing | Verify the bulb specification and follow the serviceable-bulb steps below |
| A sealed housing with an electrical connector but no stop-lamp socket | Treat it as an integrated LED assembly and do not pry the housing open |
| A socket is present, but it serves the turn signal or backup lamp | Do not assume it is the failed brake-light source; confirm the function first |
| Melted plastic, heavy corrosion, damaged wiring, or water inside the housing | Stop and repair the underlying socket, connector, seal, housing, or circuit fault |
If the failed stop lamp is part of a sealed LED assembly, do not split the lens from the housing. Confirm the assembly by VIN and arrange circuit diagnosis or replacement of the correct lamp assembly.
Note: “Brake light,” “tail light,” “turn signal,” “backup light,” and “center brake light” describe different functions. Test the stop-lamp function specifically by pressing the brake pedal.
Tools Needed for Brake Light Bulb Replacement
You need only basic tools for an accessible serviceable bulb, but the required fasteners can differ. Check the vehicle information before selecting a socket size or removing trunk trim.
[Amazon Products Picked for You]

Non-Scratch Pry Tools: Made from durable nylon, this auto trim removal tool kit protects your car’s surfaces from scratches while offering strong leverage for trims, panels, and dashboards

Nylon Material: Made of impacted resistant nylon fiber material with high level craftsmanship, it’s non-toxic, durable and not like brittle material which is prone to bent or crack

19 Pcs Trim removal tools - Works great for car audio/radio system installing or removing, door panel, moldings, emblems, window trims or automotive interior repairing and furniture restoration
Essential Tools Overview
| Tool | Purpose | Important Detail |
|---|---|---|
| Flashlight | Illuminates the trunk and lamp area | Helps reveal clips, sockets, moisture, and damaged wiring |
| Plastic trim tool or screwdriver | Releases trunk-liner clips or access covers | Use controlled pressure to avoid broken clips or marked trim |
| Socket wrench | Removes lamp fasteners when the verified procedure requires it | Confirm the tool size before turning the hardware |
| Correct replacement bulb | Restores a failed serviceable light source | Match the manual, VIN lookup, lamp position, and old-bulb marking |
| Small parts container | Stores clips and fasteners | Prevents missing hardware during reassembly |
Safety Gear Recommendations
Wear clean gloves to protect your hands and keep dirt away from the socket, contacts, bulb, and lens. Eye protection is useful when working beneath trim clips or near loose trunk debris.
Keep metal tools away from exposed electrical terminals. If you find melted plastic, damaged insulation, overheated contacts, or a fuse that fails repeatedly, stop and have the circuit inspected.
Additional Helpful Accessories
A plastic clip-removal tool reduces the chance of marking the trunk liner. A small container keeps clips and fasteners from getting lost. A multimeter can help with electrical diagnosis, but use one only if you understand the circuit, connector pinout, and safe back-probing methods.
Do not install a brighter aftermarket LED substitute simply because its base fits the socket. The replacement light source must suit the lamp’s electrical and optical design. An incompatible retrofit may cause flicker, warning messages, poor light distribution, excess heat, incorrect color, or reduced reliability.
Pro Tip: Photograph the trim, clip positions, connector routing, and socket orientation before disassembly. The photos make reassembly faster and help prevent pinched wiring or misplaced hardware.
Step-by-Step Guide to Accessing the Tail Light Assembly
Use this procedure only after confirming that the failed lamp has a serviceable bulb or that the vehicle-specific repair instructions require access to the lamp connector or assembly. Do not assume every 2018-2023 Camry uses the same access panel, socket, fastener count, or clip arrangement.
[Amazon Products Picked for You]

Lights Dim Over Time, Replace In Pairs: Your lights are a pair, one is never turned on without the other. If one bulb burns out, the other isn't far behind

Includes 2x 3157 turn signal brake tail light bulb.

Non-polarity. Can be used for brake lights, tail lights, stop lights, parking light, daytime running light, etc. Some sensitive vehicles will meet canbus issue after installing, load resistors or flasher relay will be required to solve these issues, you can contact us through Amazon Buyer Message to get help and solutions
Gather Necessary Tools
Place the verified replacement bulb, flashlight, gloves, trim tool, and required socket or wrench within reach. Compare the new bulb’s part number, base, contacts, wattage, and color with the owner information or old bulb before opening the lamp area.
| Preparation | Reason |
|---|---|
| Park on level ground and apply the parking brake | Prevents unexpected vehicle movement |
| Switch off the lights and ignition | Reduces electrical and heat risks |
| Open and clear the trunk | Creates safe access to the liner and lamp area |
| Confirm the failed lamp and function | Prevents replacement of the wrong component |
| Check the new part before disassembly | Avoids leaving the vehicle apart while obtaining a different part |
Remove the Trunk Access Panel
Locate the trunk-liner access panel or the section of liner behind the failed lamp. Remove only the clips, covers, or retainers needed for access. Support the trim as you release it so the liner does not crease and the clips do not snap.
- Inspect each fastener before selecting a tool.
- Release clips in the direction for which they were designed.
- Store removed pieces in a container.
- Do not pull on wiring hidden behind the liner.
- Keep the liner away from trunk hinges and sharp sheet-metal edges.
Once the liner is moved aside, look for a removable bulb socket, electrical connector, lamp-retaining nuts, moisture, corrosion, or a sealed LED-lamp connection.
Identify What Is Behind the Trim
- Removable socket: Confirm that it serves the failed stop-lamp position before turning it.
- Connector with no stop-lamp socket: The stop function may be integrated into an LED assembly.
- Lamp-retaining nuts or bolts: Do not remove them unless the verified procedure requires full housing removal.
- Water, corrosion, or heat damage: Correct the underlying fault before installing a new light source.
Remove Tail Light Fasteners Only If Required
If the vehicle-specific procedure requires lamp removal, support the lamp with one hand while loosening its fasteners. Camry configurations may use nuts, bolts, locating pins, pressure clips, or a combination of these rather than the two-bolt arrangement shown in some generic guides.
| Step | What to Check | Avoid |
|---|---|---|
| Identify fasteners | Correct location and tool size | Rounding or stripping hardware |
| Support the lamp | Even pressure near mounting points | Twisting the lens or body panel |
| Release locating clips | Straight movement in the specified direction | Side-loading or snapping a guide pin |
| Protect the paint | Clean hands and controlled movement | Dragging the housing across the body |
| Protect the seal | Correct gasket position and clean sealing surfaces | Pinching, folding, or contaminating the gasket |
If the lamp does not release with gentle, even pressure, stop and check for a hidden fastener or locating feature. Forcing the housing can crack the lens, break a guide pin, damage the paint, or create a future water leak.
Remove the Old Brake Light Bulb Safely
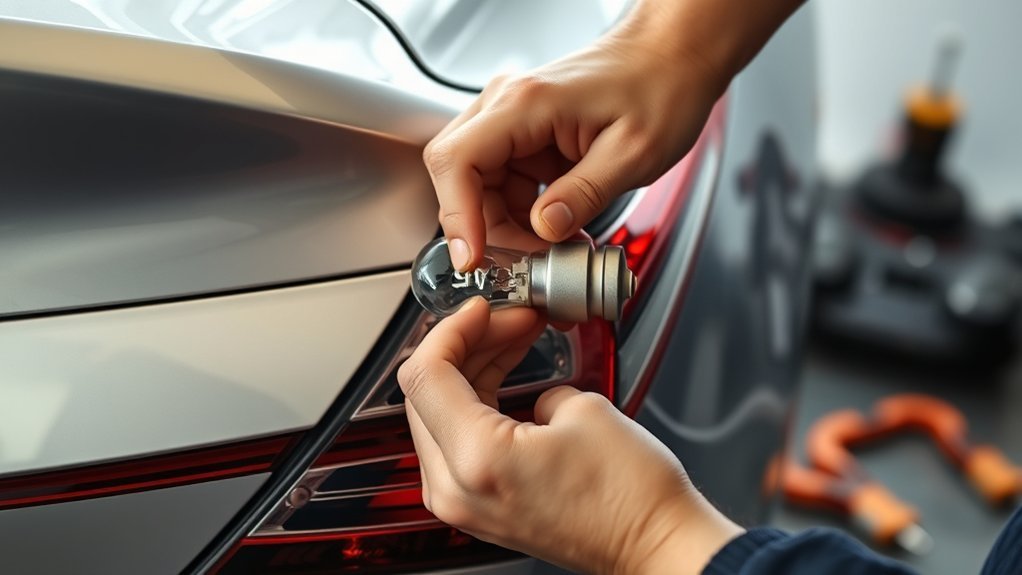
After reaching a confirmed brake-light bulb socket, inspect the area before removing anything. Look for moisture, green or white corrosion, heat-darkened contacts, loose terminals, melted plastic, damaged seals, or a distorted socket. These faults can cause a replacement bulb to fail, flicker, or operate intermittently.
- Grip the socket body rather than pulling on its wires.
- Turn the socket in the release direction shown by the housing or service instructions; many twist-lock sockets release counterclockwise, but this is not universal.
- Pull the unlocked socket straight out without striking the bulb against the housing.
- Remove the bulb using the method designed for its base, such as a straight pull or a push-and-turn action.
- Compare the old bulb’s base, contacts, wattage marking, color, and part number with the verified replacement.
- Inspect the socket terminals for looseness, corrosion, arcing, or heat damage.
Handle a cracked bulb carefully and keep loose glass out of the housing. Clean gloves provide grip and help keep the socket and lens clean. Many rear signal bulbs are conventional incandescent bulbs rather than halogen headlamp bulbs, so the oil-contamination warning associated with halogen headlamps should not be treated as a universal brake-bulb failure rule.
If no removable stop-lamp bulb or socket is present, reconnect anything you unplugged and follow the integrated-LED and professional-help guidance below. Do not open a bonded housing to search for a hidden bulb.
[Amazon Products Picked for You]

Key Specs: Voltage: 12V, Color Temperature: 3000K, Wattage: 21/5W, lumen: 54lm, Lifespan: 500 hours. Note: Please double check owners manual or original bulb number to confirm the bulb model and correct size you need before placing an order.

【Application】This 7443/ 7440 led bulb can be used as brake/ tail light. Compatible with 2012 2013 2014 2015 2016 2017 Toyota Camry. Please double confirm the bulb size on the owner’s manual before placing an order.

2 pack bulbs ,7443 bulbs base=W3.0x16q ,12v 21/5w 7443 bulb are multipurpose Lighting Designed for wide range of interior and exterior automotive lighting applications like turn signal front rear lights, tail lights,stop lights,parking lights,side marker lights, brake lights and daytime running lamp(DRL). Kadiby 7443 Bulb,7444 T20 W21/5W Brake/Tail/Turn Signal Light Bulbs 7443ll Daytime Running Lamp(DRL) for RAV4 CR-V Civic Pilot Camry Silverado 4Runner Altima Corolla.
Install Your New Brake Light Bulb
Install only the bulb specified for the exact lamp position. A similar-looking base may use different contacts, wattage, brightness, or color and may not operate correctly in the housing.
- Make sure the socket is dry, clean, and free from melted plastic or heavy corrosion.
- Insert the new bulb fully without bending its contacts.
- Align the socket tabs with the housing openings.
- Turn the socket to its locked position without overtightening it.
- Reconnect each electrical connector until its locking tab engages.
- Temporarily position the trim so it cannot contact a trunk hinge, sharp edge, or moving component.
- Test the lamp before fully reinstalling clips, covers, and liner panels.
Do not apply household grease, petroleum jelly, adhesive, or an unspecified chemical to the socket. If connector treatment is required, use an automotive electrical product and procedure approved for that connector type.
If you removed the lamp assembly, align its guide pins, clips, gasket, and sealing surfaces before tightening the fasteners evenly. Overtightening can crack plastic mounting points or distort the seal. Make sure no wire is trapped beneath the housing or trim.
How to Test Your New Brake Light for Proper Functionality
Test the repair before fully reinstalling the trunk liner. Ask a helper to press and release the brake pedal several times while you observe the complete rear-light system.
- Confirm that the repaired stop lamp turns on brightly and switches off promptly.
- Compare its brightness, color, and response with the lamp on the opposite side.
- Check the center high-mounted stop lamp.
- Turn on the parking lights and confirm that the lower-intensity tail-light function still works.
- Test the turn signal and hazard lights if they share the same housing.
- Test the backup lamps separately when it is safe to do so.
- Gently move the accessible harness to check for flicker without pulling or sharply bending the wires.
- Confirm that no lighting warning returns after the repair.
A working center brake light does not prove that the left and right stop lamps work. Check all three positions every time you test the repair.
If the new bulb does not illuminate, switch off the ignition and lamps before reopening the area. Recheck the bulb specification, seating, socket lock, connector latch, terminal condition, and the fuse information in the owner’s manual.
After the test succeeds, reinstall every access cover, clip, fastener, and liner section. Confirm that the trim is secure, wiring is not pinched, the trunk hinge moves freely, and any lamp gasket remains correctly seated.
Troubleshooting Common Brake Light Issues
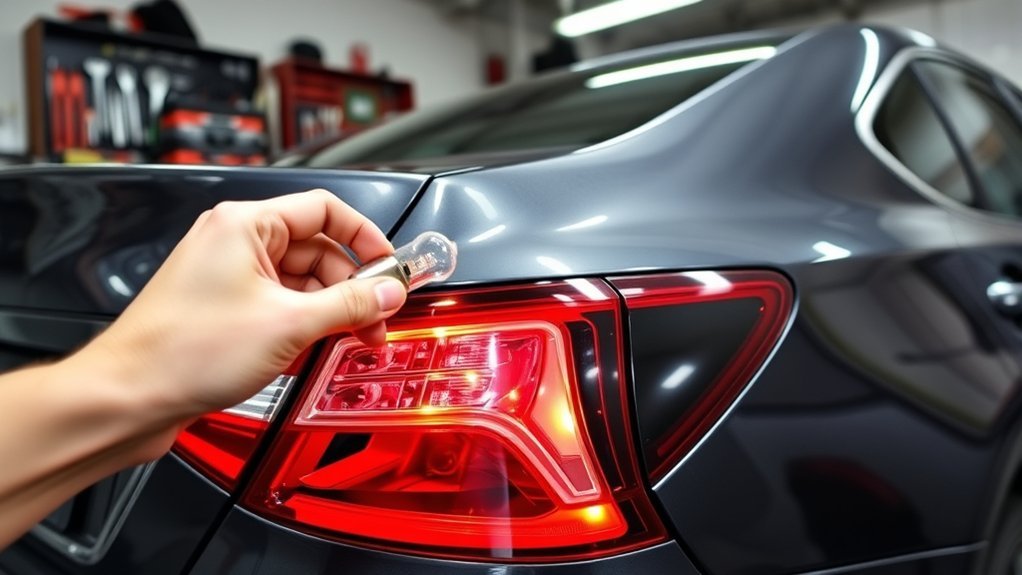
Begin with the failure pattern. It can narrow the likely fault, although it does not replace circuit testing or the vehicle’s wiring diagram.
| Symptom | Possible Cause | Next Check |
|---|---|---|
| One side is out | Bulb, LED module, socket, connector, local ground, or wiring | Compare the failed side with the working side and inspect the local housing |
| Both lower stop lamps are out | Shared power, fuse, switch, connector, control circuit, or two failed light sources | Check the center brake light and the manual’s fuse information |
| All three brake lights are out | Brake-pedal switch, fuse, power supply, wiring, ground, or control fault | Avoid normal road use and arrange circuit diagnosis |
| Brake lights remain on | Brake-pedal switch, switch adjustment, pedal stopper, wiring, or control fault | Inspect the pedal area only as directed and arrange diagnosis before the battery discharges |
| Lamp flickers | Loose bulb, weak terminal tension, corrosion, damaged wire, or poor ground | Inspect the socket and connector for heat, corrosion, or movement |
| Fuse blows again | Short circuit, damaged socket, pinched wire, water intrusion, or failed component | Do not install another fuse repeatedly or substitute a larger fuse; repair the circuit |
| Moisture is inside the lens | Cracked housing, failed seal, displaced gasket, vent problem, or body-water leak | Correct the leak before repeated bulb, socket, or LED-module failure occurs |
| New bulb is dimmer than the other side | Incorrect bulb, poor ground, high-resistance terminal, corrosion, or wrong socket contact | Verify the bulb specification and inspect voltage drop and ground condition |
How to Check the Brake-Light Fuse Safely
Use the owner’s manual and fuse-box legend to identify the correct circuit. Do not rely on a generic diagram for another model year.
- Switch off the ignition before removing a fuse unless the factory procedure states otherwise.
- Replace a failed fuse only with the specified type and amperage.
- Never fit a higher-amperage fuse to prevent repeated failure.
- If the replacement fuse fails again, stop replacing it and arrange diagnosis for a short circuit or damaged component.
Brake-Pedal Switch and Stopper Symptoms
A brake-pedal switch or related pedal-stopper problem may cause all brake lamps to remain off or stay illuminated after the pedal is released. The switch can also interact with other vehicle systems, so do not turn adjustment nuts or bypass the switch without the correct Toyota procedure.
If the brake lights remain on, avoid leaving the vehicle parked for an extended period because the lamps may discharge the 12-volt battery. If they remain off, repair the fault before normal driving.
Testing a Socket or LED-Lamp Circuit
A multimeter can confirm voltage and ground at a serviceable socket, but powered-circuit testing requires care. Use the correct wiring diagram, avoid piercing insulation, and do not bridge adjacent terminals. Toyota’s Technical Information System provides North American repair manuals and wiring information.
If a sealed LED lamp does not work, the assembly itself is only one possible cause. A technician may need to test its power supply, ground, connector terminal tension, wiring, and control inputs before replacing the assembly.
Federal Motor Vehicle Safety Standard No. 108 covers original and replacement lamps, reflective devices, and associated equipment. Repairs should restore the intended lamp color, brightness, mounting, visibility, and operation rather than merely making part of the housing glow.
Tips for Keeping Your Tail Light Assembly in Great Shape
Inspect your rear lamps during routine washes, tire-pressure checks, and before long trips. Early lens, seal, and connector problems are easier to correct before corrosion spreads.
- Check each rear lens for cracks, impact damage, clouding, and trapped moisture.
- Clean the exterior with a mild automotive cleaner and soft cloth.
- Keep trunk cargo from pressing against wiring, sockets, or access panels.
- Confirm that gaskets, access covers, and liner clips sit correctly after a repair.
- Inspect connectors for green corrosion, darkened terminals, loose locks, or melted plastic.
- Test the left, right, and center brake lights periodically.
- Address a flicker or intermittent lamp before it becomes a complete failure.
If a lens repeatedly fogs or fills with water, replacing the bulb alone will not solve the problem. Find and repair the housing, gasket, vent, or body-water leak before installing another light source.
When to Seek Professional Help for Bulb Replacement
Professional help is the safer choice when the failed stop lamp is an integrated LED assembly, the housing will not release normally, or the repair requires powered-circuit testing, wiring repair, or switch adjustment.
Arrange service when:
- all brake lights are inoperative;
- the brake lights remain on after the pedal is released;
- a fuse fails again after replacement with the correct amperage;
- the socket or connector is melted, loose, or badly corroded;
- wiring insulation is cut, pinched, burned, or otherwise damaged;
- the lamp contains heavy moisture or has a cracked lens;
- the new verified bulb still does not work;
- the housing will not release with gentle pressure after all fasteners are removed;
- the vehicle displays a lighting fault that returns after inspection;
- the failed lamp is a sealed LED assembly; or
- you cannot confirm the correct part or service procedure by VIN.
Toyota’s official Technical Information System provides repair information and wiring diagrams. A Toyota dealer or qualified repair shop can use the VIN to identify the lamp assembly and diagnose the circuit before replacing parts.
Frequently Asked Questions
Can I Replace My Brake Light Bulbs Myself?
Yes, when the failed lamp has a removable socket and you can verify the correct bulb and access method. Do not treat a sealed LED lamp as a normal bulb. Stop if the trim, fasteners, socket, or wiring do not match the information for your vehicle.
What Brake Light Bulb Does a 2018-2023 Toyota Camry Use?
There is no safe universal answer for every year, trim, market, and lamp position in that range. Some functions or configurations may use serviceable bulbs, while others use integrated LED lamps. Check the owner’s manual, old-bulb marking, or Toyota parts information by VIN before ordering.
How to Replace Brake Light Bulb for Toyota Camry 2012?
A 2012 Camry is outside the 2018-2023 range covered by the main procedure. Check the 2012 owner’s manual and verify the lamp position and bulb type. Many serviceable rear bulbs are reached through the trunk liner, but the socket, fasteners, and lamp functions can vary by trim and market.
How to Change Brake Light Bulb on Toyota Camry 2006?
Use the 2006 Camry owner’s manual to identify the correct stop-lamp light source and access point. Switch off the lights and ignition, open the trunk, move only the specified liner or cover, remove the serviceable socket if present, install the matching bulb, and test every brake light before reinstalling the trim.
Does AutoZone Change Tail Lights for You?
Service varies by store, staffing, vehicle, and required disassembly. A location may help with an easy-to-access replaceable bulb but decline trim removal, wiring work, or integrated LED service. Call the specific store first and provide the Camry’s model year and failed lamp position.
How Do I Know Whether My Camry Has an Integrated LED Brake Light?
Check the owner’s manual and Toyota parts information by VIN. A serviceable bulb normally has a removable socket behind the lamp. A sealed LED assembly may have an electrical connector but no removable stop-lamp socket. Do not open a bonded housing to search for a bulb.
Why Does My New Brake Light Still Not Work?
The bulb may be incorrect, loose, damaged, or poorly seated. The socket, connector, fuse, brake-pedal switch, ground, wiring, control circuit, or integrated LED module may also be faulty. Compare the failure across all three brake lights and arrange electrical diagnosis if basic checks do not reveal the cause.
Why Do My Camry Brake Lights Stay On?
Possible causes include a brake-pedal switch fault, incorrect switch adjustment, a damaged or missing pedal stopper, wiring damage, or a control problem. The lamps can discharge the 12-volt battery and give other drivers a false braking signal, so arrange prompt diagnosis.
Can I Drive With One Brake Light Out?
Avoid normal road use until the light is repaired. A failed stop lamp reduces the braking signal available to following drivers, and local equipment laws may require every installed brake lamp to work. Move the vehicle only as needed to reach a safe repair location.
Conclusion
Replacing a Toyota Camry brake-light bulb can be a manageable DIY repair, but only when the failed lamp actually has a serviceable bulb. Identify the failed function, determine whether the light source is a bulb or integrated LED assembly, use the specified replacement, and test the complete rear-light system before driving.
If your Camry uses a sealed LED stop lamp or a verified replacement bulb does not solve the fault, avoid forcing the housing or guessing at wiring repairs. A qualified technician can test the connector and circuit, identify the correct assembly, and restore the safety function properly.
Sources
- Toyota: 2018 Camry Manuals and Warranties — U.S.-market model-year owner information and manual access
- Toyota: 2023 Camry Manuals and Warranties — U.S.-market model-year owner information and manual access
- Toyota Genuine Parts — vehicle- and model-specific replacement-part identification
- Toyota Technical Information System — official repair manuals, wiring diagrams, and service information for North American Toyota vehicles
- 49 CFR §571.108, Standard No. 108 — federal requirements for original and replacement lamps, reflective devices, and associated equipment
