Correctly aimed headlights help you see the road without sending unnecessary glare into other drivers’ eyes. A Toyota Camry’s adjuster location, aiming target, headlamp-leveling system, and beam pattern can vary by model year, trim, country, and lamp design. Use the lamp markings and Toyota’s procedure for your exact vehicle rather than relying on a universal number or screw location.
Quick Answer
Park your Camry squarely on level ground facing a wall, set the tires and vehicle load correctly, and identify the headlamp’s aiming markings and vertical adjuster. Aim the low-beam cutoff to the factory target in small steps. Do not guess at horizontal adjustment or separately aim a combined high beam.
Last updated: July 13, 2026
Key Takeaways
- Use Toyota’s instructions for your exact model year, market, and headlamp assembly before turning an adjuster.
- Aim the defined low-beam cutoff, not the brightest patch or the upward sweep on the passenger side.
- Check any manual or automatic headlamp-leveling system before changing the mechanical base aim.
- Do not make an unsupported horizontal adjustment on a visually aimed headlamp.
- Use professional optical aiming after collision work, suspension changes, damaged mounts, or complete LED assembly replacement.
At a Glance
| Time Required | About 30 to 45 minutes for a careful wall check and adjustment |
| Difficulty | Moderate, because the cutoff target and adjuster layout vary by headlamp system |
| Tools Needed | Tape measure, masking tape, tire-pressure gauge, level, flashlight, and the correct tool for the identified adjuster |
| Cost | Usually no cost if you already own the tools; professional aiming labor varies by shop and location |
How to Adjust Headlights on Your Toyota Camry
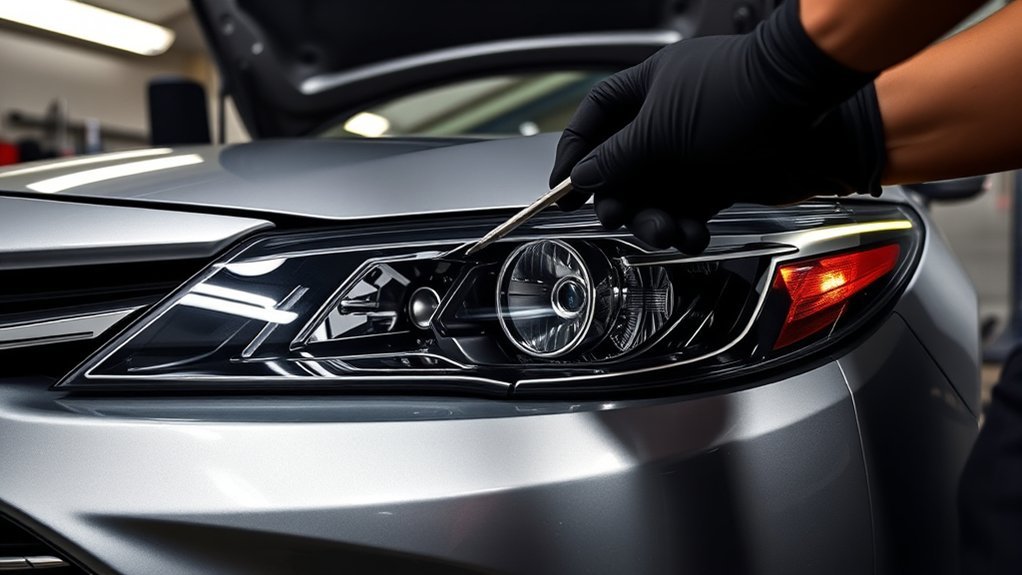
Begin by identifying the headlamp system installed on your Camry. Older models may use replaceable halogen bulbs, while newer trims can use integrated LED projector assemblies. The location, tool size, number of adjusters, leveling equipment, and aiming procedure may differ even between trims from the same model year.
Use the Toyota U.S. manuals portal, the Toyota Canada manuals portal, or Toyota’s factory service information for your exact year and market. A VIN-based parts lookup can also help confirm whether the assembly is halogen, LED, manually leveled, or automatically leveled.
Identify the Headlamp Aiming Marking
On a U.S.-spec visually aimed headlamp, look through the front lens for a small VOL, VOR, or VO marking. It may be molded into the lens and can be difficult to see without a flashlight.
- VOL: The left side of the lower-beam cutoff is the visual aiming reference.
- VOR: The right side of the lower-beam cutoff is the visual aiming reference.
- VO: The marking applies to a separate upper-beam headlamp that is visually or optically aimed from its high-beam pattern.
These definitions come from Federal Motor Vehicle Safety Standard 108. Do not apply the U.S. target automatically to a lamp built for another country or to an assembly with different markings.
If no marking is visible, do not guess. The headlamp may use an externally applied aiming device, an on-vehicle aiming indicator, a different national standard, or a marking hidden by the assembly design. Use Toyota’s procedure or professional optical equipment.
Warning: Do not turn an unidentified screw or force a stiff adjuster. Some screws secure the housing, bumper bracket, or lamp module rather than aim the beam. A damaged or stripped mechanism can allow the beam to move while driving.
A wall serves as an aiming screen, not as proof that the vehicle meets every inspection or photometric requirement. Measure from the headlamp’s optical-axis reference, create accurate tape lines, and compare the defined low-beam cutoff with the target specified for that lamp. If Toyota gives a different setup distance or procedure, follow Toyota’s instructions.
Tools You Need for Headlight Adjustment
You do not need specialized equipment for an initial wall check, but accurate measurements and the correct service information are essential. Do not assume that every Camry uses an 8 mm socket, Phillips screwdriver, or the same access opening.
Essential Tools Required
- Tape measure: Measure the headlamp reference height, lamp spacing, wall distance, and vehicle centerline.
- Masking tape: Create visible horizontal and vertical reference lines without permanently marking the wall.
- Tire-pressure gauge: Set cold tire pressure to the driver-door placard specification.
- Bubble or laser level: Check the wall reference line and identify an unsuitable floor slope.
- Correct hand tool: Use only the socket, screwdriver, or hex tool specified for the identified aiming mechanism.
- Flashlight: Find the lens markings, optical-axis mark, adjuster, and any direction label.
- Opaque, heat-safe panel: Isolate one beam at a time without attaching material to the headlamp lens.
Recommended Equipment Checklist
Keep the owner information or model-specific repair instructions beside you. Toyota’s Technical Information System provides repair manuals and service information for North American Toyota vehicles, including model-specific aiming procedures when available.
A helper can sit in the driver’s seat if the factory procedure specifies driver weight. Wheel chocks can provide extra protection on a flat work area. A laser level is convenient but not required when a standard level, a straight tape line, and careful measurements provide an accurate screen.
Pro Tip: Photograph the original beam pattern and record every quarter-turn of the adjuster. If the result becomes worse or the wrong screw was identified, you will have a clear reference for returning to the starting position.
Preparing Your Vehicle for Headlight Alignment
Vehicle preparation matters because tire pressure, cargo, suspension height, a leveling control, and floor slope can all change the apparent beam position.
Warning: Place the transmission in Park, apply the parking brake, and use wheel chocks when appropriate. Never leave a gasoline engine running in a closed garage. If Toyota’s procedure requires the engine or hybrid system to be operating, work outside or in a properly ventilated service area.
- Choose a level location: Use hard, flat pavement facing a vertical wall or garage door. Avoid a crowned road, sloped driveway, gravel, or a flexible door that bows inward.
- Set cold tire pressure: Inflate every tire to the driver-door placard specification rather than the maximum pressure printed on the tire.
- Use the required vehicle load: Remove unusual cargo and use the passenger, fuel, or driver load specified by Toyota. Do not empty normal factory equipment such as the spare tire or tool kit unless the procedure says to do so.
- Check ride height and suspension: Stop if the vehicle has a broken spring, sagging rear suspension, uneven tire sizes, collision damage, or a recent height modification that has not been inspected.
- Check the leveling system: If the vehicle has a manual headlamp-leveling dial, set it to the normal unloaded position stated in the manual. If it has automatic leveling and a warning, sensor fault, or abnormal startup movement, diagnose that system before changing the mechanical aim.
- Settle the suspension: Roll the vehicle forward and backward a short distance. Gently settle each corner only if the factory procedure permits it.
- Straighten the wheels: Point the steering wheel and front tires straight ahead.
- Clean the lamps: Remove dirt, snow, ice, and heavy moisture that could blur or distort the cutoff.
- Turn off unrelated lamps: Switch off fog lamps and auxiliary lighting so they do not interfere with the low-beam pattern.
Note: A mechanical adjustment should not be used to hide a failed automatic-leveling sensor, incorrect suspension height, or overloaded trunk. Correct the vehicle condition first, then establish the base headlamp aim.
How to Create an Accurate Headlight-Aiming Screen
The wall grid must represent the headlamp positions accurately. Marking the wall while the vehicle is close to it reduces errors caused by perspective.
- Bring the Camry close to the wall: Stop with the front of the vehicle a short, safe distance from the wall while keeping it perpendicular to the surface.
- Locate each optical-axis mark: Look for a small circle, cross, dot, or molded reference on or inside each headlamp lens.
- Mark each lamp center: Transfer the height of each optical-axis mark to the wall and add a short vertical tape line directly ahead of each lamp.
- Mark the vehicle centerline: Measure the midpoint between the left and right lamp-center marks. Do not assume a badge or body crease is perfectly centered without checking.
- Add a level horizontal line: Run tape through the optical-axis height and verify it with a level.
- Back away without turning: Move the vehicle straight backward. Use a floor seam, string line, or equal measurements from matching body points to the wall to confirm that the Camry remains square.
- Measure the specified distance: Use the distance required by Toyota. When using a 25-foot screening setup, measure from the headlamp optical-axis plane to the wall rather than estimating from the bumper.
- Recheck the grid: Verify the height, lamp spacing, vehicle centerline, and level before adjusting anything.
Switch on the low beams in a dark area. Isolate one lamp at a time with an opaque, heat-safe panel if necessary. Do not tape material to the lens or press a cover directly against a hot halogen assembly.
Step-by-Step Guide to Adjusting Low Beams
- Confirm the cutoff type: Identify VOL or VOR and verify that the U.S. visual-aim procedure applies to the assembly.
- Check the wall grid: Confirm that the horizontal line, vertical lamp-center lines, and vehicle centerline have not shifted.
- Use the correct side of the cutoff: Read the left side of a VOL cutoff or the right side of a VOR cutoff. Ignore the upward sweep that illuminates signs and the roadside.
- Locate the vertical adjuster: Match its position to Toyota’s repair information or an unmistakable label on the housing.
- Confirm that the beam responds: Make one small test movement while watching the cutoff. Stop if the housing moves, the adjuster binds, or the beam does not move predictably.
- Adjust in quarter-turn steps: Pause after each movement and allow the pattern to settle before continuing.
- Match the specified vertical target: For a U.S. VOL lamp, the defined cutoff reference is generally 0.4 degrees below horizontal. For a U.S. VOR lamp, it is generally on the horizontal reference line.
- Repeat on the other lamp: Keep both cutoffs at their required vertical position. Do not force the two beams to converge at the vehicle centerline.
- Recheck both lamps together: Remove the cover and verify that the combined pattern is stable and reasonably even.
VOL Drop at Common Wall Distances
A 0.4-degree downward angle produces approximately the following vertical drop:
- 10 feet: 0.84 inch
- 15 feet: 1.26 inches
- 20 feet: 1.68 inches
- 25 feet: 2.09 inches
Note: These measurements describe the U.S. 0.4-degree VOL target. They do not make “two inches low” correct for every headlamp, distance, market, or Toyota procedure. A VOR cutoff generally uses the horizontal reference instead.
Which Way Should You Turn the Adjuster?
There is no safe universal rule that clockwise always raises or lowers a Camry headlight. The screw orientation, gear train, reflector movement, and viewing direction can reverse the result. Make a small test turn while watching the cutoff, then follow the direction marking or factory procedure. Stop immediately if the adjuster becomes tight or the beam moves sideways instead of vertically.
Under U.S. federal rules, a visually aimed lower-beam headlamp should not receive horizontal adjustment unless it has a compliant on-vehicle horizontal aiming device. If the beam points noticeably left or right after collision work or assembly replacement, inspect the lamp mounts and surrounding structure rather than guessing at a horizontal setting.
How to Adjust High Beams Effectively
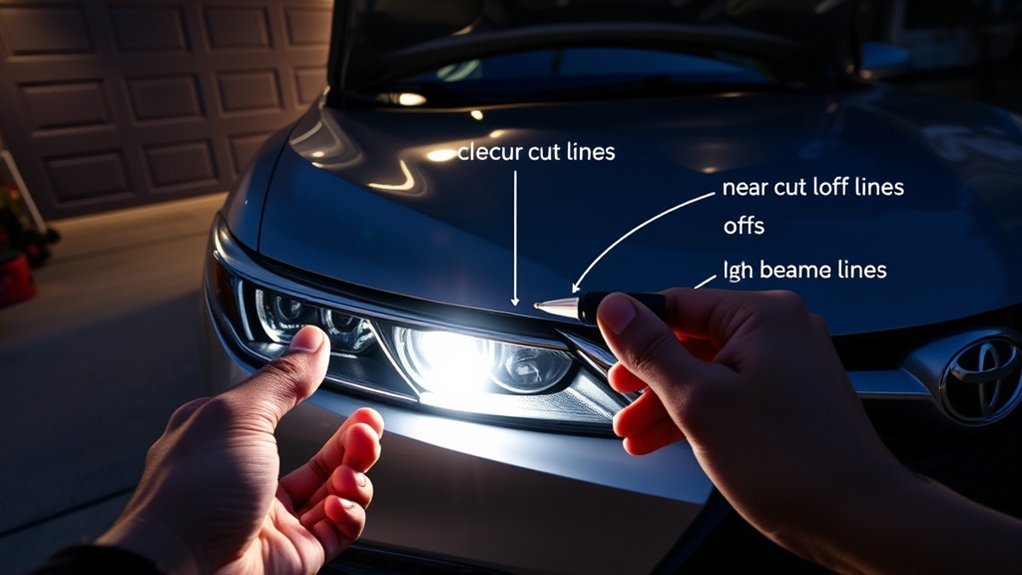
Do not automatically aim the high beams above the low-beam line. When the upper and lower beams are combined in the same headlamp system, the high beam keeps the aim established through the low beam. A separate adjustment can spoil both patterns.
If your Camry has a truly separate upper-beam headlamp marked VO, follow the model-specific procedure. Federal visual-aim rules place the maximum intensity of a separate upper beam on the horizontal and vertical axes, but finding that intensity point accurately generally requires an optical aimer.
- Confirm whether the high beam is combined or separate.
- Aim the low beam first.
- Switch on the high beams without moving an adjuster.
- Check for reasonable symmetry and forward reach.
- Do not create a separate adjustment unless Toyota identifies one.
- Use professional equipment if a separate high beam remains off-center.
Automatic High Beams switch between the low- and high-beam functions. They do not repair mechanical misalignment. After aiming, verify that the manual high beams work and that the automatic system changes beams normally under the conditions described in the owner’s manual.
Common Toyota Camry Headlight-Aiming Mistakes
- Using the brightest spot instead of the cutoff: Projector lamps can have hot spots that are not the visual aiming reference.
- Assuming every lamp drops two to four inches: The target depends on the marking, wall distance, market, and manufacturer procedure.
- Measuring from the bumper: The aiming distance should use the reference specified by the procedure, normally associated with the headlamp plane.
- Backing away at an angle: A crooked vehicle position can create a false horizontal error.
- Adjusting on a sloped driveway: A small floor slope can produce a large error at road distance.
- Ignoring a leveling control: A manual dial or automatic-leveling fault can change the beam independently of the base adjuster.
- Turning a housing screw: Fasteners near the lamp may secure the assembly rather than aim it.
- Guessing at horizontal adjustment: This can increase glare or conceal a damaged mounting point.
- Aiming combined high beams separately: Their aim is established through the shared low-beam assembly.
- Ignoring vehicle load: Heavy trunk cargo, towing tongue weight, or altered suspension can tilt the body.
- Trying to fix dim output by raising the beam: Cloudy lenses, poor voltage, failed LEDs, and aging bulbs require diagnosis.
- Skipping the final road check: The wall pattern cannot reveal every real-world visibility problem.
How to Test Your Headlight Alignment
First, repeat the wall check with both low beams illuminated. The cutoffs should remain stable, reach the correct vertical target, and avoid a large unexplained left-right mismatch. Tap the housing lightly by hand only if it is safe and accessible; the beam should not move independently of the vehicle body.
Next, switch to the high beams without changing the adjusters. The pattern should provide centered distance illumination and return cleanly to the low-beam pattern.
Complete a cautious road check on a dark, familiar road with light traffic and level pavement. The low beams should illuminate the lane and right shoulder without remaining in the mirrors or windshields of nearby vehicles. Road dips, crests, acceleration, braking, and cargo movement can briefly raise or lower the apparent beam, so judge the pattern on a steady, level section.
If other drivers repeatedly flash their lights on level roads, the cutoff sits above the confirmed target, or one beam shakes over bumps, stop and inspect the setup. A professional optical aimer is more reliable after collision repair, suspension-height changes, or replacement of a complete LED housing.
Proper aim balances two needs: useful light on the road for the Camry driver and a controlled low-beam cutoff that limits glare for everyone else.
Troubleshooting Common Headlight Issues
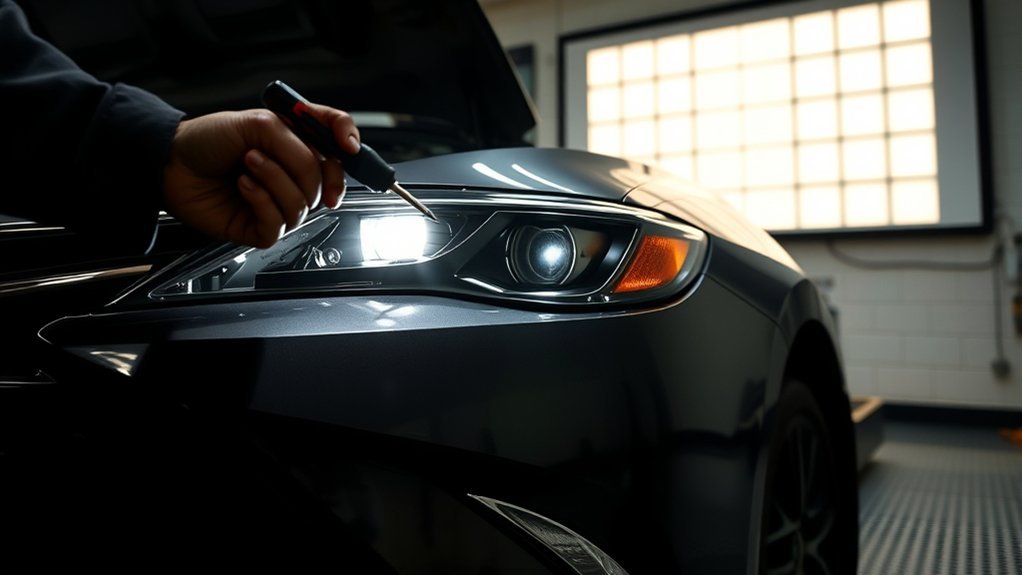
Uneven lighting does not always mean that the aiming screw is set incorrectly. Use the symptom to narrow the likely cause:
- One beam is much lower: Inspect for a broken mounting tab, loose housing, incorrectly seated replaceable bulb, damaged adjuster, or leveling fault.
- The cutoff is fuzzy: Clean the lens and check for oxidation, moisture, internal haze, an incorrect bulb, or a bulb that is not fully locked into its base.
- The beam moves over bumps: Inspect the housing mounts, adjuster mechanism, radiator support, and suspension.
- Both beams are low after loading the trunk: Remove excess cargo, reset a manual leveling control if equipped, or correct the load before changing the base aim.
- Both beams are dim: Check lens condition, electrical supply, bulb age, LED module faults, and charging-system voltage.
- Condensation persists: A light temporary mist may clear, but standing water or recurring heavy fogging can indicate a damaged seal, blocked vent, or cracked housing.
- The adjuster turns but the beam does not move: The internal gear, reflector connection, or adjuster shaft may be stripped or disconnected.
- The pattern points sideways: Check the assembly part number, lamp mounting points, collision damage, and whether the headlamp is intended for the vehicle’s traffic side and market.
- A leveling warning is displayed: Diagnose the leveling sensor, wiring, linkage, or initialization requirement before mechanical aiming.
- Only one LED function works: The integrated module, driver electronics, connector, or complete lamp assembly may require diagnosis rather than adjustment.
If the vehicle has front-end collision damage, the radiator support or headlamp mounting points may be out of position. Repair the structural or mounting problem before performing final aim.
Headlight Technology in the 2025 and 2026 Camry
The U.S.-market 2025 and 2026 Camry uses LED projector low and high beams. The Insurance Institute for Highway Safety evaluation lists two headlight variations: one for LE and SE trims and another for XLE and XSE trims.
IIHS rates both variations Acceptable. Both have high-beam assist and are listed as non-curve-adaptive. During the IIHS tests, neither low-beam variation exceeded the organization’s glare thresholds. Those results apply to properly configured test vehicles; they do not prove that an individual Camry with damaged mounts, altered suspension, or incorrect aim cannot create glare.
Toyota’s 2026 Camry information confirms that all U.S. grades have LED headlights and daytime running lights.
These vehicles use integrated lighting assemblies, so do not assume they share the replaceable bulbs, adjuster access, or aiming sequence of an older Camry. After replacing a complete LED assembly, use Toyota’s repair information or a qualified shop for the final check.
Maintenance Tips for Headlight Adjustment and Care
Headlight aim normally changes because the lamp, its mounting structure, the suspension, or the vehicle load has changed. Regular checks can reveal a developing problem before nighttime visibility becomes poor.
Regular Inspection Schedule
- Check the garage-door pattern every few months: A quick comparison can reveal a sudden mismatch, although it does not replace a measured aiming screen.
- Recheck after front-end work: Headlamp removal, bumper repair, collision repair, and radiator-support work can affect aim.
- Recheck after suspension work: New springs, lowering components, worn rear suspension, wheel-size changes, or towing loads can alter vehicle pitch.
- Inspect after bulb replacement: A replaceable bulb that is not fully seated can distort the pattern even when the housing aim has not changed.
- Check after LED assembly replacement: A new assembly may require aiming and, on some systems, leveling initialization or calibration.
- Watch for independent movement: The beam should not shake separately from the vehicle body during normal driving.
- Respond to warnings: Diagnose headlamp-leveling, adaptive-lighting, or lighting-system warnings rather than compensating with the adjuster.
Proper Cleaning Techniques
Wash the lenses with automotive soap, water, and a clean microfiber cloth. Do not use dry abrasives, aggressive household chemicals, or improvised solvents that can scratch the polycarbonate or damage its protective coating.
If the outer lens is oxidized, use a headlight-restoration kit with progressive polishing and a UV-protective finishing step. Follow the product instructions and mask nearby paint. Severe cracking, internal haze, damaged optics, or failed LED components may require complete assembly replacement.
Dry the lenses after washing and keep wax, polish, and sealant away from housing vents and seams. Persistent water inside the assembly needs diagnosis rather than repeated exterior cleaning.
Frequently Asked Questions
How can you tell if Toyota Camry headlights are aimed correctly?
On a level wall check, each low-beam cutoff should match the target for the lamp’s marking and the model-specific Toyota procedure. On the road, the beams should illuminate the lane and right shoulder without remaining in the eyes, mirrors, or windshields of other road users.
How do you aim Toyota headlights?
Prepare the vehicle at its specified tire pressure and load, square it to a level wall, transfer the optical-axis marks to the wall, identify the cutoff type, and turn only the factory-identified vertical adjuster in small increments. Use the exact Toyota procedure because the distance, tool, and target can vary.
What is the correct headlight height at 25 feet?
There is no universal target. Under U.S. visual-aim rules, a VOL cutoff is set 0.4 degrees down, which is about 2.1 inches at 25 feet. A VOR cutoff is generally set at the horizontal reference. Confirm the marking and Toyota procedure before using either target.
How do you adjust headlight height on a Camry?
Locate the vertical aiming adjuster identified for your model year, then make quarter-turn changes while watching the correct side of the low-beam cutoff. Stop if the adjuster binds, the housing shifts, or the beam does not move consistently.
Which way do you turn a Camry headlight adjuster?
The direction is not universal. Depending on the adjuster orientation and internal gearing, clockwise may raise the beam on one assembly and lower it on another. Use a direction label or make a small test turn while watching the cutoff.
Should the headlight-leveling system be checked before aiming?
Yes. Set a manual leveling control to the normal unloaded position specified by Toyota. If an automatic system has a warning, damaged sensor linkage, or abnormal movement, diagnose it before changing the mechanical base aim.
Should Toyota Camry high beams be aimed separately?
Usually not when the upper and lower beams are combined in one headlamp. The high beam keeps the aim established through the low beam. A separate VO-marked upper-beam lamp may have its own procedure and is best checked with factory instructions and optical equipment.
When should a professional aim the headlights?
Use professional service after collision repair, complete LED assembly replacement, suspension-height changes, leveling-system faults, broken mounts, stripped adjusters, or any case where an accurate wall setup still produces an uneven or unstable pattern.
Conclusion
A safe Toyota Camry headlight adjustment starts with the correct model-specific information, a level and square wall setup, the lamp’s actual aiming marking, and a properly prepared vehicle. Set the low beams in small steps, leave combined high beams tied to that aim, and avoid unsupported horizontal changes. Damaged mounts, leveling faults, altered suspension, or integrated LED assemblies warrant professional optical aiming.
Sources
- Toyota U.S. Manuals and Warranties — model-specific owner information and digital manuals for U.S.-market vehicles.
- Toyota Canada Owner’s Manuals — manuals and vehicle information for Canadian-market Toyota models.
- Toyota Technical Information System — factory repair manuals and service procedures for North American Toyota vehicles.
- 49 CFR 571.108, Federal Motor Vehicle Safety Standard 108 — VOL, VOR, and VO markings and visual headlamp-aim requirements.
- IIHS 2025–2026 Toyota Camry Evaluation — LED projector types, trim variations, high-beam assist, glare, and headlight ratings.
- Toyota 2026 Camry Newsroom Release — current U.S. model information confirming LED headlights and daytime running lights across all grades.
