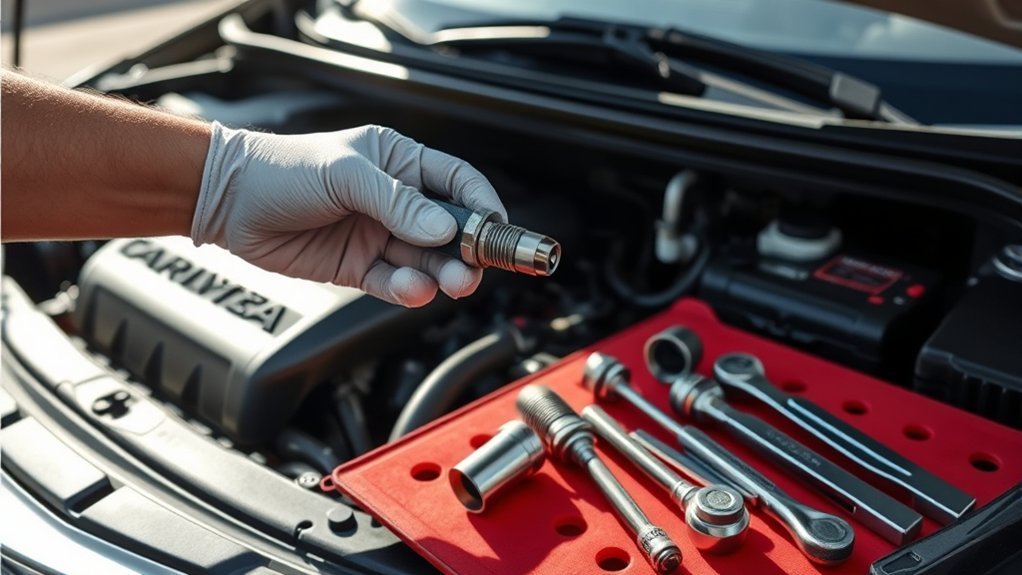
A Toyota Camry spark plug replacement can be a practical DIY job on many inline-four models, but the plug design, socket size, access method, gap instructions, and torque specification vary by model year, engine code, and market. Before loosening a coil or plug, identify the vehicle by VIN and obtain the correct Toyota repair procedure. The wrong plug or tightening value can damage the plug or the aluminum cylinder-head threads.
Last updated: September 22, 2026
Quick Answer
Confirm your Camry’s VIN, engine, plug part number, socket size, gap instructions, and Toyota torque specification. With the engine cold and ignition off, remove one coil at a time, clean the well, hand-thread the correct new plug, torque it accurately, reinstall the coil, and stop immediately if the engine misfires or the warning light flashes.
Key Takeaways
- Match the replacement plugs to your Camry’s model year, engine code, market, and original-equipment specification.
- Do not use one socket size, gap, or torque value for every Toyota Camry.
- Work on a cold engine, clean each plug well before opening it, and avoid impact tools.
- Start every new plug by hand and follow the exact plug maker’s instructions on gapping, anti-seize, and installation.
- After reassembly, investigate any rough idle, fuel smell, flashing check-engine light, compression leak, or new misfire immediately.
At a Glance
| Time Required | About 1–2 hours for a first attempt on an accessible inline-four engine; several hours or professional service when intake components or a rear cylinder bank must be accessed |
| Difficulty | Moderate with exposed ignition coils; advanced when rear-bank access, intake removal, damaged threads, or seized plugs are involved |
| Tools Needed | Ratchet, extensions, correct spark-plug socket, coil-bolt socket, calibrated torque wrench, compressed air or vacuum, flashlight, and optionally an OBD-II scan tool |
| Cost | Varies with cylinder count, plug type, brand, local labor rates, and whether intake gaskets, coil boots, thread repair, or other parts are required |
Warning: Switch the ignition off, keep the smart key away from the vehicle, and let the engine become fully cold. Never use an impact wrench on a spark plug. On hybrid Camrys, do not touch or remove orange high-voltage cables, connectors, the service plug, inverter parts, or traction-battery components. Stop and use a qualified technician if the procedure approaches high-voltage equipment or exceeds your tools and experience.
What Should You Confirm Before a Toyota Camry Spark Plug Replacement?
Camrys have used several inline-four, V6, and hybrid powertrains. The number of plugs, plug design, socket size, access path, and tightening specification can change between engines. Check the VIN, under-hood emissions label, owner information, or a VIN-based parts catalog before buying anything.
Current-model note: Toyota says the 2025 and 2026 U.S. Camry lineup is exclusively hybrid and uses a 2.5-liter four-cylinder engine. Older Camrys also included non-hybrid four-cylinders and V6 engines, so do not transfer a plug part number, socket size, access method, or torque value from one generation to another. See Toyota’s 2026 Camry overview for current U.S. powertrain context.
Toyota’s 2026 U.S. Camry Warranty & Maintenance Guide places spark-plug replacement at 120,000 miles and says to install the same type of plugs as originally equipped. The 2014 U.S. guide also lists 120,000 miles, with a 150,000-mile interval for corresponding PZEV vehicles. These examples are not universal; follow the guide for your exact model year, engine, and market.
Toyota’s 2026 U.S. Camry maintenance chart places spark-plug replacement at 120,000 miles, but older model years, different engines, emissions certifications, and overseas markets may use a different interval.
Note: A replacement interval tells you when routine service is due. It does not prove that worn plugs caused a rough idle or check-engine light. Record diagnostic trouble codes and freeze-frame information before clearing anything, then inspect the ignition, fuel, air, and mechanical systems as needed.
Check These Details Before Buying Plugs
- Model year and market: Specifications can differ between North American and overseas Camrys.
- VIN and engine code: Do not rely only on a description such as “2.5-liter” or “V6.”
- Exact part number: Match the thread diameter, reach, seat type, heat range, resistor design, terminal, and electrode design.
- Cylinder count: Buy one correct plug for each cylinder unless you are performing a specific diagnostic repair.
- Preset gap: Verify the vehicle specification and the instructions supplied with the exact plug.
- Socket design: Match the plug hex and confirm whether a thin-wall socket is required.
- Torque specification: Obtain the Toyota value for the exact engine before beginning.
- Access parts: Determine whether intake gaskets, clips, seals, or other one-time-use parts are required.
Identify the Access Path Before Starting
| Engine Layout | Typical Access | Main Concern |
|---|---|---|
| Inline-four with exposed coils | Coils commonly sit in one row on top of the cylinder head | Deep wells, brittle connectors, dirt, and cross-threading |
| V6 | The front bank may be accessible while the rear bank can require removal of intake components | Open intake ports, replacement gaskets, hidden connectors, and engine-specific torque sequences |
| Hybrid Camry | Engine-side plug access may resemble a conventional layout | Orange high-voltage components must remain untouched |
DIY decision: This job is most suitable when the ignition coils are directly accessible and you can confirm the exact plug, socket, gap instructions, and torque specification before starting. Treat rear-bank intake removal, seized plugs, damaged threads, or work near hybrid high-voltage equipment as a stop point for professional service.
When Should Toyota Camry Spark Plugs Be Replaced?
Replace the plugs at the scheduled interval even when the engine appears to run normally. Earlier diagnosis may be justified when you notice repeated misfire codes, difficult starting, hesitation under load, an unstable idle, reduced power, or increased fuel use.
Those symptoms are not unique to spark plugs. A failing ignition coil, damaged connector, air leak, injector problem, low compression, wiring fault, or contaminated plug well can create similar behavior. Diagnose the cause before assuming that a new plug set will solve it.
Record Diagnostic Information First
- Scan the vehicle for stored, pending, and permanent diagnostic trouble codes.
- Record freeze-frame data and the cylinder number identified by any misfire code.
- Do not clear codes until you have saved the information needed for diagnosis.
- Inspect the affected coil connector, boot, wiring, and plug well before replacing parts.
- If the engine shakes severely, smells strongly of fuel, or has a flashing check-engine light, switch it off rather than continuing to drive.
What Tools Do You Need to Replace Toyota Camry Spark Plugs?
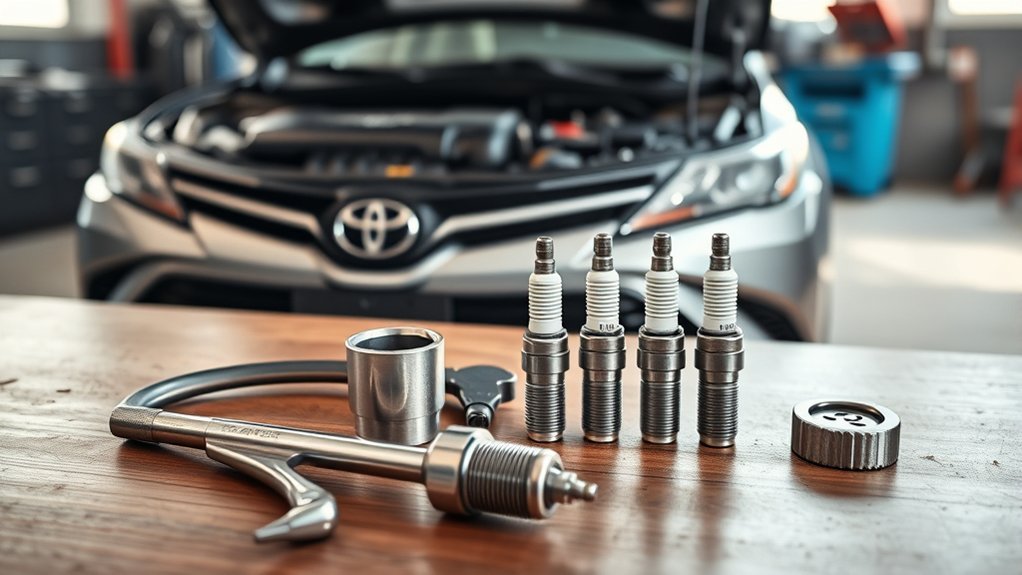
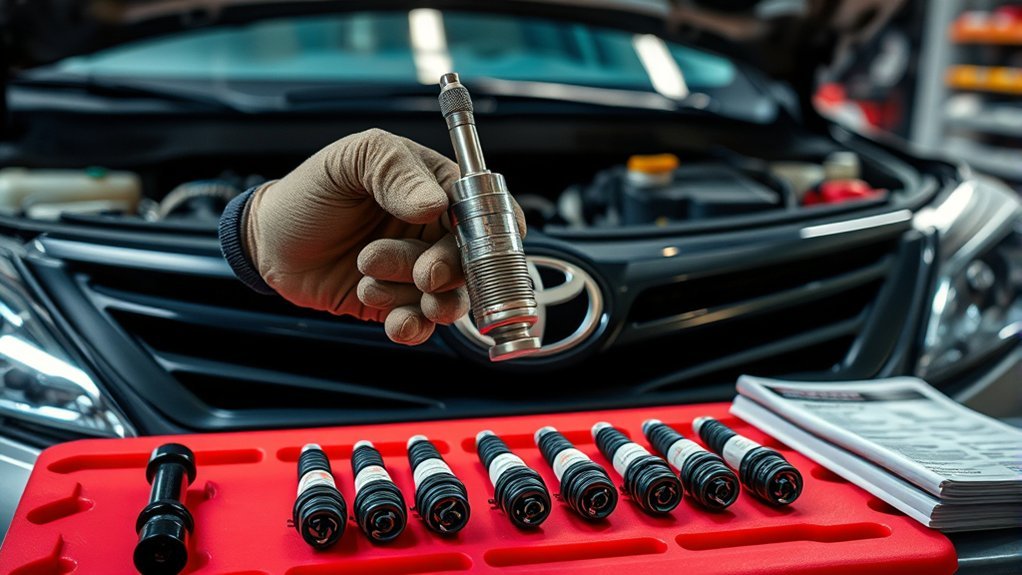
Gather every tool before opening a plug well. A commonly used 10 mm socket may fit the ignition-coil bolts on some Camrys, but verify your engine rather than assume. The spark-plug socket must match the hex on the correct replacement plug and may need a thin wall to fit the well.
| Tool or Supply | Purpose | Selection Tip |
|---|---|---|
| Ratchet and extensions | Reach the coil bolts and plug wells | Use extensions that keep the socket straight |
| Coil-bolt socket | Remove ignition-coil fasteners | Confirm the fastener size on your engine |
| Spark-plug socket | Hold, remove, and lower each plug | Match the plug hex; some applications need a thin-wall, magnetic, or rubber-retaining socket |
| Calibrated torque wrench | Tighten plugs and fasteners correctly | Use a wrench whose accurate working range includes the required value |
| Compressed air or vacuum | Remove debris before opening a cylinder | Wear eye protection and control where debris travels |
| Flashlight and inspection mirror | Check deep wells, connectors, hoses, and hidden fasteners | Inspect for oil or water before removing the plug |
| OBD-II scan tool | Record codes and verify whether a misfire returns | Save codes and freeze-frame data before clearing them |
| Maker-approved gap gauge | Verify the plug gap without damaging fine-wire electrodes | Follow the instructions for the exact plug; approved tool designs vary |
| Dielectric grease | Optionally protect the boot from moisture and sticking | Use only a thin film where the product and service instructions permit it |
| Replacement intake gaskets | Reseal intake components removed for V6 access | Buy only the parts required by the exact repair procedure |
A flathead screwdriver is not normally needed to pry off an engine cover. Avoid levering against plastic connectors, clips, wiring, or painted surfaces because aged plastic can crack easily.
[Amazon Products Picked for You]

PREMIUM CR-V - Built from heat-treated chrome vanadium steel, this spark plug socket set offers exceptional durability and corrosion resistance. The mirror polish finish ensures easy cleanup and a professional appearance.

Complete Spark Plug Socket Service Set: Features 9/16", 5/8", 14mm, and 16mm spark plug sockets, along with a spark plug gap tool, providing the flexibility needed for most spark plug service jobs.

SPECIFICATIONS: 5PC 360 degree swivel 5/8", 14MM, 9/16" socket set with 6-Point and 12-Point, Cr-V steel, magnetic core. Total Length: 4 inch, 6 inch, 8 inch and 11inch, Drive Tang: 3/8 inch
How Do You Remove the Toyota Camry Engine Cover?
Tools Needed for Removal
Open the hood, support it securely, and identify how the engine cover is retained. Some covers lift from rubber grommets, while others use nuts, bolts, clips, or a combination of fasteners. Remove only the hardware that clearly secures the cover.
Before moving hoses or wiring, take a clear photo of the engine bay. That reference can help you return every connector, hose, clip, and harness to its original position.
Engine Cover Detachment Steps
- Confirm that the ignition is off and the engine is cold.
- Follow the model-specific procedure for any 12-volt battery step; do not disconnect it automatically based on a generic guide.
- Remove any visible cover fasteners with the correct tool.
- If the cover uses grommets, grip it near each mounting point and pull upward evenly.
- Do not yank the cover from one corner or use wiring as a handhold.
- Check underneath for attached hoses, brackets, or connectors before lifting it away.
- Set the cover and fasteners in a clean, protected location.
Once the cover is removed, identify each ignition coil. On an inline-four engine, the coils commonly sit in a row across the top of the cylinder head. V6 access can be more involved, especially for the bank near the firewall.
How to Safely Disconnect and Remove Ignition Coils
Proper Tool Selection
Use a socket that fits the coil fastener fully. A loose socket can round the bolt head. Use a small pick or plastic trim tool only when the connector design requires it, and never force a brittle retaining tab.
Work on one cylinder at a time when access permits. This reduces the risk of mixing coil locations, leaving a connector unplugged, or exposing several open wells at once.
Step-by-Step Process
- Inspect the connector and identify its locking tab or secondary lock.
- Release the lock, then pull on the connector housing rather than the wires.
- Remove the ignition-coil retaining bolt and store it safely.
- Check the plug well for oil, water, dirt, rust, or damaged wiring.
- Clean loose debris from around the coil and the top of the well.
- Grip the coil body, twist it gently to release the boot, and pull it straight upward.
- Inspect the boot for cracks, carbon tracking, swelling, oil contamination, burns, or a damaged spring terminal.
Pro Tip: Place each removed coil beside its original cylinder or label it with removable tape. If one plug looks abnormal later, you can compare it with the coil and cylinder that produced the condition.
What to Do If the Plug Well Contains Oil or Water
Do not remove the spark plug while liquid or loose debris can fall into the cylinder. Remove accessible contamination with a suitable vacuum, absorbent material, or the method specified by Toyota, then identify the source.
- Oil in the well: Inspect the valve-cover gasket and plug-tube seals. A soaked coil boot may also need replacement.
- Water in the well: Look for recent washing, a spill, damaged sealing, or water-entry paths before reassembly.
- Rust or corrosion: Inspect the coil terminal, connector, spring, and plug shell.
- Repeated contamination: Repair the leak rather than installing new plugs into a wet well.
How Do You Remove Old Spark Plugs Without Damage?
Before opening the cylinder, use compressed air or a vacuum to clear debris from the plug well. Wear eye protection and avoid blowing dirt toward your face, belts, electrical connectors, an open intake passage, or another uncovered plug well.
Place the spark-plug socket squarely over the plug. Keep the ratchet and extension aligned with the well, then apply smooth hand pressure to loosen the plug. Do not use an impact wrench, strike the ratchet, lean the extension sideways, or continue forcing a plug that feels seized.
| Step | Safe Method |
|---|---|
| Clean the well | Remove loose dirt and liquid before the plug is loosened |
| Break the plug free | Use a straight, correctly fitted socket and smooth hand pressure |
| Finish removal | Once loose, spin the extension or plug out gently by hand |
| Protect the opening | Keep tools, grease, loose hardware, and debris away from the open well |
If a plug binds after it begins to turn, stop rather than forcing it. Tighten it slightly only if doing so is smooth, then loosen it carefully and reassess. Severe resistance, damaged threads, broken porcelain, or a separated metal shell requires professional repair.
Inspect the Removed Spark Plugs
Keep the plugs in cylinder order and compare them. Normal wear should look reasonably similar across the engine. One plug that differs sharply from the others can point to a cylinder-specific condition.
- Wet fuel or a strong fuel smell: The cylinder may not be firing correctly.
- Heavy black deposits: Possible rich operation, repeated short trips, oil contamination, or an ignition problem.
- Oily deposits on the firing end: Possible internal oil entry that needs further diagnosis.
- White, blistered, melted, or damaged electrodes: Possible overheating, incorrect plug selection, abnormal combustion, or another serious fault.
- Cracked porcelain: Replace the plug and investigate impact, overtightening, side-loading, or installation damage.
- Oil outside the plug on the boot or in the well: Inspect the valve-cover gasket and plug-tube seals.
- Uneven wear between cylinders: Compare codes, coils, injectors, compression, and operating conditions rather than assuming the plug alone caused it.
How Do You Install New Toyota Camry Spark Plugs Safely?
Compare every new plug with the removed plug before installation. Confirm the part number, thread length, seat design, terminal, hex, and physical dimensions. A plug can begin threading into a cylinder head and still be unsuitable for the engine.
- Inspect the new plug for shipping damage, cracked porcelain, a loose terminal, or a bent ground electrode.
- Verify the specified gap with the measuring tool and method approved by the exact plug manufacturer.
- Never wedge a tool between the center and ground electrodes or press against a fine-wire center electrode.
- Do not alter a preset iridium or platinum plug unless the vehicle specification and plug instructions require adjustment.
- Keep plated plug threads clean and dry unless Toyota or the exact plug manufacturer instructs otherwise.
- Place the plug securely in the socket and lower it carefully into the well without dropping it.
- If a plug is dropped onto a hard surface, inspect it closely and replace it if there is any doubt about porcelain or electrode damage.
- Turn the extension by hand for several complete rotations.
- If the plug does not turn smoothly, remove it and inspect the plug and cylinder-head threads. Never use the ratchet to force initial engagement.
- Once the gasket or seat contacts the cylinder head, tighten the plug with a calibrated torque wrench.
NGK states that its plated spark plugs are installed dry and warns that anti-seize changes thread friction and can increase the risk of shell stretch or thread damage. Other plug designs may have different instructions, so follow the documentation supplied with the exact plug rather than adding thread compound automatically.
DENSO’s installation guidance says many iridium plugs have a factory-preset gap and warns against contacting the iridium center electrode or porcelain while checking or adjusting the gap. Use the gap method specified for the exact plug you install.
What Is the Toyota Camry Spark Plug Torque?
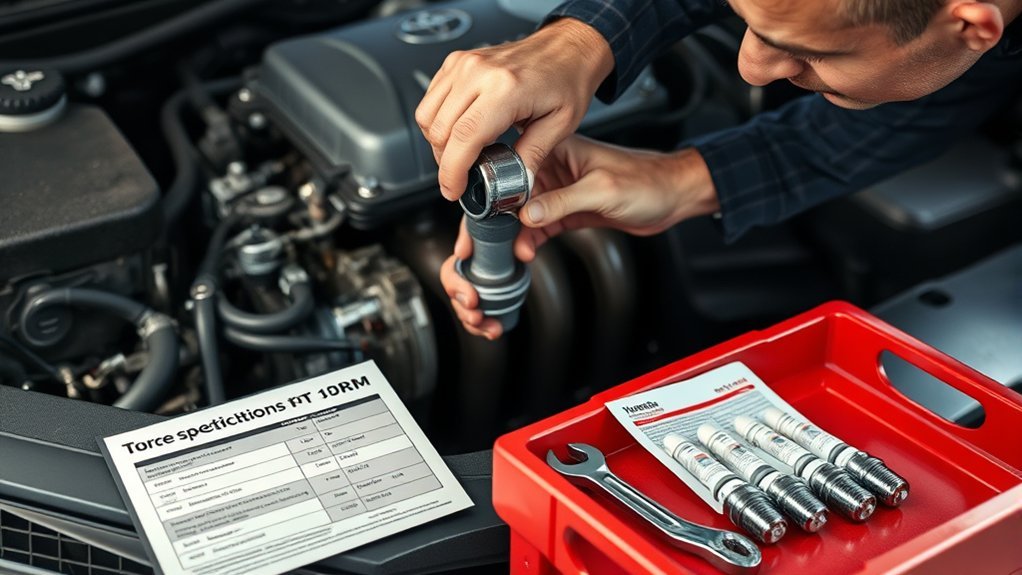
No single spark-plug torque value applies to every Toyota Camry. The correct value depends on the engine, plug thread diameter, seat design, cylinder-head material, plug condition, and service procedure.
Use Toyota’s Technical Information System, an official Toyota repair manual, or verified dealer service information for your exact VIN and engine. A universal 18 lb-ft instruction should not be used without application-specific confirmation.
| Information Source | How to Use It |
|---|---|
| Toyota repair specification | Primary source for the exact engine, model year, plug, and installation procedure |
| Exact spark-plug manufacturer instructions | Confirm dry or lubricated installation, gap handling, and any plug-specific requirements |
| Generic torque chart | Use only when it matches the exact thread, seat, plug condition, and cylinder-head material and no vehicle-specific value is available |
| Turn-angle method | Use only when the exact plug instructions specify the angle, seat type, and whether the plug is new or reused |
Under-tightening can prevent full seating, sealing, and proper heat transfer. Over-tightening can stretch the plug shell, damage the gasket, compromise internal seals, crack the insulator, or strip cylinder-head threads. A torque wrench is safer than estimating an extra fraction of a turn.
Do Toyota Camry V6 Spark Plugs Require Intake-Manifold Removal?
On some V6 Camrys, reaching the rear cylinder bank may require removal of intake ducts, the upper intake manifold, brackets, hoses, or electrical connectors. Treat this as a separate advanced procedure rather than assuming it is only an extended version of the front-bank work.
- Obtain the exact removal and installation sequence before disconnecting anything.
- Photograph hose, harness, bracket, and connector routing.
- Label similar vacuum and electrical connections.
- Cover every open intake port immediately with clean, secure material that cannot fall inside.
- Keep nuts, washers, tools, and loose debris away from open ports.
- Replace gaskets and one-time-use parts when the Toyota procedure requires it.
- Use the specified intake-manifold bolt sequence and torque values.
- After reassembly, check for disconnected hoses, pinched seals, vacuum leaks, and forgotten grounds.
Warning: Stop if you cannot positively identify every intake fastener, hose, connector, gasket, and open port. A dropped object, unsealed intake runner, damaged gasket, or incorrectly routed connection can cause major engine problems.
[Amazon Products Picked for You]

【Compatibility】Fit for 2007-2011 J-eep Wrangler; Fit for 2001-2007 Dodge Caravan, 2001-2010 Dodge Grand Caravan; Fit for 2001-2010 Chrysle Town & Country, 2001-2003 Chrysle Voyager.

THIS IS BRAND NEW: DNJ® Intake Manifold Gasket Set

COMPATIBILITY – Fits 2002-2006 Nissan Altima; 2002-2008 Nissan Maxima; 2003-2007 Nissan Murano; 2004-2009 Nissan Quest; 2002-2004 INFINITI I35
Reinstalling Ignition Coils: Key Considerations
Inspect each coil boot and terminal before reinstalling it. Replace a torn, swollen, oil-soaked, burned, or heavily tracked boot rather than hiding the damage with grease.
- If permitted by the product and service instructions, apply only a thin film of dielectric grease inside the mouth of the boot or on the plug’s ceramic insulator.
- Do not coat the spark-plug threads, firing tip, center electrode, ground electrode, or metal terminal with dielectric grease.
- Lower the coil straight over the plug and press it down evenly until the boot is fully seated.
- Start the retaining bolt by hand to prevent cross-threading.
- Tighten the coil bolt to the engine-specific specification rather than adding an estimated extra turn.
- Reconnect the electrical connector and confirm that its locking tab clicks or seats fully.
Dielectric grease is an electrical insulator. Its purpose in this application is to help exclude moisture and prevent the rubber boot from bonding to the ceramic while the coil terminal maintains the intended metal-to-metal contact.
Reassembling the Engine Cover: Final Steps
- Check that every coil connector is attached and every coil bolt is installed.
- Confirm that every hose, intake connector, ground, and bracket removed for access has been restored.
- Confirm that no socket, bolt, rag, port cover, or loose part remains in the engine bay.
- Route wiring and hoses through their original clips and supports.
- Make sure no harness is trapped beneath the engine cover or near a hot or moving component.
- Align the cover’s pins, grommets, clips, or fastener holes.
- Press or fasten the cover evenly without forcing it.
- Verify that the cover is secure and cannot contact moving or hot components.
Start the engine and let it idle while observing it from a safe position. It should run smoothly without abnormal tapping, puffing, arcing, hissing, fuel odor, severe vibration, or a flashing warning light. Switch it off before touching any connector or coil if something is wrong.
Troubleshooting After Spark Plug Replacement
Switch the engine off before checking any connector, coil, hose, or plug. Do not reach around moving belts, fans, or hot exhaust components while the engine runs.
| Symptom | What to Check |
|---|---|
| Engine cranks but does not start | Confirm all coil connectors, grounds, intake connectors, hoses, and components removed for access |
| Rough idle or misfire | Check plug part numbers, coil seating, connector locks, damaged boots, cracked plugs, intake leaks, and diagnostic trouble codes |
| Flashing check-engine light | Shut the engine off and diagnose the active misfire before driving |
| Ticking or puffing near a plug well | Stop the engine and verify that the plug is correctly seated, undamaged, and torqued |
| Hissing after intake removal | Inspect intake gaskets, hoses, clamps, ports, and connectors for an air leak |
| Connector will not lock | Inspect for a bent terminal, broken lock, debris, damaged housing, or incorrectly positioned seal |
| Misfire code returns on one cylinder | Compare the plug, coil, connector, injector, wiring, compression, and plug-well condition for that cylinder |
Do not keep driving with a flashing warning light, severe shaking, strong fuel smell, loud compression leak, or major power loss. Continued operation can damage the catalytic converter or engine.
[Amazon Products Picked for You]

【Diagnose Check Engine Light in Seconds – No Mechanic Needed】The FOXWELL NT301 OBD2 scanner instantly reads & clears engine fault codes (DTCs) with one click. Simply plug into the 16-pin DLC port, turn ignition on, and get accurate results within seconds—No prior car knowledge required. Save hundreds on dealership fees by knowing exactly what’s wrong before you visit a shop. The #1 choice car scanner for DIYers and car owners who want to take control of their vehicle’s health
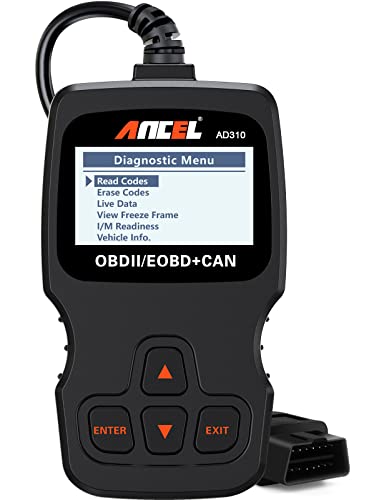
CEL Doctor: The ANCEL AD310 is one of the best-selling OBD II scanners on the market and is recommended by Scotty Kilmer, a YouTuber and auto mechanic. It can easily determine the cause of the check engine light coming on. After repairing the vehicle's problems, it can quickly read and clear diagnostic trouble codes of emission system, read live data & hard memory data, view freeze frame, I/M monitor readiness and collect vehicle information

Multi-Functions - Practical Multi-Functions OBD2 code reader features built-in OBD2 DTC lookup library, which help you to determine the cause of the engine light, read code, erase code, view freeze frame, I/M ready, vehicle information, data flow, real-time curve, get vehicle speed information, calculate load value, engine coolant temperature, get engine speed.
Common Spark Plug Replacement Mistakes
- Buying plugs by engine size alone: Confirm the VIN, engine code, market, and exact application.
- Using one torque value for every Camry: Check the Toyota specification for your engine.
- Working on a warm or hot cylinder head: Let the engine become cold to reduce burn and thread-damage risks.
- Opening a dirty or wet plug well: Remove debris and liquid before loosening the plug.
- Using an impact wrench: Use controlled hand tools and keep the socket aligned.
- Starting the plug with a ratchet: Thread it several complete turns by hand first.
- Dropping the new plug into the well: Lower it with a retaining spark-plug socket.
- Reusing a visibly damaged plug: Replace a plug with cracked porcelain, damaged threads, or a bent electrode.
- Applying anti-seize automatically: Many modern plated plugs are designed for dry installation.
- Using too much dielectric grease: Apply only a thin film in the area approved by the product and service instructions.
- Using the wrong gap tool: Follow the instructions for the exact plug and never pry against a fine-wire center electrode.
- Forcing a seized plug: Stop before damaging the shell or cylinder-head threads.
- Leaving a coil connector loose: Check every lock before reinstalling the cover.
- Leaving an intake port uncovered: Protect every opening immediately during V6 intake work.
- Ignoring abnormal removed plugs: Oil, fuel, overheating, or uneven deposits may reveal a larger engine problem.
- Replacing only one scheduled plug: Replace the complete matched set unless you are performing a specific diagnostic repair.
- Clearing codes before recording them: Save codes and freeze-frame data first.
When Should You Use a Professional?
Professional service is the safer choice when the rear cylinder bank requires intake-manifold removal beyond your experience, the procedure approaches hybrid high-voltage equipment, a plug is seized or broken, threads appear damaged, oil repeatedly fills the wells, an object may have entered an intake port or cylinder, or the engine continues to misfire after reassembly.
Toyota’s current maintenance guide recommends that a qualified technician perform spark-plug replacement. Even when you choose to do the work yourself, obtain the same model-specific repair information and stop when the job exceeds your tools, access, or experience.
Related Guides
Frequently Asked Questions
What tool do I need to change spark plugs on a Toyota?
You normally need a ratchet, extensions, the correct spark-plug socket, the correct ignition-coil bolt socket, a calibrated torque wrench, and a safe way to remove debris from the plug wells. An OBD-II scan tool, flashlight, inspection mirror, and plug-maker-approved gap gauge are also useful. Exact sizes depend on the model and engine.
What size spark-plug socket does a Toyota Camry use?
The size varies by model year, engine, and plug design. A 5/8-inch socket is approximately the same nominal size as 16 mm, but some Camry applications use a smaller thin-wall socket. Match the socket to the exact replacement plug and confirm that it fits inside the plug well before beginning.
What tools do you need to change spark plugs in a 2014 Toyota Camry?
You need a ratchet, extensions, a socket for the ignition-coil bolts, a spark-plug socket matched to the correct plugs, a torque wrench, and compressed air or a vacuum. Confirm the engine because a 2014 inline-four and V6 do not have the same access procedure.
How many spark plugs does a Toyota Camry have?
A four-cylinder Toyota Camry uses four spark plugs, while a V6 Camry uses six—one plug per cylinder. The 2025 and 2026 U.S. Camry lineup is hybrid-only with a four-cylinder engine, but older Camrys included several different four-cylinder and V6 engines, so confirm the engine before ordering parts.
Do you need special tools to replace spark plugs?
An accessible inline-four Camry usually does not require dealer-only tools, but it does require the correct spark-plug socket and an accurate torque wrench. V6 access, intake removal, seized plugs, broken shells, or damaged threads may require additional equipment and professional experience.
How often should Toyota Camry spark plugs be replaced?
Follow the maintenance guide for your exact model year, engine, and market. Toyota’s 2026 U.S. Camry guide lists replacement at 120,000 miles. The 2014 U.S. guide also lists 120,000 miles, with 150,000 miles for corresponding PZEV vehicles.
Do new iridium spark plugs need to be gapped?
Many fine-wire iridium plugs arrive with a preset gap. Verify the gap against the vehicle specification using the method approved by the exact plug manufacturer. Do not wedge a tool between the electrodes or press against the fine-wire center electrode. Adjust only the ground electrode when the instructions permit it.
Should you use anti-seize on Toyota Camry spark plugs?
Do not apply anti-seize automatically. Many modern plated plugs, including the NGK plugs covered by NGK’s published guidance, are intended for dry installation. Lubricating the threads changes friction and can lead to excessive clamping force. Follow Toyota’s procedure and the instructions supplied with the exact plug.
Can you change Toyota Camry spark plugs when the engine is warm?
Wait until the engine and cylinder head are cold. This reduces burn risk and avoids working with expanded aluminum threads. Do not rush the job by removing plugs immediately after driving.
What does oil in a Toyota Camry spark-plug well mean?
Oil outside the plug commonly points to a leak around the valve-cover gasket or plug-tube seal. Remove the oil before opening the cylinder, inspect the coil boot and terminal, and repair the leak rather than installing a new plug into a contaminated well.
Should you disconnect the battery before changing Camry spark plugs?
Do not apply one battery-disconnection rule to every Camry. Switch the ignition off, keep the smart key away, and follow the exact Toyota repair procedure for your model. Never disconnect, touch, or service orange hybrid high-voltage components.
Conclusion
Replacing Toyota Camry spark plugs safely depends more on correct preparation than force. Confirm the VIN, engine, plug application, access procedure, gap instructions, and torque specification. Work on a cold and clean cylinder head, protect every opening, start each plug by hand, and tighten it with an accurate torque wrench.
Do not rely on a universal 18 lb-ft value, an estimated extra turn, automatic anti-seize use, or generic socket advice. Recheck every coil connector, hose, intake seal, and fastener before starting the engine. Stop immediately if you notice a flashing check-engine light, severe misfire, fuel smell, compression leak, or abnormal intake noise.
After a successful test, record the service date, mileage, and exact spark-plug part number. That gives you a reliable reference for the next service interval and helps future diagnosis.
Sources
- Toyota Technical Information System — official Toyota repair manuals and model-specific service specifications.
- 2026 Toyota Camry Warranty & Maintenance Guide — current U.S. replacement interval, original plug-type guidance, qualified-service recommendation, and hybrid safety precautions.
- 2014 Toyota Camry Warranty & Maintenance Guide — 2014 replacement interval and corresponding PZEV exception.
- NGK: 5 Things You Should Know About Spark Plugs — dry installation, anti-seize precautions, fine-wire gap handling, and torque principles.
- DENSO Spark Plug Installation — preset-gap precautions, electrode protection, torque guidance, and installation methods.
- Permatex Dielectric Tune-Up Grease Instructions — placement and purpose of dielectric grease on spark-plug boots and ceramic insulators.
