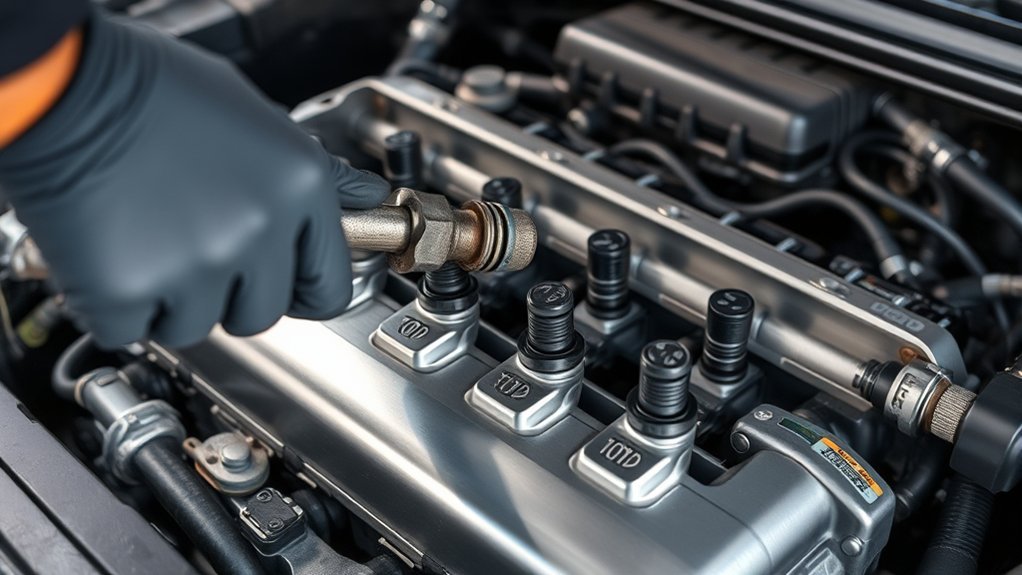
Replacing ignition coils on a Toyota Camry can be a manageable DIY repair when the engine uses accessible coil-on-plug units, but the correct procedure depends on the model year, engine, ignition layout, and market. Confirm the failed cylinder before buying parts, match the replacement coil to the full VIN, and use Toyota service information for access steps and torque specifications.
Quick Answer
For a coil-on-plug Toyota Camry, switch the vehicle fully off, let the engine cool, remove the engine cover, disconnect the confirmed faulty coil, remove its retaining fastener, and lift it from the spark plug well. Install the VIN-matched coil, torque the fastener to Toyota’s model-specific specification, reconnect it, and verify the repair with a scan tool.
Key Takeaways
- A cylinder-misfire code identifies where a misfire was detected; it does not prove the ignition coil is the cause.
- These general steps apply to accessible coil-on-plug systems. Some older Camrys use a different coil, coil-pack, distributor, or spark-plug-wire layout.
- Use a full-VIN parts lookup and Toyota’s model-specific repair information for fastener locations, access procedures, and torque values.
- Repair oil, coolant, water, wiring, connector, or spark-plug problems before installing a replacement coil.
- Replace one confirmed failed coil when the others test correctly; replacing the full set is a condition- and labor-based decision.
At a Glance
| Time Required | About 30–90 minutes for an accessible coil-on-plug repair; longer when other components must be removed |
| Difficulty | Easy to moderate when the coil is directly accessible; advanced when intake or hybrid-related access work is required |
| Tools Needed | Metric socket set, ratchet, extension, low-range torque wrench, OBD-II scan tool, clean cloth, and optional dielectric grease |
| Cost | Varies by model year, engine, coil brand, local labor rate, and the number of coils or spark plugs replaced |
Warning: Work only with the engine cool and the vehicle fully off. On a Camry Hybrid, confirm the READY indicator is off, keep the smart key away from the vehicle, and do not touch orange high-voltage cables or components. If the check-engine light is flashing or the engine is shaking severely, shut the engine off and arrange diagnosis rather than continuing to drive.
Confirm the Ignition System and Failed Cylinder
Before removing anything, identify the Camry by model year, engine, and VIN. Most later gasoline and hybrid Camrys use individual coils mounted over the spark plugs, but some older engines use paired coils, remote coil packs, a distributor, or spark plug wires. The removal steps below are for an accessible coil-on-plug design. Use Toyota’s Technical Information System or the correct service manual when your engine layout differs.
A rough idle, hesitation, hard starting, reduced power, poor acceleration, or a check-engine light can point to an ignition problem, but none of those symptoms proves that a coil has failed. Read stored, pending, and current diagnostic trouble codes before buying parts. Codes such as P0301 or P0302 identify the cylinder where a misfire was detected; they do not identify the failed component by themselves.
A cylinder-specific misfire can also come from a worn or damaged spark plug, loose terminal, broken connector, injector problem, intake-air leak, oil or water in the spark plug well, low compression, or a wiring fault. Inspect the related parts together so you do not replace a good coil.
- Check the coil connector and nearby wiring for broken locks, corrosion, heat damage, chafing, or stretched wires.
- Inspect the spark plug well for oil, coolant, standing water, or debris before removing the coil.
- Review the spark plug condition and service history, especially when the plugs are overdue or the gap may be excessive.
- Record all diagnostic codes and freeze-frame information before clearing anything.
- Follow the Toyota diagnostic procedure when the code is random, affects multiple cylinders, or returns after a coil replacement.
Optional Coil-Swap Test
When identical coils are easy to reach, a coil-swap test can help confirm the fault. Record the original codes, move the suspected coil to another cylinder, place the known coil in the original position, reconnect both coils, and run the engine only as needed to retest. If the misfire follows the moved coil, the coil is likely faulty. If it remains on the original cylinder, inspect the spark plug, injector, wiring, air leak, and compression instead.
Do not use a swap test when the engine is misfiring violently, fuel odor is strong, connectors are brittle, coils are not interchangeable, or the factory procedure calls for a different test. A flashing malfunction indicator light requires immediate attention because continued operation can overheat the catalytic converter.
Tools and Parts Needed for Coil Replacement
Gather the correct parts and tools before opening the engine bay. Coil count, socket size, access method, spark plug specification, and tightening torque vary across Camry generations and engines.
The most reliable repair starts with a confirmed diagnosis, a VIN-matched coil, a clean and dry spark plug well, and the exact factory torque specification.
- One or more ignition coils matched to the full VIN and engine
- Correct spark plugs when inspection or service history shows replacement is due
- Metric socket set, ratchet, and suitable extensions
- Inch-pound or low-range torque wrench suitable for small fasteners
- OBD-II scan tool capable of reading current and pending codes
- Clean cloth, soft brush, or vacuum for debris removal
- Dielectric grease approved for spark plug boots, used only as directed
- Safety glasses, gloves, magnetic tray, and cylinder labels
Use the full VIN in Toyota’s official parts catalog to confirm fitment. Before starting, review the correct Toyota manuals and maintenance documents. Repair-manual instructions and torque values are available through Toyota TIS or another qualified source that identifies the exact engine.
Step 1: Prepare the Camry and Remove the Engine Cover

Park on a level surface, set the parking brake, switch the vehicle fully off, and keep the key or smart key away from the car. Let the engine cool before touching the coils, connectors, spark plug wells, or cylinder head.
Do not disconnect the 12-volt battery automatically. Follow the model-specific procedure if Toyota service information calls for disconnection because removing battery power can erase learned settings and diagnostic information. When disconnection is required, remove the negative terminal first and secure it away from the battery post.
Remove the engine cover if fitted. Some covers pull upward from rubber grommets, while others use clips, pins, nuts, or bolts. Release each fastener according to its design and lift the cover without forcing it.
Before opening a spark plug well, remove loose sand, leaves, and grit with a vacuum, soft brush, or controlled low-pressure air. Keep debris from falling into the well or around the spark plug threads.
Pro Tip: Photograph connector and harness routing, then label each coil by cylinder before removal. This makes reassembly easier and preserves a clear record when you perform a coil-swap test.
Step 2: Disconnect and Remove the Old Ignition Coils
Work on one coil at a time unless the repair procedure requires wider disassembly. This reduces the chance of mixing connectors, bolts, brackets, or cylinder positions.
Gather the Correct Tools
Set out the appropriate socket, ratchet, extension, torque wrench, clean cloth, scan tool, and a safe container for small fasteners. A small metric socket is common for coil fasteners, but do not assume one socket size or torque value applies to every Camry engine.
Wear safety glasses and gloves. Do not use a screwdriver as a pry bar around aged plastic connectors because the lock or harness can crack.
Disconnect the Electrical Connectors
Press the locking tab and pull on the connector body, not the wires. Support the connector while releasing a stiff lock. Stop if the plastic begins to split, and repair a damaged connector or pigtail before reassembly.
Inspect the connector, terminals, coil body, and rubber boot. A loose terminal, torn boot, carbon track, oil contamination, moisture, or corrosion can cause the misfire to return even after a new coil is installed.
| Check | What to Look For | Recommended Action |
|---|---|---|
| Connector lock | Cracks, missing tab, or loose fit | Repair the connector or pigtail before reassembly |
| Wiring and terminals | Chafing, stretched wires, corrosion, pushed-back terminals, or heat damage | Repair damaged wiring or terminals using an approved method |
| Coil boot | Tears, swelling, burn marks, or carbon tracks | Replace the damaged coil or serviceable boot as applicable |
| Spark plug well | Oil, coolant, standing water, rust, or debris | Correct the leak or contamination before installing the coil |
| Spark plug | Excessive wear, cracked insulator, deposits, wrong part, or incorrect gap | Install the correct plug and use the model-specific gap or pre-gap requirement |
Remove the Retaining Fasteners and Coils
Remove the coil retaining bolt with the correct socket and place it in a tray. Note any harness clip, ground eyelet, or bracket retained by the same fastener.
Grip the coil body, twist it gently to release the boot’s seal, and pull the coil straight upward. Avoid excessive side force because it can tear the boot, crack the connector, or damage the spark plug porcelain.
If the coil does not release, stop and check for a hidden fastener, bracket, or engine-specific access step. Repeat the process only for coils that testing or inspection has identified for replacement.
Step 3: Install the New Ignition Coils
Compare each old and new coil before installation. The electrical connector, mounting ear, body shape, boot length, and application must match. Similar-looking coils are not automatically interchangeable.
Make sure the spark plug well is clean and dry. Correct the source of oil, coolant, or water before installing the new coil. An oil-soaked or moisture-contaminated boot can misfire and shorten replacement-part life.
If both the grease manufacturer and Toyota service procedure allow it, apply only a thin film of dielectric grease inside the rubber boot opening or on the spark plug’s ceramic insulator. Do not pack the boot, heavily coat the metal spark plug terminal, or fill the coil’s electrical connector. Permatex’s instructions specify a thin layer on the inside of the boot and the ceramic portion of the spark plug.
Slide the coil straight over the spark plug until the boot is fully seated. Hand-start the retaining fastener to prevent cross-threading, then tighten it with a suitable torque wrench to the specification for the exact Camry engine. Do not guess or overtighten a small fastener threaded into an aluminum component.
Reconnect the electrical connector until its lock engages. Gently tug the connector body to confirm it is secure, then repeat the process for the remaining confirmed coils.
Step 4: Reinstall the Engine Cover and Test the Repair
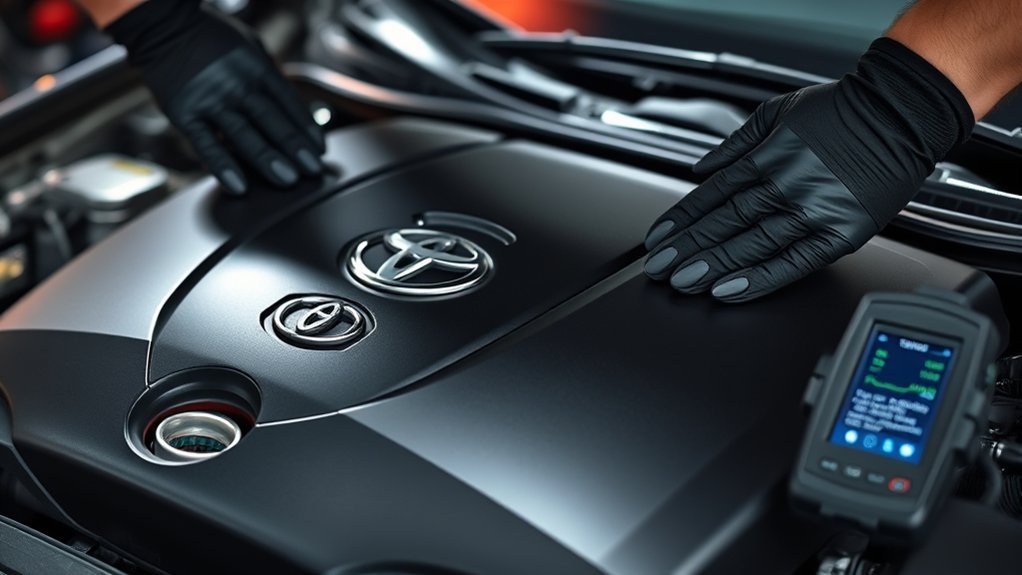
Reinstall every harness clip, bracket, ground eyelet, and engine-cover fastener in its original position. Align the cover with its grommets or fasteners and secure it according to the design. A cover that is not seated correctly can rattle or rub nearby components.
Reconnect the negative battery terminal if it was removed and the model-specific procedure permits normal reconnection. Check the engine bay carefully for tools, rags, labels, loose fasteners, and disconnected hoses or plugs.
- Start the engine and listen for a smooth, steady idle.
- Watch for warning lights, fuel odor, arcing sounds, smoke, or severe vibration.
- Use a scan tool to review current, pending, and cylinder-specific misfire data.
- Clear repair-related codes with the scan tool only after recording the original information.
- Complete a short, cautious test drive when the engine runs normally, then rescan for returning codes.
If the engine shakes badly, the check-engine light flashes, a strong fuel smell appears, or power is severely reduced, switch the engine off and diagnose the problem before driving farther.
Troubleshooting After Replacement
| Problem | Likely Checks |
|---|---|
| The same misfire returns | Spark plug, connector terminals, injector, intake leak, compression, oil or water in the well, and part fitment |
| A new misfire appears | Connector routing, loose plug, damaged wire, wrong coil, mixed cylinder positions, or a coil not fully seated |
| The engine will not start | 12-volt battery connection, unplugged shared connector, disturbed ground, blown fuse, or another disconnected component |
| Oil returns to the plug well | Valve-cover gasket or spark plug tube seal, depending on the engine design |
| The light remains on but the engine runs normally | Stored or pending codes, incomplete self-tests, another unrelated fault, or a repair that has not yet been verified |
Common Ignition Coil Replacement Mistakes
- Replacing a coil from the code alone: A misfire code identifies a cylinder, not the failed part. Test the coil and inspect the plug, wiring, injector, and compression.
- Buying by appearance: Connector shape and boot length can look similar across engines. Confirm the application with the VIN.
- Ignoring fluid in the plug well: A new coil will not correct a valve-cover or tube-seal leak.
- Pulling on connector wires: This can loosen terminals inside the connector and create an intermittent fault.
- Using too much dielectric grease: A thin film is enough when permitted; the boot and connector should not be packed with grease.
- Guessing the torque: Small coil fasteners can strip threads or crack a mounting ear when overtightened.
- Clearing codes before recording them: Save the codes and freeze-frame data first because they can guide diagnosis if the fault returns.
Should You Replace One Ignition Coil or All of Them?
You can replace one ignition coil when testing confirms a single failure and the other coils are operating correctly. Coil-on-plug systems allow individual service, so replacing every coil is not automatically required.
A full set may make sense when several coils have failed, the remaining coils are the same age and show cracked boots or heat damage, access requires substantial repeated labor, or the factory procedure recommends broader replacement. Base the decision on diagnosis, condition, access, parts quality, and budget rather than a universal mileage rule.
Toyota Camry ignition coils do not share one fixed replacement interval across every model year and engine. Replace a coil when diagnosis identifies a fault, inspection shows damage, or model-specific service information directs replacement. New coils can restore performance lost to a failed coil, but healthy replacement coils do not create extra power or guaranteed fuel-economy gains.
Note: A worn, damaged, incorrect, or excessively gapped spark plug can increase the voltage demand on its ignition coil. Inspect the plug whenever a coil fails, especially when the service history is unknown.
Related Guides
Frequently Asked Questions
Can you replace Toyota Camry ignition coils yourself?
Yes, many accessible coil-on-plug replacements are suitable for a careful DIYer with basic hand tools, a low-range torque wrench, and a scan tool. Seek professional help when the ignition layout is unfamiliar, intake parts block access, connectors are damaged, diagnosis is uncertain, or hybrid high-voltage equipment is nearby.
How much does Toyota Camry ignition coil replacement cost?
Cost depends on the model year, engine, coil brand, local labor rate, access time, and the number of coils or spark plugs replaced. Confirm the exact part by VIN and request a written estimate rather than relying on one platform-wide price.
How long do Toyota Camry ignition coils last?
There is no single lifespan for every Camry coil. Heat, vibration, moisture, oil contamination, worn spark plugs, electrical faults, and part quality affect service life. Replace a coil based on diagnosis, condition, and model-specific guidance rather than mileage alone.
What are common signs of a bad ignition coil?
Possible signs include rough idle, hesitation, loss of power, hard starting, poor acceleration, and a check-engine light with misfire data. These symptoms have other possible causes, so scan the vehicle and test the affected cylinder before replacing parts.
Do you need to replace all ignition coils at once?
No. Replace one confirmed failed coil when the others test correctly. Consider replacing more when several coils are failing, the remaining units show similar deterioration, access is unusually labor-intensive, or Toyota’s model-specific procedure supports broader replacement.
Where should dielectric grease go on an ignition coil?
When the product and service instructions permit it, apply only a thin film inside the rubber boot opening or on the spark plug’s ceramic insulator. Do not pack the boot, heavily coat the metal terminal, or fill the electrical connector.
Why is the check-engine light still on after replacing a coil?
The original code may still be stored, the vehicle may not have completed its self-checks, or another fault may remain. Record and clear repair-related codes with a scan tool, then rescan after a normal test drive. If the light returns, continue diagnosis instead of replacing more coils without testing.
Can you drive a Toyota Camry with a bad ignition coil?
Driving is not recommended when the engine is misfiring. A flashing check-engine light, severe shaking, strong fuel odor, overheating, or major power loss means you should stop and arrange service. Even a mild misfire can worsen, increase emissions, and damage the catalytic converter.
Do you have to disconnect the battery to replace a Camry ignition coil?
Not on every Camry. Switch the vehicle fully off and follow Toyota’s model-specific procedure. Disconnect the 12-volt battery only when the service information calls for it, and remember that battery disconnection can erase settings and useful diagnostic data.
Conclusion
Replacing a Toyota Camry ignition coil is usually straightforward after you identify the exact engine, confirm that it uses an accessible coil-on-plug layout, and diagnose the affected cylinder correctly. Work with the vehicle fully off, keep debris and fluid out of the spark plug wells, use VIN-matched parts, and tighten every fastener to Toyota’s model-specific specification.
Do not replace every coil automatically or assume that a misfire code proves a coil has failed. Inspect the spark plug, boot, connector, wiring, injector-related symptoms, and plug well, then verify the repair with a scan tool. Careful diagnosis prevents repeat failures and makes the repair safer and more reliable.
Sources
- Toyota Technical Information System — factory repair manuals, wiring diagrams, diagnostic information, owner manuals, and hybrid emergency-response documents
- Toyota Manuals and Warranties — model- and VIN-based owner, warranty, and maintenance information
- Toyota Genuine Parts Official Store — full-VIN vehicle selection and parts-fitment lookup
- Permatex Dielectric Tune-Up Grease Instructions — application guidance for spark plug boots and ceramic insulators
