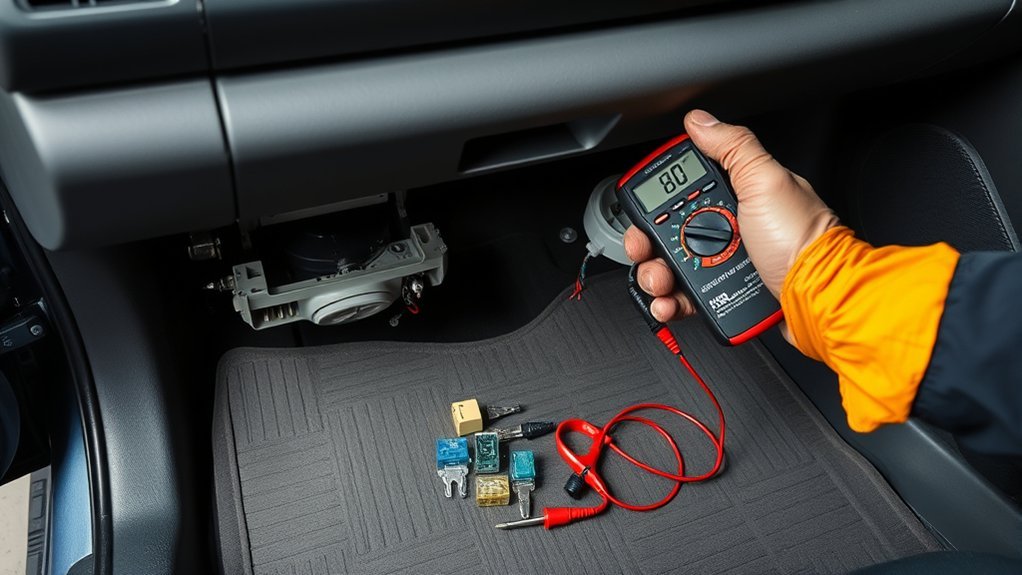
If your Toyota Camry’s cabin fan is not moving air, the blower motor itself is only one possible cause. A blown fuse, damaged connector, failed relay, resistor pack, electronic blower controller, blocked cabin filter, debris in the fan, or an HVAC control fault can produce similar symptoms. The correct test sequence depends on the Camry’s model year, trim, powertrain, and climate-control system.
Quick Answer
When a Toyota Camry blower motor is not working, first confirm that there is no airflow rather than air that simply is not cold. Then check the model-specific fuse, cabin filter, blower connector, power, ground, speed controller, and motor. Do not replace the motor until testing identifies the failed part.
Key Takeaways
- No airflow is different from normal airflow that is not cold or hot; the second condition is usually not a blower-motor problem.
- Do not assume every Camry uses the same fuse label or a traditional blower resistor. Use the exact year and VIN information.
- A blower that works only on high, operates intermittently, makes grinding noises, or continues running after shutdown provides useful diagnostic clues.
- Test the circuit under load before buying parts. A loose or overheated connector can show voltage with the blower disconnected but fail when current flows.
- Replace damaged terminals and diagnose the cause of overheating instead of coating a poor connection with grease.
At a Glance
| Time Required | About 15–30 minutes for basic checks; longer for electrical diagnosis or component removal |
| Difficulty | Beginner for filter and fuse checks; intermediate to advanced for loaded electrical testing |
| Tools Needed | Flashlight, fuse puller, trim tool, digital multimeter, and the exact wiring diagram; a fused jumper only for qualified direct testing |
| Cost | Visual checks may cost nothing; parts and labor vary widely by model year, climate-control system, part quality, and local labor rates |
Warning: Never install a higher-amperage fuse, probe yellow SRS connectors, or apply unfused battery power to an unidentified terminal. Stop testing if you find smoke, a burning odor, melted plastic, a hot connector, or a fuse that blows again after one same-rated replacement.
Step-by-Step Troubleshooting for Your Blower Motor Issues
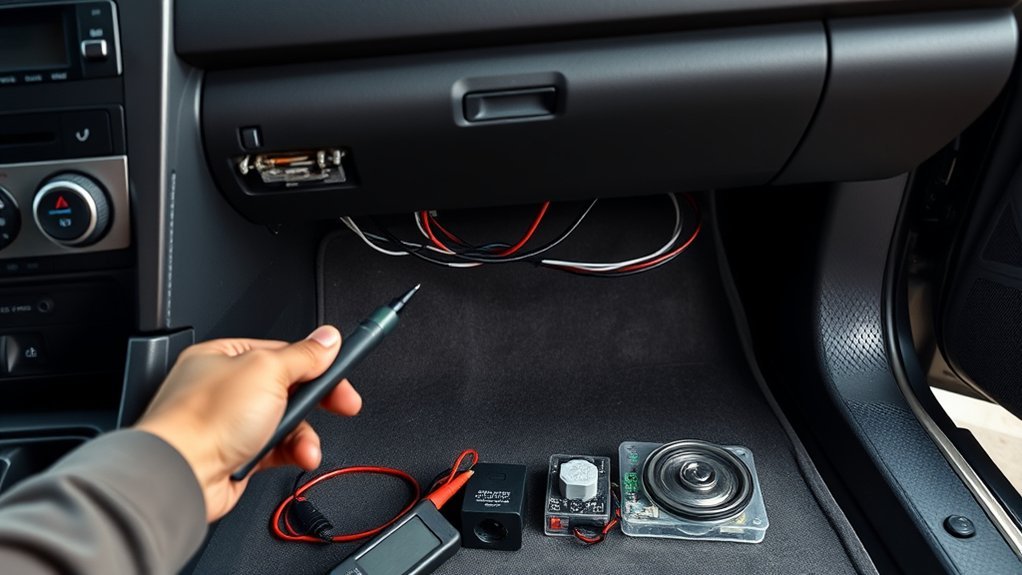
Use a logical test sequence instead of replacing the blower motor first. Toyota Camry HVAC circuits differ across generations, so consult the Toyota owner’s manual and maintenance guide for the exact fuse information and Toyota Technical Information System for repair procedures, connector pinouts, wiring diagrams, and specifications.
- Define the symptom. Turn the fan through every speed. Determine whether there is no airflow, weak airflow, intermittent airflow, airflow only on certain speeds, or normal airflow that is not cold or hot.
- Confirm the HVAC settings. Try manual fan control rather than relying only on AUTO mode. Change the outlet mode and switch between fresh and recirculated air. A mode-door problem can send air somewhere other than the selected vents.
- Inspect the cabin filter and intake. A heavily restricted filter, leaves, nesting material, or an obstructed fresh-air intake can reduce airflow and make the fan sound strained. Replace the filter when dirty or restricted according to the exact maintenance guide.
- Check the correct fuse and relay information. Use the fuse-box cover and model-specific manual rather than assuming the circuit is always labeled “AC-B.” Replace a blown fuse only with the same amperage. If it blows again, stop and diagnose the short or excessive-current condition.
- Listen at the passenger-side lower dashboard. On many Camrys, the blower assembly is behind or below the glove-box area. A hum with little airflow can indicate a jammed wheel or obstruction. Ticking, scraping, or grinding can indicate debris, a loose wheel, worn bearings, or internal motor wear.
- Inspect the connector and harness. Look for loose terminals, corrosion, discoloration, spread terminal tension, melted plastic, or previous repairs. A damaged connector must be repaired correctly; grease cannot restore a burned or loose terminal.
- Test power, ground, and the control circuit. With the blower commanded on and the circuit connected, measure the supply and ground sides according to the wiring diagram. A voltage-drop test under load can expose resistance that an unloaded voltage or continuity check misses.
- Direct-test the motor only when appropriate. Disconnect the motor from the vehicle circuit, confirm its terminal identification and polarity, and use a properly fused jumper. Skip this test if you do not have the diagram, suitable equipment, or electrical experience.
The fastest reliable diagnosis is not “replace the resistor first.” It is to identify the symptom, confirm the exact circuit design, and test power, ground, control, and motor operation in order.
Pro Tip: Record which fan speeds work before disconnecting anything. “Only high works,” “only low speeds work,” and “none work” can lead to different parts of the circuit.
Common Causes of Blower Motor Failure
A failed blower motor is possible, but the same complaint can originate in the power supply, ground, speed-control device, connector, HVAC controls, or airflow path. Diagnose the complete circuit before ordering parts.
Worn Motor Brushes
Traditional brushed blower motors can develop worn brushes, commutator wear, bearing wear, or an internal open circuit. The motor may stop at certain rotor positions and begin working again after a bump or light tap.
A temporary response to tapping is a diagnostic clue, not a repair. If the motor receives the correct power and ground but remains intermittent, binds, makes bearing noise, or fails a properly fused direct test, replacement is usually more practical than attempting to rebuild the motor.
Faulty Electrical Connections
Loose, corroded, overheated, or damaged terminals can restrict current and cause slow, intermittent, or completely absent blower operation. The connector may look acceptable while unloaded but develop a large voltage drop when the motor is drawing current.
Heat discoloration or melted plastic requires more than cleaning. Replace the damaged terminal or connector using a correct repair method, then check the motor and circuit for the excessive resistance or current that created the heat.
After the metal terminals are clean, tight, and undamaged, a small amount of compatible dielectric grease may help protect the connection from moisture and contamination. Follow the product directions and maintain direct metal-to-metal terminal contact, as described by Permatex.
Blown Fuse or Relay Problem
A fuse may open because of a shorted wire, jammed motor, damaged connector, failing motor that draws excessive current, or another fault on the protected circuit. Replacing the fuse repeatedly does not fix the cause and can increase the risk of wiring damage.
Some Camrys use a removable relay for part of the blower circuit, while other switching functions may be integrated into a junction block or control module. Test only the relay or circuit identified in the exact wiring diagram. Do not swap unrelated relays merely because their cases look similar.
Failed Resistor or Electronic Blower Controller
Older or manually controlled systems may use a resistor pack to create lower fan speeds. Other systems, especially those with automatic climate control, may use an electronic power transistor or blower motor controller.
A failed resistor pack often affects one or more speeds while leaving another speed available. An electronic controller can cause no operation, incorrect speed, intermittent speed, or a blower that continues running after the vehicle is shut down. These devices require different tests and should not be treated as interchangeable.
Restricted Filter, Debris, or Blower-Wheel Damage
A clogged cabin filter normally reduces airflow rather than causing a complete electrical failure. Leaves or other debris can contact the fan wheel and create ticking or scraping noises. A cracked, loose, or distorted wheel can vibrate and reduce output even when the motor is turning.
If water has entered the blower housing, inspect the source before replacing electrical parts. Water can damage the motor, connector, controller, or nearby wiring and may cause the replacement part to fail again.
HVAC Control or Network Fault
The fan command may come from the HVAC control panel or an electronic climate-control module. A missing command, damaged control wire, communication fault, or module problem can prevent a good motor and controller from operating.
On vehicles with electronic climate control, a capable scan tool may reveal HVAC diagnostic trouble codes or allow an active test of the blower command. Toyota’s repair information identifies the appropriate diagnostic procedure for each model.
Signs Your Blower Motor Needs Attention
The symptom pattern helps narrow the fault, but it does not prove that a particular part has failed. Use the following signs to choose the next test.
No Airflow From the Vents
First listen for the fan. If the blower is silent at every speed, check the power supply, fuse, relay or switching circuit, connector, controller, ground, and motor. If the blower can be heard but little or no air reaches the vents, inspect the filter, blower wheel, ducting, intake, and air-distribution doors.
| Observation | Best Next Check |
|---|---|
| Silent on every speed | Fuse, power, ground, controller command, connector, and motor |
| Motor sound but weak airflow | Cabin filter, intake restriction, debris, blower wheel, and duct doors |
| Normal airflow but air is warm | A/C refrigeration or temperature-control diagnosis rather than blower replacement |
| Fuse blows again | Stop replacing fuses; inspect for a short, jammed motor, damaged wiring, or excessive current |
Intermittent Operation Issues
A blower that cuts in and out can have worn motor brushes, a loose connector, an overheated terminal, a failing controller, a damaged wire, or an intermittent HVAC command. Jarring the dashboard or tapping the motor may temporarily change the symptom, but this only helps locate the area of the fault.
Move accessible non-SRS connectors gently while the circuit is operating and watch for a change. Do not tug wiring, pierce insulation unnecessarily, or manipulate yellow airbag connectors.
Unusual Noises From the Motor
Ticking commonly suggests leaves or small debris contacting the fan wheel. Scraping can indicate a shifted wheel or foreign object. Grinding, squealing, or a high-pitched bearing noise can indicate internal motor wear.
Shut the fan off if the wheel binds, the noise becomes severe, or a burning odor appears. Continued operation can increase current draw, overheat a connector, or damage the controller.
Blower Only Works on One Speed or on High
If the blower works on high but not on lower settings, a resistor pack, controller, thermal fuse, connector, or lower-speed circuit may be involved. Do not automatically replace the resistor: automatic climate-control systems may regulate speed electronically.
If only one low or middle speed works, check the exact circuit diagram and control output. An incorrect fan-speed command can mimic a failed speed controller.
Blower Keeps Running After the Vehicle Is Turned Off
A blower that continues running can discharge the 12-volt battery. Possible causes include a stuck relay, shorted electronic controller, wiring fault, or an incorrect command from the HVAC control system.
Use the exact fuse information to stop the battery drain only if this can be done safely, then diagnose the circuit. Do not assume that the motor itself is responsible merely because it continues to spin.
Blower Motor vs. Resistor, Controller, Relay, or Wiring
| Symptom | Possible Areas | Confirmation |
|---|---|---|
| No fan speeds work | Fuse, relay or switching circuit, power, ground, controller, motor, HVAC command | Loaded circuit and control-signal tests |
| Only high works | Resistor pack, electronic controller, connector, lower-speed circuit | Model-specific resistance, voltage, or control tests |
| Intermittent and responds to tapping | Motor brushes, connector, terminal tension, wiring | Verify power and ground during the failure |
| Runs after shutdown | Controller, relay, wiring, or HVAC command | Check whether the control signal remains present |
| Grinding or fan-wheel binding | Debris, wheel damage, motor bearings | Inspect the wheel and rotate it by hand with power disconnected |
| Connector is melted | Loose terminal, resistance, excessive motor current, or poor previous repair | Repair the connector and measure the operating circuit |
[Amazon Products Picked for You]

[Replaces Part Number:] 8713833060 9713833030 JA1334 3A1215 973-532 RU836 .Please Check the OEM Part Number and Make Sure Your Part Number Matches this Part Number Before Buying!
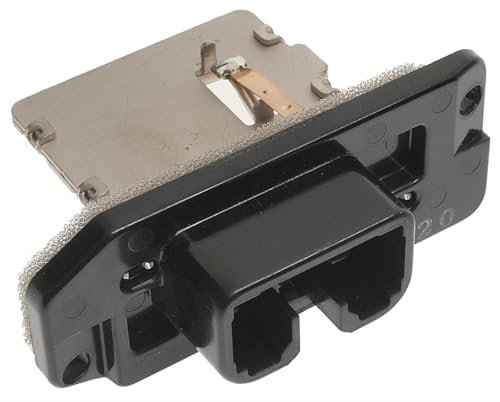
Professional, premium aftermarket replacement
Inspect and Test the Blower Motor Resistor or Controller
Identify the installed speed-control device before testing it. A wire-wound resistor pack and an electronic blower controller may occupy a similar location in the air duct, but their internal operation and test procedures are different.
- Turn the vehicle off and follow the exact battery-disconnection and initialization instructions in the repair manual before removing dashboard trim or working near SRS wiring.
- Locate the resistor or controller using the correct Camry repair information.
- Disconnect the connector and inspect both halves for heat damage, corrosion, loose pins, or backed-out terminals.
- For a resistor pack, measure only the terminal combinations and resistance ranges specified for that part. Also inspect any thermal fuse according to the service procedure.
- For an electronic controller, test its power, ground, blower output, and command or pulse-width-modulated control signal as specified. A generic continuity test is not conclusive.
- Reconnect the circuit and verify operation at every fan setting before reinstalling trim.
Note: An open reading between arbitrary controller terminals does not prove that an electronic module has failed. Use the correct pinout and test procedure.
When to Replace Your Blower Motor
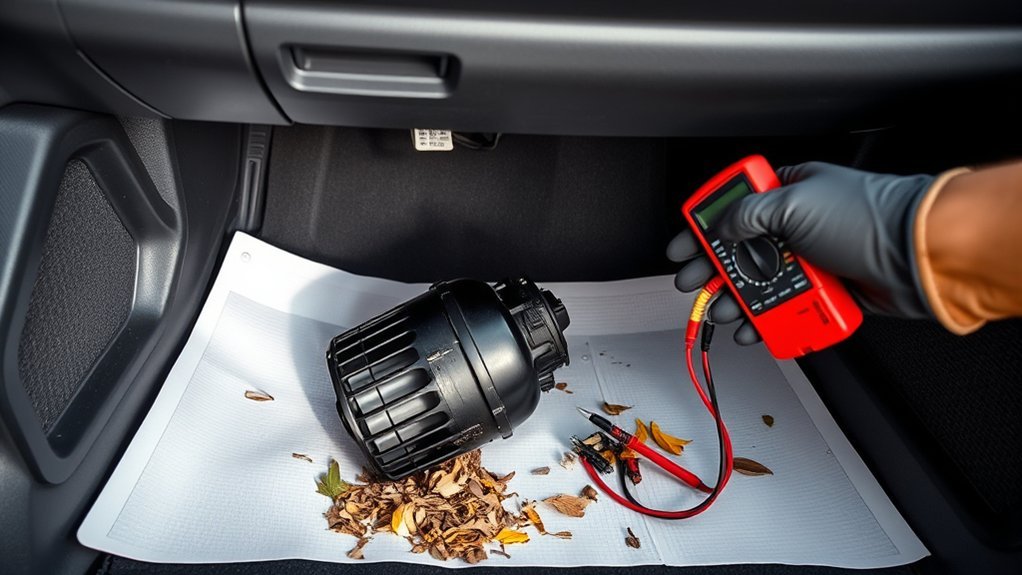
Replace the blower motor when testing shows that the surrounding circuit can supply the correct power and ground but the motor does not run correctly. Evidence can include:
- The motor fails a correctly performed fused direct test.
- The fan wheel binds even after debris is removed.
- The motor produces persistent grinding, bearing noise, or severe vibration.
- Operation remains intermittent while power and ground stay correct.
- The motor draws excessive current compared with the model-specific specification.
- The motor has contaminated or damaged internal components that cannot be serviced reliably.
Age and mileage can contribute to wear, but there is no universal mileage at which a Camry blower motor must be replaced. A high-mileage motor that operates quietly and passes its electrical tests does not need replacement solely because of the odometer reading.
If the connector is damaged, repair it at the same time and verify that the replacement motor does not create excessive current or heat.
[Amazon Products Picked for You]

Application For Toyota: Front HVAC Blower Motor compatible for 2010-2020 4Runner, 2005-2018 Avalon, 2007-2017 Camry, 2008-2019 Highlander, 2007-2020 Tundra, 2010-2016 Venza

Attention: This blower motor is a front blower motor. If you need a rear blower motor, then this product is not suitable for you

[Vehicle Fitment-1]: Compatible with Toyota 4Runner 2010-2023, Camry 2007-2017, Highlander 2008-2019, Tundra 2007-2021, Avalon 2005-2018, Venza 2009-2016
Find Affordable Replacement Options for Your Blower Motor
Blower motors, resistor packs, electronic controllers, connectors, and complete blower assemblies can differ even within the same model year. Match the part by VIN, production date, trim, climate-control type, and connector configuration instead of relying only on a generic “fits Camry” listing.
Compare the complete installed cost rather than the part price alone. Consider:
- Whether the listing includes only the motor or also includes the fan wheel.
- Whether a damaged connector or pigtail must be replaced.
- Warranty length and the process for returning a defective electrical part.
- Noise and fitment reports for the exact part number.
- Access difficulty and whether post-repair initialization is required.
- Whether the original failure was diagnosed well enough to protect the new component.
A low-priced motor is not a bargain if the real fault is a burned connector, failed controller, blocked wheel, or missing control signal.
A capable DIY owner may be able to replace an accessible blower motor with basic hand tools. Professional diagnosis is the safer choice when the fuse repeatedly opens, the connector is melted, the circuit uses an electronic command that cannot be measured with available tools, or dashboard and SRS components must be disturbed.
[Amazon Products Picked for You]

Attention: This blower motor is a front blower motor. If you need a rear blower motor, then this product is not suitable for you.

[Replaces Part Numbers] - 87103-06031, 87103-06030, 87103-08051, 87103-08050, 87103-06041, 87103-06040, TO3126111, 700054, PM9199

【Fitment】Fit For DODGE JOURNEY 2014-2020; For LEXUS ES300H 2013; For LEXUS ES350 2007-2013; For LEXUS GX460 2010-2019; For LEXUS RX350 2010-2012; For LEXUS RX450H 2010-2012; For TOYOTA 4RUNNER 2010-2020; For TOYOTA AVALON 2005-2018; For TOYOTA CAMRY 2007-2017; For TOYOTA HIGHLANDER 2008-2019; For TOYOTA TUNDRA 2007-2020; For TOYOTA VENZA 2010-2016
Preventive Maintenance Tips to Avoid Future Blower Issues
| Task | When to Do It | Why It Helps |
|---|---|---|
| Inspect or replace the cabin filter | At the interval in the exact maintenance guide, or sooner when dirty or airflow drops | Reduces restriction and debris entering the HVAC case |
| Keep the exterior air intake clear | After heavy leaf fall, storms, or debris accumulation | Helps prevent leaves and organic material from reaching the fan |
| Investigate new fan noises promptly | As soon as ticking, scraping, squealing, or grinding begins | A small obstruction may be removable before it damages the wheel or motor |
| Inspect a hot or discolored connector | Immediately | Prevents continued heating and possible harness damage |
| Check for water entry | Whenever the passenger footwell, filter, or blower housing is damp | Protects the motor, controller, connector, and nearby wiring |
Do not spray cleaners or lubricants into the blower motor unless the product and procedure are specifically approved for that component. Liquid can contaminate brushes, bearings, electronics, or the HVAC case.
Verify the Repair Before Reinstalling Everything
After repairing the circuit or installing a replacement part:
- Confirm that all connectors are fully seated and wiring is secured away from the fan wheel and sharp edges.
- Operate every fan speed and both manual and automatic controls, if equipped.
- Check fresh-air, recirculation, outlet-mode, heating, and cooling operation.
- Listen for rubbing, vibration, ticking, or bearing noise.
- Inspect the repaired connector for abnormal heat after the blower has run.
- Confirm that the blower turns off normally when commanded.
- Perform any battery-reconnection initialization or diagnostic-code check required by the exact Toyota repair procedure.
Before purchasing parts, it is also sensible to check the vehicle by VIN on the NHTSA recall website and through a Toyota dealer for applicable recalls or service campaigns.
Related Guides
Frequently Asked Questions
What can cause a Toyota Camry blower motor to stop working?
Possible causes include a blown fuse, shorted wiring, failed relay or switching circuit, poor power or ground connection, damaged connector, failed resistor pack or electronic controller, defective blower motor, missing HVAC command, or a fan wheel jammed by debris.
Why is my Toyota Camry A/C not blowing air?
If no air moves from any vent, diagnose the blower circuit and airflow path. If air moves normally but is not cold, the blower is operating and the problem is more likely in the A/C refrigeration, temperature-door, sensor, or control system.
How can I tell whether the blower motor or resistor is bad?
Check which speeds work, identify whether the vehicle uses a resistor pack or electronic controller, and test power, ground, command, and motor operation using the model-specific diagram. A motor that receives correct power and ground but does not run is suspect. Missing speeds with a good motor point toward the speed-control circuit.
Why does the Camry blower work only on high?
This pattern can indicate a failed resistor pack, thermal fuse, electronic controller, connector, or lower-speed circuit. The correct diagnosis depends on the year and climate-control design, so do not order a resistor until the installed system has been identified.
Why does the blower keep running after the car is turned off?
A stuck relay, shorted blower controller, wiring fault, or incorrect HVAC command may continue supplying the motor. Because the condition can drain the 12-volt battery, use the correct fuse information to stop the drain safely and have the circuit diagnosed.
Can a clogged cabin filter cause no airflow?
A severely clogged filter can greatly reduce airflow, but a completely silent fan at every setting usually requires electrical and motor checks as well. Remove and inspect the filter before assuming the blower motor has failed.
What is the most common problem with a Toyota Camry?
There is no single accurate answer for every Camry generation. Common concerns vary by model year, engine, hybrid configuration, equipment, mileage, and maintenance history. Check the exact vehicle’s service history, Toyota campaigns, and NHTSA recall information rather than assuming the blower motor is a common model-wide defect.
Conclusion
A Toyota Camry blower motor that does not work should be diagnosed as a complete system rather than treated as an automatic motor or resistor replacement. Begin by defining the airflow symptom, checking the filter and exact fuse information, inspecting the connector, and testing power, ground, and control under load. Replace parts only after the results identify the fault.
Stop DIY testing when a fuse repeatedly blows, wiring or connectors are melted, smoke or a burning odor appears, SRS components must be disturbed, or the electronic control signal cannot be tested safely. Model-specific Toyota service information is the most reliable guide for pinouts, specifications, removal procedures, and required initialization.
Sources
- Toyota Manuals and Warranties — model-specific owner’s manuals, fuse information, operating guidance, and maintenance publications
- Toyota Technical Information System — Toyota repair manuals, wiring diagrams, service bulletins, and diagnostic procedures
- National Highway Traffic Safety Administration Recall Lookup — VIN-based safety recall information
- Fluke: Diagnosing Automotive Voltage Drops — loaded-circuit testing for restricted wires and connections
- Permatex Dielectric Grease Instructions — connector protection and the need to maintain metal-to-metal contact
- Toyota Technical Service Bulletin T-SB-0031-16 — example Toyota SRS battery-disconnection wait and post-reconnection initialization precautions
