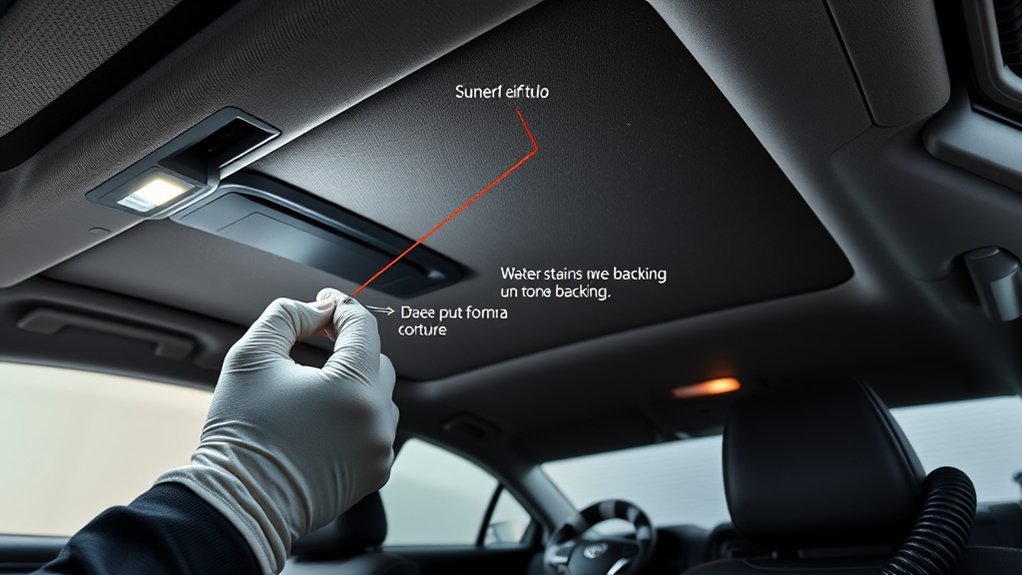
A Toyota Camry sunroof leak is best diagnosed by separating drainage problems from glass, weatherstrip, and nearby body leaks. Dry the cabin, then test one roof-tray corner at a time with a small amount of clean water. Slow or absent exterior drainage points toward a restriction, kink, or outlet problem, while water entering the headliner or a pillar during the test can indicate a loose, disconnected, or damaged drain hose. If the drains flow normally, inspect the glass position, weatherstrip, windshield, antenna, and roof seams. Toyota bulletin T-SB-0037-11 also documents loose or disconnected moon-roof drain hoses on certain 2007–2011 Camry and Camry HV vehicles produced before specified production-change VINs.
By: [VERIFY: add the real author or editorial team]
Last updated: September 19, 2026. This revision added Toyota T-SB-0037-11 applicability, a symptom-based diagnostic table, EPA moisture-control guidance, same-site topic differentiation, and schema/link-compliance fixes.
How this guide was checked: The diagnosis below was reviewed against Toyota owner and service information, Toyota technical bulletin T-SB-0037-11, NHTSA recall resources, and EPA moisture-control guidance. Drain routing, glass adjustment, roof design, trim removal, and repair procedures vary by model year, roof option, and VIN.
Quick Answer
Dry the cabin, park on level ground, and test one sunroof-tray corner at a time with a small amount of clean water. If water pools or does not appear beneath the car, a drain may be restricted, kinked, or blocked. If test water enters the headliner or pillar, a drain hose or connection may be loose or damaged. If all drains flow normally, check the weatherstrip, glass position, windshield, antenna, and roof seams. Do not use high-pressure air, metal wire, silicone, tape, or homemade rubber seals.
Key Takeaways
- A wet headliner does not automatically mean the outer sunroof seal has failed.
- Test the drains with a small, controlled amount of water rather than a pressurized hose.
- Toyota bulletin T-SB-0037-11 identifies loose or disconnected moon-roof drain hoses as a possible leak source on certain 2007–2011 Camry and Camry HV vehicles.
- Clear only debris you can reach safely from the open roof tray.
- Do not remove A-pillar or headliner trim without the correct repair procedure.
- Use a model-year-compatible weatherstrip instead of silicone, tape, or improvised rubber.
- Dry the carpet, padding, and headliner fully after stopping the leak.
At a Glance
| Time Required | Varies: basic inspection and controlled drain testing are relatively limited; trim access, glass adjustment, leak repair, and interior drying can take substantially longer |
| Difficulty | Easy for inspection and controlled testing; advanced if glass adjustment or trim removal is required |
| Tools Needed | Flashlight, microfiber cloths, absorbent towels, soft brush, plastic-safe cleaner, small cup or squeeze bottle, and painter’s tape for marking wet areas |
| Cost | Low for cleaning supplies; professional cost varies with drain-hose access, glass adjustment, weatherstrip replacement, and interior damage |
What Does the Leak Pattern Mean?
The leak pattern can narrow the diagnosis before you remove parts. Use the observations below as starting points rather than proof of a failed component.
| What You Observe | What to Check Next |
|---|---|
| Water pools in one tray corner or little/no water appears beneath the vehicle | Check that corner’s visible drain entrance for debris; a deeper restriction, kink, or outlet problem may require service |
| Water enters the headliner or pillar during a controlled corner test | Suspect a loose, disconnected, split, or otherwise damaged drain hose or connection |
| All tested drain areas flow outside, but the cabin still gets wet | Check glass position, weatherstrip condition, windshield bonding, antenna sealing, roof seams, and prior body repairs |
| Front carpet gets wet after A/C use while the headliner remains dry | Check the air-conditioning evaporator drain rather than assuming the sunroof is responsible |
Warning: Do not remove A-pillar, roof-console, or headliner trim unless you have the correct model-specific procedure. Curtain-airbag parts, wiring, lights, microphones, and roof controls may be behind these panels. Keep test water away from electrical equipment.
How to Identify Signs of a Leaky Sunroof
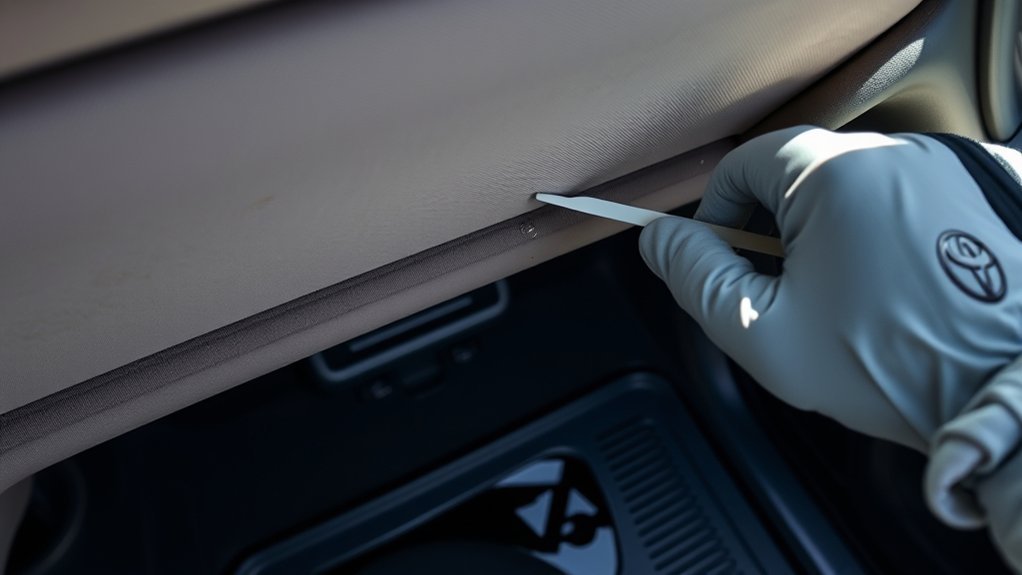
Check the cabin during or soon after rain, a car wash, or melting snow. Water can travel along the roof frame, wiring, or headliner before it becomes visible, so the wettest spot may not be directly below the entry point.
Common warning signs include:
- Damp spots or discoloration on the headliner
- Water near an A-pillar, B-pillar, overhead light, visor, or roof console
- Wet carpet or carpet padding near the front or rear footwells
- Drips that appear during turns, braking, or acceleration
- A musty odor after rain
- Fogging that returns after the windows have been dried
- Intermittent roof-control, light, microphone, or electrical problems
- Sloshing sounds near the roof or pillars
Open the roof and inspect the visible tray, tracks, glass edge, and weatherstrip. Look for leaves, pine needles, pollen, dirt, torn rubber, loose trim, or a section of glass that sits higher or lower than the surrounding roof.
Note: A water stain shows where water collected, not always where it entered. Mark the first wet area with painter’s tape and take photos during testing so you can trace the path.
Does Toyota Have a Camry Sunroof Leak TSB?
Yes. Toyota Technical Service Bulletin T-SB-0037-11, dated May 18, 2011, lists 2007–2011 Camry and Camry HV models in its applicability table. Toyota states that some vehicles may develop a headliner water leak, sometimes with a wet footwell, because one or more moon-roof drain hoses become loose or disconnected from the drain-pan nipple.
The model year alone does not prove that the bulletin applies to a specific car. Toyota limits the condition using production-change VINs, so the VIN and exact vehicle build must be checked against the bulletin. The repair procedure involves headliner removal, inspection of all four drain hoses, installation of retaining clamps where applicable, and a water test.
TSB vs. recall: A technical service bulletin provides repair information for a known service condition; it is not automatically a safety recall or a promise of free repair. Check your VIN through the NHTSA recall lookup for current recall status, and ask Toyota or a dealer to verify whether T-SB-0037-11 applies to your vehicle.
[Amazon Products Picked for You]

Efficient Vehicle Diagnosis: include 2 pieces of automotive smoke machine intake bladders, enhancing your vehicle's air intake system diagnosis, allowing fast assessment of your vehicle's performance, quickly pinpointing intake problems

10s Fast Dense Smoke: For DIY enthusiasts maintaining older vehicles in home garages, this automotive smoke machine helps diagnose hidden EVAP and vacuum leaks causing check engine lights, rough idle, fuel odors, or poor acceleration. Dense white smoke fills the system in only 10 seconds, revealing leak locations that visual inspection may miss and helping you identify the source of the problem faster

DETECT EVERY TYPE OF LEAK: Our versatile smoke machine for cars includes multiple vehicle cone adapters, a smoke delivery hose, intake bladder, and full-size automotive cap plugs. It seamlessly fits various lines and hoses, ideal for hassle-free checks on vacuum, fuel, engine, intake system and more
Common Causes of Sunroof Leaks
A factory sunroof uses a weatherstrip, surrounding tray, and drain system to manage rainwater. A leak may occur when water enters faster than it can drain, a hose is restricted or disconnected, the glass does not sit correctly, or water is entering from a nearby body opening.
[Amazon Products Picked for You]

Package Includes: You will receive a set of sunroof drain cleaning tools, including a 120 inch sunroof drain brush, two 7 inch cleaning brushes, a 39 inch injector hose, and an 80ml injector. These tools are specially designed for cleaning narrow pipes that are difficult to reach.

Extra-Long Reach for Thorough,No-Dead-Zone Cleaning:Do you find yourself frustrated when cleaning your car sunroof drain holes because standard brushes just aren't long enough to reach those narrow, hidden channels? Our sunroof drain brush in this cleaning kit features an upgraded length of 118 inches—long enough to effortlessly tackle those hard-to-reach narrow channels. Its flexible design even handles curved pipes with ease, clearing obstructions in both straight and bent conduits. Restore your sunroof drainage system to unimpeded flow.

【120 Inches Longer Drain Brush】Upgrade lengthened to 120 inches (300 cm), long enough to clean narrow pipes that cannot be reached by an ordinary cleaning brush. As well as flexible enough to even work with curved tubing.
Worn Seals Around the Sunroof
The weatherstrip around the glass may become dirty, flattened, cracked, torn, or loose. However, visible water near the glass edge does not prove that the weatherstrip is the only problem. The drain tray and glass alignment must also be checked.
Clean the rubber gently with water and a plastic-safe automotive cleaner. Do not stretch it, scrape it with a metal tool, or cover it with household silicone. If it is torn or no longer seated, identify the correct replacement by model year, roof type, and VIN.
Restricted or Disconnected Drain Tubes
Leaves, pollen, dust, and other debris can collect in the roof tray and slow the drains. A hose may also be kinked, split, loose, or disconnected behind the headliner or pillar trim. Drain routing and outlet locations vary between Camry generations and roof assemblies.
Test one corner at a time with a small amount of clean water. The water should move away without pooling and should appear beneath the vehicle. A slow drain, no visible discharge, or water entering the cabin points to a restriction or hose problem.
Toyota’s T-SB-0037-11 confirms that loose or disconnected drain-hose connections can cause headliner and footwell leaks on affected vehicles. That is another reason not to use aggressive pressure when the condition of a hidden hose connection is unknown.
Warning: Do not force metal wire, a screwdriver, compressed air, or high-pressure water into a drain. Excess force can puncture a hose, worsen a loose connection, or separate a hose from its fitting behind the trim.
Sunroof Glass Alignment and Track Problems
The glass may leak if it sits too high, too low, or unevenly against the weatherstrip. Dirt in the tracks, worn guides, loose fasteners, or a damaged mechanism can also prevent complete closing.
View the closed glass from both sides of the vehicle. Compare the front, rear, left, and right edges with the roof panel. Do not adjust mounting screws by guesswork. Glass height and adjustment points vary by model year and should be set with the correct repair procedure.
Other Water Leaks That Can Look Like Sunroof Leaks
Water near the headliner or pillars may come from somewhere other than the sunroof. Possible sources include:
- A windshield urethane or molding leak
- A roof antenna or antenna-gasket leak
- A roof seam, body seam, or previous collision repair
- A door weatherstrip or door vapor-barrier problem
- A roof-rack attachment on vehicles with added accessories
- Water entering after windshield, roof, or body work
- An air-conditioning evaporator drain problem that wets the front carpet without wetting the headliner
If the sunroof drains correctly but the cabin still gets wet, test these areas separately rather than replacing the sunroof weatherstrip without proof. For a broader diagnosis covering doors, cowl drainage, trunk leaks, glass seals, and wet carpet, see the Toyota Camry rainwater leaks and wet-carpet guide.
Essential Tools for Sunroof Leak Diagnosis
Most basic diagnosis requires cleaning and observation tools, not sealant or major disassembly. Gather the supplies before starting so you can control the water and dry any spill quickly.
Basic Tools Overview
- A bright flashlight for inspecting the tray and tracks
- Microfiber cloths and absorbent towels
- A soft-bristled detailing brush
- A plastic-safe automotive cleaning solution
- A small cup or squeeze bottle for controlled water testing
- Painter’s tape for marking the first wet area
- A phone camera for recording water paths and glass position
- Gloves for handling dirty water and damp interior materials
A screwdriver or trim tool should be used only when the model-specific procedure calls for it. Removing trim without the proper steps can damage clips, wiring, or curtain-airbag components.
Cleaning Supplies Required
| Item | Purpose | Important Limit |
|---|---|---|
| Microfiber cloths | Clean and dry the tray, glass edge, and weatherstrip | Use clean cloths to avoid scratching painted surfaces |
| Soft-bristled brush | Lift loose debris from accessible areas | Do not force it deep into a drain opening |
| Plastic-safe cleaner | Remove dirt without attacking rubber or plastic | Avoid petroleum solvents and harsh household chemicals |
| Small cup or squeeze bottle | Apply a controlled amount of test water | Do not flood the entire roof at once |
| Absorbent towels | Protect seats, controls, carpet, and trim | Replace saturated towels during the test |
| Flashlight and camera | Trace the first sign of water and document the result | Keep electronics away from dripping water |
Installation Materials Needed
You normally need no installation material for basic cleaning and testing. If diagnosis confirms a failed weatherstrip, drain hose, fitting, clip, or glass component, use a part that matches the Camry’s model year, roof option, and VIN.
Some weatherstrips press into a channel, while others require glass removal, specified adhesive, measured alignment, or new retainers. Consult the applicable Toyota repair information before removing the old part. Do not substitute bicycle tubing, universal foam, household tape, or general-purpose silicone.
Step-by-Step Guide to Diagnosing and Fixing a Sunroof Leak
- Dry the visible water. Blot the headliner rather than rubbing it. Remove wet floor mats and use towels or a wet vacuum on the carpet. Do not begin a large water test while the cabin is already saturated.
- Park on level ground. Close the doors and windows, then open the sunroof to expose the tray and tracks. Level ground makes corner-to-corner comparisons more useful.
- Inspect the tray and weatherstrip. Remove loose leaves, needles, and dirt with your fingers, a microfiber cloth, or a soft brush. Check for torn rubber, standing water, damaged tracks, and uneven glass.
- Protect the interior. Place towels below the roof opening, around the pillars, and over nearby controls. Have another person sit inside with a flashlight if possible.
- Test one drain area at a time. Add a small amount of clean water near one tray corner. Do not pour water directly onto an overhead control, wiring opening, or exposed trim joint.
- Watch the tray and cabin. Water should leave the tray without prolonged pooling. Note whether it exits beneath the vehicle and whether any water appears inside.
- Compare the other corners. Repeat the same controlled test separately. A slower result on one side helps narrow the problem to a drain, hose, or outlet.
- Clear only accessible debris. Gently clean the visible drain entrance and tray. Stop if the blockage is deeper than you can reach without pressure or trim removal.
- Check glass position. Close the roof and compare the glass height around its perimeter. If it is visibly uneven, makes abnormal noises, reverses, or fails to close fully, arrange professional adjustment.
- Retest after cleaning. Repeat the same small water test. Do not perform a full hose test until each drain area passes the controlled test.
- Dry the cabin fully. Lift removable mats, increase ventilation, and dry carpet padding and other porous materials. As a general moisture-control benchmark, the EPA recommends drying water-damaged materials within 24–48 hours to help prevent mold growth. Follow current EPA moisture and mold-cleanup guidance if water has remained in the cabin or mold is visible.
- Use model-specific information for further repair. Check the correct Toyota owner’s manual and factory repair information before removing glass, trim, weatherstrip, or drain hoses.
Pro Tip: Test one area at a time and use the same small amount of water for each test. Flooding the whole roof can create several water paths and make the original leak harder to identify.
[Amazon Products Picked for You]
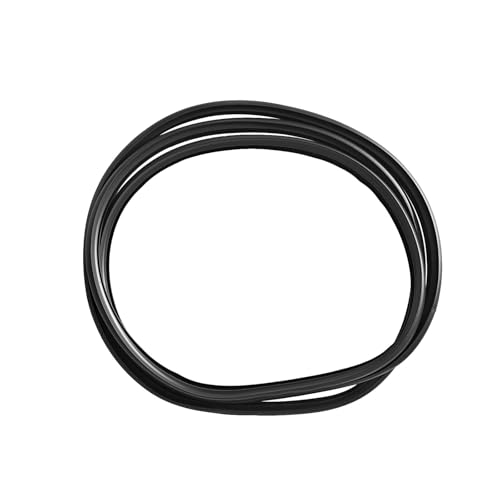
Replace OE/OEM Part Number: 63251-0E020, 63251-48030.

Durable construction - manufactured to strict standards using sturdy, safe materials.

High Quality Material: Made of excellent rubber material, soft and flexible, can easily adapt to the car curve. Strong sealing to ensure a complete and tight fit. Wear-resistant and durable, long service life. Strong 3M backing, weather resistant, stick firmly without falling off.
Why You Should Keep the Drainage Areas Clean
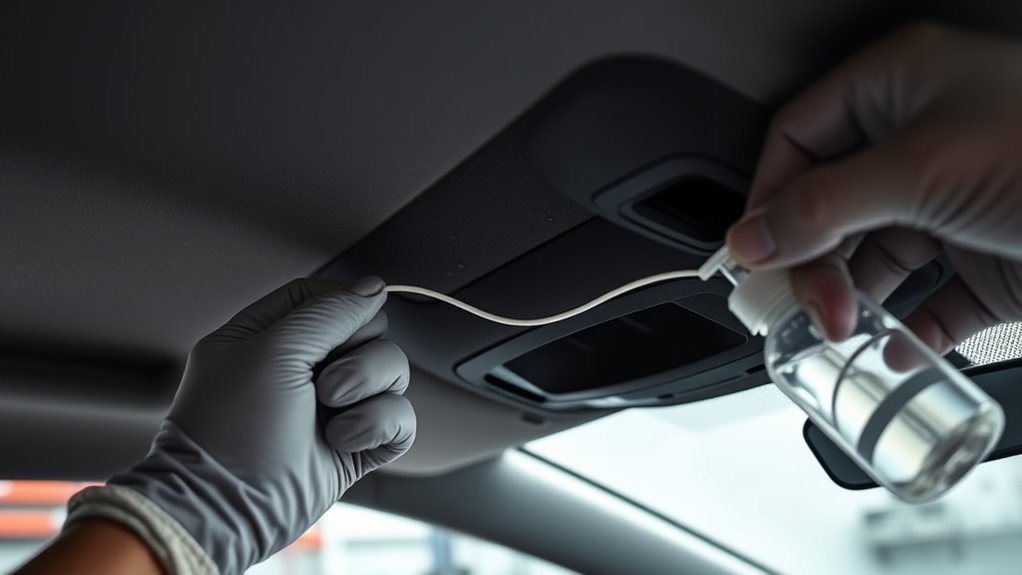
Debris in the roof tray can slow water flow and allow the tray to overflow. Leaves and pine needles may also break down into smaller material that moves toward a drain entrance.
There is no universal monthly or twice-yearly cleaning schedule for every Camry. Inspect the visible tray and tracks when you notice debris, after heavy pollen or leaf fall, before a rainy season, or when drainage appears slower than normal. Vehicles parked under trees may need attention more often than vehicles kept in a garage.
Use a cloth, soft brush, or low-suction vacuum to remove loose material from accessible areas. Test with a small amount of water afterward. If a drain remains slow, do not keep adding pressure. A disconnected or kinked hose may require access behind interior trim.
A drain that stays slow after the visible tray is clean may have a deeper restriction, damaged hose, or loose connection. More pressure is not the safe next step.
How to Properly Install a New Rubber Seal After Cleaning
Replace the weatherstrip only after confirming that it is damaged, loose, permanently deformed, or identified as the leak source. A blocked drain or misaligned glass will not be fixed by adding more rubber around the opening.
- Identify the roof system. Record the Camry’s model year, trim, roof type, and VIN. Roof parts can differ within the same generation.
- Obtain the correct part. Use a compatible automotive weatherstrip and any specified clips, retainers, or adhesive.
- Read the repair procedure first. Determine whether the glass must be removed or adjusted and whether measurements or special tools are required.
- Document the original position. Photograph joints, corners, and the relationship between the glass and roof before removing anything.
- Clean the mounting surface. Use only products approved for the rubber, plastic, paint, and adhesive involved. Remove old residue without scratching the roof or glass.
- Install without stretching. Stretching a weatherstrip can make it shrink later and open a gap at the joint.
- Set the glass correctly. Verify that the glass closes evenly and does not bind or reverse.
- Perform a controlled water test. Test each area separately before exposing the entire roof to a larger volume of water.
Warning: Do not install bicycle tire tubing, universal foam, household tape, or a bead of silicone around the moving glass. These materials can interfere with operation, trap water, block drainage, and make later repairs harder.
How to Prevent Future Sunroof Leaks
- Remove visible leaves, needles, and dirt from the tray and tracks.
- Check the roof after heavy pollen, falling leaves, storms, or extended outdoor parking.
- Keep the roof closed when the vehicle is parked and rain is possible.
- Do not aim a pressure washer directly into weatherstrip joints or drainage openings.
- Watch for new wind noise, uneven glass, slow movement, or incomplete closing.
- Inspect the roof after windshield, roof, collision, or body repair.
- Address a damp odor, wet carpet, or water stain before the next storm.
- Use only rubber-care products approved for automotive weatherstripping.
- Keep a record of which drain area was slow and what repair was performed.
- Check your VIN through the NHTSA recall and manufacturer-communication search if the problem is repeated or appears related to a vehicle defect.
Do not treat routine caulking as preventive maintenance. Sealant placed in the wrong location can redirect water away from the tray and into the roof structure.
When to Seek Professional Help for Sunroof Leak Issues

Arrange professional diagnosis when any of the following applies:
- A drain remains slow or blocked after the visible tray is cleaned.
- Water appears behind the headliner, pillar trim, overhead light, or roof console.
- The glass sits unevenly, binds, reverses, rattles, or will not close fully.
- A hose appears to be disconnected or access requires pillar or headliner removal.
- The leak began after windshield, roof, body, or collision repair.
- Water returns even though all tested drains appear to flow normally.
- Carpet padding, insulation, or the headliner is saturated.
- You see mold or continue to smell a strong musty odor after drying.
- Roof controls, lights, audio equipment, airbags, or other electrical systems behave abnormally.
- The vehicle may still be covered by a warranty, recall, or service campaign.
Ask the repair facility to identify the confirmed entry point before replacing parts. A useful diagnosis may include separate drain tests, glass-height measurements, inspection of hose connections, and checks of the windshield, antenna, and roof seams. For a 2007–2011 Camry or Camry HV, also ask whether Toyota T-SB-0037-11 applies to the vehicle’s VIN.
Frequently Asked Questions
How often do Toyota Camry sunroofs leak?
There is no standard age or mileage at which a Camry sunroof begins leaking. Risk depends on the roof design, debris exposure, climate, glass position, weatherstrip condition, previous repairs, and whether a drain hose is blocked or disconnected.
Does water around the sunroof glass mean the seal is bad?
Not always. The weatherstrip reduces water entry, while the surrounding tray and drains manage water that reaches the opening. Test drainage, glass alignment, and the condition of the weatherstrip before replacing it.
Is there a Toyota Camry sunroof leak TSB or recall?
Toyota bulletin T-SB-0037-11 lists 2007–2011 Camry and Camry HV models and describes a headliner or wet-footwell leak that may result from loose or disconnected moon-roof drain hoses. The bulletin also uses production-change VIN limits, so model year alone does not confirm coverage. A TSB is not the same as a safety recall; check your exact VIN through Toyota or NHTSA for current recall status.
Can I permanently seal a leaking sunroof with silicone?
Silicone is not a universal repair. It may block drainage, interfere with glass movement, contaminate mounting surfaces, or redirect water into the roof. Repair the confirmed drain, hose, weatherstrip, glass, or body-seam problem with the specified materials.
Can I clear a sunroof drain with compressed air?
High-pressure compressed air can worsen a loose drain-hose connection or damage a hose. Remove only visible debris and use a controlled water test. If the restriction is deeper, have the drain inspected using the model-specific service procedure.
Where do the Toyota Camry sunroof drains exit?
The routing and outlet locations depend on the model year and roof assembly. Hoses may run through pillar or quarter-panel areas before discharging below the vehicle. Use the correct Toyota repair information rather than probing an assumed location.
How much does a Toyota Camry sunroof leak repair cost?
The cost depends on the confirmed failure. Cleaning accessible debris is much simpler than reconnecting a hidden hose, adjusting glass, replacing a weatherstrip, resealing a body joint, or repairing a stained headliner and soaked carpet. Request a written diagnosis and estimate that identifies the leak source.
How do I fix a Toyota Camry sunroof that is leaking?
Dry the cabin, inspect the tray and weatherstrip, test one drain area at a time with a small amount of water, clean accessible debris, and compare the glass height. Get professional help if the hose is hidden, the glass needs adjustment, trim removal is required, or water reaches electrical equipment.
Conclusion
Start a Toyota Camry sunroof-leak repair by proving where the water enters. Clean the visible tray, test each drain area separately, inspect the weatherstrip and glass position, and rule out the windshield, antenna, and body seams. On applicable 2007–2011 Camry and Camry HV vehicles, Toyota T-SB-0037-11 also makes a loose or disconnected moon-roof drain hose an important model-specific possibility. Avoid pressure, metal wire, household silicone, tape, and homemade seals.
Stop the test if water reaches electrical equipment or if the repair requires headliner or pillar removal. Once the entry point is repaired, dry the carpet, padding, and headliner fully. Prompt drying reduces the chance of lingering odor, staining, corrosion, or mold.
Sources
- Toyota Manuals and Warranties — model-specific owner information and vehicle documentation
- Toyota Technical Information System — factory repair manuals, service bulletins, wiring diagrams, and technical procedures
- Toyota Technical Service Bulletin T-SB-0037-11: Water Leak at Headliner — 2007–2011 Camry/Camry HV applicability, production-change VIN information, drain-hose condition, and repair procedure
- National Highway Traffic Safety Administration Recall Lookup — VIN searches, recalls, investigations, complaints, and manufacturer communications
- U.S. Environmental Protection Agency: Mold Cleanup — moisture control, drying, porous-material, and mold-cleanup guidance
