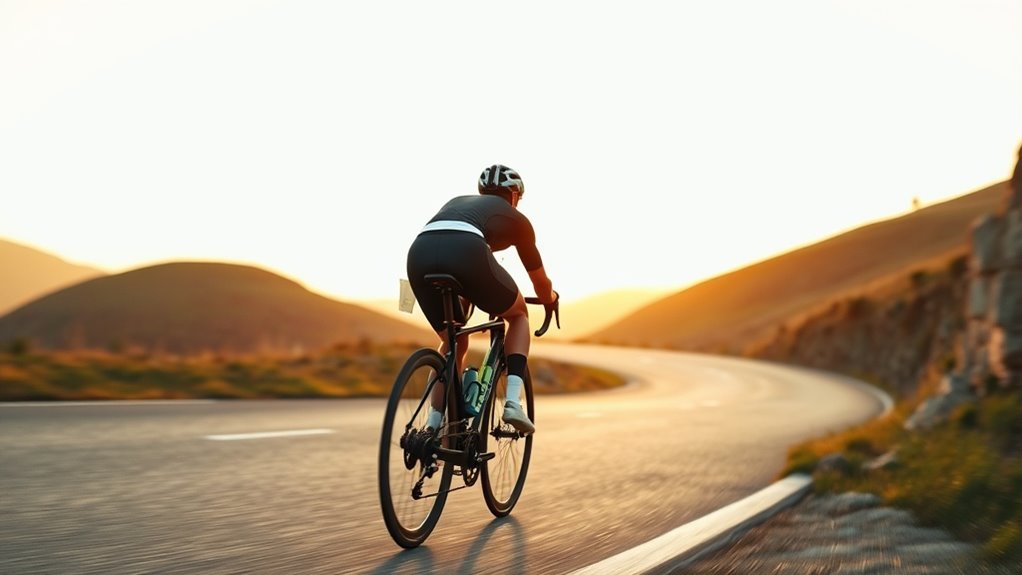
A follow-me camera for cycling should be chosen with stability, mounting fit, and battery life in mind. 360 models from DJI and Insta360 are often considered because they can capture smooth, flexible angles without much setup. The best results usually depend on how well the camera works with the bike mount and how safely it can be operated during a ride. The next question is which features actually matter most on the road.
Choose the Right Cycling Camera
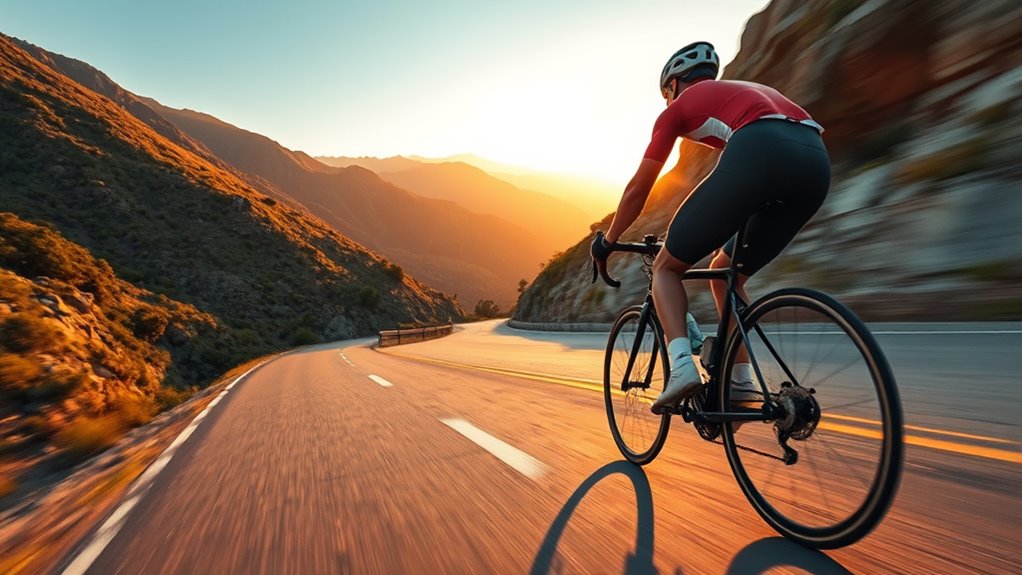
Choosing the right cycling camera begins with reputation and fit for the intended ride, with brands such as DJI and Insta360 often favored for their quality and feature sets.
A compact model can support freer movement, especially on longer routes, but weight savings may come with tradeoffs in battery life and image steadiness. Cameras like the Insta 360 Go 3S or DJI Nano suit riders who value minimal bulk, yet smaller housings can limit endurance.
Compact cameras free movement on long rides, though smaller bodies often mean less battery life and steadiness.
Stabilization deserves close attention, particularly for off-road use, where stronger correction can improve footage while narrowing the frame.
It also helps to review camera features before departure, including resolution modes, controls, and mounting behavior. Learning the settings in advance reduces distraction and supports safer, more confident filming.
The best choice balances portability, clarity, and reliable operation rather than chasing the smallest device alone.
Best Bike Mounts for Follow-Me Cameras
A good follow-me camera setup depends heavily on the mount, since stability, quick removal, and secure placement all affect the quality of the footage.
Saddle rail mounts and magnetic clip systems are often strong choices because they combine mount stability with easy detachment for riders who prefer flexibility without fuss.
Under-bar and chest mounts can offer safer, steadier angles on rough roads, keeping the camera aligned while movement stays controlled.
Attachment compatibility matters as much as placement; each camera model may require a specific interface or adapter.
Lightweight mounts help reduce bulk and preserve balanced handling, which supports freer, more confident riding.
Adjustable designs are also valuable, since they allow angle changes without forcing unsafe repositioning.
The best option is the one that fits the camera, holds firm, and stays practical across different routes and terrain.
Why 360 Cameras Work So Well for Cycling
360 cameras work especially well for cycling because they can capture the ride from multiple angles at once, giving cyclists far more creative framing options than a standard action camera.
This makes immersive storytelling easier, since a single clip can later be reframed to show the road ahead, the rider, or the landscape without needing a reshoot. The post-production flexibility is especially useful for those who want dynamic perspectives and more control over what remains in the final cut.
Their super wide fisheye view also adds a sense of motion and scale, helping reveal bike mechanics and the energy of the ride.
Although 360 cameras are often larger and heavier, they can still be practical because their stabilization is strong enough for rough paths and off-road surfaces.
They also encourage experimentation with mounting positions, which can broaden the range of footage and support a freer, more expressive riding style.
Film Stable, Safe Ride Clips
Stable ride clips usually begin with secure camera placement, and under-bar or chest mounts are often the best options because they improve safety and reduce shake compared with handheld filming.
Riders who want stable footage benefit from fixed positions that keep the camera steady while leaving hands free for steering, braking, and reacting to the road. Before setting off, it helps to learn the camera settings so adjustments do not become distractions mid-ride.
Off-road routes may call for stronger stabilization features, though that can crop the frame and narrow the view. Pointing the lens away from direct sun also reduces glare and preserves detail.
Short clips can capture strong moments without turning the ride into a production. The most practical approach balances recording with presence, allowing the cyclist to move freely, stay attentive, and return with usable footage that feels genuine rather than forced.
Edit and Share Bike Footage Fast
Once the ride is over and the clips are safely recorded, the next step is to sort, trim, and back them up while the details are still fresh. For efficient post-production, many riders use mobile editing apps or desktop software for quick trimming and basic color correction, keeping the process light and accessible.
Those seeking finer control can turn to Premiere Pro or Da Vinci, which allow deeper customization but demand more time and skill. Footage should be saved and charged immediately after recording to reduce the risk of data loss and keep files ready for editing.
After a clean cut, quick sharing on social media can move the ride from private memory to public exchange, helping friends follow the journey and widening reach. The strongest results usually come from concise, engaging clips that reflect real riding experiences and invite response without unnecessary delay.
Frequently Asked Questions
What Is the 75% Rule in Cycling?
The 75% rule in cycling is a guideline that sets training intensity at about 75% of a rider’s maximum heart rate.
It is often used to build endurance, improve fat metabolism, and avoid overtraining. A simple estimate is 220 minus age, then multiply by 0.75.
Applied consistently, this approach supports sustainable effort, better stamina, and more efficient cycling techniques during long rides, helping cyclists train with greater freedom and control.
What Is the Best Camera for Cyclists?
The best camera for cyclists depends on intent, though the road rarely rewards perfection; it usually exposes shortcuts.
For action shots, the DJI Osmo Action stands out with strong stabilization and reliable camera features.
The Insta360 Go 3S suits riders who want compact versatility, while 360 cameras favor creative editing.
Battery life, mount compatibility, and weight should guide the choice, especially for those seeking freedom to ride and record without restraint.
What Is the 80% Rule in Cycling?
The 80% rule in cycling means most training is done at about 80% of maximum heart rate, leaving harder efforts for the remaining 20%.
It supports steady aerobic development, better recovery, and less fatigue.
In practice, it fits cadence training and other endurance strategies by keeping workouts sustainable and purposeful.
Cyclists of any level can use it to build stamina, avoid overtraining, and ride with greater freedom and consistency.
What Is the Best Camera for Riding a Bike?
The best camera for riding a bike is often an action camera, not because it is largest, but because it is most reliable.
DJI Osmo Action offers strong stabilization, while compact options like the Insta360 Go 3S favor freedom and light weight.
Proper mounting options, such as chest or saddle rail mounts, improve safety and footage.
A 360 camera suits creative riders, though it demands more practice and battery care.
Conclusion
In the end, the best follow-me camera for bicycling is often the one that matches the rider’s mount, route, and comfort level. It is no coincidence that the most reliable clips come from cameras with strong stabilization, flexible mounting, and easy editing tools. When a compact model fits the bike cleanly and stays steady over rough pavement, filming becomes almost effortless. That simple alignment of gear and use is what turns casual rides into shareable footage.

