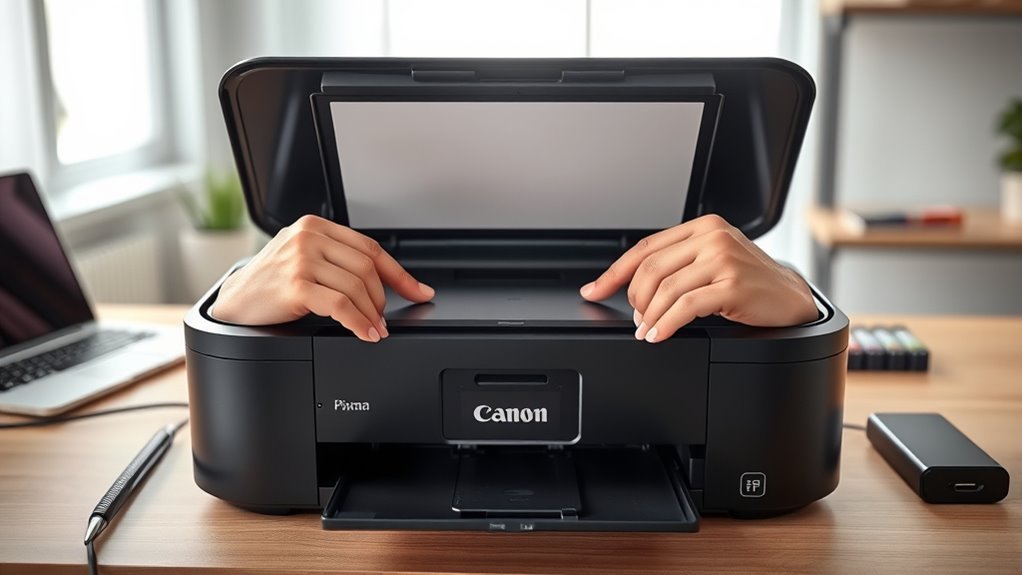
To install Canon Pixma G3270 print heads, the user should prepare a clean, well-lit workspace and confirm the correct color and black heads. Lift the top cover to center the carriage, then insert the color head in the left slot and the black head in the right slot. Press each one until it clicks. Close the blue tab, wait 5 to 10 minutes, and run a test print. More details can help prevent setup errors.
Key Takeaways
- Search YouTube for a Canon Pixma print head installation video matching your exact model, such as the G3270.
- Prepare a clean, well-lit workspace and confirm you have the correct color and black print heads before starting.
- Lift the printer cover to center the carriage, then insert each print head straight into its matching slot.
- Press firmly until each print head clicks into place, close the blue tab, and wait 5 to 10 minutes.
- Run a test print afterward to confirm proper seating, alignment, and correct color output.
Gather Your Canon Print Head Tools
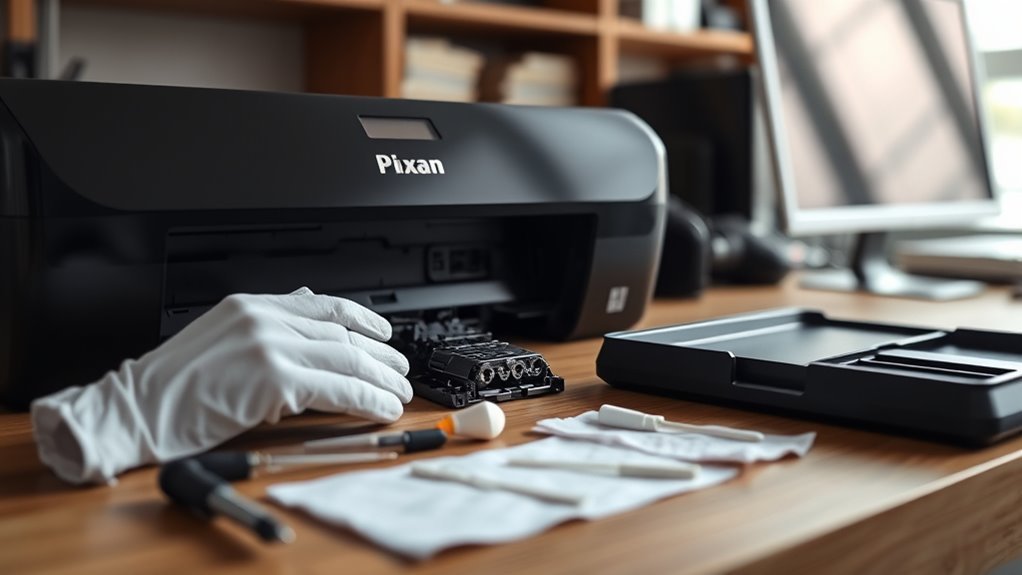
Begin by confirming that the correct Canon G3270 print heads are on hand, since the color and black slots use specific components.
Next, make sure a clean workspace is prepared, with adequate lighting and enough room to organize parts without contamination. A soft cloth should be available for handling components, reducing the risk of fingerprints or damage.
Any required accessories for installation must be assembled before work begins, so no interruption occurs once the process starts.
The new print heads should be unpacked carefully, with all protective coverings removed and the units positioned for immediate installation.
A step-by-step instruction sheet or video guide should remain within reach to support accurate sequence control. The printer manual should also be accessible for model-specific requirements and troubleshooting guidance.
This disciplined preparation supports a free and efficient installation process, allowing the technician to proceed with confidence and precision.
Open the Canon G3270 Carriage
The top cover should be lifted while the printer remains powered on, allowing the print head carriage to move to the center automatically.
A clear workspace around the printer should be maintained to support unobstructed access.
Once the carriage is centered, the installation area will be ready for the next step.
Open Top Cover
Lift the top cover of the Canon G3270 to automatically move the print head carriage to the center, creating clear access for installation. This action supports printer maintenance tips by reducing handling errors that often contribute to common print issues.
A clear workspace should be prepared before opening, allowing the printer and replacement heads to remain organized and within reach. The carriage assembly should be examined carefully, including the blue tab used to release or open it.
New print heads should be positioned beside the printer in advance, ready for swift placement. Each part should be handled with precision, and the heads should seat snugly in their slots.
Proper alignment also supports color calibration techniques, helping the user maintain control and restore printing autonomy.
Carriage Centering
With the top cover already open, the Canon G3270 automatically shifts the print head carriage to the center, placing it in a workable position for installation or maintenance. This centering action gives direct access to the holder and supports controlled carriage alignment techniques.
The operator should identify the slots: color on the left, black on the right. During print head maintenance, each head must be held straight and inserted without tilt so the fit remains secure.
Powering on the unit before opening the cover enables this movement and prevents unnecessary resistance. These printer troubleshooting tips help reduce installation errors and keep the carriage ready for precise fitting.
Once centered, the mechanism can be serviced with confidence, supporting dependable operation and user autonomy.
Clear Workspace
A clear, organized workspace should be established before installation begins, with the Canon G3270 placed in a well-lit area for full visibility of the print head slots and carriage components.
Open the top cover so the carriage moves to center, creating direct access for handling. Use workspace organization tips: keep the prepared print heads on the printer’s side, arrange tools within reach, and remove loose items that obstruct movement.
These decluttering strategies reduce error and support an efficient printing setup. Before proceeding, inspect the carriage assembly and identify each contact point, latch, and guide.
Adequate lighting and a tidy surface allow the technician to work without hesitation, preserving control and enabling a smooth, independent installation process.
Insert the Color and Black Print Heads
Open the top of the Canon G3270 so the print head carriage moves to the center, then locate the blue tab to access the print head slots.
With the carriage exposed, the color print head should be placed into the left slot and the black print head into the right slot. Each unit must remain straight during insertion to preserve alignment and support print head maintenance.
The fit should be deliberate and secure, since correct seating helps confirm ink cartridge compatibility and supports print quality improvement. No force is required; controlled placement is sufficient for the mechanism to receive both heads cleanly.
The process serves a practical goal: restoring dependable operation without unnecessary delay or dependence on service intervention.
After both print heads are inserted, the printer should be left undisturbed for 5 to 10 minutes so the ink can process within the heads before any test print is attempted.
Check That the Print Heads Lock in Firmly
Press down firmly on each print head until a click is heard, confirming that it has locked securely into the designated slot. This step protects installation techniques from error and supports dependable print head maintenance.
| Check | Result |
|---|---|
| Straight insertion | Prevents misalignment |
| Audible click | Confirms lock |
| Blue tab closed | Verifies secure carriage |
| Gentle tug test | Detects looseness |
Use alignment tips by confirming each head enters the slot without tilt or resistance. After seating, verify that the blue tab on the carriage is fully closed; an open tab signals incomplete engagement. A light tug should not shift either head. If wobbling or looseness is detected, remove the unit and reinsert it until the fit is firm and the click is clear. This disciplined check gives users the freedom to proceed with confidence, knowing the Canon Pixma print heads are secured for stable operation and accurate output.
Let the Canon Print Heads Prime for 10 Minutes
After installation, the Canon G3270 print heads should be allowed to prime for 5 to 10 minutes.
During this wait time, the printer processes ink through the system to confirm proper flow.
The unit should be monitored for any irregularities before a test print is performed.
Priming Wait Time
A brief priming interval is required once the Canon G3270 print heads are installed, with 5 to 10 minutes allowing the ink to fully process into the heads. This priming importance supports complete ink saturation, which is necessary for stable print quality.
During this period, the printer should remain undisturbed so the internal channels can settle without air intrusion. Any visible irregularity should be noted, as it may signal improper seating or incomplete priming. Interrupting the wait can introduce bubbles and reduce output consistency.
Properly primed heads help the device operate with precision, preserve reliability, and extend service life. The user seeking technical independence should treat this pause as a required step, not an optional delay, because controlled priming enables dependable printing performance.
Ink Flow Check
Allow the Canon G3270 print heads to prime for 5 to 10 minutes so the ink can fully reach the internal channels and establish proper flow.
During this interval, the printer should be left undisturbed while ink fills the heads and stabilizes delivery. Any unusual sounds, pauses, or error behavior should be noted, since these signs support early ink flow troubleshooting.
After priming, a test print should be executed to confirm consistent output across all colors. This print quality assessment helps identify streaks, gaps, or missing tones before regular use resumes.
If defects appear, the heads may need additional settling time or standard maintenance tips may be applied. Proper verification protects freedom from waste, repeated setup, and preventable print failure.
Troubleshoot Print Head Installation Errors
When print heads are not recognized, the installation should be checked for proper seating in the correct slots, with the color print head on the left and the black print head on the right. This print head troubleshooting step should be performed before further action.
During the ink processing period, any error message should be treated as an indicator of misalignment or incomplete insertion, and error message solutions should focus on reseating the components. If the fault remains, the printer settings should be opened and the print head replacement option selected to follow the guided prompts.
Installation compatibility checks are essential when remanufactured units are used; they must match the Canon G3270 to avoid recognition failures. Firmware should also be reviewed regularly, because outdated software can block proper detection of newly installed heads.
Each correction should be applied methodically, preserving user control and ensuring that the printer can operate without unnecessary dependence on opaque factory constraints.
Save on Canon Ink
Reducing Canon ink expenses starts with selecting remanufactured cartridges or refilled supplies that can lower costs by up to 30% while maintaining acceptable print quality. These ink savings strategies reduce dependence on premium OEM pricing and support more independent printing.
Remanufactured or refilled Canon ink cartridges can cut costs by up to 30% without sacrificing acceptable print quality.
- Monitor ink levels routinely and replace supplies before depletion to avoid emergency retail purchases.
- Choose high-yield cartridges and subscription plans to increase page output and stabilize supply costs.
- Enable draft mode and other ink-saving settings for noncritical documents to extend cartridge life.
Applying printer maintenance tips also improves efficiency: keep print heads clean, use only necessary color output, and print in grayscale when appropriate.
Bulk purchasing can further reduce unit cost and keep spare inventory available. Together, these methods allow users to print with greater control, fewer interruptions, and less financial constraint.
Frequently Asked Questions
How to Install Canon Pixma Print Head?
He opens the printer, lets the carriage center, lifts the blue latch, inserts color left and black right, waits 5–10 minutes, then tests. This print head maintenance supports printer performance; troubleshooting tips follow if errors appear.
How Do I Install the Print Head on My Canon Pixma TR160 Printer?
Open the printer, let the carriage drift center, then seat the color print head left and black right. A snug fit preserves print quality. Allow 5–10 minutes; follow troubleshooting steps and maintenance tips.
How Do I Replace the Print Head on My Canon Printer?
Open the cover, release the carriage, remove the old print head, insert the replacement firmly into the correct slot, then wait 5–10 minutes. This maintenance practice improves print quality; troubleshooting tips include checking fit and settings.
How to Install Printer Head Correctly?
The printer head should be seated like a key in a lock, straight and firm. Place color left, black right, then close the cover. This preserves print quality, supports maintenance tips, and prevents troubleshooting issues.
Conclusion
To summarize, proper Canon Pixma print head installation depends on accurate tool preparation, careful carriage access, and secure placement of both the color and black units. After locking the heads firmly and allowing a full 10-minute priming period, the printer should be ready for testing. Some users may assume a quick insertion is sufficient, but incomplete seating often causes errors or poor output. Following the correct procedure helps reduce waste, prevent damage, and support efficient ink use.
