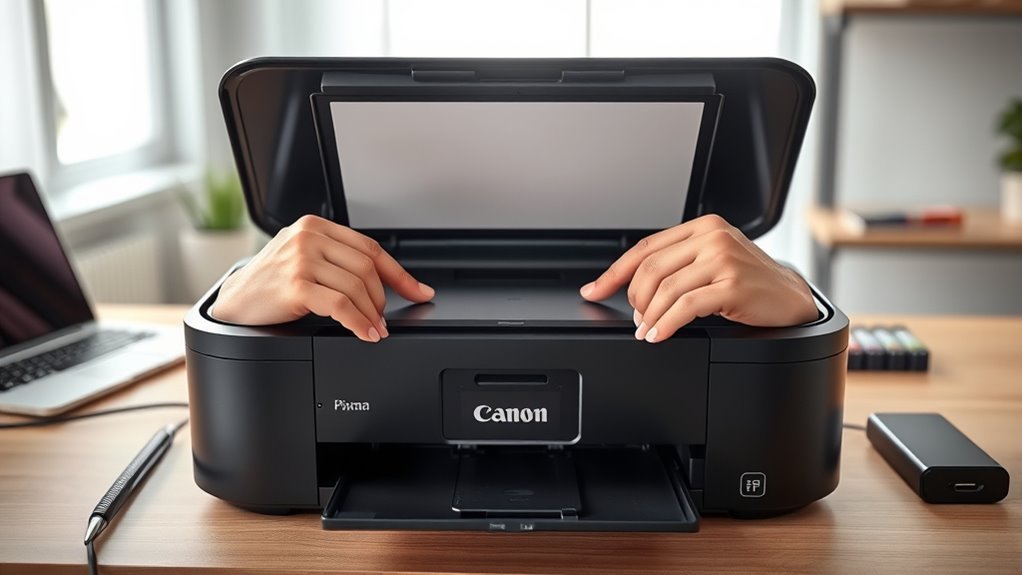
Installing or replacing the Canon PIXMA G3270 print heads is straightforward when you use the printer’s proper replacement mode and handle the heads carefully. The G3270 uses separate color and black print heads: the color head goes on the left and the black head goes on the right. After installation, let the printer finish any automatic maintenance and verify the result with a nozzle check.
Quick Answer
On a Canon PIXMA G3270, start print-head replacement from Maintenance > Head replacement, then open the scanning unit/cover after the printer prompts you. Install the color head on the left and black head on the right, close the locking cover until it clicks, close the printer, and print a nozzle check.
Key Takeaways
- The Canon PIXMA G3270 uses separate user-replaceable black and color print heads.
- Canon lists the BH-20 as the compatible black print head and the CH-20 as the compatible color print head for the G3270.
- For normal replacement or reinstallation, use Maintenance > Head replacement before opening the scanning unit/cover.
- Install the color head in the left holder and the black head in the right holder.
- Do not touch the gold electrical terminals, print-head nozzles, ink tubes, or other internal parts unnecessarily.
- After installation, run a nozzle check instead of relying on an arbitrary 5- to 10-minute waiting period.
At a Glance
| Time Required | About 10–20 minutes, plus any automatic maintenance the printer performs |
| Difficulty | Easy to moderate |
| Tools Needed | Compatible print head, clean lint-free cloth for incidental cleanup, and one sheet of A4 or Letter plain paper for the nozzle check |
| Compatible Heads | Canon BH-20 black and CH-20 color print heads |
Gather Your Canon Print Head Tools
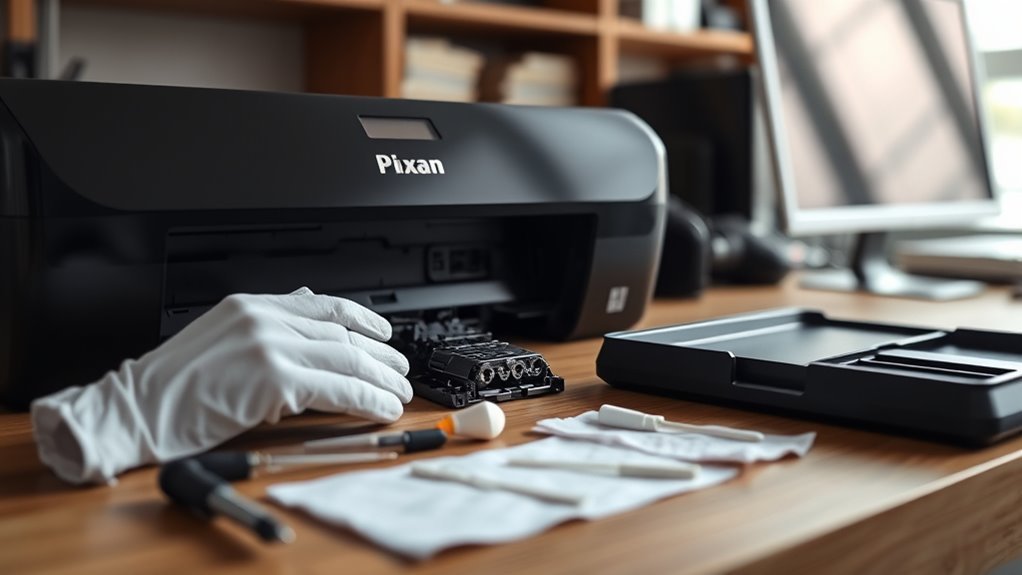
Begin by confirming that you have the correct Canon G3270 print heads. Canon lists the BH-20 black print head and CH-20 color print head as compatible replacements for the PIXMA G3270.
Work on a clean, well-lit surface with enough space to open the scanning unit/cover fully. Keep a lint-free cloth nearby in case you need to wipe ink from the surrounding work area, but do not wipe the print-head nozzles or electrical contacts.
Unpack the replacement head only when you are ready to install it. Remove the required protective packaging carefully and avoid touching the nozzle surface or gold-colored electrical terminals.
Keep the Canon G3270 setup instructions or the G3070-series online manual available for reference because the exact screen prompts can differ between first-time setup and later replacement.
Warning: Do not touch the print-head nozzles, gold electrical terminals, ink tubes, or other internal printer parts unnecessarily. Do not stop or force the print-head holder while it is moving. Canon warns that doing so can cause poor printing or printer malfunction.
Open the Canon G3270 Carriage Correctly
The correct method depends on whether you are setting up a new printer or replacing a print head in a printer that has already been used.
For Initial Printer Setup
If the G3270 is being set up for the first time, follow the printer’s setup sequence and Canon’s on-screen or printed setup instructions. Initial setup includes installing the supplied print heads and charging the ink system. Do not substitute the later replacement procedure for the initial setup sequence.
For Print-Head Replacement or Reinstallation
For a G3270 that is already in service, use the printer’s maintenance controls to place the head holder in the correct position:
- Make sure the printer is turned on.
- From the HOME screen, open Maintenance.
- Select Head replacement.
- Read the displayed message, select Yes, and press OK.
- Open the scanning unit/cover when instructed.
- Wait until the print-head holder stops moving before touching anything inside.
Canon documents this procedure for checking or reinstalling the G3070-series print heads used by the G3270. It prevents users from forcing the carriage into position manually.
Clear the Workspace
Keep replacement heads beside the printer, remove loose objects from the work area, and make sure you can see the locking cover and both print-head holders clearly. Good lighting helps you avoid inserting a head at an angle or touching the wrong internal component.
Pro Tip: Finish preparing the replacement head before putting the printer into replacement mode. That reduces the time the scanning unit/cover remains open and keeps the work area organized.
Insert the Color and Black Print Heads
Once the print-head holder has stopped moving, open the print-head locking cover as directed by Canon. If you are replacing an existing head, remove it carefully without touching the ink tubing or surrounding internal components.
Install the color print head in the left holder and the black print head in the right holder. Keep each head straight as you place it into its holder.
Do not force a print head into position. If it does not sit correctly, stop and check the orientation and part compatibility rather than pushing harder.
The G3270 is designed for user-replaceable print heads, but the replacement must still match the printer. Canon currently identifies the BH-20 as the black replacement and CH-20 as the color replacement.
Check That the Print Heads Lock in Firmly
After the heads are seated in their correct holders, close the print-head locking cover and press it down firmly until the locking cover clicks into place. The important click is the locking mechanism securing the installed heads.
| Check | Correct Result |
| Color head | Installed in the left holder |
| Black head | Installed in the right holder |
| Head position | Each head sits flat and correctly in its holder |
| Locking cover | Pressed down until it clicks securely |
Close the scanning unit/cover gently when installation is complete. Do not perform a tug test on the heads once the locking mechanism is closed; visual confirmation and the printer’s subsequent nozzle check provide a safer verification method.
Let the Canon Printer Complete Print-Head Initialization
The original 5- to 10-minute manual waiting period is not required by Canon’s normal G3270 replacement procedure. Instead, close the printer and allow it to finish any automatic initialization, ink charging, or maintenance sequence shown on the display.
During first-time printer setup, some ink is used to charge the print head and ink-delivery system. Canon notes that this is why the included setup ink has a lower usable page yield than later replacement bottles.
Do Not Interrupt Automatic Maintenance
If the printer is operating, displaying a progress message, or performing an automatic maintenance cycle after the heads are installed, leave it alone until the process finishes. Do not reopen the cover or switch off the printer in the middle of an active maintenance operation.
Check Ink Flow With a Nozzle Pattern
Once the printer is ready, print a nozzle check pattern. Canon recommends this pattern for determining whether ink is ejecting correctly from the print-head nozzles.
- Load one sheet of A4 or Letter-size plain paper in the rear tray.
- Make sure the printer is turned on.
- Open Maintenance from the HOME screen.
- Select Nozzle Check.
- Select Yes and press OK.
- Wait for the printer to finish printing the pattern.
- Examine the printed pattern for missing lines, gaps, or missing colors.
Canon’s complete instructions are available in its nozzle check guide.
Note: If the nozzle check looks normal, the print heads are working correctly. If lines or colors are missing, follow Canon’s cleaning sequence instead of repeatedly removing and reinstalling the heads.
Align the Print Head if Lines or Colors Are Misaligned
Print-head installation and nozzle condition are separate from alignment. If the nozzle check is complete but printed lines or colors appear misaligned, use the printer’s Print Head Alignment maintenance function.
Canon’s printer-assistant documentation specifically states that print-head alignment corrects the installation position of the print head and improves misaligned colors and lines.
Avoid running cleaning cycles solely to correct geometric alignment. Cleaning is intended for missing or clogged nozzle output; alignment addresses positioning.
Troubleshoot Print Head Installation Errors
If the G3270 does not recognize a print head or displays a support code, first check the installation and compatibility rather than assuming a firmware problem.
| Problem | What to Check |
| Print head not recognized | Confirm that the head is compatible, installed in the correct holder, and secured by the locking cover. |
| Support code 1471 | Canon says a print head may be installed incorrectly or may be incompatible. Remove and reinstall compatible heads as directed. |
| Support code 1476 | Canon identifies this as an incompatible-print-head condition. Install the appropriate head for the printer. |
| Missing lines or colors | Run a nozzle check, then Cleaning if necessary. Escalate to Deep Cleaning only as Canon directs. |
| Misaligned lines | Run Print Head Alignment. |
If print quality remains poor, Canon’s maintenance sequence starts with a nozzle check, followed by normal print-head cleaning as needed. If the problem remains after repeated normal cleaning, Canon directs users to deep cleaning and further maintenance procedures rather than immediately replacing parts.
For installation errors, use Canon’s Check Installation of Print Head procedure. For broader printer support, use the Canon PIXMA G3270 support page.
Save on Canon Ink
The PIXMA G3270 does not use conventional replaceable ink cartridges. It uses a four-color MegaTank continuous ink system with integrated tanks filled from Canon GI-21 ink bottles: pigment black plus dye-based cyan, magenta, and yellow.
To control ink use and operating costs:
- Check the visible tank levels and refill the appropriate color before the ink becomes too low for reliable printing.
- Use grayscale or black-and-white output when color is unnecessary.
- Use Economy mode for suitable everyday documents when the reduced ink use and resulting print quality meet your needs.
- Avoid unnecessary print-head cleaning because cleaning consumes ink.
- Run a nozzle check before cleaning so you can confirm whether cleaning is actually needed.
- Use the correct GI-21 bottle for each tank and follow Canon’s filling instructions.
A nozzle check uses far less intervention than repeatedly cleaning or removing the print heads, so diagnose the print pattern first and clean only when needed.
Frequently Asked Questions
How to install a Canon PIXMA G3270 print head?
For a printer already in use, select Maintenance > Head replacement, confirm the prompt, and open the scanning unit/cover after the holder moves. Install the color head on the left and black head on the right, close the locking cover until it clicks, close the printer, and run a nozzle check.
How do I install the print head on my Canon PIXMA TR160 printer?
Do not use the G3270 replacement procedure on a PIXMA TR160. Canon lists the TR160 print head as not user replaceable. The TR160 uses replaceable PGI-35 black and CLI-36 color ink tanks. For a suspected print-head failure, follow Canon’s TR160 support guidance rather than removing the head yourself.
How do I replace the print head on my Canon G3270 printer?
Use the G3270’s Head replacement maintenance function to move the holder into position. Remove the old head carefully, avoiding the tubes, nozzles, and electrical contacts. Install the compatible replacement in the correct left or right holder, secure the locking cover, close the printer, and check the nozzles.
Which side does each Canon G3270 print head go on?
The color print head goes in the left holder, and the black print head goes in the right holder.
How do I know whether the Canon G3270 print heads are installed correctly?
Confirm that each head is in the correct holder and that the print-head locking cover closes and clicks securely. Then print a nozzle check. A complete, correctly printed nozzle pattern is the best functional confirmation that the heads are installed and ejecting ink properly.
Should I wait 10 minutes after installing Canon G3270 print heads?
Canon’s normal replacement instructions do not require a fixed 10-minute waiting period. Let the printer complete any automatic initialization or maintenance shown on its display, then print a nozzle check.
Conclusion
Correct Canon PIXMA G3270 print-head installation depends on using the printer’s replacement mode, installing the color and black heads in their proper holders, and securing the print-head locking cover without touching sensitive components. After closing the printer, let any automatic maintenance finish and print a nozzle check. If output is incomplete, follow Canon’s cleaning and troubleshooting sequence rather than repeatedly removing the heads.
Sources
- Canon PIXMA G3270 Support — official specifications, ink system, manuals, downloads, and product support.
- Canon G3270 Setup — Installing the Print Head — official initial print-head setup guidance.
- Canon — Check Installation of Print Head — replacement mode, head positioning, handling cautions, and reinstallation procedure.
- Canon — Printing the Nozzle Check Pattern — official post-installation nozzle-check procedure.
- Canon — Check the State of the Print Head — troubleshooting sequence for poor or missing print output.
