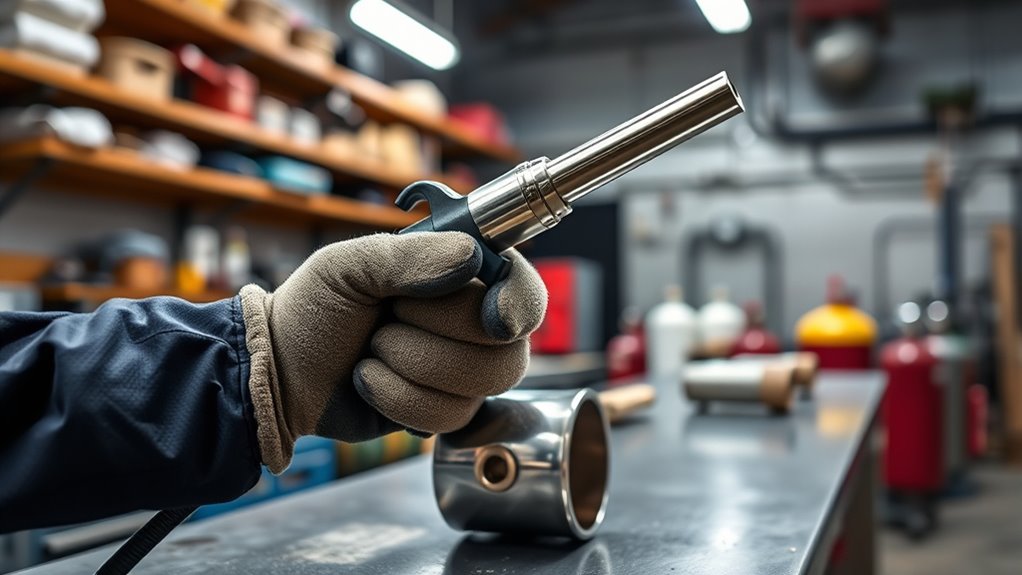
A 180-degree MIG gun is a strong choice for exhaust pipe welding because its flex neck improves access, visibility, and torch control in tight spaces. It helps steady the wire feed on thin tubing and reduces blow-through when used with clean fit-up, short stitch welds, and low heat. For best results, use .023 wire, 75/25 gas, and about 17V. Proper prep and settings make the joint cleaner, and more details follow below.
Key Takeaways
- A 180-degree MIG gun helps weld exhaust pipes in tight spaces with better maneuverability and visibility.
- Use a flex-neck gun for precise torch placement around restricted exhaust joints.
- Clean the pipe thoroughly to remove rust, oil, scale, and coatings before welding.
- Start with .023 wire, about 17V, and 75/25 argon-CO2 gas for controlled, cleaner welds.
- Use short stitch welds or overlapping tacks to reduce burn-through and distortion on thin tubing.
Why a 180-Degree MIG Gun Helps on Exhaust Pipe?
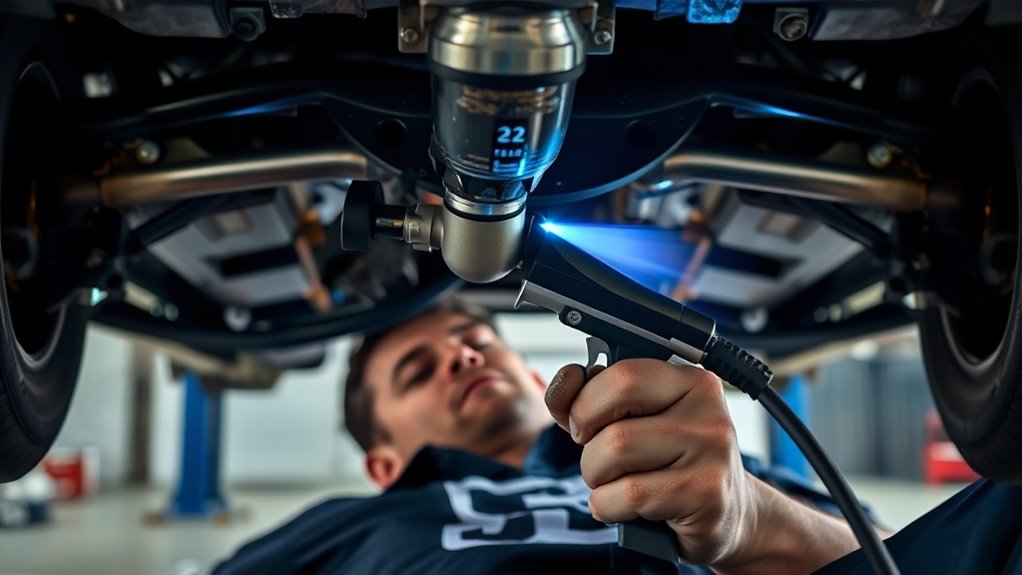
A 180-degree MIG welding gun improves exhaust pipe work by providing greater maneuverability in confined and awkward spaces common to exhaust systems.
The flex neck design lets the MIG Welder place the MIG gun with exacting control, even where access is restricted. This geometry supports steady travel, stable wire feed, and consistent penetration on thin tubing, lowering blow-through risk.
In Mig Welding, angle adjustment also improves visibility, allowing the operator to track the joint line and maintain cleaner bead placement. The result is more controlled welds with less rework and fewer compromises to fitment.
Because exhaust components often demand work around bends, brackets, and underbody obstructions, a 180-degree tool gives the user practical freedom without sacrificing precision.
Its compatibility with multiple machines further expands utility for both professionals and DIY users seeking reliable, efficient exhaust fabrication.
How to Set Up a MIG180 for Thin Exhaust Pipe?
Preparation begins with thorough cleaning of the exhaust pipe to remove rust, scale, and contamination before any weld is attempted.
For thin tubing, a .023 wire with voltage near 17V and wire speed increased by 20–30 IPM provides better control and reduces burn-through risk.
Stitch welding or overlapping tacks is preferred over a continuous bead to limit heat buildup and maintain joint stability.
Clean Pipe Prep
Before striking an arc, the exhaust pipe should be cleaned thoroughly to remove rust, scale, oil, and other contaminants that can weaken the weld and disrupt the MIG180’s arc stability. A clean joint grants the operator freedom from porosity and erratic fusion. On a mig setup, the PrimeWeld MIG torch performs best when the wire feed meets a bare, oxide-free surface. Use abrasion and solvent wipe-downs on both mating edges and nearby metal.
| Prep step | Purpose |
|---|---|
| Degrease | Remove oil |
| Abrade | Expose sound metal |
| Inspect | Confirm fit-up |
A mirror with magnets can aid alignment in restricted exhaust positions. After prep, the tube is ready for controlled tacking and heat-managed stitching, supporting a stable, liberated weld path.
Wire And Voltage
With the exhaust pipe cleaned and fit-up confirmed, the MIG180 can be set for thin-wall work by selecting .023 wire and starting near 17V. This wire size offers better control on light tubing, and the smaller wire types reduce excess heat input.
Voltage adjustments should be made in small steps while wire speed is raised about 20-30 IPM to stabilize the arc and keep the bead uniform. Consistent travel speed is essential; moving too slowly invites blow-through, while steady motion preserves the pipe wall.
Practical welding techniques should be verified on scrap first, allowing the operator to tune the machine before committing to the exhaust component. Precision settings support cleaner fusion and a more liberated, efficient repair.
Tack And Stitch
Tack welding and short stitch passes are the preferred method for thin exhaust pipe on a MIG180, since overlapping tacks control heat more effectively than a continuous bead.
Using .023 wire limits heat input and helps prevent blow-through while preserving penetration. Wire speed is commonly raised 20 to 30 IPM, with voltage held near 17V for a stable arc.
Effective tack techniques depend on clean fit-up and accurate joint alignment; an expander can help seat sections before welding. Stitch patterns should be brief, spaced, and allowed to cool between passes. This approach improves structural integrity without locking excess heat into the tube.
Before committing to the exhaust, practice on scrap metal to confirm control, timing, and travel speed.
Which Wire, Gas, and Voltage Settings Work Best?
For exhaust pipe welding, .030″ MIG wire typically provides the best balance of penetration and finish, especially on thin tubing where control matters most. Effective wire selection techniques favor this diameter because it feeds smoothly and supports a stable arc on mild steel and aluminized sections.
A 75% argon, 25% CO2 shield offers clear gas mixture benefits by reducing oxidation and improving bead consistency. Voltage adjustment tips point toward roughly 17V, a setting that delivers solid fusion without excessive spatter or burn-through.
Wire speed may be increased by 20 to 30 IPM when deeper penetration is needed, particularly on older pipe with surface contamination. The operator should match travel speed to feed rate so the bead remains uniform and clean.
This setup gives disciplined control, efficient metal transfer, and reliable weld quality on exhaust work.
How to Weld Exhaust Pipe Without Blow-Through?
Proper exhaust pipe welding begins with clean, well-fitted joints to minimize gaps and reduce the chance of burn-through.
Lower heat settings, typically around 17V with controlled wire speed, help limit excess heat on thin material.
Short stitch welds or overlapping tacks provide better control than a continuous bead and further reduce blow-through risk.
Clean And Fit Pipes
Clean the exhaust pipes thoroughly before welding to remove rust, scale, oil, and other contaminants that can destabilize the arc and increase the risk of blow-through.
Proper joint preparation tips begin with careful surface cleaning, then accurate fit-up using exhaust fitting methods that minimize gaps.
Pipe alignment techniques should rely on an expander when needed, since improved concentricity supports a stronger fusion zone without forcing excessive penetration.
In confined locations, mirrors and magnets can improve visibility and positional control, helping the operator place the bead exactly where it belongs.
Tight fitment reduces arc instability and limits molten metal drop-out.
Before joining, confirm that the edges meet evenly and that the assembly holds position under light handling.
Exact preparation gives the welder freedom from waste, rework, and avoidable failure.
Lower Heat Settings
With the exhaust sections already fitted tightly, the next control point is heat input. Lower voltage settings near 17V, paired with wire speed reduced by 20–30 IPM, help prevent blow-through on thin wall tube.
Consistent travel speed and torch angle distribute heat evenly, preserving the joint and freeing the operator from costly burn-through. These welding techniques depend on disciplined heat management, not force.
Material selection also matters; thinner exhaust steel demands a lighter arc and tighter control than thicker stock. An expander or careful refit keeps gaps minimal, reducing localized overheating.
Before welding the actual system, practice on scrap to calibrate response and confidence. Precision at this stage allows the joint to remain sound, clean, and ready for service.
Use Short Stitch Welds
Short stitch welds or overlapping tacks help control heat input on thin exhaust pipe and reduce the risk of blow-through.
These stitch techniques support disciplined heat management by limiting dwell time and allowing the metal to cool between passes. A consistent travel speed preserves bead uniformity, while voltage near 17V offers useful penetration without weakening the tubing.
Where gaps are larger, the operator may raise wire speed and lower voltage to bridge the opening with less burn-through risk. Proper fitment of exhaust sections remains essential, because aligned joints weld more evenly and hold stronger.
Scrap practice is a practical control method for refining timing, arc length, and rhythm before working on final components.
How to Prep Old or Aluminized Exhaust Pipe?
Proper preparation of old or aluminized exhaust pipe begins with thorough cleaning to remove rust, oil, scale, and other contaminants that can weaken the weld. The pipe materials should be assessed for corrosion, thinning, and coating type before any welding techniques are selected.
For used sections, sanding the inside improves adhesion by exposing clean metal. A .023 wire size is suitable for thin tubing because it gives controlled deposition and reduces burn-through risk.
Exhaust fittings must align accurately before welding; an expander can help form tighter joints and improve fitment. With aluminized pipe, toxic fumes are a serious hazard, so respiratory protection is required throughout the work.
Clean metal, proper fit, and correct wire selection support a stable arc and stronger fusion. This disciplined prep gives the fabricator more control and a cleaner result.
How to Get Clean Welds on Tight Exhaust Joints?
Clean welds on tight exhaust joints depend on surface preparation, controlled heat, and precise access. Effective exhaust joint preparation removes rust, scale, oil, and soot, reducing metal contamination issues that weaken fusion and dull bead appearance. Thin tubing responds best to .023 wire, which supports cleaner transfer and less burn-through.
- Set voltage near 17V and raise wire speed 20–30 IPM for steadier penetration.
- Use stitch welding or overlapping tacks instead of a full bead to limit distortion.
- Position mirrors and magnets to improve visibility and hold alignment in confined spaces.
Welding technique variations matter because tight joints restrict torch angle and visibility. A disciplined rhythm of short passes, brief cooling, and consistent travel speed preserves control.
With the right settings and access tools, the operator gains cleaner welds, stronger joints, and greater freedom from rework.
Frequently Asked Questions
What Is the Best MIG Welder for Welding Exhaust Pipe?
The PrimeWeld MIG180 is the best MIG welder for exhaust pipe work, combining dual-voltage welder features, adequate power, and a spool gun. Proper welding techniques, including low wire speed and moderate voltage, improve thin-gauge results.
Can You Use a MIG Welder to Weld an Exhaust Pipe?
Yes, a MIG welder can weld an exhaust pipe effectively. Exhaust pipe materials vary, so a welding techniques comparison favors MIG for speed and control; MIG welding advantages include thin-gauge precision, minimal distortion, and accessible setup.
What Setting to MIG Weld Exhaust Pipe?
Set approximately 17V with wire speed increased 20-30 IPM, using .023 wire. Clean exhaust materials thoroughly, choose appropriate gas selection, and apply stitch-based welding techniques to prevent blow-through while maintaining sealing and control.
What Is the Best Cheap Welder for Welding Exhaust Pipes?
The best cheap welder for exhaust pipes is a dual-voltage 180A MIG, such as PrimeWeld MIG180. Its cheap welder options, precise welding techniques, and adaptable settings suit thin exhaust pipe materials with minimal distortion.
Conclusion
A 180-degree MIG gun proves practical for exhaust pipe work because it improves torch access in cramped undercarriage positions and supports controlled, short welds on thin wall tubing. With correct wire, shielding gas, and low heat settings, clean joints are achievable even on aged or aluminized pipe. Proper cleaning, fit-up, and trigger discipline reduce blow-through and distortion. In tight spaces, what matters more than reach and control when sealing an exhaust seam?