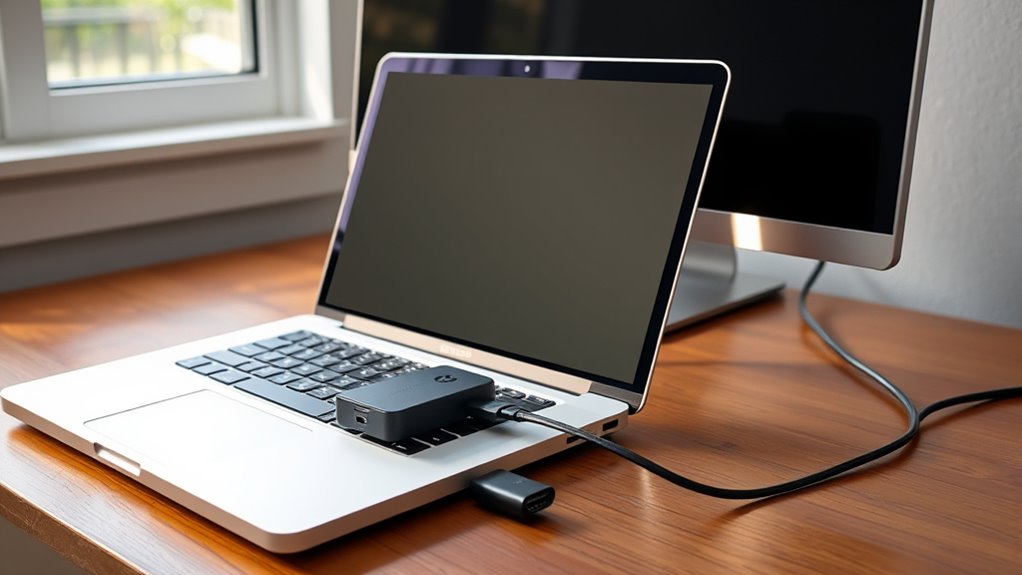
To connect a MacBook to a DisplayLink set box, install DisplayLink Manager from the official site first. Then connect the dock or box to power and plug it into the Mac with the correct cable or adapter. Next, grant Screen Recording permission in System Settings so the displays can work properly. After that, open Displays settings to arrange screens and set resolution. For clamshell use, keep the MacBook on power. More fixes appear below.
Key Takeaways
- Install the latest DisplayLink Manager on your Mac from the official DisplayLink website.
- Connect the DisplayLink set box to power and your Mac using the correct Thunderbolt, HDMI, or adapter cable.
- Grant Screen Recording permission in System Settings so DisplayLink can detect and mirror external displays.
- Open Displays settings to arrange monitors, set resolution, and confirm the dock is enabled.
- For clamshell mode, keep the MacBook plugged into power, close the lid fully, and restart if displays fail to appear.
Install DisplayLink Manager on Mac
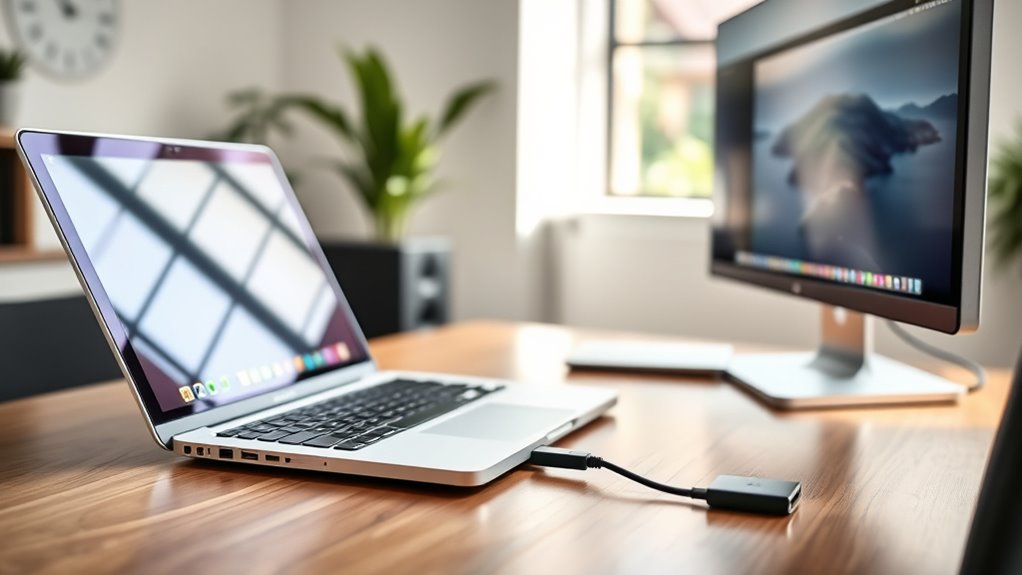
To install DisplayLink Manager on a Mac, the user should first download the correct version for their macOS from the official DisplayLink website. This step helps install the DisplayLink Manager without unnecessary obstacles and keeps the setup aligned with the system’s needs.
After the download finishes, the file should be opened by double-clicking it. In the installer, the user should select Continue in the Introduction, then agree to the software license agreement. Next, choose Install, enter the system password when prompted, and click Install Software to complete the process.
Open the installer, click Continue, accept the license, then install the software with your system password.
Once installation ends, open System Preferences and grant DisplayLink Manager screen recording access. In Security & Privacy, the user must authorize changes before approval.
Finally, configure notifications and enable automatic startup so the tool is ready each time the Mac begins, supporting a freer, smoother workspace.
Connect Your DisplayLink Dock
The DisplayLink dock should be powered on and connected to the MacBook with the correct Thunderbolt or HDMI cable.
Once the software is installed, attaching the dock allows macOS to detect the device and begin recognizing external displays.
If needed, DisplayLink Manager can then be used to confirm the connection and adjust display settings.
Power And Cable Setup
A proper power and cable setup helps guarantee the DisplayLink dock functions reliably with the MacBook. First, connect the DisplayLink dock to a power source using the display’s power cable so it receives stable energy. Next, choose a compatible video cable, such as Thunderbolt or HDMI, and link the dock to the MacBook. Match each port carefully; if the ports differ, use an adapter to bridge the gap without forcing a fit. For multiple screens, attach the highest-resolution display first to support strong performance and cleaner output. Ascertain the display is powered on and fully connected.
| Item | Action | Result |
|---|---|---|
| Power cable | Connect dock to power | Stable operation |
| Video cable | Use Thunderbolt or HDMI | Signal transfer |
| Ports | Match correctly | Secure link |
| Adapter | Use if needed | Compatibility |
| First display | Connect highest resolution | Better performance |
Mac Detection Steps
With the power and cable setup complete, the MacBook can be checked for DisplayLink recognition. It should be running macOS 12 Monterey or later to support DisplayLink devices properly.
The dock should stay connected through Thunderbolt or HDMI, and the external display must remain powered on. After installation, the DisplayLink Manager application should be opened to manage connected displays and grant any required permissions.
Next, System Preferences > Displays should be reviewed to confirm that the external screen appears and is configured correctly. If the display is still absent, the MacBook should be restarted.
Every cable, port, and power source should then be checked again. A secure setup helps free the user from avoidable connection problems and restores access to the wider desktop.
Grant Screen Recording Access
Screen Recording access should be enabled in System Preferences under Security & Privacy, then the Privacy tab, where Screen Recording appears in the left sidebar.
DisplayLink Manager should be checked to allow screen capture, and the lock icon may need to be opened with an admin password before changes can be made.
After access is granted, DisplayLink Manager should be restarted to verify that the permission is active.
Enable Screen Recording
| Action | Result |
|---|---|
| Open Security & Privacy | Reach permission settings |
| Select Screen Recording | Locate the control |
| Check DisplayLink Manager | Grant access |
| Restart the app | Apply changes |
After permission is enabled, the DisplayLink Manager application should be restarted so the new setting takes effect. This frees the MacBook to communicate properly with the Display Link Set Box.
Verify DisplayLink Access
To verify DisplayLink access, the user should open System Preferences and go to Security & Privacy.
In the Privacy tab, they should select Screen Recording and confirm that DisplayLink Manager is checked. If the box is grayed out, the lock icon must be clicked and the system password entered to allow changes.
This step grants the software the freedom to capture the display signal it needs. After access is enabled, DisplayLink Manager should be restarted so the permission change takes effect.
The user should then look for the DisplayLink Manager icon in the Menu Bar, which confirms the app is running with proper screen recording permission and ready to support the MacBook connection.
Adjust Mac Display Settings for DisplayLink
Open Apple menu > System Settings (or Preferences) > Displays to adjust the Mac’s DisplayLink-related display options. From there, the user can organize each connected screen, set resolution, and confirm that DisplayLink appears as expected.
If DisplayLink Manager is installed, screen recording access should remain enabled in System Preferences so the desktop output stays stable and responsive. On many setups, the DisplayLink Manager application also lets the user toggle individual displays on or off, giving direct control over a multi-monitor workspace.
On M1 and M2 Macs, rotation changes are handled inside DisplayLink Manager, while Intel Macs can usually rotate displays through macOS System Preferences.
Notifications should also be reviewed in Notifications & Focus settings, where the “Allow notifications when mirroring or sharing the display” option can be enabled. These adjustments help maintain a freer, cleaner, and more usable desktop arrangement.
Use Clamshell Mode With Displaylink
With the MacBook connected to power, Clamshell Mode can be used with DisplayLink by keeping DisplayLink Manager installed and running.
Then, adjust Energy Saver settings so the system does not sleep when the lid is closed. This setup lets the MacBook drive external displays while the internal screen rests, freeing the workspace from clutter and constraint.
The lid must close fully, because a partially open lid will block Clamshell Mode. DisplayLink Manager should remain active so external monitors stay recognized and stable.
If the feature does not engage, verify power, cable seating, and all DisplayLink connections. After any setting changes, a restart may help the system apply them cleanly.
Once configured, Clamshell Mode offers a simple path to a more open, efficient desk setup, with the MacBook serving quietly in the background while the external display takes center stage.
Fix Display Rotation and Display Toggling
Once the MacBook is connected and DisplayLink is running, display rotation and display toggling can be managed from the appropriate interface. For Intel Macs, rotation is adjusted in macOS System Preferences; M1/M2 Macs use the DisplayLink Manager Application. On M1/M2 Macs running macOS 12 Monterey or later, rotation is supported, while earlier versions may not offer it.
Once connected, DisplayLink lets you rotate and toggle displays easily in the proper Mac interface.
- Open DisplayLink Manager and confirm the menu bar icon appears.
- If the icon is missing, the app may not be active.
- Hover over display names to reveal the red identification box and match each screen.
- Toggle any connected display on or off directly in DisplayLink Manager to control the workspace.
This setup gives users direct command over their screens, reducing friction and keeping the desktop aligned with their preferred flow.
Set Startup, Sleep, and Unlock Options
To keep DisplayLink Manager ready at startup, the MacBook should be configured so the app launches automatically at boot through the appropriate System Preferences settings. This removes needless delays and supports a freer, more seamless workstation. Sleep behavior should also be set with intention, especially for clamshell use on power. In System Preferences, the battery and sleep controls should prevent the MacBook from sleeping when the lid is closed, and inactive sleep can be set to Never for longer sessions.
| Setting | Action |
|---|---|
| Startup | Enable automatic launch |
| Sleep | Set to Never |
| Clamshell | Prevent lid sleep on power |
| Access | Use Apple Watch access |
| Permissions | Allow screen recording |
Apple Watch access can streamline access while external displays remain active. Screen recording permission should be granted in System Preferences so DisplayLink Manager can control displays correctly. Together, these settings preserve continuity and keep the setup ready for productive, unrestricted use.
Fix Common DisplayLink Mac Problems
Even after startup and sleep settings are configured, DisplayLink issues can still appear on a MacBook. The first fix is to confirm the latest DisplayLink Manager is installed, especially on macOS 12 Monterey or newer, so compatibility stays current and users keep control of their workspace.
Even with startup and sleep set, DisplayLink issues can persist on MacBooks.
- Update DisplayLink Manager to the newest version.
- Grant Screen Recording permission in System Preferences.
- Remove conflicting tools such as MacOS Instantview.
- Check clamshell mode, cables, and display controls.
On Intel Macs, display rotation and related settings are adjusted in macOS System Preferences. On M1 or M2 Macs, those controls are handled inside the DisplayLink Manager application.
If the lid is closed, the Mac should be set not to sleep, and every connection should be secure. With these steps, external displays can function more reliably, supporting a freer, less restricted setup.
Frequently Asked Questions
How to Connect Macbook to Displaylink?
To connect a MacBook to DisplayLink, install the compatible DisplayLink Manager, attach the dock by Thunderbolt or HDMI, grant Screen Recording access, confirm the menu bar icon, and enable power-connected clamshell mode for DisplayLink Compatibility.
How Do I Get My Mac to Recognize My Docking Station?
He should install DisplayLink Manager, confirm Docking Compatibility, connect power and video cables, allow screen recording permissions, then restart. If the dock still is not recognized, he should reconnect cables and check Displays settings.
My Displaylink Device Isn’t Working on My Mac. What Can I Do to Fix This?
The issue may be resolved by updating DisplayLink Manager, checking cables and power, granting screen recording permission, confirming clamshell settings, and restarting the Mac. These Troubleshooting Tips restore connectivity and free the workspace from avoidable disruption.
Why Won’t My Mac Connect to My Display?
Troubleshooting Tips: the Mac may not connect because the display link device lacks power, the cable is wrong, DisplayLink Manager is absent, permissions are blocked, or macOS is incompatible. Check each condition methodically and restore connection.
Conclusion
To sum up, connecting a MacBook to a DisplayLink setup is simple when each step is handled in order: install the DisplayLink Manager, connect the dock, grant screen recording access, and adjust display settings. When needed, clamshell mode, rotation fixes, and startup or sleep settings keep the system running smoothly. If problems appear, common DisplayLink issues can usually be resolved with a quick check of permissions, cables, and Mac preferences.