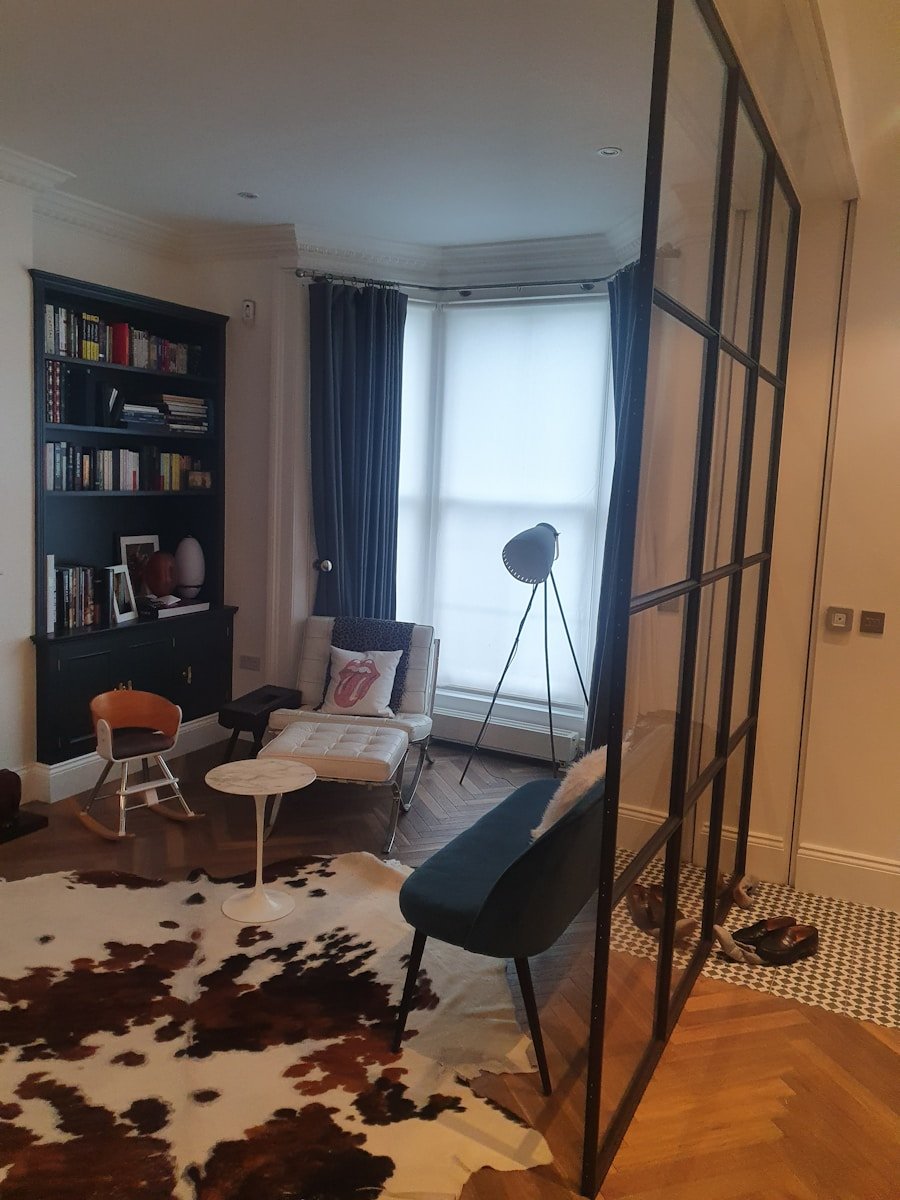
Measuring a room before you buy furniture helps you avoid pieces that block walkways, crowd corners, or fail to fit through the door. A careful room plan also makes your space feel calmer, more balanced, and easier to use every day. Before you order a sofa, bed, dining table, desk, shelving unit, or storage cabinet, you need the room’s full dimensions, the size of openings, and the location of fixed features.
Accurate measurements give you more control over furniture placement, traffic flow, scale, and comfort. You can compare furniture dimensions against the real usable space instead of guessing from a product photo. This guide walks you through the tools you need, the exact steps to measure your room, common mistakes to avoid, and smart ways to plan furniture that fits your home.
Quick Answer
To measure a room for furniture, record the room’s length, width, ceiling height, doorways, windows, outlets, vents, and fixed features. Then measure the furniture and compare it with the available floor space, delivery path, and walking clearance before you buy.
Key Takeaways
- Measure the room, the furniture, and the delivery path before making a purchase.
- Record doors, windows, outlets, vents, radiators, fireplaces, alcoves, baseboards, and built-ins.
- Leave clear walking paths so the room feels open and easy to use.
- Choose furniture that matches the room’s scale instead of relying only on style or photos.
- Create a simple floor plan before moving heavy furniture or ordering large pieces.
At a Glance
| Time Required | 20 to 45 minutes for most rooms |
| Difficulty | Easy, but accuracy matters |
| Tools Needed | Tape measure, pencil, paper, graph paper, phone notes app, and optional laser distance measurer |
| Cost | Free if you already own a tape measure |
Tools Needed for Measuring
Measuring Tools
The most basic yet indispensable tool is a tape measure. A standard retractable tape measure, typically 25 feet long, works well for measuring bedrooms, living rooms, dining rooms, home offices, and larger open spaces. Choose one with clear markings and a lock button so you can measure long walls without the tape sliding back.
You can also use a smaller measuring tape for furniture, lamps, side tables, and tight corners. A rigid ruler or yardstick can help with small details, such as measuring shelf depth, trim, or the gap between a radiator and the wall.
Additional Tools for Larger Spaces
For larger rooms or areas with high ceilings, consider using a laser distance measurer, which can provide quick and accurate measurements with minimal effort. These devices are particularly useful for measuring distances that are difficult to reach with a traditional tape measure.
A laser measurer can also help when you are working alone. You can aim it across the room and record measurements without needing another person to hold the tape. Still, it is smart to double-check important measurements with a tape measure before ordering expensive furniture.
Recording and Visualizing Measurements
In addition to measuring tools, keep a notepad or digital device nearby for recording measurements. Write down each wall separately and label it clearly, such as “window wall,” “door wall,” or “TV wall.” This makes it easier to compare your notes when you start planning the layout.
A level can also be helpful if you plan to hang shelves, mirrors, curtains, or artwork. Graph paper or design software can help you sketch your room layout and test different furniture arrangements before you make any purchases.
Pro Tip: Use one unit of measurement throughout your notes. Mixing inches, feet, and centimeters can lead to mistakes when you compare furniture dimensions.
Step-by-Step Guide to Measuring a Room

Measuring a room involves several steps that require attention to detail and accuracy. Start by clearing the space of any furniture or obstacles that may block your tape measure. If you cannot clear the room completely, move items away from the walls so you can measure from one finished wall surface to the opposite finished wall surface.
1. Measure the Length and Width of the Room
Begin by measuring the length of the room. Place one end of the tape measure against one wall and extend it straight to the opposite wall. Write down the measurement immediately. Then measure the width of the room the same way.
For older homes or rooms with uneven walls, measure in more than one spot. Take one measurement near the front of the room, one near the middle, and one near the back. Use the smallest measurement when planning a tight furniture fit.
2. Measure the Ceiling Height
Next, measure the height of the walls from floor to ceiling. This measurement matters if you plan to use tall bookcases, wardrobes, bunk beds, armoires, floor lamps, or wall-mounted storage.
Ceiling height also affects how a room feels. Low ceilings may work better with lower-profile furniture, while taller rooms can handle taller storage pieces or vertical decor.
3. Measure Doors, Hallways, and Entry Points
Measure every doorway that furniture must pass through. Record the door opening width, door opening height, and the space available when the door is open. If possible, measure with the door fully open so you know the true usable opening.
Do not stop at the room itself. Measure hallways, staircases, elevators, tight turns, landings, and exterior doors. Large sofas, sectionals, mattresses, dining tables, and cabinets often fail to fit because the delivery path was not measured first.
Warning: A piece of furniture can fit inside the room but still fail to reach the room. Always measure the delivery route before buying large or heavy items.
4. Measure Windows and Fixed Features
Take note of any architectural features such as windows, doors, fireplaces, alcoves, columns, built-in shelves, radiators, vents, baseboards, and sloped ceilings. Measure the width, height, and placement of these features because they affect where furniture can sit.
For windows, record the distance from the floor to the bottom of the window, the window height, and the distance from the window edge to nearby corners. This helps you decide whether a sofa, desk, bed, or dresser can sit under or beside the window.
5. Mark Outlets, Switches, and Vents
Record the location of outlets, light switches, cable ports, internet ports, thermostats, floor vents, wall vents, and return air grilles. Furniture can block these features if you do not plan around them.
This step is especially important for home offices, TV rooms, bedrooms, and living rooms. You want your desk near power, your media console near cable access, and your bed or sofa placed without covering important air flow.
6. Create a Simple Floor Plan
Once you have all measurements, draw a basic floor plan. You do not need professional drafting skills. Draw the room shape, label each wall, and mark openings, windows, outlets, vents, and fixed features.
Use graph paper if you want a more accurate layout. For example, one square can equal one foot. Then draw furniture pieces to scale and move them around on paper before moving anything in the real room.
Common Mistakes to Avoid
| Mistake | Impact | Prevention |
|---|---|---|
| Forgetting to measure the delivery path | Furniture may fit the room but fail to pass through doors, halls, stairs, or elevators | Measure all entry points, turns, stairways, landings, and hallways before ordering |
| Ignoring door swings and drawers | Doors, drawers, cabinets, and recliners may hit walls or other furniture | Allow extra clearance for doors, drawers, recliners, and pull-out beds |
| Measuring only one wall in uneven rooms | Older rooms may have slight differences that affect tight furniture placement | Measure each wall and repeat key measurements in more than one spot |
| Blocking vents, outlets, or windows | The room may become less comfortable, less practical, or harder to use | Mark fixed features on your floor plan before choosing a layout |
While measuring may seem straightforward, several common mistakes can lead to inaccurate planning and frustration later on. One frequent error is neglecting to account for baseboards, moldings, and trim when measuring wall lengths. These details can slightly reduce the available space for furniture placement.
Another mistake is failing to measure doorways and hallways. A sofa, cabinet, or mattress may look perfect online, but it can become a problem if it cannot pass through your front door or turn through a hallway.
It is also easy to misread numbers or write measurements in the wrong place. To reduce this risk, always take multiple measurements and compare them before finalizing your layout. When a furniture piece has a tight fit, measure again before you buy.
Understanding Furniture Scale and Proportion
Once you have accurate measurements of your room, it is essential to understand scale and proportion when selecting furniture. Scale refers to the size of an object in relation to its surroundings. Proportion refers to how different pieces in the room relate to one another in size, shape, and visual weight.
Choosing furniture that is appropriately scaled for your room helps the space feel balanced. In a small room, oversized furniture can make the area feel cramped and difficult to move through. In a large room, very small furniture may look lost and disconnected.
A good rule of thumb is to select pieces that support the room’s function without overpowering the layout. For example, if you have a large living room but want a cozy seating area, a sectional sofa can help fill the space while still creating an inviting zone.
How to Check Furniture Scale Before Buying
Start by reviewing the furniture’s full dimensions, including width, depth, height, seat height, arm height, and extended depth for recliners or sleeper sofas. Then mark those dimensions on your floor with painter’s tape.
Walk around the taped area as if the furniture were already there. Check whether you can open doors, reach outlets, move between pieces, and use the room comfortably. This simple test can prevent expensive buying mistakes.
A room does not need more furniture to feel finished. It needs the right furniture, placed with enough space to move, sit, open, reach, and live comfortably.
Tips for Arranging Furniture in a Room

Designing for Socializing
In a living room designed for socializing, arrange seating in a way that encourages conversation. For example, position sofas and chairs facing each other rather than pushing every piece against the walls.
Keep side tables close enough to reach from seats. If you use a coffee table, leave enough space to walk around it without bumping your legs. A comfortable layout should feel natural, not squeezed.
Optimizing for Productivity
If the room serves as a home office, place your desk in a way that maximizes natural light while minimizing distractions. Also check outlet locations before deciding where the desk should go.
Measure the depth of your chair when it is pulled out from the desk. Many people measure the desk but forget the chair clearance. You should have enough space to sit, roll back, and stand comfortably.
Creating a Functional Space
Maintaining clear pathways for movement throughout the space is another important part of furniture arrangement. Aim for at least 18 inches of walking space between pieces of furniture for basic movement. Wider paths may feel better in busy areas, shared rooms, and homes with children, pets, or mobility needs.
Consider using area rugs to define different zones within an open floor plan. A rug can help separate a seating area from a dining area, reading corner, or workspace while adding warmth and visual interest.
Note: If the room feels crowded on paper, it will usually feel even tighter in real life. Leave more open space than you think you need.
Customizing Furniture to Fit a Room
In some cases, standard furniture sizes may not suit your specific needs or preferences. Customizing furniture can be an excellent solution for achieving a better fit within your space. Many manufacturers offer customizable options that allow you to select dimensions, fabrics, finishes, storage features, and configurations.
For instance, if you have an oddly shaped nook in your living room, consider a built-in bench or shelving unit that maximizes storage while fitting the architecture. A custom banquette, narrow console, wall shelf, or corner desk can make awkward space more useful.
Modifying existing furniture can also improve the fit within your room. Simple changes such as reupholstering chairs, changing legs, adding casters, replacing hardware, or removing a bulky base can make a piece work better in your layout.
If you enjoy DIY projects, building simple furniture from scratch gives you complete control over dimensions and design. This can be useful for narrow entryways, small apartments, attic rooms, alcoves, and multipurpose spaces.
How to Measure Furniture Before Bringing It Home
Measuring the room is only half of the process. You also need to measure the furniture itself. For each piece, record the width, depth, and height. For seating, measure seat depth, back height, and arm height. For storage pieces, measure door swing, drawer extension, and shelf depth.
If you are buying online, compare the listed product dimensions with your room plan. If you are shopping in person, bring your tape measure and room notes with you. Do not rely only on how furniture looks in a showroom because large retail spaces can make oversized pieces appear smaller.
Furniture Measurements to Check
- Sofas and sectionals: overall width, depth, back height, seat depth, chaise length, and diagonal depth.
- Beds: frame width, frame length, headboard height, and clearance around the bed.
- Dining tables: table length, width, height, chair pull-out space, and walking clearance.
- Dressers and cabinets: width, depth, height, drawer extension, and door swing.
- Desks: desktop depth, chair clearance, outlet access, and space behind the chair.
- Bookcases and shelves: height, width, depth, wall clearance, and anchoring needs.
Conclusion and Final Tips for Measuring a Room for Furniture
Measuring a room accurately is an essential skill that lays the foundation for successful interior design and furniture arrangement. By using the right tools and following a simple process, you can make sure your chosen pieces fit the room, match the scale of the space, and support the way you live.
Remember to avoid common pitfalls such as ignoring architectural features, skipping the delivery path, blocking vents, or failing to double-check measurements. A few extra minutes with a tape measure can save you from costly returns, cramped layouts, and frustrating moving problems.
As you arrange your furniture, keep pathways clear and consider how each piece contributes to the overall flow of the room. If standard furniture does not work, consider custom, modular, or modified pieces. Whether you are decorating a new home or rearranging an existing space, thoughtful measuring will help you create a room that feels comfortable, practical, and visually balanced.
If you’re looking to spruce up your living space with new furniture, it’s important to first measure the room to ensure everything fits just right. Planning ahead helps you choose pieces that fit your layout, your delivery route, and your everyday routine.
Frequently Asked Questions
What tools do I need to measure a room for furniture?
You will need a tape measure, a pencil, and a piece of graph paper to measure a room for furniture. A phone notes app, laser distance measurer, and level can also help, especially for larger rooms or wall-mounted items.
What are the key measurements to take when measuring a room for furniture?
The key measurements include the length and width of the room, ceiling height, doorway size, hallway access, window placement, outlet locations, vents, and any architectural features such as alcoves, fireplaces, columns, or built-in furniture.
How do I measure the dimensions of furniture to ensure it fits in the room?
Use a tape measure to record the furniture piece’s length, width, height, and depth. For items with moving parts, also measure drawer extension, door swing, recliner depth, or sleeper sofa pull-out space. Compare these numbers with your room plan before buying.
What are some tips for accurately measuring a room for furniture?
Measure multiple times, label every wall, record obstacles, and use the smallest measurement when a space is tight. Also measure the delivery path, including doors, hallways, stairs, elevators, and turns.
How can I use a floor plan to help measure a room for furniture?
Creating a floor plan helps you visualize the space and test furniture placement before making purchases. Draw the room to scale, mark doors and windows, then add furniture dimensions to see how each piece fits.
How much walking space should I leave between furniture?
Leave at least 18 inches for basic walking space between furniture pieces. In main traffic paths, wider clearance usually feels better, especially in family rooms, dining rooms, and shared living spaces.
Sources
- ADA Design Standards — useful reference for clearance and accessible route planning.
- U.S. Consumer Product Safety Commission Furniture Tip-Over Information Center — safety guidance for anchoring and placing furniture.
- Utah State University Extension: Furniture Arrangement — practical guidance on arranging furniture for function and flow.

1 thought on “Measuring a Room for Furniture: A Step-by-Step Guide”