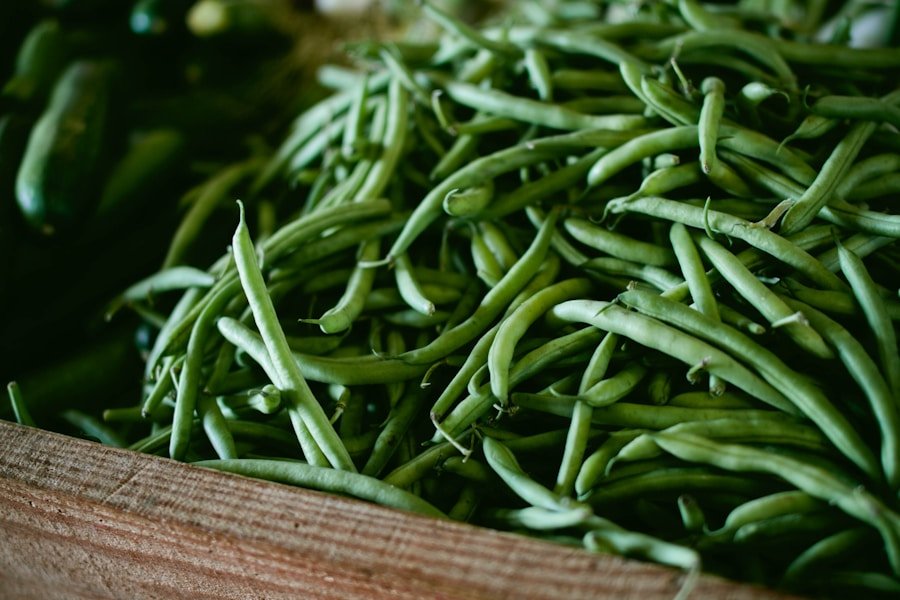
Blanching green beans is one of the easiest ways to keep them bright, crisp, and ready for salads, side dishes, casseroles, and freezer storage. The method is simple: trim fresh beans, boil them briefly, then cool them fast in ice water so they stop cooking at the right moment.
When you blanch green beans correctly, you protect their fresh color, improve their texture, and make them easier to use later. The key is timing. Thin beans need less time, thicker beans need a little more, and every batch should go straight from boiling water into an ice bath.
Quick Answer
To blanch green beans, trim and rinse them, boil them in salted water for about 2 to 5 minutes, then transfer them immediately to ice water. Drain and dry them well before adding them to salads, storing them in the refrigerator, or freezing them for later use.
Key Takeaways
- Choose bright green, firm beans with no soft spots, wrinkles, or dull patches.
- Trim the ends and sort the beans by size so they cook evenly.
- Boil thin green beans for about 2 to 3 minutes and thicker beans for about 4 to 5 minutes.
- Move the beans straight into ice water to stop cooking and protect their crisp texture.
- Dry the beans well before using them in salads or storing them so they do not turn watery.
At a Glance
| Time Required | 15 to 20 minutes from trimming to draining |
| Difficulty | Easy |
| Tools Needed | Large pot, colander or slotted spoon, large bowl, ice, water, clean towel, knife or kitchen scissors |
| Cost | Low, especially when green beans are in season |
Why Perfectly Blanched Green Beans Matter
Blanching green beans is a quick cooking technique that serves several useful purposes. It improves flavor, softens the beans just enough, and helps them stay bright green instead of turning dull or limp.
The process also slows the natural enzyme activity that can reduce color, flavor, and texture during storage. This matters most when you plan to freeze green beans or prepare them ahead for salads and meals.
Perfectly blanched green beans should taste fresh and slightly sweet. They should feel tender when you bite them, but they should still have a pleasant snap. That crisp-tender texture makes them useful in cold salads, warm grain bowls, casseroles, pasta dishes, and simple side plates.
Overcooked green beans lose that appeal quickly. They can become soft, watery, and olive-colored. Good blanching prevents that problem by giving the beans a short burst of heat followed by rapid cooling.
Choosing the Right Green Beans
Selecting the right green beans is the first step toward a better final dish. Fresh beans should look bright green and feel firm when you touch them. Avoid beans with wrinkles, brown spots, soft patches, or slimy areas.
Common options include standard green beans and French green beans, also called haricots verts. French green beans are thinner and more tender, so they usually cook faster. Standard green beans are thicker and often need a little more time in boiling water.
Seasonality can also affect flavor and texture. Green beans are often at their best from late spring through early fall, depending on your area. During that time, they tend to taste sweeter and feel more tender.
You can use grocery-store beans, farmers market beans, or garden beans for blanching. The most important factor is freshness. Beans that snap cleanly when bent are usually fresher than beans that bend without breaking.
Note: If your beans vary a lot in thickness, separate them into small and large groups. Blanching similar sizes together gives you better texture and more even cooking.
Preparing the Green Beans for Blanching
Preparation is a small step, but it makes a big difference. Start by washing the green beans under cold running water. Rub them gently with your fingers to remove any dirt or debris.
After rinsing, trim the stem end from each bean. You can also trim the pointed tail end if you prefer a cleaner look, but it is not always necessary. Some cooks leave the tail end on for a more rustic presentation.
If the beans are long, cut them into shorter, even pieces. This helps them fit better in salads and makes serving easier. Try to keep the pieces close in size so they blanch at the same rate.
Once the beans are trimmed, gather everything before you start cooking. Set up the pot, ice bath, colander, and towel in advance. Blanching moves quickly, so you do not want to search for tools while the beans are already boiling.
The Blanching Process
The blanching process is simple, but timing matters. Use a large pot so the water stays hot when you add the beans. If you add too many at once, the water temperature drops and the beans may cook unevenly.
| Blanching Process Metrics | Value |
|---|---|
| Temperature | Boiling water, about 100°C or 212°F |
| Time | About 2 to 5 minutes for most green beans |
| Water Consumption | Use enough water so the beans move freely in the pot |
| Energy Consumption | Varies by stove, pot size, water volume, and batch size |
| Effect on Nutrients | Short cooking helps preserve color and texture, while overcooking can reduce quality |
Bring a large pot of water to a rolling boil. Add salt if you want the beans to taste seasoned from the inside. A common approach is to salt the water lightly, much like you would for vegetables or pasta.
Add the prepared green beans to the boiling water. Work in batches if needed so the beans have room to move. Stir gently once or twice during cooking to prevent clumping and help the beans heat evenly.
For thin French green beans, start checking after 2 minutes. For standard green beans, check around 3 to 4 minutes. Thicker beans may need closer to 5 minutes, depending on the texture you want.
Warning: Do not walk away from the pot. Green beans can move from crisp-tender to soft very quickly, especially if they are thin or very fresh.
Testing for Doneness
Testing for doneness helps you avoid overcooked beans. The easiest method is to taste one bean. It should feel tender but still have a slight snap when you bite into it.
You can also judge doneness by color and texture. Perfectly blanched green beans should look bright green and slightly glossy. If they look dull, olive-colored, or wrinkled, they may have cooked too long.
Use your fingers or a fork to check tenderness. A bean should bend slightly and feel cooked, but it should not collapse or feel mushy. If the beans are still too firm, give them another 30 seconds and test again.
When making green beans for salads, aim for a firmer texture. The beans will be easier to toss with dressing and will hold up better in the refrigerator.
Cooling and Draining the Green Beans
Once your green beans reach the right texture, cool them immediately. This step is often called shocking. It stops the cooking process and helps protect the beans’ color and crunch.
Before blanching, fill a large bowl with cold water and plenty of ice. As soon as the beans are done, use a slotted spoon, spider strainer, or colander to move them into the ice bath.
Let the beans sit in the ice bath for about 5 minutes, or until fully cooled. Stir them once or twice so every bean cools evenly. This is especially helpful when you are blanching a large batch.
After cooling, drain the beans thoroughly. Spread them on a clean kitchen towel or paper towels and pat them dry. Removing excess water keeps salads from tasting diluted and helps dressings cling better.
Pro Tip: For the best salad texture, dry the beans well before dressing them. Wet beans can make vinaigrettes slide off and pool at the bottom of the bowl.
Common Blanching Mistakes to Avoid
Even though blanching is easy, a few small mistakes can affect the final result. The most common mistake is boiling too many beans at once. Overcrowding cools the water and can leave some beans undercooked while others soften too much.
Another mistake is skipping the ice bath. Cold running water can help in a pinch, but an ice bath cools the beans faster and more evenly. That fast cooling is what keeps the texture crisp.
Overcooking is also easy to do. Start testing early, especially with thin beans. You can always cook beans a little longer, but you cannot bring back their crunch once they become mushy.
Finally, avoid storing beans while they are still wet. Extra moisture can make them soggy in salads and may shorten their refrigerator life.
Incorporating Blanched Green Beans into Salads
Blanched green beans are excellent in salads because they bring color, crunch, and fresh flavor. Their mild taste works well with bright dressings, salty cheeses, grains, nuts, herbs, and roasted vegetables.
For a simple Mediterranean-style salad, toss blanched green beans with cherry tomatoes, red onion, feta cheese, olive oil, and balsamic vinegar. Add fresh parsley or basil for a brighter finish.
You can also make a warm salad with blanched green beans, roasted potatoes, grilled chicken, and a mustard vinaigrette. The mix of warm ingredients and crisp beans creates a satisfying contrast.
For a heartier option, add blanched green beans to quinoa, farro, or pasta salad. Toasted almonds, walnuts, or sunflower seeds add crunch, while lemon juice or vinegar balances the flavor.
Other Ways to Use Blanched Green Beans
Blanched green beans are not just for salads. You can sauté them quickly with garlic and olive oil, toss them into stir-fries, add them to casseroles, or serve them as a chilled snack with dip.
They also work well in meal prep because they are already partly cooked. Add them to lunch bowls with rice, chicken, tofu, boiled eggs, or roasted vegetables. Since they are crisp and mild, they pair well with many sauces and dressings.
If you want a fast side dish, warm the blanched beans in a skillet with butter, lemon zest, and black pepper. Since the beans are already tender, they only need a short time in the pan.
Tips for Storing Blanched Green Beans
Proper storage keeps blanched green beans fresh and useful after preparation. If you plan to use them within a few days, dry them well and place them in an airtight container in the refrigerator.
For best texture, use refrigerated blanched green beans within about 3 to 5 days. They may last longer in some cases, but they taste best when eaten sooner.
For longer storage, freeze them. After blanching, cooling, and draining, spread the beans in a single layer on a parchment-lined baking sheet. Freeze them until solid so they do not clump together.
Once frozen, transfer the beans to freezer-safe bags or containers. Press out as much air as possible before sealing. Label the container with the date so you know when you prepared them.
When you are ready to use frozen blanched green beans, you usually do not need to thaw them first. Add them directly to soups, stir-fries, casseroles, or hot skillets. For salads, thaw and dry them before mixing with dressing.
If you’re looking to upgrade your kitchen appliances, you may want to check out this article on the 5 Most Compact Microwaves for Your Office Kitchen. These microwaves are useful for small spaces and can help with cooking and reheating meals. If you’re interested in adding more smart technology to your kitchen, you might also enjoy reading about the 3 Best Smart Pressure Cookers with Wi-Fi. These appliances can help you cook meals faster and more efficiently. And if you need a heavy-duty doorstop for your kitchen or any other room in your home, be sure to check out the 5 Top Doorstops for Heavy Doors.
Frequently Asked Questions
What is blanching?
Blanching is a cooking technique that briefly cooks food in boiling water and then quickly cools it in ice water. For green beans, this helps create a crisp-tender texture and bright green color.
Why should green beans be blanched for salads?
Blanching makes green beans tender enough to eat in salads while keeping them crisp and colorful. It also removes surface dirt after washing and gives the beans a cleaner, fresher bite.
How do you blanch green beans for salads?
Bring a large pot of water to a rolling boil, add trimmed green beans, and cook them for about 2 to 5 minutes. Transfer them immediately to ice water, cool them fully, then drain and dry them before adding them to salad.
How long should green beans be blanched?
Thin green beans usually need about 2 to 3 minutes. Standard green beans often need about 3 to 5 minutes. Start testing early and remove them when they are tender but still crisp.
Can blanched green beans be prepared in advance for salads?
Yes. After blanching, cool the beans in ice water, dry them thoroughly, and store them in an airtight container in the refrigerator. For best quality, use them within about 3 to 5 days.
Can blanched green beans be frozen for later use in salads?
Yes. Cool the blanched beans in ice water, dry them well, freeze them in a single layer, and then move them to a freezer-safe bag or container. Thaw and dry them before using them in salads.
Do you need to salt the water when blanching green beans?
You do not have to salt the water, but lightly salted water can improve flavor. If you are watching sodium, you can skip the salt and season the beans later with herbs, lemon juice, vinegar, or spices.


2 thoughts on “Perfectly Blanched Green Beans for Salads: A Step-by-Step Guide”