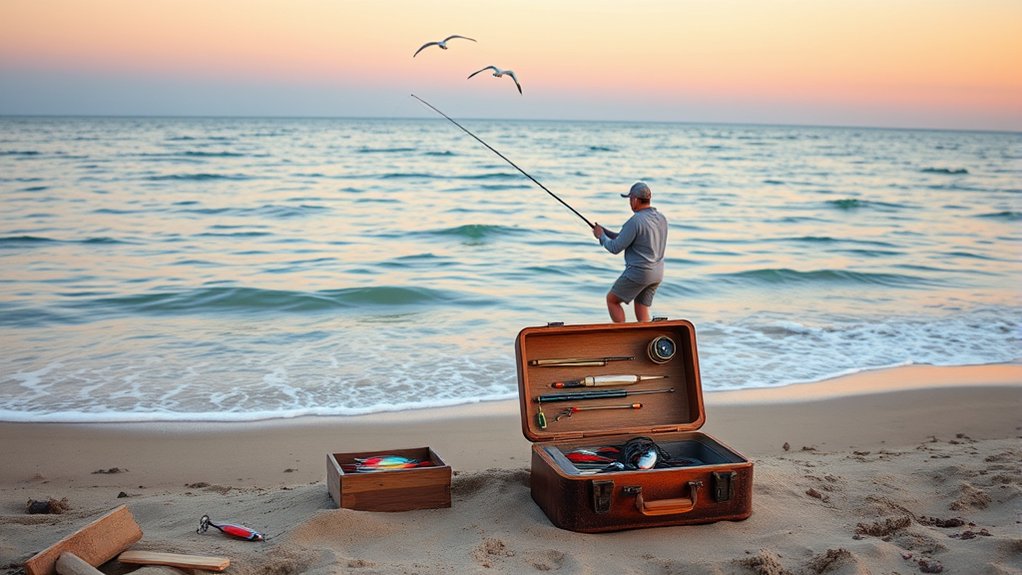
Coastal fishing for beginners is simplest when you choose one type of water first and match your gear to it. A 7-foot medium-power spinning rod is a practical starting point for many light inshore situations, while surf fishing usually needs a longer rod that can safely cast heavier sinkers and bait. Before every trip, check local fishing rules, tides and currents, marine weather, and beach hazards. Then fish structure and moving water with one simple bait rig or lure setup.
Last updated: September 11, 2026
Quick Answer
For beginner coastal fishing, first decide whether you will fish light inshore water, a pier or jetty, or open surf. Match the rod, reel, line, leader, and sinker to that location and the rod’s printed ratings. Carry legal bait or simple lures, pliers, a measuring tool, sun protection, water, and appropriate safety gear. Check local regulations and current conditions before fishing, then focus on moving water, structure, troughs, channels, and visible bait activity.
Key Takeaways
- Match your tackle to the place you are fishing instead of trying to use one coastal setup everywhere.
- A 7-foot medium-power spinning rod with a 2500 to 3000 size reel is a practical starting point for many light inshore situations, but open surf often requires longer, heavier-rated tackle.
- Rod power, rod action, line rating, and lure or casting-weight rating are different specifications; check all of them before choosing a sinker or lure.
- Tides, currents, wind, water clarity, bait movement, and local structure often matter more than maximum casting distance.
- Check license rules, size and bag limits, seasons, protected species, weather, surf conditions, and tide information before you fish.
- Handle released fish with wet hands, minimize air exposure, and use the correct hook-setting technique for the hook you are fishing.
At a Glance
| Time Required | Flexible; for a first trip, choose a manageable session that fits the local tide, daylight, weather, and safe access window |
| Difficulty | Beginner-friendly, with a learning curve for tides, knots, casting, rig selection, and fish handling |
| Tools Needed | Rod, reel, line, leader, hooks, sinkers, swivels, bait or lures, pliers, landing tool when needed, measuring tool, required license or permit, sunscreen, drinking water, and appropriate safety gear |
| Cost | Varies by rod quality, reel size, tackle, bait, local license fees, and the safety equipment required for your fishing location |
Understanding Saltwater Fishing
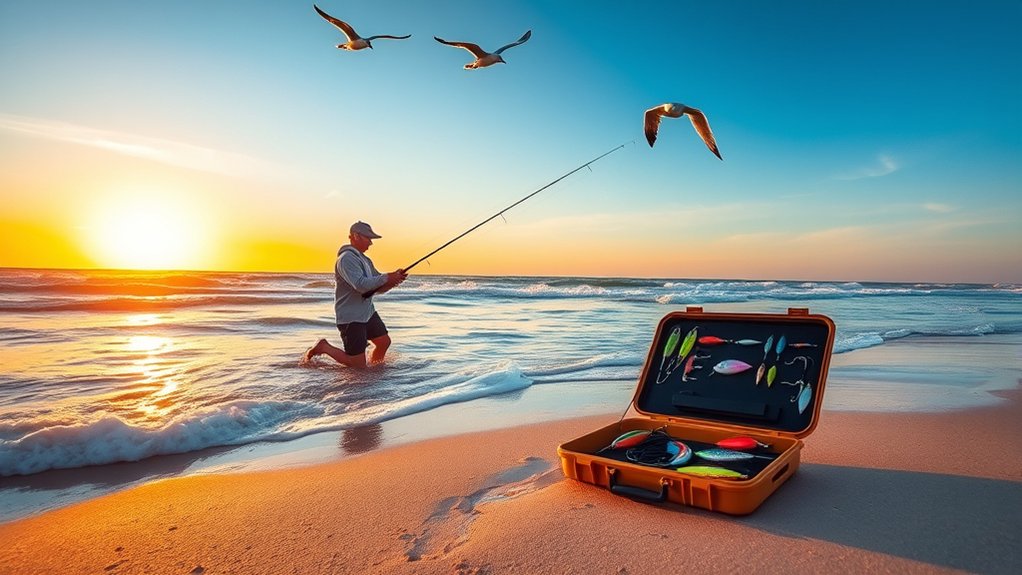
Saltwater fishing changes with the water around you. Tides raise and lower water level, tidal and wind-driven currents move water horizontally, waves reshape exposed beaches over time, and wind affects casting and surface conditions. You may fish from beaches, piers, jetties, seawalls, bridges, flats, mangroves, bays, passes, inlets, or boats. Each environment creates different tackle and safety demands.
Salt exposure can corrode reels, hooks, swivels, guides, and pliers. Choose equipment intended to tolerate saltwater use, rinse exposed gear gently with fresh water after a trip, and let it dry before storage. Follow the reel and rod manufacturer’s maintenance instructions when they differ from general advice.
Coastal fishing can put you around many species, but the legal target depends on your region, season, water, gear, and current regulations. Before keeping a fish, confirm its identification and check license requirements, size limits, bag limits, seasons, closed areas, gear restrictions, and protected-species rules with the appropriate state or regional wildlife agency.
Onshore methods such as pier fishing and surfcasting differ from offshore methods that target deeper water. From shore, productive features may include troughs, points, channels, current seams, rocks, pilings, grass edges, bait schools, and areas where moving water concentrates food. Dawn and dusk can be useful feeding windows, but tide, current, weather, season, and local patterns can matter just as much.
Note: Saltwater fishing rules change by location and species. Check the responsible wildlife or fisheries agency before every trip, especially when you plan to keep fish.
Essential Gear for Beginners
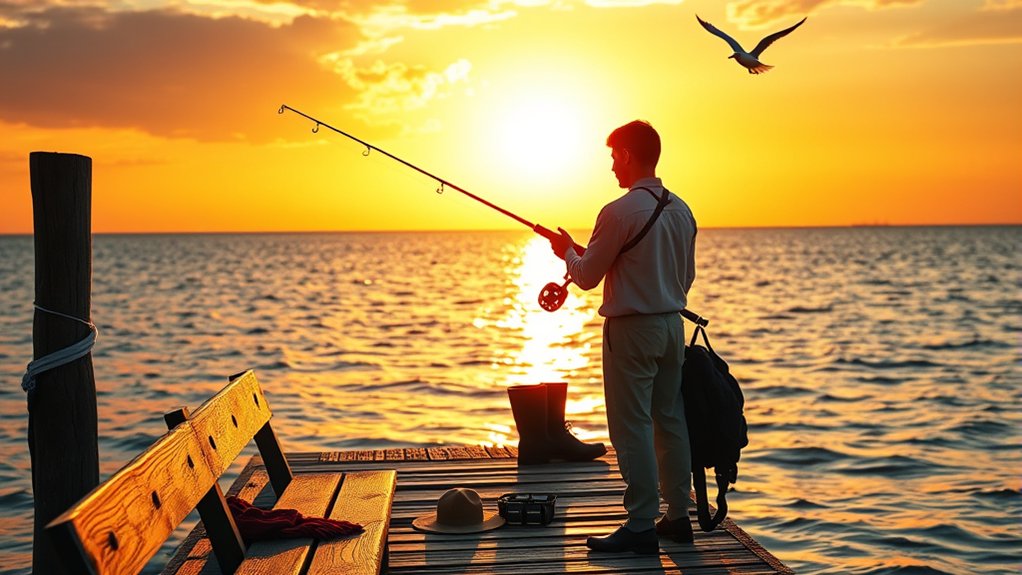
Beginner coastal fishing works best when your setup stays simple, but “simple” does not mean using the same rod everywhere. For many light inshore situations, a 7-foot medium-power spinning rod paired with a 2500 to 3000 size spinning reel gives a manageable starting point for small jigs, soft plastics, spoons, plugs, live bait, and light bottom rigs.
Open surf creates different demands. Longer surf rods can cast heavier sinkers and keep more line above breaking waves. Current surf-rod ranges include 9- and 10-foot models with substantially higher casting-weight ratings than typical light-inshore rods. Whatever you buy, match the total weight of your lure or your sinker, rig, and bait to the rating printed on the rod.
| Fishing Environment | Practical Beginner Starting Point | What Changes the Setup |
|---|---|---|
| Light inshore, docks, protected shoreline | About a 7-foot medium-power spinning rod with a 2500 to 3000 size reel | Target species, lure weight, nearby shells, grass, docks, and current |
| Pier or jetty | Start from a general inshore setup, then step up in power, reel capacity, or leader strength when structure, current, sinker weight, or fish size requires it | Pier height, rocks, pilings, current, landing method, and local target species |
| Open surf or beach | A longer surf-rated spinning rod, commonly around 9 to 10 feet for general beginner use, matched to a reel and line that fit its casting range | Surf height, current, required sinker weight, bait size, casting distance, and target species |
Rod and Reel Choices
Choosing the right rod and reel helps you cast accurately, control fish, and keep your tackle inside its safe working range. Two rod terms matter: power describes how much force it takes to bend the rod, while action describes where the rod bends. A rod can therefore be medium power and fast action at the same time.
- For many light inshore situations, start around a 7-foot medium-power spinning rod.
- A 2500 to 3000 size spinning reel is a practical match for many light-inshore setups, but reel sizing is not standardized perfectly across every manufacturer.
- Check the rod’s line rating and lure or casting-weight rating before choosing line, sinkers, and lures.
- For surf fishing, use a surf-rated rod with enough length and casting capacity for the total sinker, rig, bait, or lure load you plan to throw.
- Look for corrosion-resistant hardware and components appropriate for repeated saltwater exposure.
- Choose graphite, carbon, composite, or other rod construction based on the manufacturer’s intended use rather than assuming one material is automatically best for every beginner.
- Consider a matched saltwater spinning combo when you want a simpler first purchase, but still verify its lure, line, and location suitability.
Do not buy the heaviest rod simply because you are fishing saltwater. Extra power and length add weight and can reduce comfort when you are throwing small lures. Match the rod to your location, total casting load, line, target fish, and landing method.
Fishing Line Options
Fishing line affects casting, bite detection, shock absorption, abrasion resistance, and how much line fits on the reel. Beginners usually choose between monofilament and braid for the main line, then use monofilament or fluorocarbon as leader material when needed.
- Monofilament: Easy to handle, affordable, stretchy, and forgiving when a fish surges near shore.
- Fluorocarbon: Commonly used as leader material where lower visibility or additional abrasion resistance is useful.
- Braided line: Thin for its breaking strength, low-stretch, sensitive, and useful when you want strong bite detection or increased line capacity.
For many light-inshore beginner setups, 10- to 15-pound monofilament or 10- to 20-pound braid can be a workable starting range when it matches the rod and reel ratings. Heavier structure, larger fish, strong current, and surf tackle may require different line. Add an appropriate leader around shells, rocks, docks, jetties, bridge pilings, or fish that can abrade or cut line.
Which Fishing Line Should a Beginner Use?
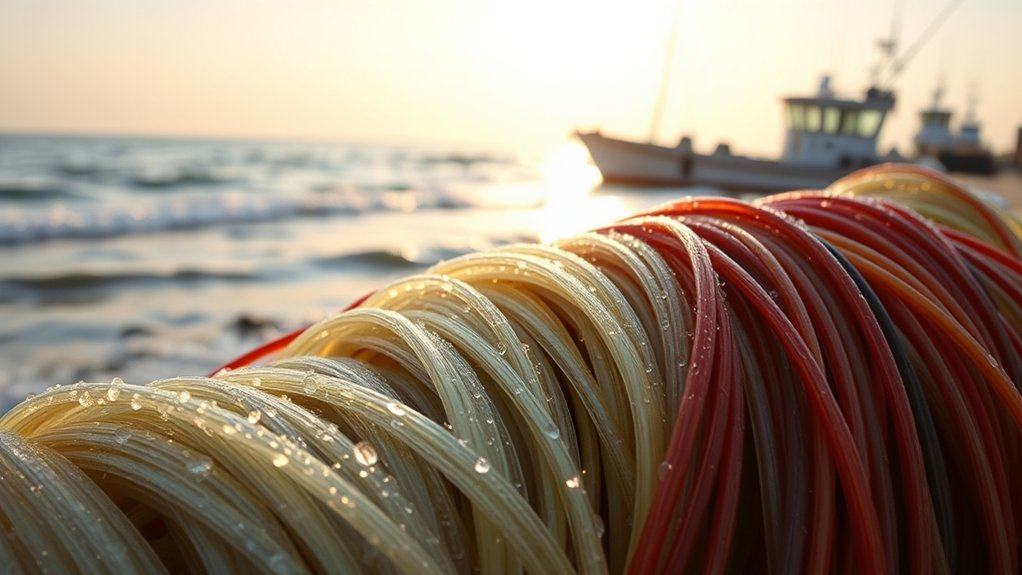
Choose fishing line only after you know the rod, reel, location, and presentation you will use. Start with the line ranges printed on the rod and reel. Then consider abrasion risk, water clarity, current, casting distance, and whether you are fishing bait or actively retrieving lures.
The best beginner line is not simply the strongest option. It is the line that fits the rod and reel while balancing casting, control, shock absorption, bite detection, and abrasion resistance.
- Choose monofilament when easy handling and stretch are more important than maximum sensitivity.
- Choose braid when low stretch, sensitivity, thinner diameter, or extra line capacity is useful.
- Add fluorocarbon or monofilament leader when abrasion resistance, presentation, or local technique calls for it.
- Increase leader strength carefully around structure rather than automatically making the entire main line much heavier.
- Check reel capacity and rod ratings before spooling; do not rely on a generic pound-test recommendation alone.
If you fish a protected shoreline or pier with light tackle, a simple monofilament setup can reduce complexity. If you cast lures around bridges, grass lines, or jetties, braid with a suitable leader can improve sensitivity. In open surf, line choice must also account for heavier casting loads, abrasion, current, and the rod and reel combination.
Terminal Tackle Basics
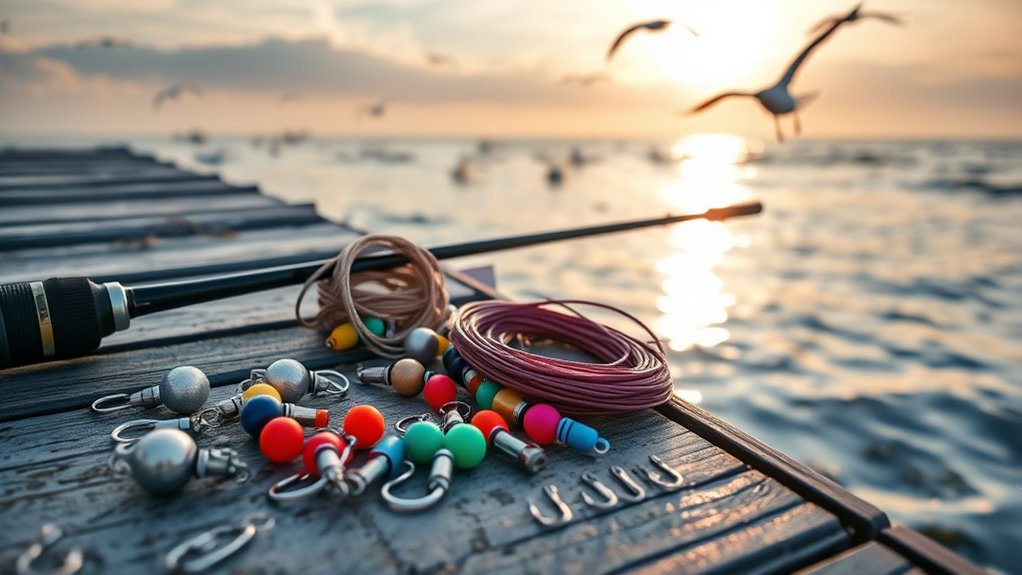
Terminal tackle includes the small components that connect your bait or lure to your fishing line. Hooks, sinkers, swivels, floats, snaps, leaders, beads, and complete rigs all affect presentation and hook-up success. For a beginner, a small organized tackle box built around one or two rigs is more useful than a large box of unfamiliar parts.
There is no universal coastal hook size. Match the hook to the bait, target species, and local regulation. Circle hooks are useful in many natural-bait situations because their design can reduce deep hooking, and some fisheries specifically require circle hooks or particular hook materials. Confirm the rule for the species and water you are fishing before rigging.
Choose the lightest sinker that keeps your bait where you intend it to fish without exceeding the rod’s printed casting-weight range. Pyramid-style sinkers can grip sandy bottom, while sliding sinker arrangements can let a fish move with less immediate resistance. Current, surf height, depth, bottom type, and bait size determine how much weight you actually need.
Swivels can reduce line twist in rigs that tend to rotate. Floats can suspend bait above grass, rocks, or bottom debris. Popping corks are another option in appropriate shallow inshore situations. Learn one bottom rig and one simple lure presentation first, then add tackle only when a new condition gives you a reason to.
Bait and Lure Basics for Coastal Fishing
Match natural bait to what legal local target species commonly eat and to what your regulations allow you to collect or use. Depending on the region, anglers may use shrimp, squid, cut bait, sand fleas, clams, mullet, minnows, crabs, or other baitfish. Keep bait in good condition so it stays on the hook and presents naturally.
Lures are useful when fish are actively feeding or when you want to cover water. Spoons, soft-plastic paddle tails, bucktails, shrimp imitations, topwater plugs, and small jigs can all have a place in coastal fishing. Choose lure size and presentation based on forage, depth, current, water clarity, and light conditions rather than relying on one color rule everywhere.
Pro Tip: Before casting, watch for birds, nervous baitfish, surface splashes, current seams, and changes in wave pattern. These clues can reveal feeding activity or underwater structure.
Use bait when you want a slower presentation that can stay in one productive zone. Use lures when you want to search water actively. Carrying one proven option from each category gives a beginner flexibility without filling the tackle box with gear that may never be used.
Safety Gear and Precautions
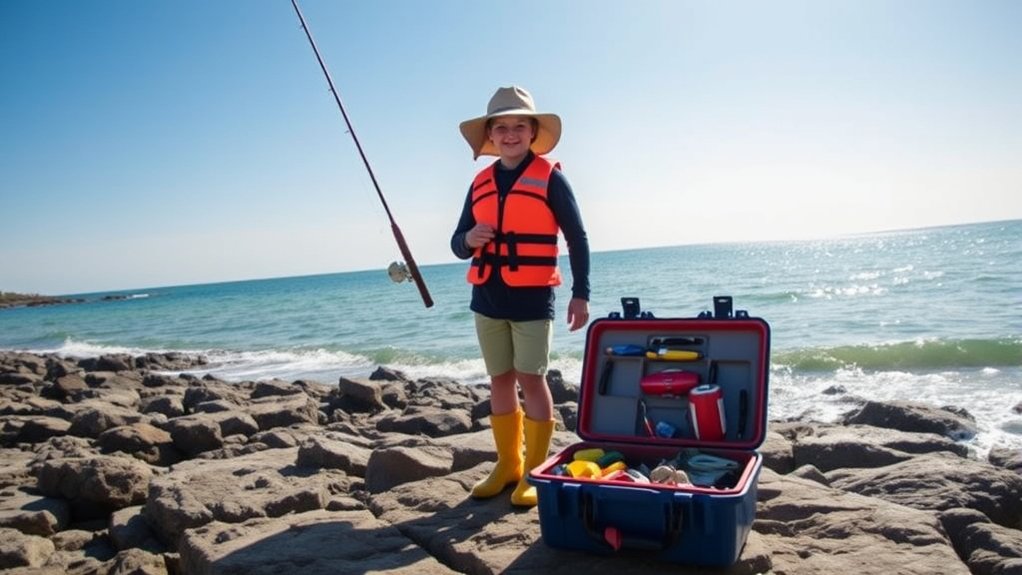
Shorelines, piers, rocks, jetties, bridges, kayaks, and boats all create different hazards. Slippery surfaces, breaking waves, heat, hooks, sharp fish spines, boat traffic, lightning, and strong currents can turn a routine fishing trip into an emergency.
For recreational vessels in the United States, federal rules generally require a U.S. Coast Guard-approved wearable life jacket of the appropriate size for each person onboard, and state rules can add requirements, particularly for children. Review the current U.S. Coast Guard life-jacket guidance. When fishing jetties, rough shorelines, kayaks, or other areas where an unexpected fall could put you in moving water, use a properly fitted flotation device appropriate for the activity and follow local requirements.
Protect yourself from sun exposure and heat by using:
- Broad-spectrum sunscreen with SPF 30 or higher
- Long-sleeved sun-protective or quick-dry clothing
- A wide-brim hat or other effective head and neck protection
- UV-protective sunglasses, with polarized lenses useful for reducing water glare
- Enough drinking water for the conditions and duration of the trip
- A basic first-aid kit appropriate for cuts, hooks, and minor injuries
- Needle-nose pliers or a suitable dehooking tool for safer hook removal
The EPA recommends broad-spectrum SPF 30 or higher and notes that water and sand can increase UV exposure through reflection. See the EPA guidance on UV radiation and sun exposure.
Warning: Do not fish exposed beaches, jetties, bridges, or open water when thunderstorms, dangerous waves, high surf, strong currents, or unsafe wind make the location hazardous. The National Weather Service advises checking beach conditions before entering surf and warns that rip currents can occur even when the weather looks good.
Review the National Weather Service rip-current guidance and local marine forecast before leaving. Tell someone where you are going if you fish alone, keep your phone charged, carry a light when darkness is possible, and make sure a rising tide cannot cut off your route back.
Selecting Your Fishing Location
The best beginner fishing location is not necessarily the place requiring the longest cast. Look for a safe public-access area with visible structure, depth change, moving water, bait activity, or a clear current break. Depending on the environment, useful features can include troughs, sandbar cuts, pier pilings, bridge shadows, oyster or shell edges, grass lines, rock points, seawalls, docks, inlets, and channel edges.
Piers and maintained public-access areas can be easier starting points because you can observe water movement and how other anglers safely land fish. Local tackle shops, park staff, wildlife agencies, and posted signs can also help you understand current access rules, target species, and legal bait or tackle.
| Location Type | What to Look For | Beginner Approach |
|---|---|---|
| Beach or surf | Troughs, cuts in sandbars, darker water, uneven wave breaks, bait, and safe footing | Fish the nearest promising structure before assuming you must cast beyond every breaking wave |
| Pier | Pilings, shade lines, current edges, bait schools, and legal landing areas | Use tackle that lets you control fish around structure and plan how you will land a larger catch before hooking one |
| Jetty or inlet | Current seams, eddies, rocks, channel edges, bait movement, and safe access | Prioritize footing and wave safety; use enough leader abrasion resistance for nearby rock |
| Bay, flat, grass edge, or protected shoreline | Depth changes, grass edges, drains, points, small channels, and visible bait | Use lighter presentations where conditions allow and move quietly in shallow water |
For surf fishing, look for deeper water near shore, cuts through sandbars, darker troughs, and places where waves break differently from the surrounding beach. These features can reveal depth changes or water movement. Observe the beach before casting instead of assuming fish are always as far offshore as you can reach.
Satellite imagery and nautical charts can help you study public access, channels, points, flats, and larger underwater features before a trip. Treat imagery as planning information rather than a guarantee because sandbars, water levels, construction, storms, and access rules can change.
Reading Tides, Weather, and Water Conditions
Tides and currents are related but are not the same thing. NOAA describes tides as the predictable rise and fall of sea level, while currents describe moving water. Tides can create tidal currents near coasts, bays, and estuaries. Check the NOAA Tides & Currents data for the area you plan to fish.
A rising tide can give fish access to shallow feeding areas, while falling water can concentrate flow through drains, creeks, cuts, and channels. These are useful patterns to test, not universal rules. The most productive stage varies by location and species, so note when you receive bites and compare those observations with the tide and current.
Wind direction and speed can change casting distance, wave height, water clarity, surface drift, and where floating bait collects. Onshore wind may push bait and surface water toward the beach but can also make casting difficult or create unsafe surf. Strong wind should be treated first as a safety factor, not simply as a fishing variable.
Water clarity can guide presentation. In clear water, start with natural-looking bait or lures and avoid unnecessarily heavy terminal tackle. In stained water, scent, vibration, contrast, or a slower presentation can help fish locate the offering. After severe weather, wait for safe conditions before worrying about lure color or fishing efficiency.
Temperature and season also affect where fish occur. Some species move along beaches, enter bays, leave shallow flats, or change feeding patterns seasonally. Use a current local fishing report or wildlife-agency resource to learn the seasonal pattern for the exact species you intend to target.
Key Fishing Techniques
Good coastal fishing starts with placing bait or a lure in productive water, not simply maximizing distance. A controlled cast into a trough, current edge, piling, point, channel, or bait school often gives you a better chance than an uncontrolled long cast into featureless water.
Accuracy, timing, line control, and bait placement usually matter more to a beginner than learning to cast as far as possible.
For short and medium casts, use a smooth controlled motion and let the rod load rather than snapping it abruptly. For heavier surf casting, stay within the rod’s stated casting-weight range and learn the correct casting technique for that equipment before attempting maximum-distance casts.
Topwater lures can be effective when fish are actively feeding near the surface. Soft plastics, jigs, spoons, plugs, and bait rigs can cover other depths. Adjust your presentation to water depth, current, wind, clarity, target species, and visible bait instead of changing tackle randomly after every cast.
When bait fishing, maintain enough line control to detect a bite without constantly pulling the bait out of position. When lure fishing, vary retrieve speed, depth, and pause length systematically. Change one variable at a time so you can identify what actually improves the response.
- Master a controlled basic cast before adding advanced rigs or distance techniques.
- Use surface lures only when conditions and fish activity make a surface presentation reasonable.
- Adjust sinker weight to current and surf while staying within the rod’s casting rating.
- Adjust leader material and strength for structure, water clarity, and target species.
- Match the hook-set to the hook: J-hooks may require a controlled set, while circle hooks are designed to set under steady line pressure and generally should not be hit with a hard hook-setting jerk.
- Monitor tides, currents, wind, water clarity, bait movement, and structure.
- Move or change presentation if repeated casts produce no signs of fish and you have another safe, legal option nearby.
Landing and Handling Your Catch
Landing a fish requires steady pressure rather than maximum force. Keep tension on the line and let the reel’s drag release line when a fish makes a strong run. Avoid suddenly tightening the drag during the fight because the increased load can break line, damage tackle, or pull a hook free.
For larger fish, use a landing net or other legal landing tool appropriate for the location. From a high pier or bridge, use a suitable pier net when necessary rather than trying to lift a heavy fish by the fishing line. From a beach, guide the fish into shallow water carefully and avoid dragging a fish across dry sand when you intend to release it.
NOAA Fisheries recommends handling released fish as little as possible, using wet hands, avoiding the eyes and gills, dehooking in the water when possible, and minimizing air exposure. If a fish must be removed from the water, NOAA says less than 60 seconds of air exposure is ideal. See the current NOAA catch-and-release best practices.
If a swallowed or deeply embedded hook cannot be removed easily without causing more injury, NOAA recommends cutting the line as close to the hook as practical instead of forcing it out. Regulations or species-specific handling requirements can differ, so follow the rules for the fishery you are in.
| Step | Action |
|---|---|
| Maintain Tension | Keep steady pressure and avoid unnecessary slack while allowing the drag to work |
| Use a Landing Tool | Use an appropriately sized net or legal landing method for the fish and location |
| Minimize Handling | Use wet hands, support the fish, avoid its eyes and gills, and keep air exposure brief |
| Unhooking | Use pliers or a dehooker when appropriate; do not cause extra injury trying to remove a deeply swallowed hook |
If you keep a legal fish, follow local rules for humane dispatch, possession, and storage, and chill the catch promptly when appropriate. If you release it, support it in the water and let it swim away under its own power. A fish that appears sluggish may need additional recovery time in the water before release.
Tips for a Successful Fishing Trip
A productive first trip starts before you cast. Choose one safe access point, check the rules and conditions, bring only the tackle you understand, and decide what you will do if the wind, tide, surf, or access changes.
Planning and observation give a beginner more useful feedback than carrying a large tackle box and changing gear without a reason.
- Check current regulations before targeting or keeping fish.
- Review tide, current, wind, surf, weather, and daylight before leaving.
- Use polarized sunglasses where appropriate to reduce glare and help you see structure or bait.
- Match the rod and line to the lure, sinker, bait, structure, and fish you expect.
- Visit a reputable local tackle shop when you need current advice about bait, rigs, access, or seasonal species.
- Bring a measuring tool when size limits apply.
- Carry a small trash bag and remove discarded line, hooks, bait packaging, and other waste.
- Rinse and dry salt-exposed equipment according to manufacturer instructions after the trip.
Keep notes after your first few trips. Record the location type, tide stage, current, wind, water clarity, bait or lure, depth, and any bites or catches. That simple log turns random fishing days into local information you can use the next time you return.
Common Beginner Mistakes to Avoid
Most beginner problems come from mismatching tackle to conditions or changing too many things without understanding why. Correcting a few common mistakes makes learning faster.
- Using the wrong rod for the location: A light inshore setup and a surf setup may have very different casting-load requirements.
- Using too much sinker weight: Extra weight can reduce sensitivity and may exceed the rod’s safe casting rating.
- Ignoring tide and current: Water movement changes depth, bait movement, access, and where fish can hold.
- Fishing unproductive water too long: If you see no bait, structure, current change, or bites, try another safe angle, presentation, or location.
- Setting the drag too tight: A locked drag increases the chance of broken line or pulled hooks during a strong run.
- Using rusty or dull hooks: Salt exposure damages tackle, and poor hook points reduce penetration.
- Using the wrong hook-setting technique: A hard traditional hook-set is not appropriate for every hook type, particularly circle hooks.
- Keeping a fish before confirming the rule: Identify the fish and verify current size, bag, season, and protected-species requirements first.
- Standing in unsafe surf or on exposed rocks: Fishing success is never worth ignoring dangerous waves, currents, lightning, or unstable footing.
Retie leaders after abrasion, inspect knots, replace damaged tackle, keep bait usable, and pay attention to what changes immediately before a bite. Small observations are more valuable than adding random equipment.
Engaging With the Fishing Community
Local anglers can help you learn seasonal patterns, common bait choices, productive tide stages, safe access points, and local etiquette much faster than a national guide can. Treat local advice as a starting point, then confirm regulations and access rules through the responsible agency or property manager.
Fishing clubs, conservation events, tackle-shop seminars, public pier groups, workshops, and reputable online communities can help with knots, casting, fish identification, and rigging. When someone shares a productive location, respect private property, posted rules, sensitive habitat, and the possibility that heavy online exposure can overcrowd a small fishing spot.
Fishing apps, maps, tide services, and catch reports are useful planning tools, but they should complement rather than replace current official regulations, marine-weather information, and what you observe at the water.
Related Guides
Frequently Asked Questions
What is the best time of day for coastal fishing?
Early morning and late afternoon can be useful starting windows, but there is no universal best hour. Tide and current, season, weather, water temperature, bait activity, and the target species can be just as important. For your first trips, compare dawn or dusk with a period of moving water and keep notes on when bites occur.
How do tides affect fishing success?
Tides change water level and can create predictable tidal currents near coasts, bays, and estuaries. Rising water can open shallow feeding areas, while falling water can concentrate flow through cuts, channels, and drains. The productive stage varies by location, so use local tide and current data and compare it with your own catches.
What local regulations should I be aware of?
Check license or permit requirements, species identification, size limits, bag limits, seasons, gear restrictions, hook requirements, closed areas, and protected species. Rules can vary by state, region, waterbody, and species. Confirm them before fishing and again before keeping a catch.
Can I fish from a kayak or canoe?
Yes, where local access and fishing rules allow it. A kayak or canoe can reach shallow water, grass lines, creeks, and protected shorelines, but wind, current, boat traffic, water temperature, and surf create additional risk. Carry the legally required safety equipment and use a properly fitted life jacket appropriate for the activity.
How do I properly release a fish?
Handle the fish as little as possible, use wet hands, avoid its eyes and gills, support its body, and dehook it in the water when practical. NOAA Fisheries advises minimizing air exposure and says less than 60 seconds is ideal when a fish must be removed from the water. If a swallowed hook cannot be removed easily, cutting the line near the hook can cause less injury than forcing it out.
What is the easiest coastal fishing rig for beginners?
A simple bottom rig is an easy place to start when natural bait is legal and appropriate. Use a hook suited to the bait and fish, a leader when needed, and the lightest sinker that holds the presentation in place without exceeding your rod’s casting rating. A fish-finder or simple drop-style bottom rig can work, but local current, bottom type, and hook regulations should decide the final setup.
Do I need a different rod for surf fishing?
Often, yes. A 7-foot medium-power spinning rod can suit many light inshore situations, while open surf commonly benefits from a longer surf-rated rod that can cast the heavier sinker, rig, bait, or lure required by the conditions. Check the rod’s printed lure or casting-weight range and keep the complete casting load inside that rating.
Sources
- National Weather Service Rip Current Safety — supports beach-condition and rip-current safety guidance.
- NOAA Tides & Currents — supports checking current local tide and current information.
- NOAA Ocean Service: Tides and Currents — supports the distinction between tides and moving currents.
- U.S. Coast Guard Life Jacket Wear — supports recreational-vessel life-jacket requirements, sizing, condition, and wear guidance.
- NOAA Fisheries Catch-and-Release Best Practices — supports wet-hand handling, minimal air exposure, dehooking, and line-cutting guidance.
- EPA Ultraviolet Radiation and Sun Exposure — supports SPF 30+, protective clothing, sunglasses, and additional UV caution around water and sand.
- PENN Battalion III Inshore Spinning Rod Specifications — supports the distinction between rod length, power, action, and lure rating on current inshore rods.
- PENN Prevail III Spinning Surf Rod Specifications — supports the wider lengths and casting-weight ranges used by current surf rods.
Conclusion
Coastal fishing gets easier when you stop treating every shoreline as the same problem. First identify where you are fishing. Then choose tackle that matches the location, total casting load, structure, and likely fish. Check current rules and conditions, start with one simple rig or lure, and pay attention to where water and bait are moving.
For your next trip, pick one safe location, verify the regulations and forecast, prepare the simplest suitable setup, and record what happens. Those observations will tell you what to change on the trip after that.