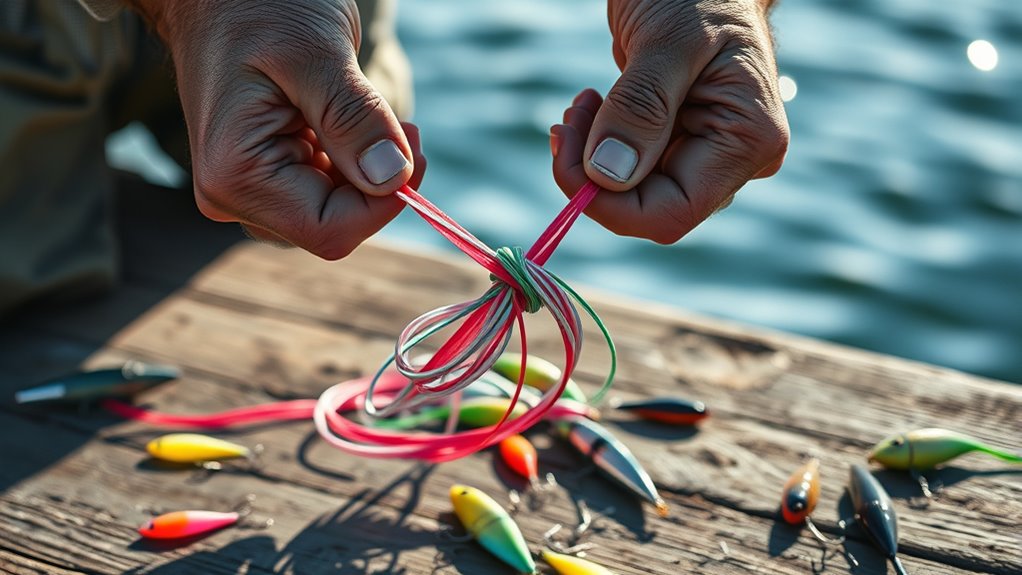
A Blood Knot, also called a barrel knot, is a compact line-to-line fishing knot most useful for joining two sections of monofilament or similar leader material that are close in diameter. The key is not simply making several wraps: both tag ends must return through the same center opening in opposite directions before the knot is moistened and seated. Five turns per side is a useful starting point for many fishing lines, although finer or heavier material may need a different number of turns.
Quick Answer
Overlap about 5 to 6 inches of two similar-diameter fishing lines. Wrap one tag end around the opposite standing line, return it through the center gap, then repeat from the other side. Pass the second tag through that same gap in the opposite direction, moisten the knot, pull both standing lines evenly, and trim the tags.
Key Takeaways
- Use a standard Blood Knot mainly for two lines that are similar in diameter.
- Five wraps per side works for many common leader materials, but fine line may need additional turns and heavier line may need fewer.
- The two tag ends must pass through the center opening in opposite directions.
- Moisten the wraps before final tightening so they can seat smoothly without excessive friction.
- If the lines differ greatly in diameter, use an Improved Blood Knot or another line-joining knot designed for that mismatch.
At a Glance
| Time Required | About 2–5 minutes once you understand the sequence; longer while learning |
| Difficulty | Moderate |
| Tools Needed | Two line sections, water for lubrication, and fishing-line clippers or scissors |
| Cost | No additional cost if you already have line and a cutting tool |
The Importance of Knot Tying in Fishing
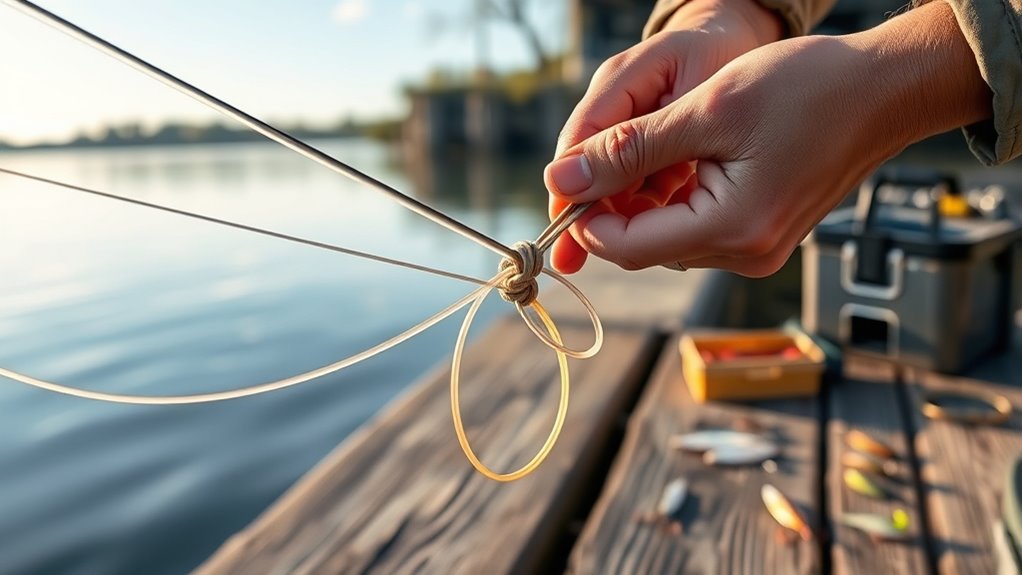
Your fishing line is only as dependable as its connections. A well-tied Blood Knot gives you a compact, straight line-to-line connection that is especially useful when building leaders or adding a new section of similar-diameter material.
Orvis describes the Blood Knot as a clean, smooth connection for monofilament sections that are close in diameter. Its slim profile is one reason fly anglers often use it when building tapered leaders.
Technique matters because crossed wraps, improperly routed tag ends, damaged line, or a large diameter mismatch can weaken the connection. Practice also matters: the Blood Knot requires more dexterity than some simpler line-joining knots.
Inspect your connection after tying it and periodically while fishing. Look for fraying, flattened material, crossed coils, or a knot that has not seated into two neat barrels. New York Sea Grant advises anglers to check monofilament for nicks and fraying and to retie questionable connections.
Warning: Do not fish a Blood Knot whose coils are crossed, uneven, visibly damaged, or pulling apart. Cut it off and retie it. A knot that looks almost right can still fail under load.
History and Origin of the Blood Knot
The Blood Knot has a long association with fishing, but its exact origin is less certain than some popular accounts suggest. The fishing knot is also widely called a barrel knot, a name that reflects the barrel-like coils formed when the two wrapped sections draw together.
Rather than assigning the knot to one culture or one inventor without strong evidence, it is safer to view it as an established line-joining bend that became especially important as anglers needed smooth connections between sections of leader material.
Traditional Use in Angling
The Blood Knot became particularly useful for joining sections of fishing line that are close in diameter. In fly fishing, a series of these connections can form a tapered leader that decreases gradually toward the tippet.
The knot’s straight, compact profile helps it pass through rod guides more cleanly than bulkier connections. It is most dependable when the two line sections are reasonably similar in thickness.
Modern anglers commonly use it with nylon monofilament leader and tippet material. It can also be used with suitable fluorocarbon leader material, but the same rules still apply: match the diameters reasonably closely, seat the knot carefully, and test the finished connection before fishing.
Evolution of Knot Techniques
Fishing-knot techniques have expanded as anglers have adopted different line materials and increasingly specialized rigs. The standard Blood Knot remains useful for similar-diameter leader sections, while variations and alternative knots solve problems the standard version does not handle as well.
One example is the Improved Blood Knot. Orvis recommends the Improved Blood Knot when tippet sections differ greatly in diameter. The lighter strand is doubled to make the two sides more comparable before they are joined.
A Surgeon’s Knot is another practical option when the two materials differ in thickness. It is generally easier to tie, although the finished connection is not as streamlined as a well-tied Blood Knot.
Global Fishing Practices
Today, anglers use Blood Knots in both freshwater and saltwater applications, but water type does not change the knot’s main limitation: the two line sections should still be reasonably similar in diameter.
Typical applications include building tapered fly leaders, replacing a damaged section of monofilament, adding similar-diameter tippet, and constructing specialized rigs where a compact line-to-line connection is useful.
For a much heavier leader joined to a thinner main line, choose a connection designed for that job rather than forcing a standard Blood Knot to handle the mismatch. New York Sea Grant, for example, recommends an Albright Knot when connecting a main line to a substantially heavier leader.
How to Tie the Blood Knot: A Step-by-Step Guide
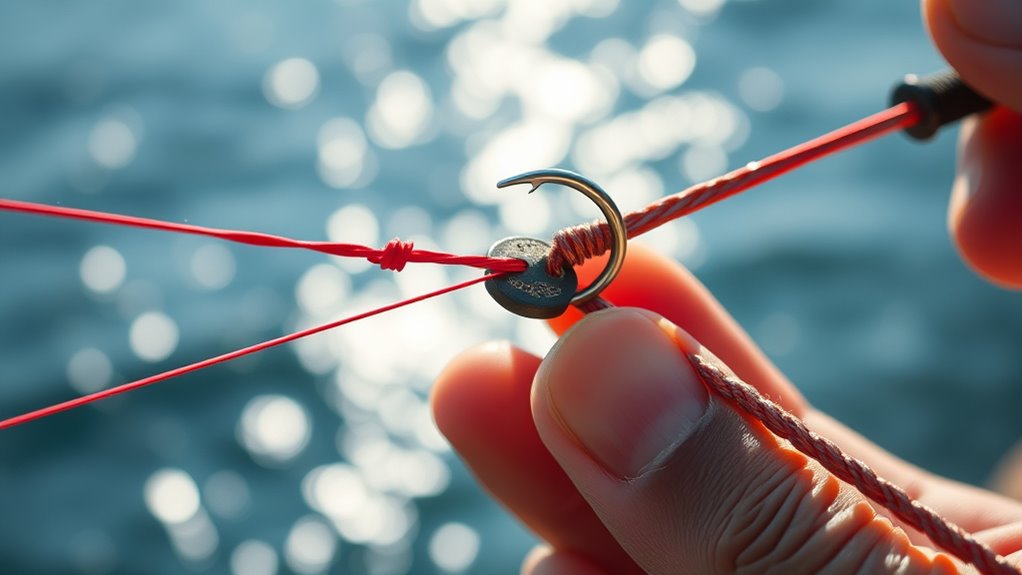
The easiest way to learn a Blood Knot is to focus on three actions: wrap, return to the center, then repeat in the opposite direction. These instructions follow the same basic sequence taught by Iowa DNR, Take Me Fishing, and Orvis.
- Overlap the lines. Place about 5 to 6 inches of the two line ends alongside each other, pointing in opposite directions. Form an X or crossing point near the middle of the overlap.
- Wrap the first tag end. Wind one tag end around the standing part of the opposite line. Five turns is a practical starting point for many common leader materials.
- Return the first tag to the center. Bring that tag end back toward the original crossing and pass it through the small opening between the two lines. Hold the opening so it does not close.
- Wrap the second tag end. Wind the second tag around the first line, working away from the center in the opposite wrapping direction. Use approximately the same appropriate number of turns.
- Pass the second tag through the same opening in the opposite direction. This step is essential. The two tag ends should emerge from the center opening in opposite directions.
- Moisten, seat, inspect, and trim. Wet the wraps with clean water or saliva, then pull the two standing lines steadily in opposite directions. The coils should draw together into two neat barrels. Once fully seated, trim the tag ends close without nicking the standing line.
The defining detail of a correctly formed Blood Knot is that both tag ends return through the same center opening from opposite directions.
How Many Wraps Should You Use?
There is no single wrap count that is perfect for every fishing-line diameter. Five turns on each side is a common baseline, but Orvis teaches different turn counts for different material thicknesses.
| Line Type | Practical Starting Point | What to Watch |
|---|---|---|
| Heavier or stiffer leader material | Fewer turns may seat more cleanly | Do not crowd the coils |
| Typical leader/tippet material | About 4–5 turns per side | Coils should remain neat and symmetrical |
| Very fine tippet | Additional turns may be needed | Make sure the thin line cannot slip |
Whatever count you use, both sides should form orderly coils. If the knot bunches, crosses over itself, or refuses to seat evenly, cut it off and start again.
Pro Tip: Practice first with two pieces of thicker, differently colored monofilament. The contrasting colors make it much easier to see which tag goes through the center opening from each direction. Once the movement becomes automatic, switch to your actual leader or tippet.
How to Check the Finished Knot
A correctly seated Blood Knot should have two compact groups of coils meeting cleanly in the middle. The standing lines should leave the knot in a straight path, and neither tag should pull back through the center when you apply firm hand tension.
Before trimming completely, give the two standing lines a firm test pull. If one side slips, the coils overlap, or the knot looks distorted, retie it rather than trying to repair the existing knot.
Materials Needed
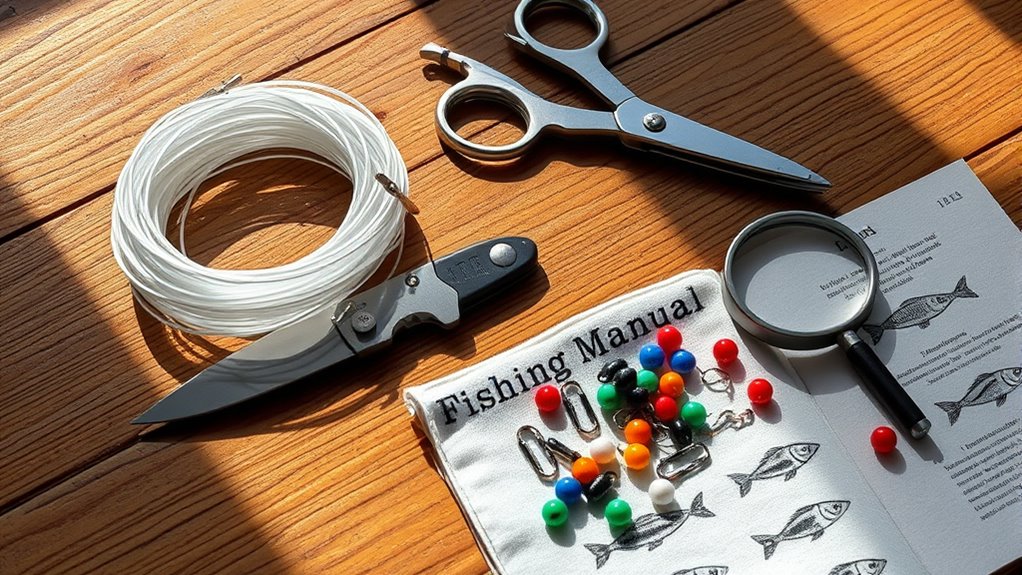
You do not need specialized equipment to tie a Blood Knot. Gather the following before you begin:
| Material | Purpose | Notes |
|---|---|---|
| Two sections of fishing line | Form the connection | Best when the diameters are reasonably similar |
| Fishing-line clippers or scissors | Trim the tag ends | Cut carefully so you do not nick the standing line |
| Water or saliva | Lubricate the wraps before seating | Reduces friction while the coils draw together |
| Smooth work surface | Makes practice easier | Optional, but useful when learning indoors |
| Knot-tying tool | Helps manage small line | Optional rather than required |
Check the line before tying. If you see abrasion, flattening, discoloration, or a nick near the area where the knot will sit, cut back to undamaged material first.
When to Use a Blood Knot—and When Not To
A Blood Knot is a specialized line-to-line connection. Choosing it for the right job matters as much as tying it correctly.
| Situation | Recommended Approach |
|---|---|
| Two similar-diameter monofilament leader sections | Standard Blood Knot is an excellent option |
| Building a knotted tapered fly leader | Standard Blood Knot is a traditional choice |
| Leader and tippet with a substantial diameter difference | Consider an Improved Blood Knot or Surgeon’s Knot |
| Thin main line to a much heavier leader | Use a knot intended for a large diameter mismatch, such as an appropriate Albright-style connection |
| Braided main line to mono or fluorocarbon leader | Use a connection specifically recommended for braid rather than assuming a standard Blood Knot will grip the same way |
Note: Line diameter matters more than the pound-test number printed on the spool. Two lines with similar breaking-strength labels can still have noticeably different diameters or stiffness.
Applications of the Blood Knot in Fishing
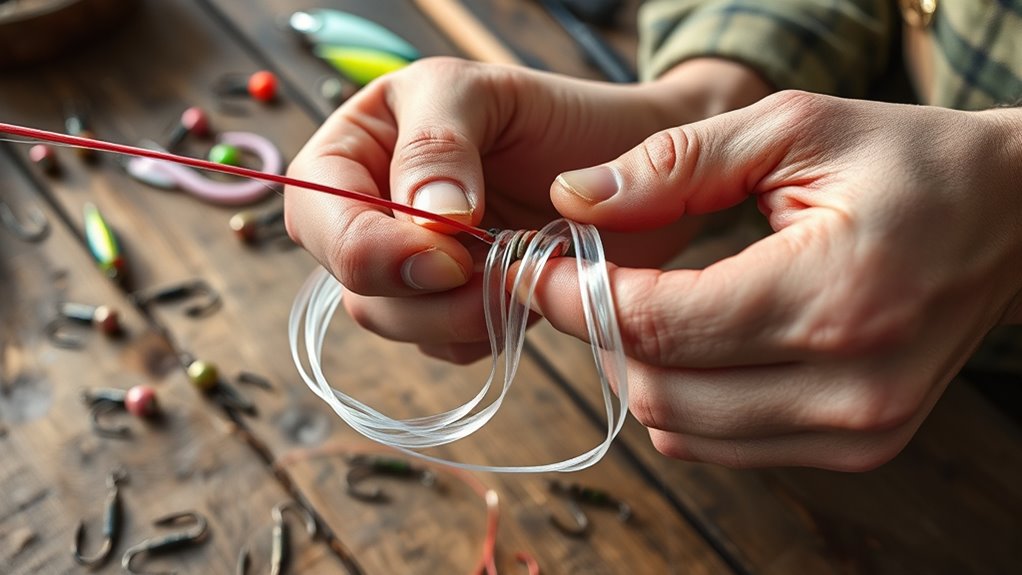
The Blood Knot is useful in both freshwater and saltwater fishing when the materials and diameters suit the knot. Its most established role is joining sections of leader or tippet while keeping the finished connection relatively slim.
That low-profile connection is particularly valuable in fly fishing because a tapered leader may contain several joined sections. A neat Blood Knot creates less bulk than many easier line-joining knots.
Freshwater Fishing Techniques
In freshwater fishing, the Blood Knot is especially useful when connecting similar-diameter monofilament sections or adding compatible tippet material to a leader. Fly anglers commonly use it while building or repairing tapered leaders for trout and other species.
Its straight profile can also help a leader pass cleanly through rod guides. The main advantage is not that the knot magically makes a presentation invisible; it is that it creates a compact, orderly line-to-line connection when the materials are appropriately matched.
| Technique | Purpose | Best Use |
|---|---|---|
| Blood Knot | Join two line sections | Similar-diameter leader or tippet material |
| Improved Clinch Knot | Attach line to a hook, lure, or fly | Terminal connections |
| Palomar Knot | Attach line to terminal tackle | Many hook, lure, or swivel connections |
Saltwater Fishing Applications
A Blood Knot can also be useful in saltwater rigs when you are connecting compatible sections of leader material. However, saltwater fishing often involves heavy shock leaders, large diameter changes, wire, or braided main line, so the standard Blood Knot is not automatically the right connection.
Useful applications include:
- Leader construction: Join sections that are reasonably close in diameter.
- Tippet or bite-section transitions: Use the knot only when the line sizes remain compatible with a standard Blood Knot.
- Dropper rigs: An intentionally longer tag end can be incorporated into certain fly-fishing rigs after the knot is correctly formed.
- Field repairs: Replace a damaged section of similar-diameter monofilament when a compact join is desirable.
If the two materials differ significantly in diameter, switch to a knot designed for that mismatch instead of simply adding more wraps to a standard Blood Knot.
Examples of Effective Use
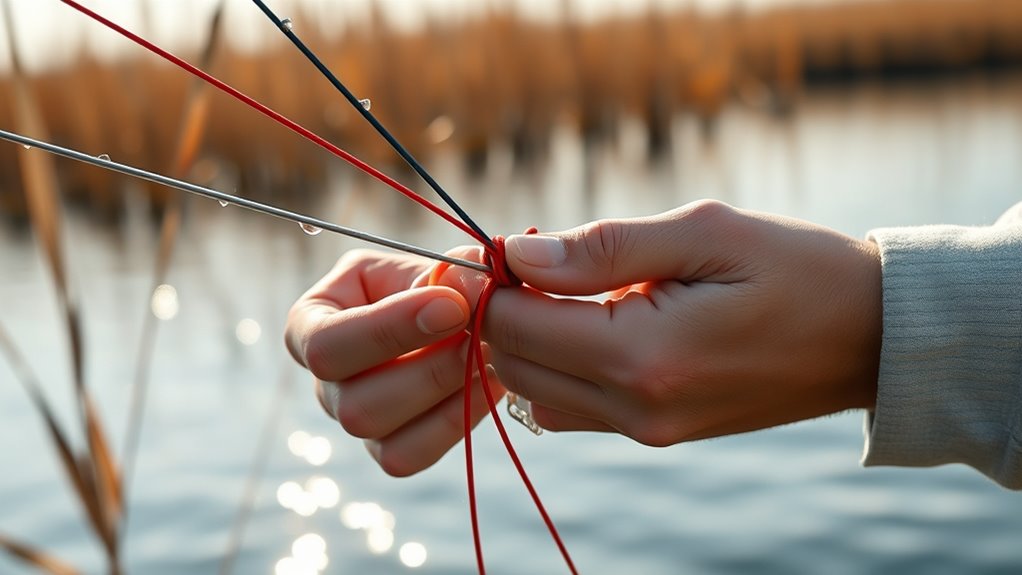
One of the clearest applications is connecting a section of tippet to a compatible leader section in fly fishing. When the two diameters are close enough, the knot forms a slim transition that can pass cleanly through rod guides.
The Blood Knot is also useful when constructing a knotted tapered leader from several progressively smaller sections. Rather than making one extreme jump from thick material to very fine tippet, the leader decreases in stages, keeping each Blood Knot within a more suitable diameter range.
Another application is a dropper rig. Orvis notes that one tag can be intentionally left long enough to serve as a dropper rather than being trimmed flush. In that case, plan the dropper before final trimming and make sure the main knot itself is fully seated.
For repairs, the knot can reconnect compatible monofilament sections after damaged line has been removed. Always cut back beyond the damaged area rather than tying directly beside an abrasion or nick.
Common Mistakes and Troubleshooting Tips
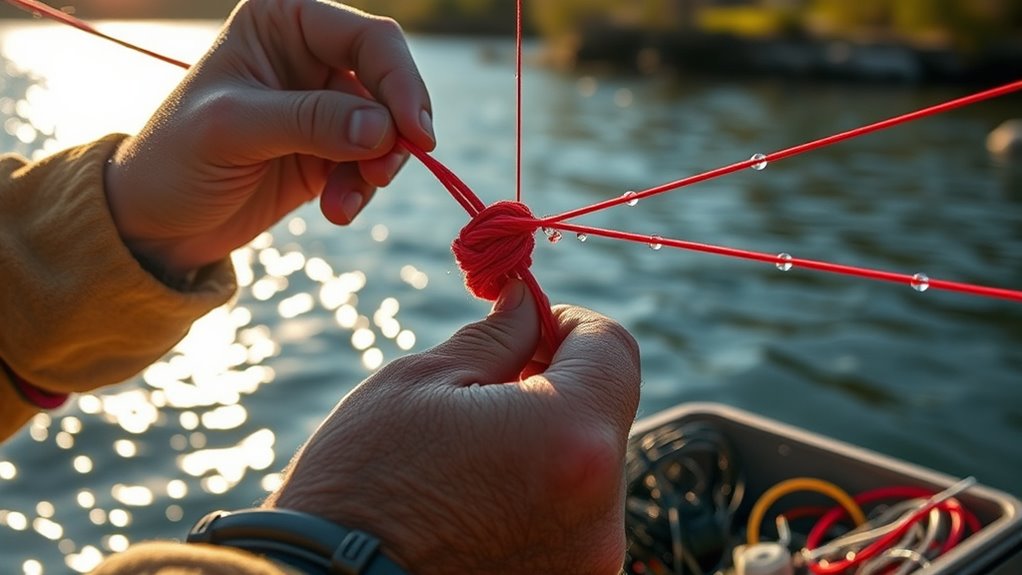
The Blood Knot is dependable when it is tied correctly and used for an appropriate line combination. Most failures come from a few repeatable mistakes:
- Passing both tags through the center in the same direction: The tag ends need to enter the central opening from opposite sides. If they emerge together in the same direction, cut the knot off and start again.
- Using lines that differ too much in diameter: The coils may not lock together evenly. Choose an Improved Blood Knot, Surgeon’s Knot, or another suitable line-joining connection.
- Cinching the knot dry: Friction increases while the coils slide into position. Moisten the knot before final seating.
- Crossing or stacking the wraps: Each set of coils should lie neatly beside itself rather than crossing over other turns.
- Using too few turns with very fine material: Fine line may require more wraps than heavier leader material.
- Pulling on damaged line: A correctly tied knot cannot compensate for a nicked or abraded section of leader.
- Trimming carelessly: Clip the tag ends neatly, but do not nick the standing line with scissors or clippers.
Pro Tip: Before trimming the tags completely, pull firmly on both standing lines. It is much better to discover a slipping or malformed knot in your hands than after a fish loads the connection.
Summary of Common Issues
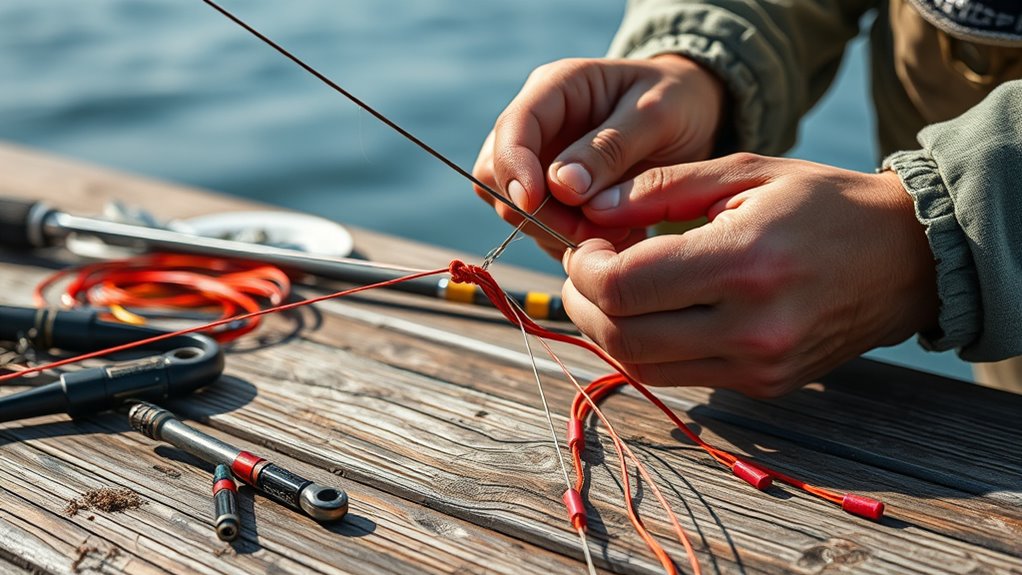
If your Blood Knot does not look right, the appearance usually points to the cause. Use this quick troubleshooting guide before fishing the connection:
| Problem | Likely Cause | Fix |
|---|---|---|
| Knot slips apart | Tag ends routed incorrectly, too few turns, or excessive diameter mismatch | Retie and make sure the tags pass through the center in opposite directions |
| One barrel is larger than the other | Uneven or mismatched wraps | Retie with orderly turns and an appropriate wrap count |
| Coils overlap or bunch | Wraps crossed before seating | Start again rather than forcing the knot closed |
| Line looks cloudy, flattened, or damaged | Excess friction or pre-existing line damage | Cut back to fresh line, lubricate, and retie |
| Knot will not seat symmetrically | Diameter mismatch or uneven tension | Use a more suitable connection if the line sizes differ significantly |
Regular inspection is just as important after the knot has been tied correctly. Check it after snags, hard catches, contact with rocks or structure, or whenever the line near the connection feels rough. If you are uncertain about the condition of the knot, retie it.
Frequently Asked Questions
How do you tie a Blood Knot for fishing?
Overlap two similar-diameter line sections by about 5 to 6 inches. Wrap one tag around the opposite standing line, return it through the center, then repeat from the other side. Pass the second tag through the same center opening in the opposite direction, moisten the knot, pull both standing lines until the coils seat, test the connection, and trim the tags.
How many turns should you make on a Blood Knot?
Five turns per side is a common starting point, but it is not a universal rule. Fine tippet may need additional turns, while heavier or stiffer material may seat better with fewer. The finished coils should be neat, compact, and secure without overlapping.
Can a Blood Knot join lines of different diameters?
It can handle modest differences, but the standard Blood Knot works best when the two line diameters are reasonably similar. For a large difference, use an Improved Blood Knot, Surgeon’s Knot, Albright-style connection, or another knot intended for mismatched line sizes.
Can you use a Blood Knot with monofilament and fluorocarbon?
It can be used with suitable leader and tippet materials when their diameters and stiffness are compatible. Because different materials can seat differently, lubricate the knot, tighten it carefully, and test it firmly before fishing. If the two sections differ greatly in size, choose a knot designed for that mismatch.
Why does my Blood Knot keep slipping?
Common causes include passing both tag ends through the center opening in the same direction, using too few wraps for fine line, crossing the coils, failing to seat the knot completely, or joining lines with too large a diameter difference. Cut off a slipping knot and retie it rather than trying to tighten the faulty connection again.
How do you tie a Reef Knot, and should you use it instead of a Blood Knot?
A Reef Knot, or Square Knot, is commonly remembered as “right over left, then left over right.” Although it is useful for appropriate binding tasks, it is not a substitute for a Blood Knot when joining fishing leader material. Use a purpose-built fishing line-to-line knot instead.
What are the disadvantages of a Blood Knot?
It requires more dexterity than a Surgeon’s Knot, performs best when line diameters are similar, and can fail if the tag ends are routed incorrectly or the coils do not seat cleanly. It is therefore excellent for the right connection but not the best knot for every line combination.
Is a Blood Knot better than a Surgeon’s Knot?
Neither is universally better. A Blood Knot produces a particularly slim, straight connection and is excellent for similar-diameter leader sections. A Surgeon’s Knot is easier to tie and is more forgiving when the two line diameters differ. Choose based on the materials and the connection you need.
Sources
- Orvis — Blood Knot — Blood Knot steps, wrap-count guidance, similar-diameter use, lubrication, and final seating.
- Take Me Fishing — Line Joining Knots — standard Blood Knot purpose and five-turn tying sequence.
- Iowa Department of Natural Resources — Knots Every Angler Should Know — opposing tag-end routing, moistening, tightening, and trimming.
- New York Sea Grant — Fishing Knots and Hooks — similar-diameter limitation, alternative knots, and line inspection guidance.
- Orvis — Improved Blood Knot — alternative Blood Knot method for line sections with a larger diameter difference.
Conclusion
The Blood Knot is most useful when you need a compact connection between two fishing-line sections of similar diameter. Its strength depends less on complicated technique than on getting a few critical details right: use an appropriate number of turns, keep the coils orderly, pass the two tag ends through the center in opposite directions, moisten the knot, and seat it firmly.
Do not force the knot into jobs it was not designed to handle. When your lines differ greatly in diameter or material, choose an appropriate alternative. Practice the Blood Knot with easy-to-see line first, inspect every finished connection, and retie any knot that does not form two clean, secure barrels.