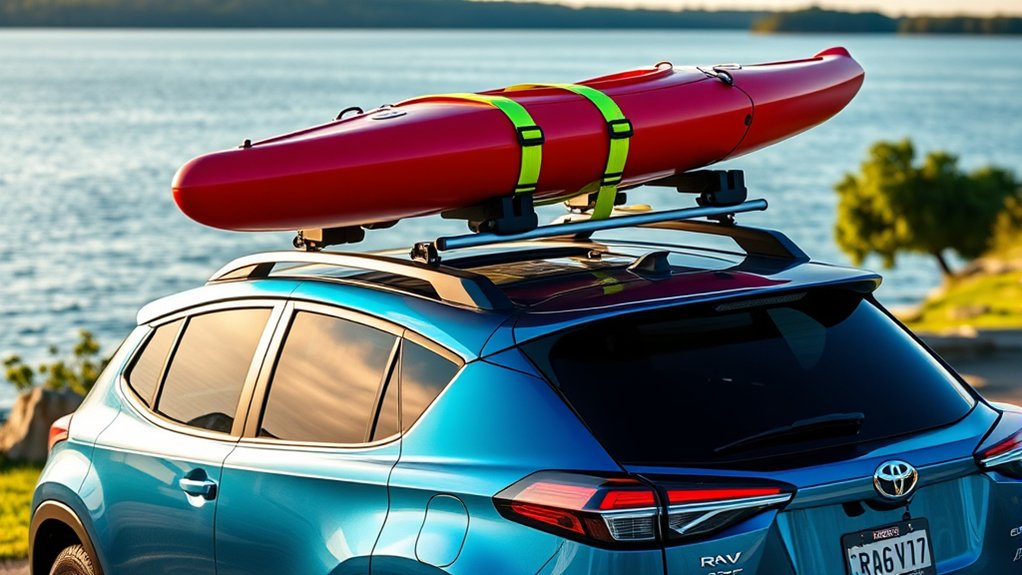
Carrying a kayak on a Toyota RAV4 is straightforward once you have the right crossbars, a compatible kayak carrier, and a secure tie-down system. The most important steps are checking the load limits for your exact RAV4, positioning the kayak correctly, using proper cam straps, and securing the bow and stern before you drive.
Quick Answer
To transport a kayak on a Toyota RAV4 safely, use vehicle-compatible crossbars and a kayak carrier, stay below the lowest applicable load rating, secure the hull with two properly routed cam straps, add correctly tensioned bow and stern lines, and recheck every connection after a short initial drive and during longer trips.
Key Takeaways
- Check the owner’s manual for your exact RAV4 model year instead of relying on a generic roof-weight number.
- Make sure you have compatible crossbars; factory side rails alone are not automatically a mounting surface for a kayak carrier.
- Use two load straps around the crossbars and use the bow and stern restraints required by your carrier manufacturer.
- Tighten straps enough to stop movement without crushing or deforming the kayak hull.
- Stop and correct any shifting, loose hardware, strap noise, or tie-down problem before continuing your trip.
At a Glance
| Time Required | About 10–20 minutes once the crossbars and carrier are installed |
| Difficulty | Easy to moderate; heavier kayaks are safer and easier to load with two people or a load-assist system |
| Tools Needed | Compatible crossbars, kayak carrier or rack pads, two load straps, bow and stern restraints, and optional hood anchors or step stool |
| Cost | Varies widely depending on whether your RAV4 already has compatible crossbars and whether you choose basic pads, a J-cradle, a saddle carrier, or a load-assist system |
Check Your RAV4 Roof-Load Limit Before Loading
Before choosing a kayak rack or lifting a boat onto the roof, check the Toyota owner’s manual for your exact RAV4. Toyota has published different roof-luggage-carrier limits for different RAV4 generations and configurations, so a single number such as 165 pounds should not be treated as universal.
Your safe setup is controlled by the lowest applicable rating. Check the limits listed for the vehicle, crossbars or base rack, kayak carrier, adapters, and any other load-bearing part. Also follow each manufacturer’s instructions for whether carrier hardware and other components must be included when calculating the load.
Do not confuse raised side rails with crossbars. Many RAV4s have rails that run front to back, while most rigid kayak carriers mount to crossbars that run from side to side. If you do not have suitable crossbars, install a vehicle-approved rack system before mounting the kayak carrier.
Warning: Never exceed the lowest load limit in your vehicle and rack instructions. A roof load raises the vehicle’s center of gravity, so avoid abrupt steering, hard braking, and unnecessarily high speeds. Stop immediately if the kayak, carrier, crossbars, or tie-downs begin to move.
Choosing the Best Roof Rack for Kayak Transport on Your RAV4
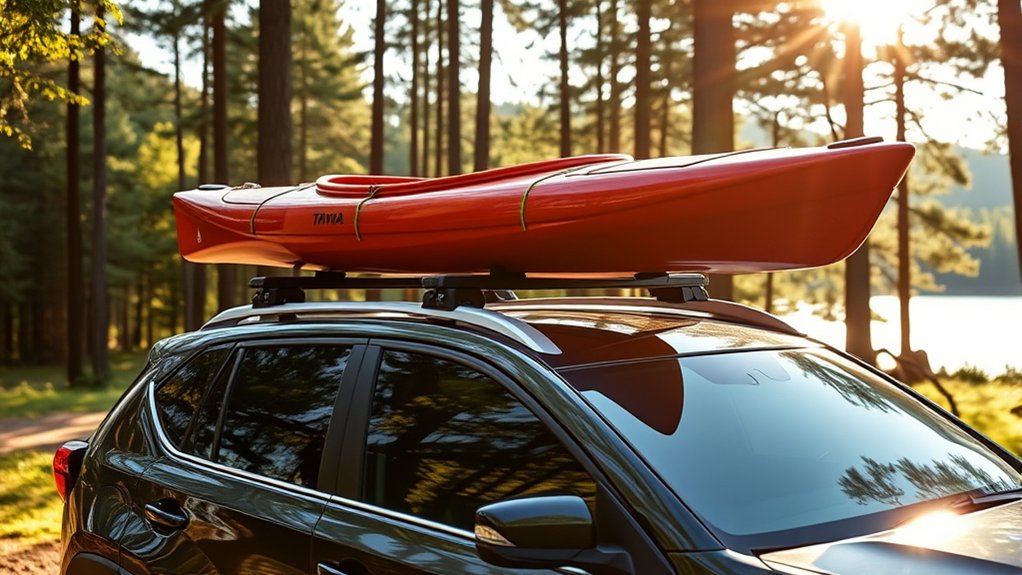
When you’re ready to hit the water with your kayak, choosing the right roof rack for your Toyota RAV4 can make loading easier and reduce the chance of movement during transport.
Two examples are the Yakima JayLow J-cradle and the Malone SeaWing V-style carrier. The JayLow can carry one kayak in J-cradle position or, when the complete rack system has enough capacity, two in its vertical stacker configuration. The SeaWing carries a kayak hull-down and is designed for rear loading.
A kayak carrier is only compatible when the RAV4, crossbars, carrier hardware, kayak size and weight, and required bar spacing all meet the manufacturer’s specifications.
Neither product should be assumed to fit every RAV4 rack automatically. Yakima says the JayLow fits its bars and most compatible round, square, factory, and aerodynamic crossbars, while Malone directs buyers to its fit information for approved installations.
Freshness Note: Yakima currently lists different JayLow weight ratings based on manufacture date. Units manufactured before February 1, 2026 have lower limits than newer units, so check the carrier’s date code and current instructions instead of relying on an older specification copied from the web.
The Malone SeaWing is currently rated by Malone for one kayak up to 75 pounds. Whichever system you choose, your actual allowable load can still be lower if the RAV4 or crossbar system has a lower rating.
Optional rack locks can help deter theft of the carrier itself, but they do not replace the straps and bow/stern restraints that hold the kayak during travel.
Easy Ways to Load Your Kayak for Stability
When loading a kayak on your Toyota RAV4, the correct position depends on the carrier. A J-cradle holds the kayak on its side, while a saddle-style system supports it hull-down. Follow the carrier instructions instead of choosing an angle by guesswork.
Before lifting, remove loose gear from the kayak, close or secure hatch covers as the kayak manufacturer recommends, and make sure the crossbars and carrier hardware are tight.
A step stool, loading roller, rear-loading aid, or second person can make loading a taller SUV much easier and reduce the chance of dropping the kayak onto the roof.
Proper Kayak Positioning Techniques
Place the kayak in the position specified by the carrier manufacturer and keep it centered appropriately between the support points. The hull should make full, stable contact with the pads or cradles rather than balancing on a sharp edge.
Before adding straps, check that the kayak will not contact the roof, moonroof, antenna, rear spoiler, windshield area, or other bodywork. Make sure the carrier and kayak also remain clear of windshield-mounted cameras or sensors.
If a clean protective mat or rack pad is used temporarily during loading, remove trapped sand and grit first. Dirt beneath a pad can scratch paint. A household bathmat should not be treated as a substitute for a properly installed roof rack or approved carrier.
If you are loading alone, use a purpose-built load-assist method rather than dragging a heavy kayak across painted body panels. Malone, Yakima, and other rack manufacturers offer rear- or side-loading systems designed for this purpose.
Using Straps Effectively
For the main hull restraints, use the strap type specified by the kayak-carrier manufacturer. Purpose-built cam-buckle load straps are common because they let you make the kayak snug without applying excessive mechanical force.
For each crossbar, route the strap over the kayak and around the crossbar according to the carrier instructions. Where possible, keep the strap inside the crossbar tower or attachment point so it cannot slide off the end of the bar.
Tighten until the kayak cannot slide or lift from its carrier, but do not keep pulling until the hull visibly deforms. Plastic and composite boats can be damaged by excessive pressure.
Tie off or secure every loose strap end so it cannot flap against the paint, enter a door, or distract you while driving.
Pro Tip: After tightening the main straps, hold the kayak near the bow or stern and rock it firmly from side to side. The vehicle may move slightly on its suspension, but the kayak should not slide independently across the rack.
Utilizing Loading Accessories
Loading accessories can make a major difference on a RAV4 because of its roof height. A stable step stool can improve your reach, while a rear-loading roller or manufacturer-approved load-assist system can reduce how much of the kayak’s weight you must lift overhead.
The Yakima JayLow provides a J-cradle setup, while the Malone SeaWing supports rear loading. If you regularly carry a heavy fishing kayak, consider a load-assist product designed for your specific carrier rather than relying on improvised padding.
Keep any loading pad clean and make sure nothing interferes with the carrier’s clamps, crossbars, moonroof, spoiler, or hatch before you set off.
How to Securely Strap Your Kayak for Transport
A secure setup normally uses two main load straps plus the bow and stern restraints specified by the carrier manufacturer. Do not rely on a single strap, bungee cord, luggage cord, or loosely tied rear line.
- Confirm that the crossbars and kayak carrier are installed and tightened according to their manuals.
- Place the kayak in the carrier’s intended position and check that it is stable before strapping.
- Route one cam strap over the kayak at the front crossbar and secure it around that crossbar as directed by the carrier maker.
- Repeat with a second independent strap at the rear crossbar.
- Tighten both straps until the kayak is snug and cannot shift, without deforming the hull.
- Attach the bow restraint between an approved point on the kayak and a secure vehicle-side anchor point. Use a manufacturer-approved hood anchor when appropriate.
- Attach and tension the stern restraint in the same way. Do not leave it loose merely to make the hatch easier to open.
- Secure all loose strap ends and perform a firm movement test before driving.
Here’s a quick reference table for your strap setup:
| Strap Component | Purpose | Correct Use |
|---|---|---|
| Front Cam Strap | Secures the kayak at the front crossbar | Route around the crossbar/carrier as the manufacturer specifies and tighten until snug |
| Rear Cam Strap | Secures the kayak at the rear crossbar | Use as an independent second restraint; do not leave it loose |
| Bow Line | Controls forward lift and movement | Connect an approved kayak bow point to a secure front vehicle anchor |
| Stern Line | Controls rear lift and movement | Connect an approved stern point to a secure rear vehicle anchor and tension properly |
| Hood Anchor/Loop | Provides a vehicle-side front tie point when appropriate | Install only as its manufacturer directs; it is not attached to the kayak as a substitute for a bow point |
Warning: Do not drive with a required stern line, bow line, or main load strap intentionally loose. If you disconnect a restraint to open the hatch while parked, reconnect and retension it before the vehicle moves.
Protecting Your Vehicle During Kayak Transport
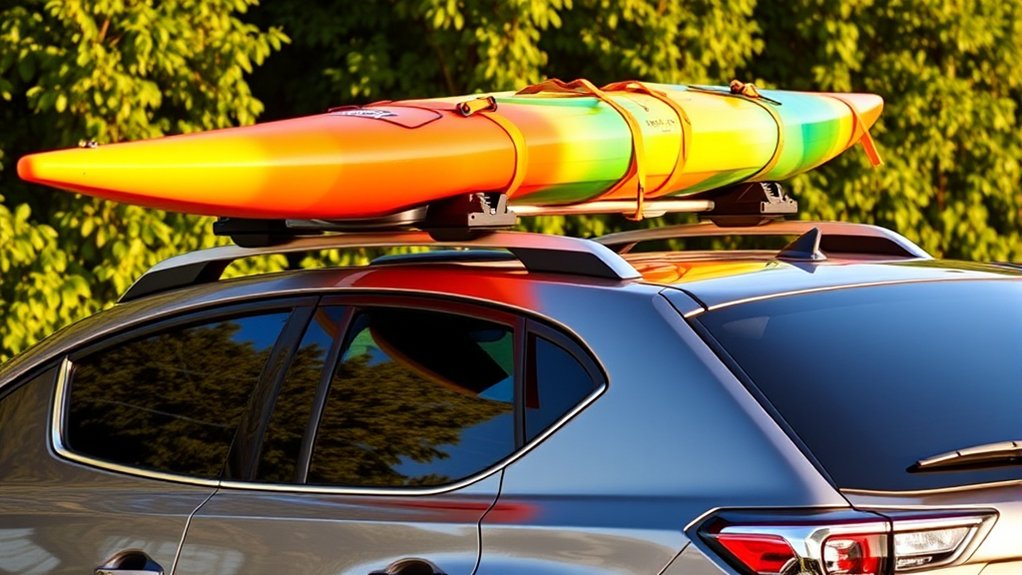
Transporting a kayak does not have to leave scratches, dents, or strap marks on your RAV4. Start with clean contact surfaces. Sand trapped under a pad, carrier base, or loading mat can work like sandpaper against the paint.
Use the protective padding supplied with your kayak carrier and keep metal buckles away from the roof and glass. Many purpose-built straps have buckle protection for exactly this reason.
Before driving, check the hatch carefully. A long kayak, stern line, load-assist extension, or rear carrier can interfere with the hatch or spoiler. Do not solve that problem by loosening a safety restraint. Adjust the loading position or tie-down route only within the equipment manufacturer’s instructions.
Secure excess strap ends so they cannot slap the doors, windows, or roof. Also verify that the kayak does not interfere with a moonroof, antenna, or driver-assistance camera.
Essential Safety Precautions for Kayak Transport
Before every trip, inspect the carrier, crossbars, straps, buckles, bow/stern lines, and attachment points. Replace webbing that is cut, badly abraded, chemically damaged, or otherwise weakened.
- Confirm every rack fastener is tight and the carrier has not shifted on the crossbars.
- Make sure the kayak cannot move independently when you rock it by hand.
- Secure all loose strap ends.
- Check that the bow and stern lines are clear of moving parts, hot components, sharp edges, and the driver’s field of view.
- After a short initial drive, stop somewhere safe and recheck the entire setup.
- Recheck again during fuel, meal, or rest stops on a long trip and after driving on rough roads.
- Slow down in strong crosswinds and avoid abrupt steering, acceleration, or braking.
- If the kayak extends significantly beyond the vehicle, check the marking, flag, lighting, and overhang rules that apply where you are driving.
Toyota warns that roof cargo raises the vehicle’s center of gravity. A loaded RAV4 will not respond exactly like an unloaded one, especially during emergency maneuvers or strong wind.
Manufacturers including Thule and Malone specifically call for bow and stern restraints in their rooftop kayak instructions. Follow the instructions supplied with the carrier you actually own.
Troubleshooting Kayak Movement, Strap Noise, and Hatch Interference
What If the Kayak Moves Side to Side?
Stop driving and inspect the system. Check whether a main strap has loosened, the kayak is sitting incorrectly in its cradle, a carrier clamp has shifted, or a crossbar has moved. Do not simply add more force to a strap until you know what is moving.
What If the Straps Hum or Vibrate?
Wind can make flat webbing vibrate. First confirm that the strap is routed correctly and all loose ends are secured. Some rack instructions allow a slight twist in exposed webbing to reduce vibration, but follow the strap or rack manufacturer’s guidance rather than changing the load path.
What If the Rear Hatch Hits the Kayak or Stern Line?
Open the hatch slowly while parked to check clearance. If a required stern restraint must be disconnected to open the hatch, reconnect and tension it before driving. Never leave the stern line loose as a permanent workaround.
What If the Carrier Shifts on the Crossbars?
Stop using the rack until the mounting hardware and crossbar fit have been checked. A shifting carrier can indicate loose hardware, incorrect adapters, unsuitable crossbars, or an installation that does not meet the manufacturer’s fit requirements.
Community Recommendations for Kayak Accessories and Gear
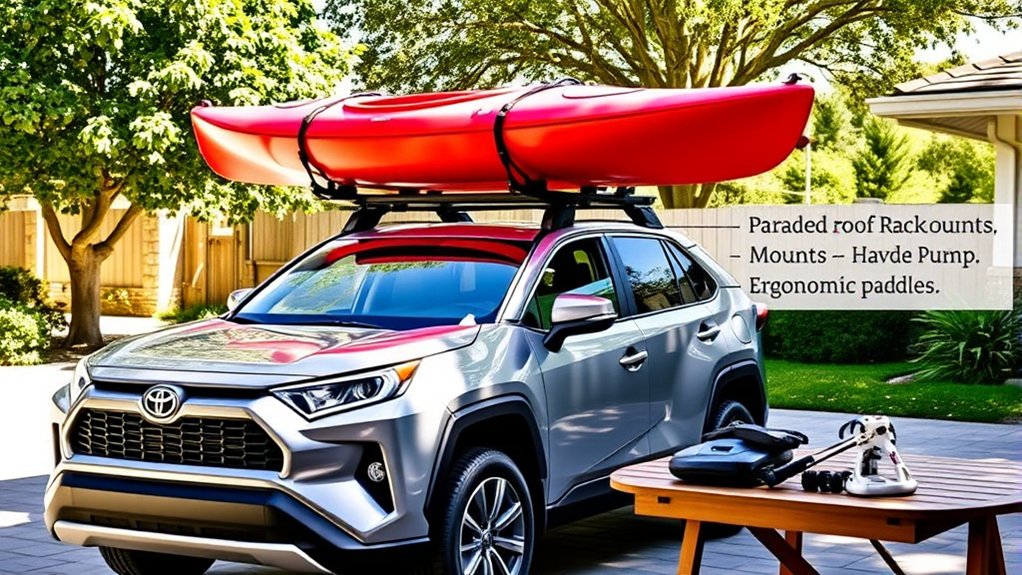
Experienced paddlers often favor simple equipment that is easy to inspect: quality cam straps, a properly fitted carrier, dependable bow and stern restraints, and a loading aid when the boat is difficult to lift.
The Yakima JayLow and Malone SeaWing are two established carrier styles, but the best choice depends on your crossbars, kayak weight and hull shape, loading ability, and the total capacity of the system.
If your RAV4 does not provide a convenient front attachment point, a manufacturer-approved hood anchor can provide a practical tie-down location. Use it only according to its instructions and keep the line clear of bodywork and moving parts.
For storage between trips, keep straps clean and dry, inspect them for damage, and store the carrier hardware where parts will not be lost or corroded. Periodically check rack bolts and moving parts according to the rack manufacturer’s maintenance instructions.
Customer reviews can help you judge ease of installation, noise, or everyday usability, but verify fit, capacity, and safety instructions with the manufacturer rather than relying on reviews alone.
Related Guides
Frequently Asked Questions
Can I use a kayak cart to move my kayak to the RAV4?
Yes. A kayak cart can make it much easier to move a heavy boat from storage or the water to your vehicle. Choose a cart rated for the kayak’s weight, balance the boat correctly, and remove or secure the cart before loading the kayak onto the roof.
What weight limit should I consider for my RAV4 roof rack?
There is no single roof-load number that should be applied to every RAV4. Toyota has published different limits for different generations and configurations. Check the owner’s manual for your exact vehicle, then compare that limit with the crossbar and kayak-carrier limits. Never exceed the lowest applicable rating.
How do I maintain my roof rack after frequent use?
Clean the rack with products approved by its manufacturer, inspect clamps and fasteners, check straps for wear, and confirm that moving or folding parts still operate correctly. Tighten hardware to the manufacturer’s specification and replace damaged straps or hardware rather than trying to repair load-bearing parts with improvised fixes.
Are there specific kayak sizes compatible with the RAV4 roof rack?
There is no universal 10- or 12-foot RAV4 kayak limit. Compatibility depends on kayak weight and hull shape, carrier specifications, required crossbar spread, total roof-system capacity, how far the boat overhangs the vehicle, and applicable road rules. Check both the kayak-carrier instructions and your RAV4 manual.
Can I transport multiple kayaks on my RAV4 at once?
Possibly, but only when the carrier is designed for multiple kayaks and the combined load remains within every applicable vehicle, crossbar, and carrier limit. You also need enough crossbar space and the correct strap arrangement. Do not assume that a carrier’s two-kayak capability means your particular RAV4 roof system can support the same load.
Can I mount a kayak carrier directly to the RAV4’s side rails?
Most rigid rooftop kayak carriers are designed to attach to compatible crossbars, not directly to longitudinal side rails. Check the instructions for your carrier and rack system. If crossbars are required, install a vehicle-approved crossbar system before mounting the kayak carrier.
Do I need bow and stern lines for a kayak on a RAV4?
Follow the instructions for your specific carrier. The Yakima and Malone systems discussed in this guide include or specify bow and stern restraints, and other manufacturers such as Thule also require them for particular kayak systems. When the carrier manual requires them, use both and keep them properly tensioned before driving.
Conclusion
Transporting a kayak on a Toyota RAV4 is less about buying one particular rack and more about making the entire system work together. Verify the load limit for your exact vehicle, use compatible crossbars and a properly fitted carrier, secure the hull with independent load straps, and use the bow and stern restraints required by the carrier manufacturer.
Before every trip, give the kayak a firm movement test and inspect the straps and rack hardware. Recheck the setup after you begin driving and during longer trips. With those habits in place, you can protect your kayak, your RAV4, and the people sharing the road with you.
Sources
- Toyota Owners — Manuals and Warranties — vehicle-specific cargo, roof-load, and driving precautions.
- Yakima JayLow — current carrier configuration, fit information, included restraints, and manufacture-date-dependent load ratings.
- Malone SeaWing — current product identity, rear-loading design, hardware, and included tie-down equipment.
- Thule Kayak Carrier Instructions — manufacturer guidance requiring bow and stern tie-downs for the referenced rooftop system.
