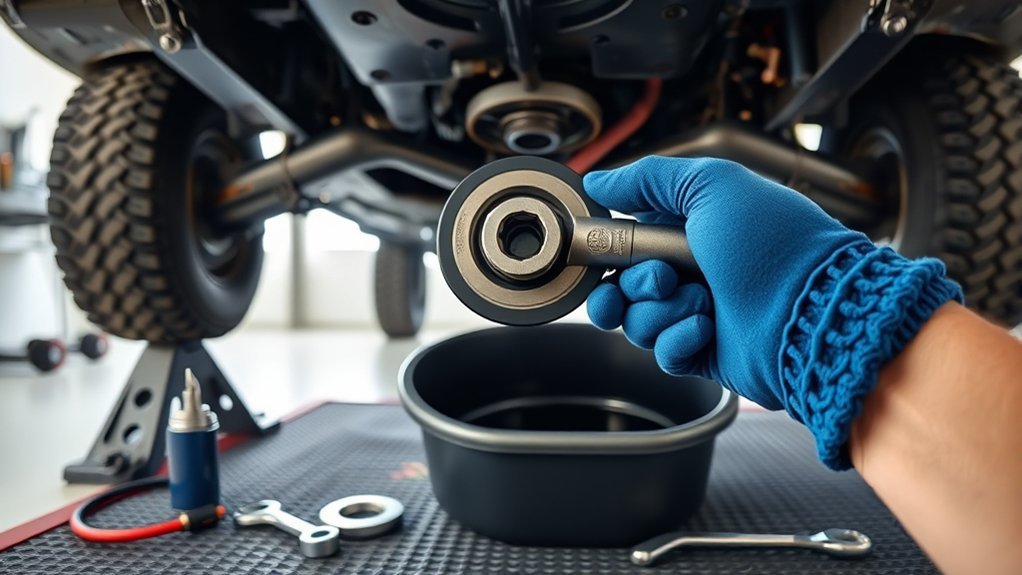
Changing Toyota Tacoma transfer case fluid is a manageable maintenance job, but the correct fluid, capacity, plug size, sealing washers, and torque values depend on the truck’s model year and transfer-case design. Confirm those details in the exact Toyota owner’s manual or repair manual before opening either plug. The steps below provide a safe workflow without treating one specification as universal.
Quick Answer
Park your Tacoma level and safely support it, then remove the fill plug before draining the old fluid. Inspect the plug and drained oil, install a new sealing washer, torque the drain plug to your model’s specification, and refill with the exact Toyota-specified fluid until the manual’s level requirement is met.
Key Takeaways
- Verify the fluid specification, capacity, plug type, and torque values for your exact model year.
- Remove the fill plug first so you know the transfer case can be refilled before draining it.
- Keep the truck level during the final level check.
- Use new specified sealing washers instead of relying on previously compressed washers.
- Stop and seek professional help if you find large metal pieces, damaged threads, milky fluid, or a recurring leak.
At a Glance
| Time Required | About 45 to 90 minutes, depending on skid-plate access and plug condition |
| Difficulty | Moderate DIY maintenance |
| Tools Needed | Correct socket or hex bit, ratchet, torque wrench, fluid pump, drain pan, wheel chocks, gloves, eye protection, and approved ramps or jack stands if lifting is required |
| Cost | The cost of the specified fluid, two sealing washers, and an optional transfer pump; prices vary by model year and fluid specification |
Confirm Your Tacoma’s Transfer-Case Specifications
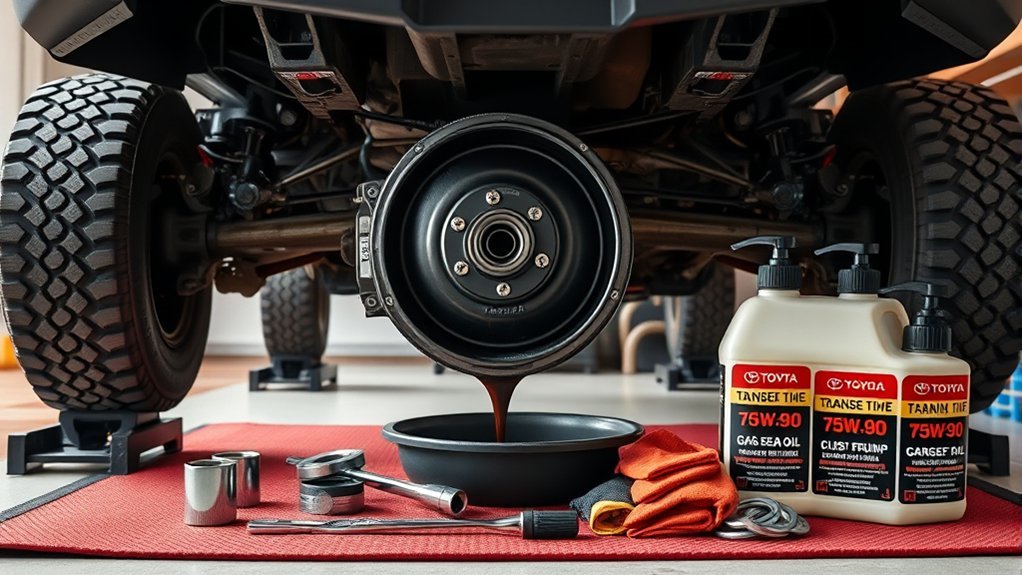
Start by confirming that your Tacoma has a transfer case. A conventional rear-wheel-drive Tacoma does not have the same four-wheel-drive transfer-case service requirement. Four-wheel-drive models use a transfer case, while some newer configurations use different four-wheel-drive hardware and operating systems.
Toyota states that fourth-generation four-wheel-drive Tacomas can use an electronically controlled two-speed transfer case, while certain Limited hybrid models use a full-time four-wheel-drive system with a locking center differential. These differences make it unsafe to assume that every Tacoma takes the same lubricant or has the same service specifications. You can review the current drivetrain description in Toyota’s 2024 Tacoma technical overview.
Use the Toyota Manuals and Warranties portal to select your exact year and model. Confirm all of the following before buying supplies:
- The required transfer-case fluid name, viscosity, and performance specification
- The approximate refill capacity
- The fill-plug and drain-plug tool sizes
- The separate torque specification for each plug
- The correct sealing-washer or gasket part numbers
- Whether the level is checked at the bottom of the fill opening or by another specified procedure
- Whether a skid plate or underbody panel must be removed
Note: Do not substitute a fluid simply because its viscosity looks similar. The label should explicitly meet the specification listed for your exact Tacoma and transfer case.
[Amazon Products Picked for You]

HIGH PERFORMANCE - gear protection and longer synchro life, Satisfies the gear oil viscosity requirements of 70W & 75W

Tested and approved by Toyota

Genuine OEM Product: Toyota factory-engineered Transfer Gear Oil LF 75W specifically formulated and tested to meet Toyota's strict standards
Tools and Supplies
Gather everything before raising the truck or opening a plug. A typical transfer-case fluid change requires:
- The exact Toyota-specified fluid in the quantity listed by the manual, plus a reasonable reserve
- New specified fill-plug and drain-plug sealing washers
- The correct socket, wrench, or hex-bit socket
- A ratchet and suitable extensions
- A calibrated torque wrench covering the required range
- A hand pump or bottle pump compatible with the fluid container
- A drain pan with enough capacity and a stable, wide opening
- Brake cleaner or a suitable residue-free cleaner for external surfaces
- Lint-free shop towels
- Nitrile gloves and safety glasses
- Wheel chocks
- Rated ramps or jack stands when additional clearance is necessary
- Tools for removing the skid plate, when fitted
Keep the pump and hose clean. Fluid left in a pump from another lubricant can contaminate the fresh transfer-case fluid.
[Amazon Products Picked for You]
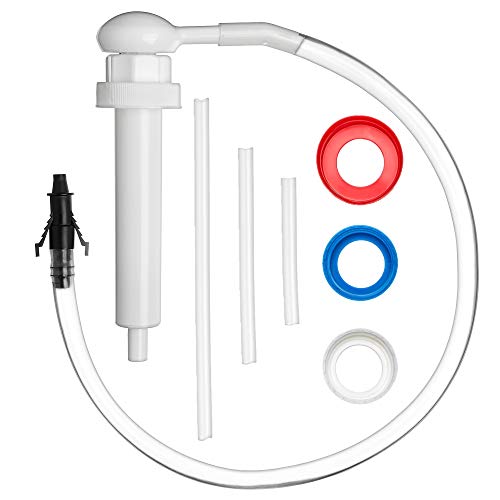
🚙Pumps 1 FULL OUNCE (30cc) per pump stroke. Pumps an entire quart in 32 strokes. DOES NOT FIT STANDARD QUART BOTTLES
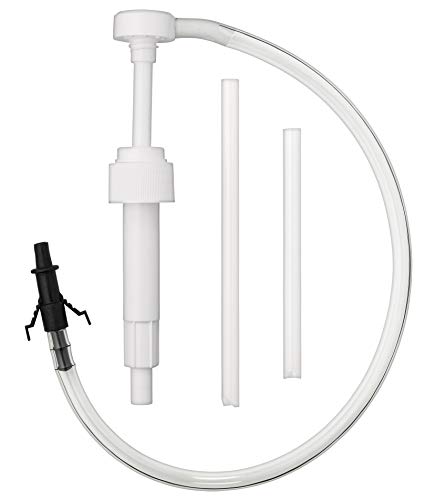
🚗Fits Standard Quart Bottles with 28mm Bottle Cap

[High-quality Materials] The lower gear oil pump is made of high-quality materials, which is durable and ensures fast and precise refilling of lubricating oil for the lower device of the marine engine, and is easy to use.
Safety and Vehicle Preparation
Work on a solid, flat surface with good lighting and ventilation. Set the parking brake, place the transmission in Park or in gear, and chock the wheels that remain on the ground.
Warning: Never crawl beneath a truck supported only by a hydraulic jack. Use correctly positioned, weight-rated jack stands or approved ramps. Confirm that the vehicle cannot roll or shift before placing any part of your body underneath it.
The vehicle should sit level during the final fluid-level check. Raising only the front or rear can change the apparent level at the fill opening. If you need more clearance, raise and support the vehicle in a way that preserves the attitude required by the manual.
Remove the skid plate or underbody panel if it blocks access. Support a heavy skid plate while removing its final fasteners so it cannot fall.
[Amazon Products Picked for You]

Lightweight jack stands are used to support your vehicle after lifting with a jack; Wide pyramid foot base provides added strength and stable support

【3 Ton Double Locking Jack Stands】:This Heavy Duty Vehicle Support has a 3-ton (6,600 lb) capacity per stand, with a lifting range of 11.22" (min) to 16.77" (max) and a net weight of 14.3 lbs. It fits most 3-ton automobiles but is not for large pick-ups, trucks, or oversized SUVs with a chassis height over 16".

【Reinforced Construction with Protective Rubber Cover】:Built with solid steel and wide-contact rubber tops to prevent scratches or damage to vehicle frames,ensuring both durability and paint protection.
Step 1: Warm the Fluid and Park Level
A brief drive can warm the old fluid and help it drain more readily. Avoid a long drive or heavy towing immediately before service because the transfer case, exhaust, and lubricant may become hot enough to cause burns.
After parking, allow hot components to cool until they can be approached safely. Keep the truck level and confirm that the engine is off before working underneath it.
Step 2: Clean the Plugs and Remove the Fill Plug First
Locate the fill and drain plugs using the exact manual or a clear service diagram. Do not confuse the transfer-case plugs with transmission or differential plugs.
Brush or wipe away dirt around both openings before loosening anything. This prevents loose grit from falling into the case and helps the tool seat fully in the plug.
Fit the correct tool squarely into the fill plug. Apply controlled force and break the fill plug loose before touching the drain plug.
Pro Tip: Removing the fill plug first confirms that you will be able to refill the transfer case. Draining the case before discovering a seized or rounded fill plug can leave the truck undrivable.
If the fill plug will not move, stop before draining. Penetrating oil, careful heat applied by a qualified technician, or professional extraction may be necessary. Avoid using an undersized tool or striking the case.
Step 3: Drain and Inspect the Old Fluid

Position the drain pan beneath the drain plug. Keep your face and hands away from the expected flow path, then loosen the plug carefully. Warm lubricant may spread farther than expected when the plug is first removed.
Allow the fluid to drain until the steady stream slows to an intermittent drip. You do not need to wait for the fluid to “run clear,” because the case is draining used lubricant rather than being flushed.
Inspect the drained fluid and plug under good lighting:
- Fine gray paste on a magnetic plug: A light coating can result from normal wear.
- Large chips, sharp fragments, or needle-like pieces: Stop and arrange a professional inspection before driving extensively.
- Milky, cloudy, or foamy fluid: Water may have entered through a vent, seal, or water crossing.
- Strong burnt odor or severe discoloration: Check the service history and investigate overheating, low fluid, or internal wear.
- Very little fluid: Inspect the case, plugs, seals, vent, and surrounding components for leakage.
Clean the magnetic tip and plug threads with a lint-free towel and suitable cleaner. Do not push dirt, cloth fibers, or abrasive material into the transfer case.
Step 4: Install the Drain Plug With a New Washer
Remove the old sealing washer or gasket. Clean the plug’s sealing face and the exposed mating surface on the case without scratching either surface.
Install the correct new washer. Start the drain plug entirely by hand so you can feel whether the threads are aligned. It should turn smoothly for several rotations without significant resistance.
If the plug binds immediately, remove it and inspect the threads. Do not use a ratchet to force a cross-threaded plug into an aluminum housing.
Once the plug is seated, tighten it with a calibrated torque wrench to the drain-plug specification for your exact model. Do not assume the drain and fill plugs use the same torque.
Step 5: Refill the Transfer Case to the Specified Level
Place the clean pump hose in the correct new fluid container and route the outlet into the fill opening. Pump slowly to reduce spills and give the fluid time to settle.
For models whose manual specifies a fill-hole level check, add fluid until a thin stream or slow drip begins to emerge from the fill opening while the vehicle remains level. Allow the excess to slow to the condition described in the manual.
If your manual specifies a measured quantity, temperature range, scan-tool procedure, or another level-check method, follow that procedure instead. Do not force the entire contents of a bottle into the case merely because the container is open.
Note: The amount removed may differ slightly from the published dry or service capacity because some old fluid remains inside the housing. The specified final level is more important than matching the volume collected in the drain pan.
Step 6: Install the Fill Plug and Check for Leaks
Install a new sealing washer on the clean fill plug. Start the plug by hand, then tighten it to the fill-plug torque specified for your Tacoma.
Clean all spilled fluid from the transfer case, crossmembers, and skid plate. A clean surface makes a new leak easier to identify.
Reinstall the skid plate using its correct fastener locations and torque values. Remove all tools and the drain pan before lowering the vehicle.
After the truck is safely on the ground:
- Start the engine and confirm that no warning lights appear.
- Operate the four-wheel-drive system only as directed by the owner’s manual and on a suitable surface.
- Take a short, gentle drive.
- Park on a clean, level surface.
- Inspect both plugs and the surrounding case for fresh seepage.
- Check the area again after the truck has sat for several hours.
Troubleshooting Common Problems
The Fill Plug Will Not Loosen
Do not drain the case. Verify that you are using the exact tool and that it is fully seated. Clean corrosion from the recess, apply penetrating oil where appropriate, and use controlled leverage. A rounded or severely seized plug may require professional extraction.
The Plug or Case Threads Are Damaged
Stop tightening if the plug spins, binds, or will not reach the specified torque. Damaged housing threads may require a properly engineered thread repair. Excess sealant or an oversized plug is not a reliable substitute for correct repair.
A Plug Leaks After the Fluid Change
Confirm that the correct new washer was installed, the sealing surfaces are clean, and the plug was tightened to the correct specification. Continued leakage can indicate a damaged plug, scratched sealing surface, cracked housing, or damaged threads.
The Drained Fluid Is Milky
Milky fluid commonly indicates water contamination. Avoid assuming that a simple refill has solved the cause. Inspect the vent routing, output seals, plug seals, and recent water-crossing history. Significant contamination may require additional service and internal inspection.
You Find Metal Pieces in the Fluid
A thin paste on a magnetic plug differs from visible chips or sharp fragments. Photograph the debris and keep the drained fluid available for inspection. Large or unusual pieces justify professional diagnosis before continued towing, off-road driving, or four-wheel-drive use.
How Often Should Tacoma Transfer-Case Fluid Be Changed?
Use the Warranty and Maintenance Guide for your exact Tacoma rather than a universal mileage number. Toyota schedules can distinguish between inspection and replacement and may apply additional maintenance under special operating conditions.
More frequent inspection may be sensible when the truck regularly experiences:
- Trailer towing or heavy hauling
- Extended off-road driving
- Deep water crossings
- Dust, mud, or severe temperature exposure
- Repeated low-range operation
- A known leak or previous water contamination
Check the fluid promptly after suspected water entry, a damaged vent, a transfer-case leak, or repairs that required opening the housing. Fluid condition does not replace the vehicle-specific maintenance schedule.
Store and Recycle the Used Fluid
Pour the drained lubricant into a clean, leak-proof container with a secure cap. Do not mix it with coolant, brake fluid, gasoline, solvents, water, or household chemicals.
Take it to an authorized used-oil collection center, household hazardous-waste facility, service shop, or recycling location accepted by your local authority. The U.S. Environmental Protection Agency’s used-oil guidance explains why used lubricants should be contained and recycled rather than released onto the ground or into drains.
Frequently Asked Questions
Can I change Toyota Tacoma transfer-case fluid myself?
Yes, when you can safely support the truck, identify the correct plugs, obtain the exact fluid and torque specifications, and use a torque wrench. Leave the job to a professional if a plug is seized, threads are damaged, or the drained fluid contains significant metal or water.
What transfer-case fluid does a Toyota Tacoma use?
The correct fluid depends on the Tacoma’s model year and transfer-case design. Check the exact Toyota owner’s manual or repair manual and use only Toyota fluid or an alternative explicitly meeting the listed specification.
How much transfer-case fluid does a Tacoma need?
Capacity varies by year and transfer case. Buy the quantity listed in the manual with a small reserve, then use the specified level-check procedure. Do not assume that every Tacoma takes one full quart.
What is the Tacoma transfer-case plug torque?
Use the drain-plug and fill-plug torque values published for your exact model year. Do not assume both plugs use the same value or that one value applies to every Tacoma generation.
Does a two-wheel-drive Tacoma need transfer-case fluid?
A conventional rear-wheel-drive Tacoma does not have the four-wheel-drive transfer case discussed in this procedure. It still has other drivetrain fluids, so follow its maintenance guide for transmission and differential service.
Should I service the transfer case if I rarely use four-wheel drive?
Yes, follow the applicable maintenance guide even when four-wheel drive is used infrequently. The transfer-case components and lubricant can still experience age, temperature cycles, condensation, seal leakage, and normal drivetrain operation.
Conclusion
A successful Tacoma transfer-case fluid change depends on preparation rather than one universal fluid or torque number. Identify the exact transfer case, obtain the correct Toyota specifications, keep the truck safely supported and level, remove the fill plug first, inspect the old fluid, use new sealing washers, and torque each plug correctly.
After refilling, clean the housing and inspect it twice for leakage: once after a short drive and again after the truck has been parked. Stop and obtain professional help when you find damaged threads, persistent seepage, water contamination, or substantial metal debris.
Sources
- Toyota Manuals and Warranties — vehicle-specific owner’s manuals and Warranty and Maintenance Guides
- 2022 Toyota Tacoma Owner’s Manual — model-year-specific operating and maintenance information
- 2023 Toyota Tacoma Owner’s Manual — model-year-specific operating and maintenance information
- Toyota USA: 2024 Tacoma Technical Overview — current transfer-case and four-wheel-drive configuration differences
- U.S. Environmental Protection Agency Used-Oil Guidance — safe containment, handling, and recycling of used lubricant
