Checking your Dell laptop temperature helps you understand whether the processor is working normally or struggling with excess heat. You can view live CPU readings using Core Temp or HWMonitor, then use Dell’s thermal settings and diagnostics to investigate problems. This guide explains how to check temperatures, understand the results, improve cooling, and identify fan problems that need repair.
Quick Answer
To check Dell laptop temperature, install Core Temp or HWMonitor and review the CPU sensor readings. Compare them with your processor’s specified temperature limit rather than relying on one universal safe range. If temperatures remain high during light use, inspect airflow, check running applications, adjust thermal settings, and run Dell hardware diagnostics.
At a Glance
| Difficulty | Beginner |
| Tools Needed | Core Temp or HWMonitor; Dell thermal-management software for supported models |
| Cost | Free for basic temperature monitoring |
Why Dell Laptops Run Hot
Dell laptops generate heat whenever the processor, graphics chip, and other components consume power. Their compact design leaves limited space for airflow, so fans must move warm air away from the internal components.
During demanding tasks such as gaming, video editing, or running several applications, CPU usage increases. The cooling system responds by raising fan speed.
A warm laptop or louder fan does not automatically mean overheating. The important signs are sustained high temperatures, unexpected performance drops, thermal warnings, or shutdowns.
Common Causes of Excessive Heat
Several issues can make your Dell laptop hotter than usual:
- Heavy CPU usage: Demanding applications and background processes generate more heat.
- Dust buildup: Dust on vents, fans, and cooling fins restricts airflow.
- Blocked ventilation: Beds, cushions, and soft surfaces can cover air intakes.
- Thermal settings: Performance-oriented profiles may allow higher temperatures and louder fan operation.
- Cooling hardware problems: A damaged fan, poorly functioning heat sink, or degraded thermal material can reduce cooling efficiency.
- Software issues: Outdated BIOS, drivers, or thermal-management software may contribute to abnormal cooling behavior.
Dell’s default Optimized thermal profile balances system performance, surface temperature, and fan noise. Changing to Cool can lower the laptop’s surface temperature, although the fans may become louder.
How to Check Dell Laptop Temperature
The easiest way to check CPU temperature while using Windows is with hardware-monitoring software. Core Temp shows individual processor-core readings, while HWMonitor provides a broader view of system sensors.
For a useful comparison, check the laptop while idle and again during your usual workload.
Method 1: Check CPU Temperature With Core Temp
Core Temp reads the digital thermal sensors built into supported processors. It displays live temperature information and helps you identify whether individual cores are getting unusually hot.
- Download the application from the official Core Temp website.
- Install the software or use its available portable version.
- Launch Core Temp on your Dell laptop.
- Find the temperature readings for the individual CPU cores.
- Review the current readings and the recorded minimum and maximum values.
- Leave the application open while performing your normal tasks to observe temperature changes.
Watch how quickly the readings rise and whether they fall after you close demanding applications.
A brief increase during heavy processing can be normal. Temperatures that remain unusually high after activity stops deserve further investigation.
Method 2: Check System Temperatures With HWMonitor
HWMonitor is useful when you want more than CPU temperature. It can display processor, graphics, storage, and other supported sensor readings in one application.
- Download HWMonitor from CPUID.
- Install and open the application.
- Expand the processor section.
- Locate the temperature readings for the CPU.
- Check the current, minimum, and maximum values.
- Review GPU, storage, and fan readings if your hardware exposes those sensors.
If a fan-speed reading is missing, it does not necessarily mean the fan has stopped. Some Dell laptops do not expose every sensor to third-party monitoring applications.
Method 3: Check Dell BIOS and Hardware Diagnostics
Some Dell models expose thermal information through BIOS or preboot diagnostics. Available readings depend on the laptop model and firmware.
- Save your work and restart the laptop.
- Press F2 when the Dell logo appears to enter BIOS Setup.
- Look for available system-health, thermal, or hardware-monitoring information.
- If temperature information is unavailable, exit without changing unrelated settings.
- Restart and press F12 at the Dell logo.
- Select Diagnostics from the One-Time Boot Menu.
- Review the available hardware tests and system information.
BIOS readings are not a substitute for live Windows monitoring. They cannot show the exact thermal behavior of an application running inside Windows.
What Should You Check?
Use the following checks to connect the temperature reading with the likely cause.
| Check point | Action |
|---|---|
| CPU reading | Compare idle and loaded temperatures using Core Temp or HWMonitor. |
| Fan speed | Check available sensor readings and run Dell diagnostics if fan operation seems abnormal. |
| Airflow | Inspect vents for dust and confirm that the laptop has adequate ventilation. |
What Is a Safe Dell Laptop CPU Temperature?
There is no single safe CPU temperature for every Dell laptop. The acceptable operating temperature depends on the processor, cooling design, workload, and manufacturer’s thermal limits.
Some laptops can briefly reach high temperatures during demanding workloads without experiencing a hardware fault.
However, sustained temperatures near the processor’s maximum limit may cause thermal throttling. This means the processor automatically reduces its operating speed or power to control heat.
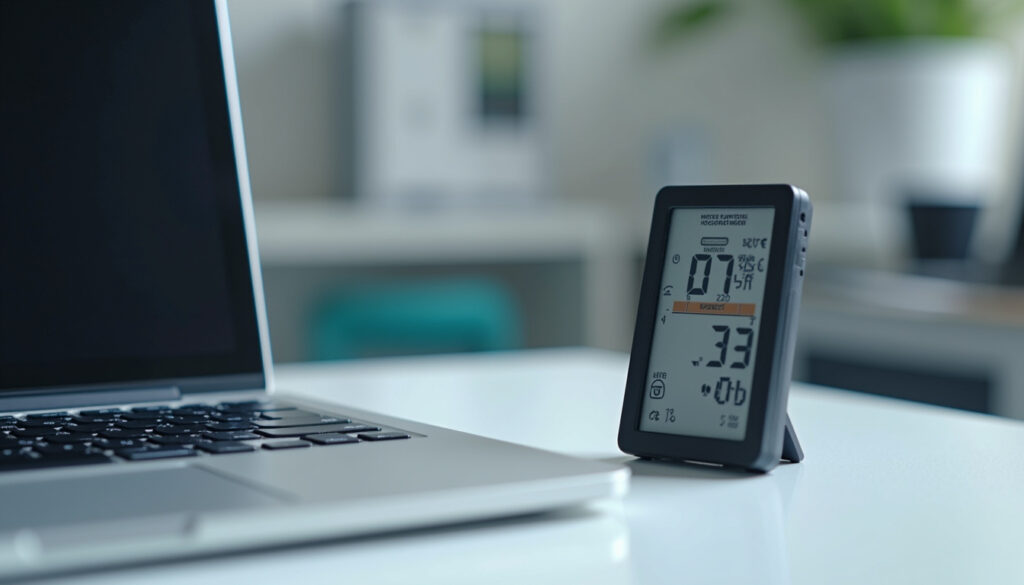
Understanding Common Temperature Readings
The original article described 35°C to 95°C as a general operating range, with idle temperatures below 60°C and heavy workloads reaching 80°C to 95°C.
Those figures can describe some laptop operating conditions, but they should not be treated as universal safety limits.
| CPU Temperature | How to Interpret It |
|---|---|
| 35°C–60°C | An illustrative idle or light-use range. Actual readings vary by model and surroundings. |
| 80°C–95°C | Can occur during demanding workloads. Compare sustained readings with your CPU’s specified limit. |
| Near the CPU’s maximum specified temperature | The processor may reduce performance to manage heat. Investigate sustained readings and related symptoms. |
For Intel processors, Intel’s processor temperature documentation explains that Tjunction Max is the thermal threshold associated with internal temperature-control mechanisms.
Intel states that the maximum junction temperature varies by product and is usually between 100°C and 110°C. The correct value for your laptop depends on its specific processor.
Check your processor model and its specifications before deciding whether a reading is excessive.
When Should You Be Concerned?
Pay attention to the laptop’s behavior as well as its temperature.
- The CPU remains near its thermal limit during light activity.
- Performance drops sharply after the laptop warms up.
- The fan runs at maximum speed even when CPU usage is low.
- The computer freezes, restarts, or shuts down unexpectedly.
- A fan, temperature sensor, or cooling-related warning appears.
These symptoms suggest that the system needs troubleshooting rather than simple temperature monitoring.
Best Dell Temp Monitoring Tools
Core Temp, HWMonitor, and Dell’s thermal-management software serve different purposes. Choosing the right tool depends on whether you want temperature readings, broader hardware information, or cooling controls.
Core Temp
Core Temp focuses on processor temperature. It provides live per-core readings with a lightweight interface.
It is a practical choice when you only need to understand CPU heat during normal use or demanding applications.
HWMonitor
HWMonitor provides a wider view of system hardware. Depending on sensor support, it can display CPU and GPU temperatures, storage information, voltages, and fan speeds.
This makes it useful when you suspect that another component contributes to excessive system heat.
Dell Power Manager, MyDell, and Dell Optimizer
Dell Power Manager controls thermal behavior on supported older systems. It manages processor and cooling-fan settings rather than serving as a dedicated per-core temperature monitor.
Dell has integrated Power Manager functions into newer applications.
According to Dell’s Power Manager documentation, MyDell is the recommended successor for supported XPS, Inspiron, and Vostro systems. Dell Optimizer serves supported Latitude and Precision systems.
Application availability depends on the laptop model. Use the version offered for your computer rather than installing an unsupported utility.
Which Tool Should You Use?
- Core Temp: Choose it for straightforward CPU temperature monitoring.
- HWMonitor: Use it to review several supported hardware sensors.
- MyDell or Dell Optimizer: Use the supported Dell application to manage thermal profiles.
- Dell Power Manager: Use it if your older supported system already relies on that application.
Fanny is a temperature-monitoring application for macOS, not a normal choice for a Windows-based Dell laptop.
On supported Intel-based Dell laptops, the Intel Dynamic Platform and Thermal Framework or Intel Dynamic Tuning driver also helps manage cooling and performance.
Keeping the correct driver installed supports thermal management, although it does not replace dedicated temperature-monitoring software.
How to Cool Down Your Dell Laptop
Start with simple fixes that improve airflow and reduce unnecessary processing. These steps address common overheating causes without requiring you to open the laptop.
1. Use a Hard, Flat Surface
Place the laptop on a desk, table, or sturdy laptop stand.
Soft surfaces can cover the bottom or side vents. Keeping these openings clear allows the fans to draw in air and remove heat.
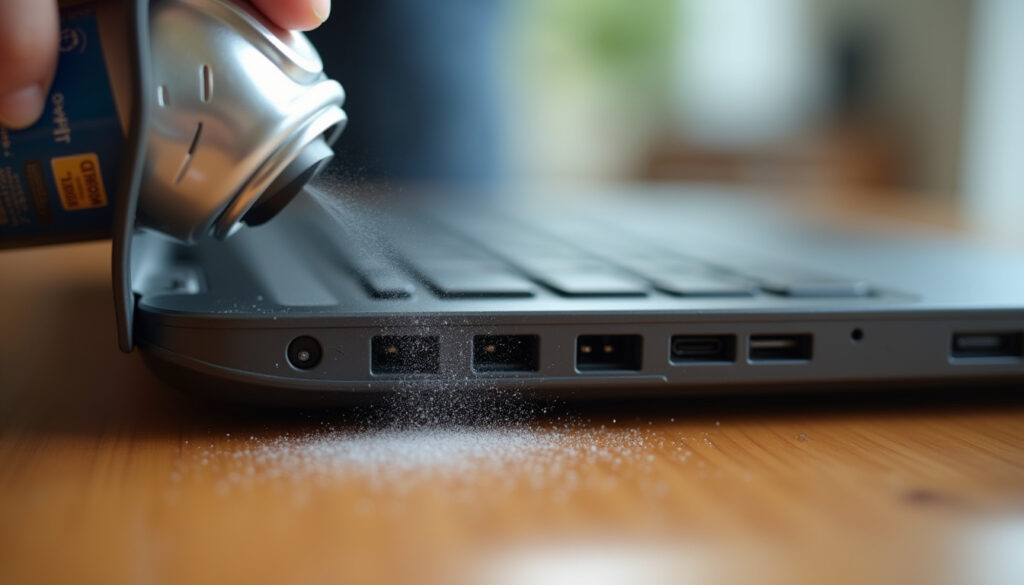
2. Clean the Air Vents
Dust accumulation reduces cooling efficiency and makes the fans work harder.
Follow Dell’s fan troubleshooting guidance when cleaning the ventilation openings.
- Turn off the laptop.
- Disconnect the AC adapter and external devices.
- Inspect the ventilation openings for dust and debris.
- Use canned compressed air according to the manufacturer’s instructions.
- Reconnect the laptop and check whether cooling improves.
Do not use a household vacuum cleaner or blow into the vents with your mouth. Static electricity or moisture can damage internal components.
3. Reduce Unnecessary CPU Usage
Open Windows Task Manager and review the processes consuming CPU resources.
Close applications you no longer need. If the processor is working heavily because of a background task, identify that task before ending it.
A restart can also clear temporary software problems and reduce unnecessary background activity.
4. Adjust Power and Thermal Settings
Windows Balanced or Power Saver settings can reduce unnecessary processor demand.
On supported Dell systems, open MyDell, Dell Optimizer, or the installed Dell Power Manager application and locate Thermal Management.
Choose an appropriate profile:
- Optimized: Balances performance, cooling, and noise.
- Cool: Increases cooling activity and may lower surface temperature.
- Quiet: Reduces fan noise but may allow higher surface temperatures or lower performance.
- Ultra Performance: Prioritizes performance and may increase heat and fan noise.
If the laptop feels excessively hot, Optimized or Cool is generally a more suitable starting point than Ultra Performance.
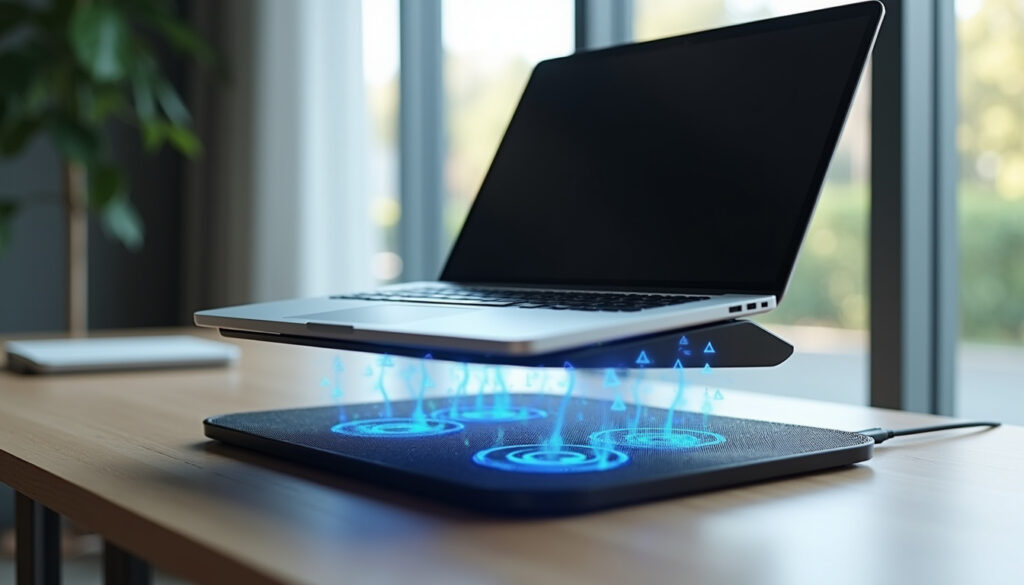
5. Consider a Cooling Pad
A laptop cooling pad can improve airflow around the underside of the computer.
Choose one that does not block the laptop’s existing air intakes. A cooling pad may help, but it cannot repair a failed fan or severely clogged heat sink.
6. Update the BIOS and Thermal Drivers
Outdated firmware or thermal-management drivers can contribute to cooling problems.
Dell recommends keeping the BIOS, relevant drivers, and Windows updated as part of overheating troubleshooting.
Use Dell SupportAssist or the official support page for your exact model. On supported Intel-based systems, check the applicable Intel Dynamic Tuning or thermal-framework driver.
Warning: Save your work and follow Dell’s model-specific instructions before updating the BIOS. Do not interrupt a firmware update or install firmware intended for another laptop model.
When Dell Fan Noise Needs Support
Loud fan noise is often a normal response to heavy CPU usage. However, unusual mechanical sounds, repeated shutdowns, and continuous high-speed operation during light use may indicate a cooling problem.
If basic troubleshooting does not help, use Dell’s hardware diagnostics to investigate further.
Run Dell ePSA or SupportAssist Preboot Diagnostics
Dell’s built-in diagnostics can test supported hardware without loading Windows.
Follow the official Dell preboot diagnostic procedure:
- Save your work and restart the laptop.
- Press F12 repeatedly when the Dell logo appears.
- Select Diagnostics from the One-Time Boot Menu.
- Allow the initial hardware test to run.
- Open the advanced test options if available.
- Select the available fan tests and follow the on-screen instructions.
- Record any error code and validation code.
The fans may become unusually loud during diagnostic testing because the test can drive them at high speed.
A successful fan test indicates that the tested hardware is operating, but it does not rule out every airflow or thermal-management problem.
When to Contact Dell Support
Contact Dell support if the problem continues after cleaning, software updates, and appropriate thermal-setting adjustments.
Dell’s advanced overheating troubleshooting guidance identifies several conditions that warrant further investigation:
- The laptop continues to overheat or shut down unexpectedly.
- A diagnostic test reports a fan or thermal error.
- The fan makes grinding or rattling sounds.
- The fan runs at maximum speed continuously despite low system activity.
- Cooling performance remains poor after basic troubleshooting.
Have your Service Tag, diagnostic error codes, and troubleshooting results available when requesting support.
Warning: Stop using the laptop, turn it off, and disconnect its adapter if you notice a swollen chassis, lifting keyboard or trackpad, burning smell, or extreme heat after shutdown. Contact Dell support. Do not attempt to remove a swollen battery yourself.
Key Takeaways
Key Takeaways
- Core Temp provides per-core CPU readings, while HWMonitor displays a broader selection of available hardware sensors.
- Temperature limits depend on the processor. Compare readings with the specific CPU’s thermal specifications.
- MyDell and Dell Optimizer have taken over functions previously provided by Dell Power Manager on supported systems.
- Clear airflow, suitable power settings, and current thermal drivers help maintain cooling performance.
- Persistent overheating, abnormal mechanical fan noise, and diagnostic errors require further investigation.
Frequently Asked Questions
How to Check Dell Laptop Temperature?
Install Core Temp or HWMonitor and open the application to view the available CPU temperature readings. Compare temperatures during idle use and demanding tasks. Dell’s supported thermal-management applications can help adjust cooling behavior, while preboot diagnostics can help identify hardware problems.
Is There a Way to See the Temperature of My Laptop?
Yes. Hardware-monitoring applications can show live temperature readings from supported CPU, GPU, and system sensors. Some BIOS or diagnostic interfaces also provide thermal information. Available readings depend on the laptop model, processor, firmware, and sensor support.
What Is the F8 Key on a Dell Laptop?
The F8 key is a function key whose behavior depends on the Dell model and keyboard settings. On many Dell laptops, Fn + F8 switches display output. The Inspiron 15 3520 keyboard documentation provides an example. F12 opens Dell’s One-Time Boot Menu, while F2 commonly opens BIOS Setup.
How Do I Check the CPU Temperature on My Dell Computer?
Open Core Temp or HWMonitor and locate the processor temperature readings. Watch the current and maximum values while using your computer. If temperatures stay unusually high, investigate CPU usage, airflow, thermal settings, and fan operation. Use Dell diagnostics if you suspect a hardware fault.
Conclusion
Checking Dell laptop temperature is straightforward with Core Temp or HWMonitor. The key is understanding what the readings mean for your specific processor rather than relying on one temperature limit for every laptop.
Monitor temperatures under normal workloads, keep airflow clear, and use appropriate Dell thermal settings. If excessive heat or abnormal fan noise continues, run hardware diagnostics and seek repair guidance before the problem worsens.
Sources
- Core Temp Official Website: CPU temperature monitoring and processor-core sensor readings.
- CPUID HWMonitor: Supported hardware sensors and monitoring capabilities.
- Intel Processor Temperature Information: Tjunction Max, processor temperature specifications, and thermal control.
- Dell Power Manager Documentation: Thermal management and the transition to MyDell and Dell Optimizer.
- Dell Fan Troubleshooting: Vent cleaning, airflow, and fan maintenance.
- Dell Overheating Troubleshooting: Advanced thermal troubleshooting and conditions requiring support.
- Dell Preboot Diagnostics: Hardware diagnostic procedures and error reporting.
- Dell Inspiron 15 3520 Keyboard Shortcuts: Model-specific function-key behavior.
