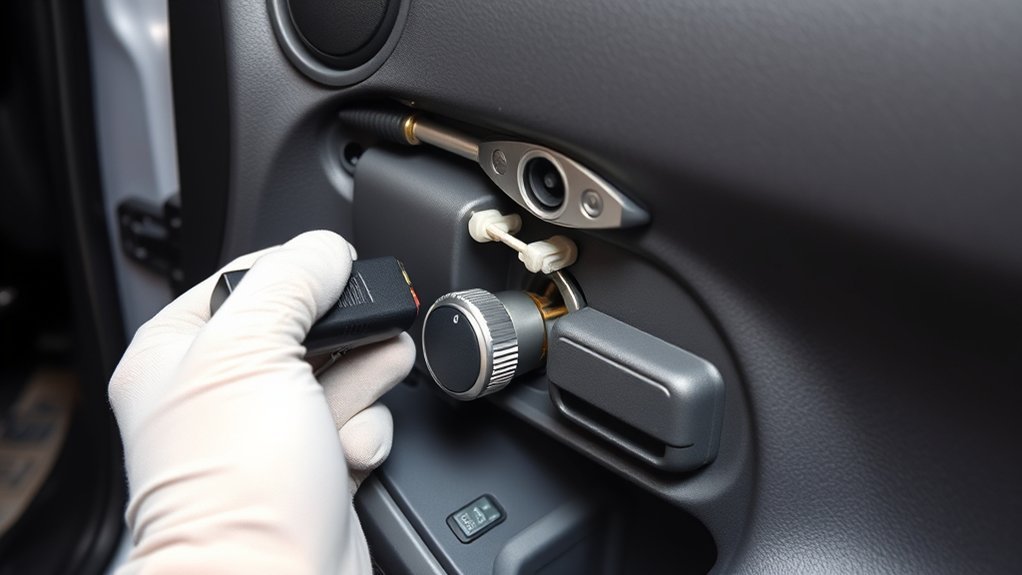
If one Toyota Tacoma door stops responding to the key fob or power-lock switch, the actuator may be failing, but it is not the only possible cause. A weak key-fob battery, blown fuse, damaged door-jamb wiring, sticky latch, faulty switch, low vehicle voltage, or body-control problem can create similar symptoms. Diagnose the pattern before buying parts.
Reviewed and updated July 13, 2026.
Quick Answer
A bad Toyota Tacoma door lock actuator usually affects one door and may cause slow movement, intermittent locking, or buzzing and clicking inside the door. If several doors fail together, check the key fob, battery voltage, fuse, master switch, wiring, and body-control system before replacing an actuator.
Key Takeaways
- One faulty door often points to that door’s actuator, latch, connector, or wiring; several faulty doors suggest a shared power or control issue.
- Buzzing, clicking, slow movement, or a lock knob that moves only partway can indicate a worn actuator or binding latch.
- Confirm the Tacoma’s model year, cab configuration, affected door, and VIN before ordering a part because designs and connectors vary.
- Use the model-year wiring diagram and repair procedure instead of applying power blindly to the actuator.
- Check Toyota and NHTSA recall or service-campaign databases by VIN before paying for a repair.
At a Glance
| Time Required | About 30–60 minutes for basic diagnosis; replacement time varies by model year, door, and experience. |
| Difficulty | Basic diagnosis: beginner to intermediate. Door-panel removal and electrical testing: intermediate. |
| Tools Needed | Owner’s manual, flashlight, plastic trim tools, digital multimeter, basic hand tools, and the correct model-year wiring diagram. |
| Cost | Varies widely because some Tacomas use an actuator integrated with the latch assembly. Confirm the part by VIN and compare written parts-and-labor quotes. |
Common Symptoms of a Failing Door Lock Actuator
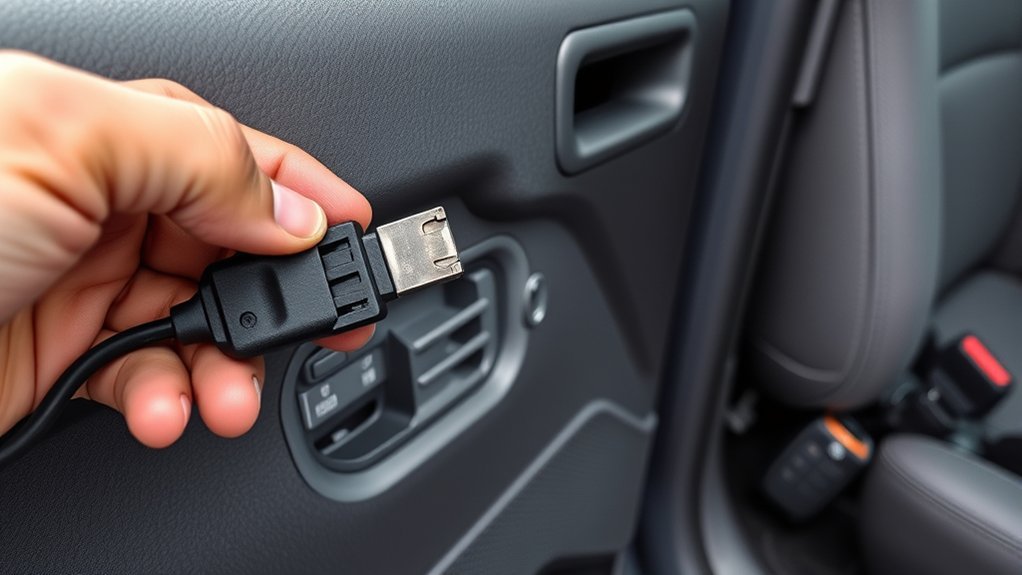
A failing door lock actuator usually creates a repeatable problem at one door. The lock may work sometimes, move slowly, or make noise without fully reaching the locked or unlocked position.
- One door does not respond: The other doors work from the same key fob or switch, but one door remains locked or unlocked.
- Clicking, buzzing, or grinding: You hear the motor or gears inside the affected door, but the lock does not move correctly.
- Slow or partial movement: The lock knob moves only partway, bounces back, or needs several commands.
- Intermittent operation: The door works when the weather changes, after the door is moved, or only on some attempts.
- Manual operation still works: You can move the lock by hand or with the mechanical key, but the power function fails.
These symptoms raise suspicion of an actuator problem, but binding linkage, a sticky latch, a loose connector, or damaged wiring can produce the same pattern. Do not order a replacement until you confirm that the actuator receives the correct command and power.
Warning: A power-lock failure is different from a door that will not latch securely. If the door will not stay closed, do not drive the truck until the latch problem is repaired.
One dead door usually points to a local door problem. Several dead doors usually point to a shared power, switch, key-fob, wiring, or control problem.
Identifying Symptoms of a Bad Door Lock Actuator
The failure pattern can help you separate an actuator fault from another power-lock problem. Test the same door with the key fob, the driver’s master switch, the local door switch when equipped, and the manual lock.
| What You Observe | More Likely Areas to Check |
|---|---|
| Only one door fails from every electrical control | That door’s actuator or latch assembly, connector, linkage, or door-jamb wiring |
| All doors work from the interior switch but not the key fob | Key-fob battery, fob programming, or wireless-entry issue |
| Several or all doors fail from both the fob and switches | Vehicle battery voltage, fuse, master switch, shared wiring, or body-control system |
| The manual lock is stiff or the inside handle feels abnormal | Binding latch, linkage, cable, or mechanical obstruction |
| The actuator makes noise but the lock barely moves | Worn actuator gears or motor, weak voltage under load, or binding linkage |
| The problem changes when the door is opened or the harness is moved | Broken or intermittent wire in the door-jamb harness |
A click does not prove that the actuator is healthy. It only shows that some part of the circuit or mechanism is responding. A proper diagnosis checks the mechanical load and the electrical command at the affected door.
Before You Order a Part
Tacoma door hardware differs by generation, model year, cab style, trim, smart-key equipment, and door position. On some applications, the actuator is sold as part of the complete door-lock or latch assembly rather than as a separate service part.
- Record the model year, cab configuration, trim, VIN, and affected door.
- Confirm whether the truck has a traditional key, remote keyless entry, or Smart Key features.
- Match the electrical connector, cable or rod attachment, and latch design.
- Use a VIN-based Toyota parts lookup or ask a parts department to verify the part number.
- Read the warranty terms before opening or modifying a newly purchased part.
Pro Tip: Take clear photos of every cable, rod, clip, connector, moisture barrier, and fastener before disassembly. They provide a reliable reference when the new assembly is installed.
[Amazon Products Picked for You]
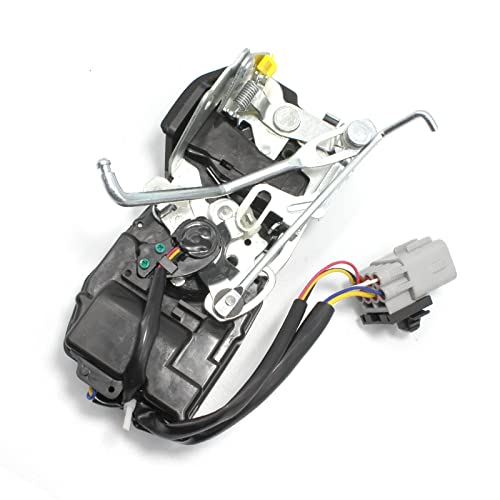
Replaces Part: 69040-04010,6904004010,931-492,931492.While this is not genuine OEM part, it is a direct replacement.See below for the full vehicle compatible list

[ Function ] The door lock actuator is located inside the door and controls your vehicle's door locks. Replacing the door lock assembly restores normal door lock function by solving locking and unlocking problems and sensitively controlling your vehicle's doors.

[Vehicle Fitment]: Compatible with Toyota Avalon 2005-2012 (Sedan), FJ Cruiser 2007-2014 (Sport Utility), Prius 2006-2012 (Hatchback), Prius Plug-In 2012 (Hatchback), Tacoma 2005-2015 (Crew Cab Pickup/Extended Cab Pickup), Tacoma 2005-2014 (Standard Cab Pickup), Yaris 2007-2015 (Hatchback/Sedan)
Effective Solutions for Faulty Door Lock Actuators
The correct repair depends on what failed. Cleaning a corroded connector, repairing a broken wire, freeing a binding latch, replacing a switch, or replacing the latch-actuator assembly can all solve a power-lock complaint. Diagnosis prevents replacing a working part.
[Amazon Products Picked for You]

【Compatibility】The front left driver side door latch compatible with 2005-2015 Toyota tacoma, 2007-2015 Toyota Yaris, 2005-2012 Toyota Avalon, 2007-2014 Toyota FJ Cruiser, 2006-2009 Toyota Prius, 2010-2012 Toyota Prius, 2012 Toyota Prius Plug-In,for detailed vehicle model and year information, please refer to the description page.

Replaces Part: 69040-04010,6904004010,931-492,931492.While this is not genuine OEM part, it is a direct replacement.See below for the full vehicle compatible list

[Important Note]: This Door Lock Actuator Doesn't Fit Prius C or Prius V model; For Toyota Avalon, Prius & Prius Plug-In fit the model From 11/2012
Identify Common Symptoms
Start by writing down exactly which door fails, which controls fail, whether the problem is constant or intermittent, and whether you hear a motor. Repeat the test with the engine off and then with the engine running. A noticeable change may suggest a voltage or connection problem rather than a completely dead actuator.
Also test the mechanical key and manual lock knob. If they feel unusually stiff, correct the mechanical binding before installing a new actuator. A new motor may fail early if it must force a seized latch or bent linkage.
DIY Repair Tips
Use the correct Toyota repair information for your model year. Toyota’s Technical Information System provides model-specific repair manuals, wiring diagrams, service bulletins, and diagnostic information.
- Protect the truck: Park on a level surface, lower the window, keep the door open, and save radio or vehicle settings that may be lost.
- Follow the battery procedure: If the repair manual calls for battery disconnection, switch the ignition off, disconnect the negative terminal, and observe the specified waiting period before working near electrical connectors.
- Remove trim with plastic tools: Find all hidden screws before pulling the panel. Disconnect switches carefully and support the panel instead of hanging it by wiring.
- Preserve the moisture barrier: Peel it back slowly and reseal it during reassembly so water does not reach the cabin or electrical connectors.
- Inspect before replacing: Check the connector, harness, rods, cables, clips, latch movement, and mounting fasteners.
- Verify electrical operation: Use the model-year wiring diagram to identify the correct terminals and expected voltage or polarity change while the lock command is applied.
- Replace the confirmed failed part: Transfer rods and cables one at a time, route them correctly, and secure every clip.
- Test before closing the panel: Test lock, unlock, manual operation, inside and outside handles, child lock when equipped, key cylinder, and door-ajar indication.
Note: Do not use a loose 9V battery as the deciding actuator test. It may not supply the current the motor needs, can produce a false failure result, and does not confirm the truck-side wiring. Follow the Toyota wiring diagram and use a fused test method only when the service procedure specifies it.
Replacement Options Available
Choose a replacement based on verified fit, connector design, warranty, return policy, and supplier reputation rather than price alone.
| Replacement Type | Advantages | Tradeoffs |
|---|---|---|
| Toyota Genuine latch or actuator assembly | Strongest fit and connector confidence when ordered by VIN | Often costs more and may be sold only as a complete assembly |
| Reputable aftermarket assembly | Can reduce parts cost and may offer a useful warranty | Fit, connector quality, motor strength, and durability vary by brand |
| Remanufactured or motor-only repair | May preserve the original housing and lower parts cost | Requires more skill and may not correct worn gears, switches, cables, or latch damage |
Do not assume that every OEM actuator is unreliable or that every aftermarket unit is better. Quality varies within both categories, and a new part will not fix damaged wiring or a binding latch.
Common Causes Behind Door Lock Actuator Failures
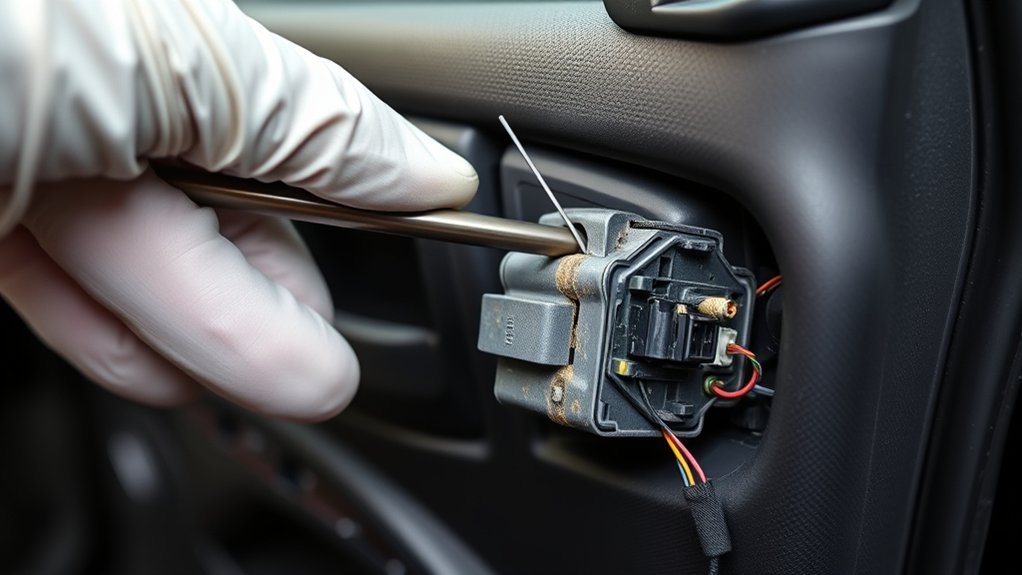
Door-lock problems can come from electrical, mechanical, or control-system faults. Water intrusion, repeated use, worn gears, weak motors, stiff latch components, damaged wires, loose connectors, and incorrect previous repairs are all possible contributors.
Wiring Issues Inside Door
The harness flexes every time the door opens. A partially broken wire can work when the door is in one position and fail in another. Inspect the rubber boot between the body and door for stretched, pinched, or repaired wiring. Also check the connector at the latch-actuator assembly for loose terminals, moisture, or corrosion.
Do not rely only on an unloaded voltage reading. A corroded connection can display battery voltage on a multimeter yet fail when the actuator draws current. Follow the wiring diagram and use an approved voltage-drop or loaded-circuit test when appropriate.
Gear Actuator Failures
Inside the assembly, a small electric motor drives gears that move the locking mechanism. Worn brushes, damaged gears, or an internal position switch can cause slow movement, repeated clicking, buzzing, or intermittent operation.
Mechanical resistance can mimic or contribute to actuator failure. Inspect the latch, rods, cables, clips, handles, and lock knob for binding. Use only a lubricant that the model-year service information approves, and keep lubricant away from electrical contacts unless the product is designed for them.
Quality of Replacement Parts
A replacement should match the original connector, mounting points, cable or rod geometry, electrical function, and door position. A low-cost listing that groups many model years together may not account for design changes.
Review the supplier’s warranty and return policy, but do not treat a long warranty as proof of better construction. Verify fit before removing protective seals or modifying the part, and compare the old and new assemblies before installation.
Troubleshooting Tips for Door Lock Actuator Issues
Use this sequence to narrow the fault without replacing parts at random.
- Check door security first. Confirm that the door closes and latches securely. Repair a latch-safety problem before troubleshooting convenience features.
- Try every control. Test the key fob, driver’s master switch, local door switch when equipped, manual lock knob, and mechanical key.
- Compare doors. One-door failure suggests a local fault. Multiple-door failure suggests a shared power, fuse, switch, wireless-entry, or body-control issue.
- Check the easy inputs. Replace a weak key-fob battery when only remote operation fails. Check the truck’s 12V battery condition if several electrical features act erratically.
- Check the correct fuse. Use the model-year owner’s manual or fuse-box label. Replace a blown fuse only with the specified rating. If it blows again, find the short instead of installing a larger fuse.
- Listen and feel. Place a hand near the latch while another person operates the switch. Noise with little movement suggests a weak actuator or mechanical bind; silence may point to power, wiring, switch, control, or an open motor.
- Inspect the door-jamb harness. Look for a symptom that changes as the door moves, then inspect the flex area for damaged wires.
- Read body-system trouble codes. A scan tool capable of Toyota body-control communication may reveal switch, communication, or control faults that a basic engine-code reader cannot see.
- Measure at the connector. Use the Toyota wiring diagram to confirm the correct terminals, lock/unlock polarity, ground path, and expected signal.
- Repair the proven fault. Fix wiring, binding, connectors, switches, or the latch-actuator assembly as the test results require.
Because Tacoma electrical layouts changed across generations, there is no single universal fuse number, relay location, wire color, or connector pinout. Toyota’s manuals and warranties portal and TIS are safer references than a generic diagram.
Why Timely Repairs Matter for Door Lock Actuators
A failed actuator can leave a door unlocked, prevent convenient access, or make it difficult to secure the truck consistently. Repeatedly forcing the manual lock or operating a binding mechanism can also damage clips, rods, cables, handles, or the latch.
Prioritize the repair when the driver’s door, a child’s seating position, or a door used for valuables is affected. Confirm that every door can still be opened from the appropriate inside and outside handle and that the child-safety lock works correctly where equipped.
If you believe the failure could be a safety defect or affects many similar vehicles, check the NHTSA recall database and the Toyota recall and service-campaign lookup by VIN. NHTSA also accepts owner safety complaints.
OEM vs. Aftermarket Door Lock Actuators
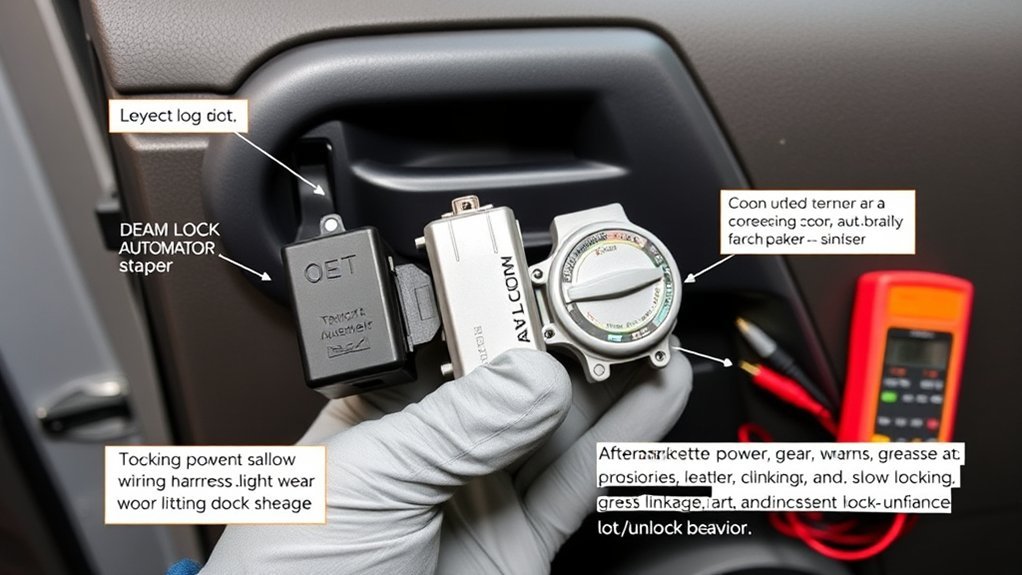
Toyota Genuine and aftermarket parts can both be reasonable choices when they fit correctly and come from a reliable supplier. The best option depends on the truck’s age, how long you plan to keep it, the availability of a separate actuator versus a complete latch assembly, and the warranty offered.
| Factor | Toyota Genuine | Aftermarket |
|---|---|---|
| Fit verification | Usually straightforward with VIN-based ordering | Requires careful year, trim, connector, and door-position matching |
| Price | Often higher | Often lower, with a wider range of quality |
| Availability | May be available only as a larger latch assembly | May offer complete assemblies, remanufactured units, or motor-only kits |
| Warranty and returns | Coverage depends on purchase and installation terms | Terms vary widely by brand and seller |
Using an aftermarket or recycled part does not automatically cancel the entire vehicle warranty. The U.S. Federal Trade Commission explains that a manufacturer or dealer may deny coverage for damage caused by a defective or incorrectly installed aftermarket part, but must connect that part to the claimed damage. Review the FTC’s auto warranty guidance and the specific Toyota warranty booklet for your truck.
[Amazon Products Picked for You]

REPLACEMENT DOOR LOCK ACTUATOR - A door latch lock actuator is the component in electronic door locks that is responsible for locking and unlocking the vehicle's doors.This door lock actuator has undergone extensive quality and safety testing to ensure reliable performance. It is engineered to provide a direct replacement for the stock actuator on specific vehicle years, makes and models.

[Vehicle Fitment-1]: Door Lock Actuator Driver Side Front with keyless entry system Compatible with Chevrolet Chevy Silverado 1500/2500 HD/3500 2001-2006, Silverado 1500 Classic/1500 HD Classic/2500 HD Classic/ 3500 Classic 2007, Silverado 1500 HD 2001-2003/2005-2006, Silverado 2500 2001-2004, Suburban 1500/2500/Tahoe 2000-2006, Avalanche 1500/2500 2002-2006

Compatible with Ford F-250 F-350 F-450 F-550 Super Duty 1999-2008
Should You DIY or Hire a Professional for Repairs?
A careful DIYer can diagnose a simple one-door failure and replace some latch-actuator assemblies. Professional help is the better choice when the problem affects several doors, body-control trouble codes are present, wiring is damaged inside the harness, the door will not latch, or you are not comfortable removing trim and testing circuits.
Cost Considerations for Repairs
Fixed national price claims are not reliable because part design, model year, door position, labor rate, and diagnostic time vary. Ask for a written estimate that separates diagnosis, part number, part price, labor time, shop supplies, and taxes.
Compare the price of a complete latch-actuator assembly with any available actuator-only repair, but include the risk of repeat labor. A cheaper motor-only repair may not be economical if the latch, internal switches, or cable attachments are also worn.
Skill Level Assessment Needed
DIY replacement is most appropriate when you can remove interior trim without damage, read a wiring diagram, use a multimeter safely, release locking connectors, preserve the moisture barrier, and adjust rods or cables correctly.
Hire a qualified technician if you would need to guess at wire functions, probe unfamiliar connectors, or force the latch. A shop with Toyota-capable body-system diagnostics can check live data, trouble codes, switch inputs, and actuator commands before replacing parts.
Time Commitment Involved
Basic checks can be completed quickly, but access and replacement time depend on the door and model year. Broken trim clips, difficult vapor barriers, seized fasteners, and cable routing can extend the job.
| Consideration | DIY Repair | Professional Repair |
|---|---|---|
| Diagnosis | Good for obvious one-door faults when you have wiring information | Better for intermittent, multi-door, network, or body-control faults |
| Tools | You supply trim tools, meter, scan capability, and repair information | Shop supplies diagnostic equipment and specialty tools |
| Risk | Higher risk of broken clips, damaged barrier, misrouted cables, or misdiagnosis | Lower hands-on risk to you, with repair warranty depending on the shop |
| Best choice | Clear fault, correct manual, adequate tools, and enough experience | Safety concern, uncertain diagnosis, damaged wiring, or advanced control fault |
How to Handle Warranty Claims for Door Lock Issues
Start with the warranty and maintenance guide for the exact model year. Toyota’s general U.S. new-vehicle warranty information lists basic coverage of 36 months or 36,000 miles, but eligibility, exclusions, in-service date, prior repairs, certified-used coverage, service contracts, and regional terms can change the result.
- Confirm the vehicle’s in-service date, mileage, and applicable warranty or service contract.
- Check Toyota’s VIN-based recall and service-campaign lookup before authorizing paid work.
- Record the date, mileage, affected door, symptoms, weather conditions, and any intermittent behavior.
- Keep repair orders, diagnostic reports, videos, receipts, part numbers, and communications.
- Ask the dealer or contract administrator to explain any denial in writing and identify the exact warranty term used.
- If an aftermarket part is blamed, ask how it caused the covered failure and preserve the removed part when possible.
- Escalate unresolved concerns through Toyota customer support, the service-contract administrator, your state consumer-protection agency, or a qualified attorney.
Note: Lemon-law requirements vary by state and may depend on the defect, repair attempts, days out of service, vehicle age, and mileage. Do not rely on a universal “two attempts” or “30 days” rule. This article provides general information, not legal advice.
Understanding the Role of the Door Lock Actuator
The door lock actuator converts an electrical lock or unlock command into mechanical movement at the latch. Depending on the Tacoma’s design, the assembly may contain a motor, gears, linkages, and position switches, and it may be serviced as part of the door latch.
The command can come from the key fob, a door switch, automatic locking logic, or the body-control system. The control unit may reverse polarity or otherwise drive the actuator in different directions for locking and unlocking. That is why random power application or a generic relay diagnosis can be misleading.
Each door has local locking hardware, but several doors can share fuses, switches, communication networks, and control modules. A single-door symptom and an all-door symptom should therefore follow different diagnostic paths.
Related Guides
Frequently Asked Questions
How do I know if my Toyota Tacoma door lock actuator is bad?
Suspect the actuator when one door fails from every electrical control, the manual lock is not binding, and the correct lock or unlock command reaches the door connector. Buzzing, clicking, slow movement, or partial travel strengthens the diagnosis, but wiring and latch resistance must still be ruled out.
What are the most common signs of a failing actuator?
Common signs include one unresponsive door, intermittent operation, repeated clicking or buzzing, a lock knob that moves slowly or only partway, and a door that works manually but not through the power-lock system.
What is the Toyota door lock defect lawsuit?
Do not assume that a social-media post or complaint refers to a nationwide Tacoma door-lock-actuator settlement. Lawsuits, recalls, service campaigns, and individual warranty claims are different. Check Toyota and NHTSA databases with the truck’s VIN, and review any legal notice for the exact models, dates, court, and eligibility terms.
What are the symptoms of a bad door lock relay?
A shared control fault may cause several locks to stop working, produce no actuator sound, or fail from more than one switch. However, many Tacoma model years use an integration relay or body ECU rather than a simple replaceable door-lock relay. Confirm the architecture in the model-year wiring diagram before replacing a relay or module.
Can a weak key-fob battery look like a bad actuator?
Yes. If the interior power-lock switch operates all doors normally but the key fob does not, test the spare fob when available and replace the fob battery with the specified type before opening a door panel.
Can I replace only the actuator motor?
Some owners repair individual motors, but Toyota may service the part as a complete latch-actuator assembly. A motor-only repair requires more disassembly and does not correct worn gears, internal switches, cables, or latch damage. Verify serviceability and part availability for the exact VIN.
Conclusion
A Toyota Tacoma door that buzzes, moves slowly, or stops responding may have a failed actuator, but the symptom pattern matters. Test every control, compare the other doors, check the key fob, battery, fuse, latch movement, connectors, and door-jamb wiring, then verify the electrical command with the correct wiring diagram.
Once the fault is confirmed, choose a VIN-matched Toyota Genuine or reputable aftermarket assembly and test every lock, handle, cable, and safety function before reinstalling the door panel. A careful diagnosis protects your time, money, door trim, and vehicle security.
Sources
- Toyota Technical Information System — factory repair manuals, wiring diagrams, service bulletins, and Toyota diagnostic information.
- Toyota Manuals and Warranties — model-specific owner information and Toyota’s general U.S. warranty overview.
- Toyota Safety Recalls and Service Campaigns — VIN-based Toyota campaign lookup.
- National Highway Traffic Safety Administration Recall Lookup — recalls, investigations, complaints, and manufacturer communications.
- Federal Trade Commission: Auto Warranties and Auto Service Contracts — warranty records, aftermarket parts, service contracts, and claim guidance.
