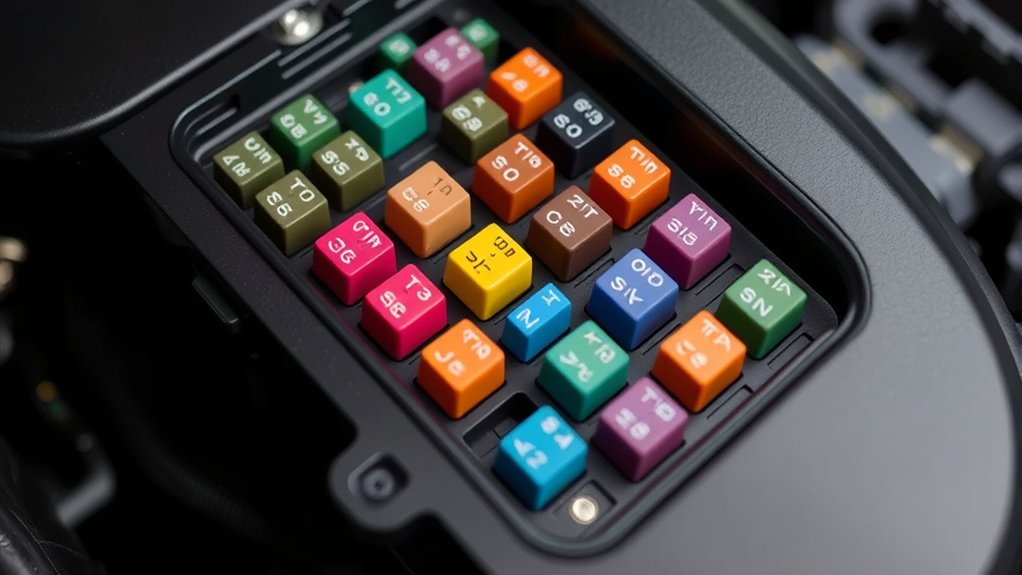
Your Toyota Camry uses fuses to protect its electrical wiring and components when a circuit draws too much current. A single blown fuse can be simple to replace, but the correct panel, socket, fuse format, and amperage depend on the vehicle’s model year, engine, drivetrain, equipment, and market. Identify your exact Camry before opening a panel or following an online diagram.
Quick Answer
Most Toyota Camrys have at least one passenger-compartment fuse panel and one under-hood fuse or relay box. Use the diagram on the panel cover and the owner’s manual for your exact vehicle. Replace a confirmed blown fuse only with the same physical format and amperage rating, and stop if the replacement fails again.
Key Takeaways
- There is no universal Toyota Camry fuse-box diagram. Confirm the year, engine, drivetrain, market, and equipment before using a diagram.
- Match the replacement fuse’s amperage, physical format, and socket position to the vehicle documentation.
- Use a plastic or insulated fuse-removal tool rather than inserting ordinary metal pliers into a fuse panel.
- A fuse that opens again usually points to a short, overloaded device, stalled motor, damaged wire, wet connector, or incorrect accessory installation.
- A loose or corroded terminal can overheat even when the fuse remains intact.
- Stop immediately if you find melted plastic, burned terminals, unusual heat, smoke, arcing, or a burning smell.
At a Glance
| Time Required | About 10 to 20 minutes for one accessible, confirmed blade fuse; longer if the circuit needs diagnosis |
| Difficulty | Beginner for one identified low-voltage blade fuse; intermediate or professional for repeat failures, high-current fuses, wiring, or panel damage |
| Tools Needed | Exact owner’s manual, flashlight, plastic or insulated fuse puller, correct replacement fuse, phone camera, and an optional digital multimeter |
| Cost | Low for one ordinary replacement fuse; potentially much higher if the circuit has damaged wiring, a failed component, a relay or module fault, or heat-damaged terminals |
How to Locate and Identify Fuses in Your Toyota Camry
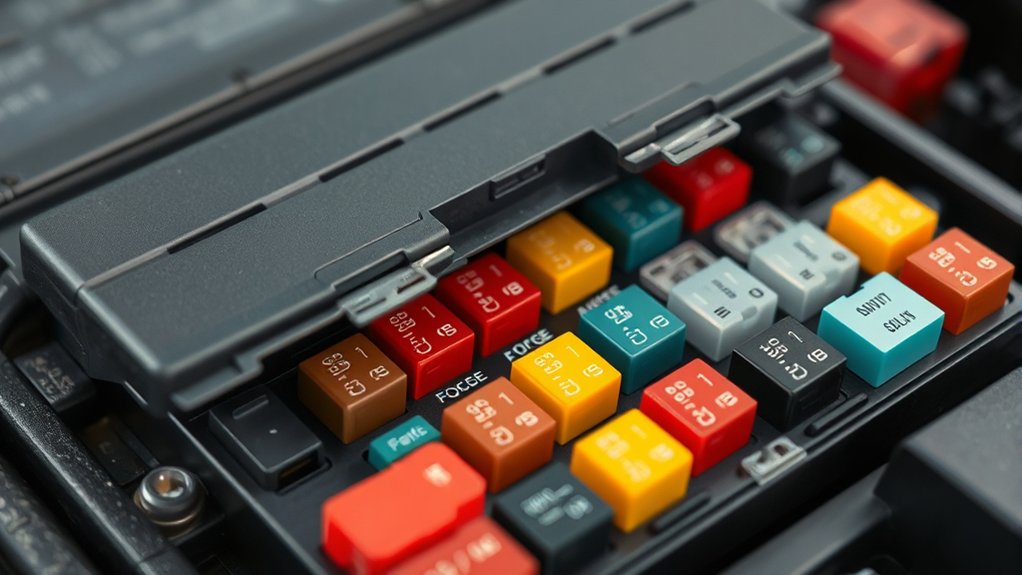
Start by identifying the exact vehicle. Fuse-panel positions and assignments changed across Camry generations, and the gasoline and hybrid versions of the same model year may not use identical layouts.
Toyota lets owners select a vehicle and access available documentation through its official Manuals and Warranties portal. Search the manual for “fuses,” “checking and replacing fuses,” “engine compartment,” “instrument panel,” or the name of the electrical feature that stopped working.
Note: A diagram for a similar-looking Camry may still be wrong for your vehicle. Treat the fuse-box cover and Toyota documentation for the exact model, powertrain, and market as the controlling references.
Identify Your Exact Camry First
Confirm as many of these details as possible before using a diagram or buying a fuse:
- Model year: Use the vehicle registration, VIN record, or certification label rather than the purchase year alone.
- Powertrain: Confirm whether the vehicle is gasoline, hybrid, or another market-specific configuration.
- Engine and drivetrain: Fuse assignments may differ by engine, front-wheel drive, all-wheel drive, or hybrid equipment.
- Market: A U.S.-market Camry may not match a Canadian, European, Australian, or other regional version.
- Trim and options: Heated seats, premium audio, parking aids, a panoramic roof, and other equipment can change the installed circuits.
- VIN and production information: Use these when a manual, parts catalog, or service source lists a production change within one model year.
Common Toyota Camry Fuse-Panel Areas
Most Camry models use more than one low-voltage fuse, relay, or junction-block location:
| Panel area | Where to check | Typical purpose |
|---|---|---|
| Passenger compartment | Under the lower dashboard, behind a small trim cover, or near the driver-side footwell, depending on the year | Cabin accessories, lighting, power outlets, controls, and related low-current circuits |
| Engine compartment | Inside one or more covered fuse, relay, or junction boxes under the hood | Cooling fans, headlights, engine controls, charging circuits, braking systems, and other higher-current or shared power supplies |
| Additional locations | Some configurations use extra relay blocks, junction blocks, fusible links, or specialized electrical protection | Model-specific equipment, hybrid-related low-voltage controls, and high-current power distribution |
Some older Camry models place a cabin panel near an ashtray or lower dashboard opening. Do not apply that description to a newer vehicle without checking its manual.
How to Read the Toyota Camry Fuse Diagram
The panel cover normally uses abbreviations to identify protected circuits. Labels may refer to the audio system, power outlet, electronic control unit, interior lights, horn, stop lights, diagnostic connector, headlights, or other systems.
Use this process:
- Identify the exact electrical feature that stopped working.
- Note whether related features still work.
- Check the diagram on the most likely fuse-box cover.
- Compare the circuit abbreviation with the legend in the correct owner’s manual.
- Confirm the socket position, fuse format, and amperage shown for that circuit.
- Inspect or test the identified fuse before replacing it.
Do not choose a fuse by color alone. Automotive blade fuses commonly use color coding, but different fuse families can have different body sizes and terminal layouts. The printed amperage, physical format, diagram, and manual provide the complete match. Eaton’s automotive blade-fuse reference illustrates several common formats and rating ranges.
Fuse, Relay, Fusible Link, or Junction Block?
| Part | What it does | DIY guidance |
|---|---|---|
| Blade fuse | Opens a low-voltage circuit when an overcurrent lasts long enough to melt its element. | An identified, accessible blade fuse is often owner-replaceable with the correct tool and exact replacement. |
| Relay | Uses a control signal to switch power to another circuit or component. | Do not swap relays merely because they look alike. Pin layout, rating, suppression components, and function may differ. |
| Cartridge fuse or fusible link | Protects a higher-current supply or a group of downstream circuits. | Replacement may require covers, fasteners, cable removal, or specific torque procedures. Follow repair information or use professional service. |
| DCC cut fuse or short pin | May distribute power to several circuits or serve a storage and pre-delivery power-cut function, depending on the model. | Do not remove it as a battery-drain repair without the exact wiring diagram and diagnostic procedure. |
| Junction block or fuse-box assembly | Houses and distributes power among fuses, relays, terminals, and wiring connectors. | Replacing the entire assembly is not the same as replacing one blade fuse and normally requires repair-level information. |
How to Replace a Blown Toyota Camry Fuse
Replacing one confirmed low-voltage blade fuse is usually straightforward. Work slowly, keep tools controlled, and stop if the panel or socket shows heat damage.
- Park safely. Shift into Park, apply the parking brake, switch off the ignition, and turn off lights, climate controls, chargers, and accessories.
- Keep the circuit inactive. Keep the smart key or key fob away from the immediate work area so the vehicle is less likely to wake systems unexpectedly.
- Confirm the correct panel. Use the symptom, panel-cover diagram, and owner’s manual to locate the relevant fuse.
- Record the fuse information. Note the label, socket position, physical format, and amperage before removing it. Take a clear photo of the panel.
- Remove the fuse safely. Use the supplied plastic fuse puller or another insulated fuse-removal tool. Grip the plastic fuse body and pull straight out without twisting or prying against the socket.
- Inspect the element. A separated, melted, or burned internal strip normally indicates an open fuse. Also inspect the fuse body and socket for darkening, distortion, corrosion, or heat.
- Test it when necessary. If the element is difficult to see, remove the fuse, confirm that the circuit is not powered, and test continuity across the fuse terminals.
- Install the exact replacement. Match the physical format and amperage specified for that socket. Do not rely only on color.
- Seat it fully. Press the fuse straight and evenly into the correct socket until it is secure.
- Reinstall the cover. Remove all tools and loose objects from the panel, then reinstall the cover correctly.
- Test the affected feature. Switch on the vehicle or accessory and confirm normal operation.
- Stop after another failure. If the replacement opens, do not install another one until the circuit has been diagnosed.
Warning: Never install a higher-amperage fuse, bridge a socket with wire or foil, or insert an ordinary metal tool into a live fuse panel. These actions can bypass circuit protection, damage electronic modules, overheat wiring, or create a fire risk.
Pro Tip: Photograph the panel before removing anything. The image records the original fuse positions and reduces the chance of placing the replacement in an unused or spare socket.
How to Test a Removed Fuse for Continuity
A digital multimeter can identify an internal break that is difficult to see. Fluke’s fuse-testing guidance describes the basic continuity method.
- Remove the fuse only after switching off the affected circuit.
- Set the meter to continuity or a low resistance range.
- Touch one probe to each fuse terminal.
- A steady continuity tone or resistance close to zero normally indicates an intact fuse.
- No tone, an open-loop display, or very high resistance indicates an open fuse.
Do not use the resistance or continuity setting on an energized circuit. Applying voltage while the meter is in the wrong mode can damage the meter and create a hazard.
How to Test an Installed Fuse
Some blade fuses have small exposed test points on top. A qualified person can compare voltage at those points while the fuse is installed and the relevant circuit is commanded on.
| Test result | Likely meaning |
|---|---|
| Expected voltage at both test points | The fuse element is probably intact and supplied with power. |
| Expected voltage at one point only | The fuse is probably open, provided the circuit is supposed to be energized. |
| No voltage at either point | The circuit may be switched off, controlled by a relay or module, missing upstream power, or affected by another fuse or fusible link. This result alone does not prove that the fuse is bad. |
| Voltage present but the component remains inoperative | Check the downstream wiring, ground, switch, relay, connector, module, and component. |
Note: Live voltage testing requires correct meter settings and careful probe control. Skip this test and use professional diagnosis if the panel is cramped, the test points are unclear, or you are not confident working around energized automotive circuits.
Toyota Camry Fuse Ratings, Types, and Functions
A fuse’s printed amperage is its circuit-protection rating, not an exact current at which it always opens immediately. Fuse operation depends on how far the current exceeds the rating and how long that overcurrent continues.
Camry models may use compact blade fuses, low-profile blade fuses, micro-style fuses, larger cartridge fuses, and high-current fusible links. The installed formats depend on the model year and equipment.
Do not assume that one rating always protects the same component. A radio, power outlet, dome light, diagnostic connector, engine-control circuit, or fog-light circuit may use different labels and ratings in different generations.
Use these identifiers together:
- Fuse-box position: The numbered or mapped socket shown on the cover or manual diagram.
- Circuit abbreviation: The short label assigned to the protected system or shared power supply.
- Amperage: The number printed on the fuse and specified for the socket.
- Physical format: The body size, terminal shape, and profile that fit the socket.
- Vehicle configuration: The model year, market, trim, engine, drivetrain, and installed options.
The correct replacement is not simply a fuse that fits. It must match the specified socket, physical format, and amperage for your exact Camry.
How to Troubleshoot Toyota Camry Electrical and Fuse Problems
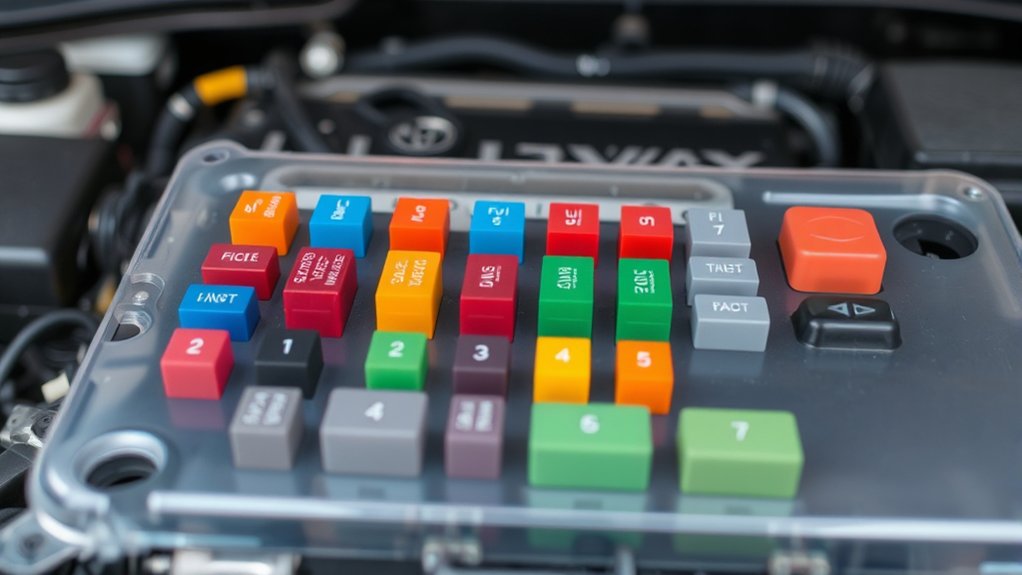
Start with the symptom instead of pulling random fuses. Identify exactly what stopped working, when it failed, and whether other features failed at the same time.
Common Electrical Issues
- One accessory does not work: Possible causes include its fuse, switch, relay, bulb, motor, socket, connector, ground, wiring, or the accessory itself.
- Several related items fail together: They may share a fuse, fusible link, relay, ground point, power supply, junction block, or control module.
- The problem is intermittent: Check for loose connectors, damaged wiring, moisture, corrosion, vibration-related contact, or a component that fails when hot.
- A fuse opens immediately: A direct short, reversed connection, pinched wire, incorrect installation, or internally shorted component may be present.
- A fuse opens only when a device runs: A motor may be stalled, a component may be drawing excessive current, or wiring may short when it moves or vibrates.
- The fuse remains intact but the socket overheats: A loose, corroded, or damaged terminal can create high resistance and localized heating.
- The fuse tests good but the circuit is dead: Check for missing upstream power, a failed relay, an open ground, a switch or module command problem, damaged wiring, or a failed component.
Step-By-Step Troubleshooting Guide
| Action | What to do |
|---|---|
| Confirm the symptom | Test the affected feature and note which related items still work. |
| Identify the circuit | Use the model-specific manual and panel legend instead of guessing from a generic diagram. |
| Inspect the fuse and socket | Look for a separated element, darkened body, melted plastic, corrosion, loose fit, or damaged terminals. |
| Test removed-fuse continuity | Switch the circuit off, remove the fuse, and use the meter’s continuity or resistance function. |
| Test installed-fuse voltage | Only when safe and appropriate, energize the circuit and compare voltage at both fuse test points. Interpret the result in the context of how the circuit is controlled. |
| Replace once | Install one fuse of the exact format and rating, then test the circuit. |
| Check the component and wiring | If the fuse stays intact but the feature remains dead, continue with the relay, switch, ground, connector, wiring, module command, and component. |
| Stop after repeat failure | A second failure requires circuit diagnosis rather than another replacement. |
Tools Required for Diagnosis
Keep the following items available:
- Plastic or insulated fuse puller: Removes blade fuses without placing a conductive tool near adjacent terminals.
- Digital multimeter: Checks continuity, resistance, and voltage when configured and used correctly.
- Flashlight: Helps you inspect recessed panels and read small labels.
- Exact owner’s manual: Confirms panel locations, labels, ratings, precautions, and model-specific procedures.
- Correct spare fuses: Must match the original physical format and amperage.
- Phone camera: Records the original panel layout and any visible damage.
Online Camry communities may help you recognize a symptom, but confirm every diagram and repair suggestion against the correct vehicle documentation. A post about a similar-looking Camry may describe another generation, engine, market, or electrical layout.
Why a Replacement Fuse Keeps Blowing
A replacement fuse that opens again is protecting the circuit from an unresolved overcurrent condition. Common causes include:
- Pinched, rubbed, melted, or exposed wiring touching metal
- Water inside a lamp, socket, connector, harness, or accessory
- An internally shorted motor, relay, solenoid, bulb socket, or control unit
- A stalled blower, cooling fan, window motor, seat motor, or other electrical load
- An aftermarket stereo, dash camera, alarm, remote starter, charger, or lighting kit wired incorrectly
- Too many devices connected to one power outlet
- The wrong fuse rating or physical format
- A damaged fuse-box terminal or internal junction-block fault
Do not install a larger fuse to keep the circuit operating. A qualified automotive electrician or Toyota technician can isolate the fault with the correct wiring diagram, current measurements, load testing, and circuit-by-circuit inspection.
After Replacing a Fuse
Once the circuit works, complete these checks:
- Confirm the affected feature works through its normal operating range.
- Check whether any related warning lights remain on.
- Reinspect the new fuse and socket for heat after brief operation if the original failure involved a high-load device.
- Confirm that the fuse-box cover is secure and no tools remain in the engine compartment or footwell.
- Review the manual for any required initialization or retained-setting procedure.
- Check power windows, moonroof functions, clock settings, audio presets, and other learned features if the repair involved a shared power supply or battery disconnection.
Initialization requirements vary by model year and by the circuit that lost power. Do not perform a generic reset procedure unless the correct Toyota manual calls for it.
Aftermarket Accessories and Fuse Taps
Dash cameras, phone chargers, stereos, alarms, remote starters, ambient lighting, and other accessories are common sources of overloaded circuits, parasitic battery drain, and damaged fuse-panel terminals.
- Do not tap an airbag, ABS, electronic stability control, steering, engine-control, hybrid-control, or other safety-critical circuit.
- Do not select a fuse tap merely because the socket has power.
- Confirm whether the circuit is constant-power or ignition-switched and whether the accessory requires each type.
- Use the correct fuse-tap format and install both fuses in the orientation required by the adapter and circuit design.
- Protect new accessory wiring with the correctly sized fuse and wire gauge.
- Route wiring away from pedals, steering parts, sharp metal, heat, airbags, seat tracks, and moving trim.
- Use a qualified installer when a wiring diagram or current-capacity calculation is required.
Warning: An empty fuse-panel socket is not automatically an approved accessory power source. It may be unused, incomplete, reserved for optional equipment, connected differently than expected, or part of a circuit that should not be modified.
Toyota Camry Fuse Replacement Safety
Most owner-replaceable fuses are part of the vehicle’s low-voltage electrical system, but careless testing can still create a short, damage a module, deploy sparks, or overheat wiring. Remove metal jewelry and keep loose tools away from exposed terminals.
Use the Proper Fuse Rating and Format
- Match the amperage specified on the panel diagram or in the correct manual.
- Match the original physical fuse style.
- Do not substitute a higher-amperage fuse.
- Do not bridge the socket with wire, foil, a coin, or another metal object.
- Do not modify a fuse, fuse tap, relay, or fuse box.
- Do not move a fuse from an unrelated safety circuit as a permanent repair.
- Do not assume an empty socket needs a fuse.
If the correct replacement opens again, the circuit needs diagnosis. Repeated replacement can allow wiring or connector damage to worsen.
Safe Fuse Removal Techniques
Switch off the ignition and affected accessories before removing a fuse. Use a plastic or insulated fuse puller, grip the plastic fuse body, and pull straight out. Do not pry against nearby components or push a conductive tool into the panel.
Do not disconnect the 12-volt battery solely as a generic first step unless the model-specific procedure requires it. Battery disconnection can erase settings, interrupt learned values, or trigger initialization requirements.
Avoid probing connectors associated with airbags, seat-belt pretensioners, electronic braking systems, or other supplemental restraint and safety equipment unless Toyota’s repair procedure specifically instructs you to do so. Such connectors may use yellow coloring or warning labels, but color alone is not a complete identification method.
Warning for Camry Hybrid owners: Do not touch orange high-voltage cables, high-voltage service plugs, traction-battery components, inverter or converter equipment, or other hybrid high-voltage parts. This guide covers only ordinary low-voltage fuse panels. Follow your exact hybrid manual or use a qualified technician for hybrid-system work.
Stop immediately if you find melted plastic, burned terminals, smoke residue, unusual heat, arcing, a loose terminal, or a burning odor. A replacement fuse will not repair a heat-damaged socket, connector, junction block, or wire.
Recommended Fuse Kits for Toyota Camry Owners
A useful spare-fuse kit should match the fuse formats already installed in your specific Camry. A large assortment does not guarantee compatibility.
Choose a kit with:
- Matching physical formats: Compare the kit with the manual specifications and the fuses already installed in the vehicle.
- Relevant amperage ratings: Carry ratings used by your Camry rather than relying on one generic assortment.
- Clear markings: Every fuse should have a readable amperage number.
- A plastic or insulated fuse puller: The tool should grip the fuse body securely without damaging the socket.
- Organized storage: Separate compartments help prevent mixing fuse ratings and physical formats.
- Reliable construction: Avoid unmarked fuses, loose terminals, distorted bodies, corroded blades, or unclear ratings.
High-current cartridge fuses and fusible links may require a more involved procedure than a small blade fuse. Follow the correct manual or use professional service when covers, fasteners, cable connections, or power-distribution components must be removed.
Finding Help for Toyota Camry Fuse Issues
Use Toyota’s manual portal to locate documentation for your vehicle. Repair-level wiring diagrams, diagnostic charts, component locations, and technical procedures may be available through the official Toyota Technical Information System.
If the problem affects several systems, returns after one replacement, or involves heat damage, contact a Toyota service center or qualified automotive electrician. Provide the technician with:
- The model year, VIN, engine, drivetrain, and market
- The fuse label, socket position, physical format, and amperage
- The feature or features that stopped working
- Whether the fuse opened immediately or only during a particular operation
- Any recently installed accessory or electrical repair
- Photos of heat, corrosion, water, or terminal damage
You can also check the VIN through Toyota’s Safety Recall and Service Campaign lookup and the NHTSA recall database. A recall search cannot diagnose a fuse problem, but it can identify an open safety campaign that applies to the vehicle.
Frequently Asked Questions
How do I tell which Toyota Camry fuse does what?
Read the diagram on the relevant fuse-box cover, then confirm the abbreviation, socket position, physical format, and amperage in the owner’s manual for your exact Camry. Do not rely on a generic diagram, fuse color, or another model year alone.
What year of Toyota Camry should I stay away from?
No Camry model year should be rejected solely because of a generic fuse-box guide. Evaluate the individual vehicle’s VIN, open recalls, service history, accident history, warning lights, electrical modifications, condition, and pre-purchase inspection. Reliability can also differ by engine, trim, production period, and previous maintenance.
What is a DCC fuse on a Toyota?
DCC does not describe one identical circuit on every Toyota. In some Toyota diagrams, a D.C.C. fuse supplies grouped circuits such as ECU-B, radio, or interior-light feeds. Other Toyota documentation refers to a DCC cut fuse or short pin used to reduce battery draw during storage and pre-delivery. Use the diagram and service information for your exact Camry, and do not remove a DCC device as a battery-drain repair without proper diagnosis.
Where are the fuses located on a Toyota Camry?
Most Camrys have a passenger-compartment fuse panel under or behind part of the lower dashboard and one or more covered fuse, relay, or junction boxes in the engine compartment. Exact positions vary, and some configurations use additional protection components.
Why does my replacement fuse keep blowing?
The circuit may have a short, overloaded or stalled accessory, damaged wire, wet connector, internally failed motor, defective component, or incorrect aftermarket installation. Stop replacing the fuse and have the circuit diagnosed. Never install a higher-amperage fuse to prevent another failure.
Can I replace a blown fuse with a higher-amperage fuse?
No. A higher-amperage fuse may allow more current than the circuit wiring and components were designed to carry. Replace the fuse only with the physical format and amperage specified for that socket.
Can a fuse look good but still be faulty?
Yes. A small internal break may be difficult to see through the fuse body. Remove the fuse with the circuit switched off and test continuity, or have a qualified person compare both installed-fuse test points while the circuit is properly energized.
Why is the component still dead when its fuse is good?
The circuit may lack upstream power or ground, or it may have a failed relay, switch, connector, wire, module, motor, bulb, or accessory. A good fuse only confirms that the fuse element is intact; it does not prove that the complete circuit works.
How can I tell whether the fuse or relay is bad?
A fuse is normally checked visually, by continuity, or by comparing voltage at its test points. Relay diagnosis may require checking control power, ground, switched output, coil resistance, or commanded operation. Do not swap relays unless the wiring diagram and part information confirm that they are electrically identical.
Conclusion
Understanding your Toyota Camry’s fuse panels can help you resolve a simple electrical failure without replacing unrelated parts. Identify the exact vehicle, use the correct diagram, test the suspected fuse, and install one replacement with the specified format and amperage.
Do not treat a second blown fuse as routine maintenance. Repeat failure, melted plastic, a loose terminal, unusual heat, smoke residue, or a burning smell indicates a fault that requires proper electrical diagnosis.
Sources
- Toyota Manuals and Warranties — model-specific owner’s manuals, warnings, panel locations, and vehicle documentation
- Toyota Technical Information System — official repair procedures, electrical wiring diagrams, and component-location information
- Fluke: How to Check a Fuse With a Multimeter — continuity and resistance testing principles
- Eaton Bussmann Blade Fuses — automotive blade-fuse formats, rating markings, color coding, and test-point information
- Toyota Safety Recall and Service Campaign Lookup — VIN and license-plate campaign searches
- National Highway Traffic Safety Administration Recall Lookup — federal recall and vehicle-safety information
