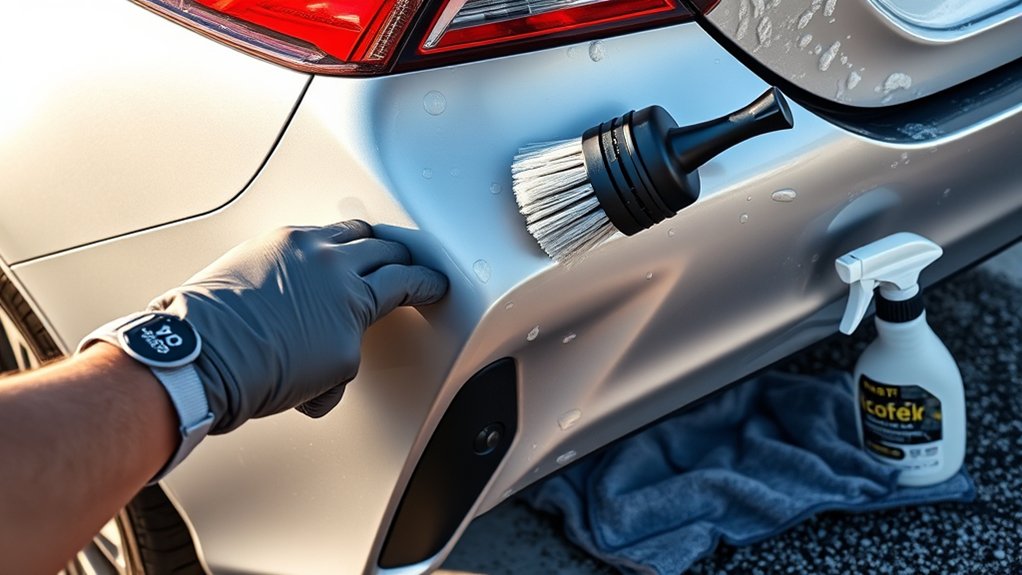
Faded exterior trim can make an otherwise clean Toyota Camry look older than it is. The good news is that most lightly or moderately faded, unpainted plastic can be cleaned and darkened at home. The key is to identify the surface correctly, remove old wax and dressings, let the plastic dry completely, and follow the restoration product’s own application and cure instructions.
Quick Answer
To restore faded Toyota Camry exterior plastic trim, wash the area, remove oils and old dressings, dry it completely, and apply a product made for unpainted textured plastic. Work in shade, wear label-required protection, keep the product off paint and glass, and observe the manufacturer’s full cure time before driving or exposing the trim to water.
Key Takeaways
- Use trim restorers only on compatible unpainted plastic. Painted, glossy, clear, rubber, and sensor surfaces may require different products.
- Preparation matters more than applying a heavy coat. Dirt, wax, oil, silicone dressing, and trapped water can all cause streaks or poor bonding.
- Cure times are product-specific. Do not rely on a universal 30-minute rule.
- Temporary dressings, UV protectants, color restorers, and bonded coatings have different finishes and maintenance intervals.
At a Glance
| Time Required | About 45–90 minutes, plus the product’s required drying or cure time |
| Difficulty | Easy, with careful surface preparation |
| Tools Needed | Car-wash soap, optional diluted APC, soft detailing brush, microfiber towels, gloves, applicator or supplied wipes, and painter’s tape |
| Cost | Typically $15–$40 for a consumer cleaner and trim product, depending on supplies already owned |
How to Clean and Restore Your Toyota Camry Trim
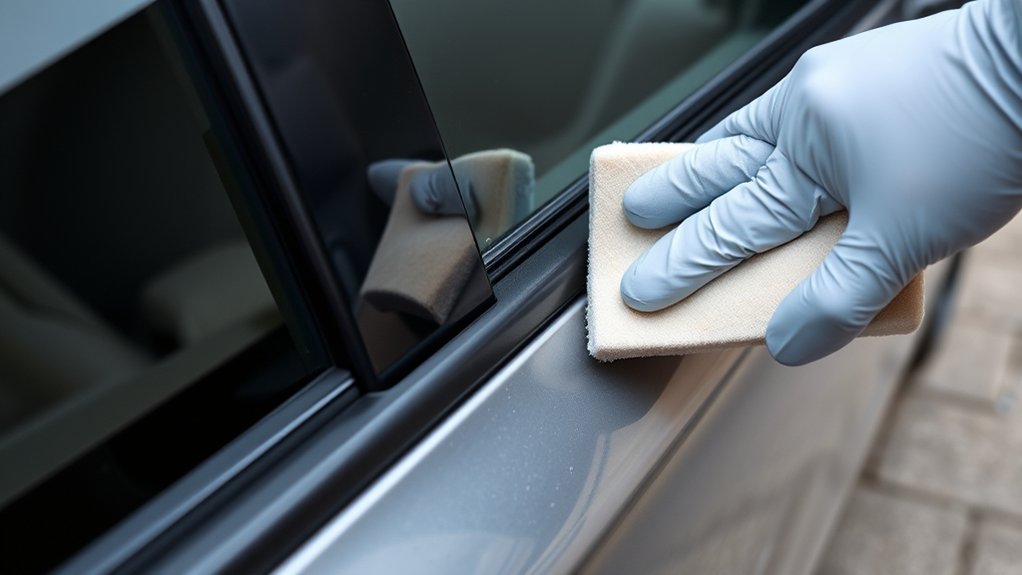
The exact trim on a Camry varies by model year and trim level. Common unpainted-plastic areas may include the windshield cowl, mirror bases, lower bumper or grille inserts, splash-area pieces, and lower-body cladding. Some Camrys also use painted or glossy black pieces that should be treated like paint rather than coated with a textured-plastic restorer.
1. Identify the Surface Before Applying Anything
Look closely at the area in bright, indirect light. A suitable surface is usually textured, unpainted plastic with an even gray or chalky appearance. Do not assume that every black part is bare plastic.
- Usually suitable: Unpainted, textured exterior plastic when the product label lists that material.
- Usually unsuitable: Painted bumper panels, piano-black trim, chrome, clear plastic, headlights, taillights, camera lenses, radar emblems, parking sensors, or glass.
- Check the label first: Rubber seals, wiper blades, running surfaces, and flexible weatherstripping may require a different protectant.
Test the cleaner and restoration product on a small, hidden area. Let the test spot dry and inspect it in daylight before treating the entire vehicle.
2. Gather the Supplies
- Automotive wash soap and a wash mitt
- A properly diluted automotive all-purpose cleaner, if deeper cleaning is needed
- A soft detailing brush or soft toothbrush reserved for vehicle care
- Several clean microfiber towels
- Compressed air, a vehicle dryer, or extra drying towels
- Painter’s tape or automotive masking tape
- Nitrile or other label-approved gloves
- Eye protection if required by the cleaner or coating label
- A compatible trim dressing, color restorer, protectant, or coating
3. Work in the Right Conditions
Park in shade and allow the trim to become cool to the touch. Choose a dry period long enough to complete the job and satisfy the product’s cure requirements. Avoid working immediately before rain, heavy dew, freezing temperatures, or a dusty drive.
Warning: Read the cleaner, coating label, and safety data sheet before use. Some trim coatings may be flammable and may cause serious skin or eye injury. Wear the specified gloves and eye protection, work outdoors or with strong ventilation, keep the product away from children, and avoid flames, sparks, smoking, and hot surfaces.
4. Wash the Vehicle and Trim
Wash the Camry with automotive shampoo to remove loose dust, road film, pollen, and grit. Rinse thoroughly. This first wash reduces the chance of grinding dirt into textured plastic during the deeper cleaning stage.
If the trim still feels oily, looks blotchy, or contains old dressing and wax residue, use a compatible all-purpose cleaner at the weakest effective dilution. Koch-Chemie Green Star, for example, is a concentrated alkaline cleaner whose manufacturer lists a 1:5 to 1:30 range for vehicle exteriors. For lightly soiled trim, begin at the mild 1:30 end, spot-test, keep the surface wet, and do not allow the cleaner to dry.
Agitate textured areas gently with a soft brush. Rinse until no cleaner remains. Repeat only if oily residue or white wax marks are still visible.
Note: A strong alkaline APC is not the same as a pH-neutral maintenance shampoo. Reserve it for deeper cleaning, dilute it exactly as directed, and confirm compatibility before use.
5. Dry the Trim Completely
Dry the surface with clean microfiber towels. Open and close the hood, trunk, and doors to release trapped water. Blow moisture out of seams, lettering, grille openings, mirror bases, and the windshield-cowl area when possible.
This step is especially important with bonded coatings. Water that runs out after application can create spots, streaks, or failed areas.
6. Mask Adjacent Materials
Use painter’s tape to protect porous weatherstrips, painted edges, glossy trim, chrome, glass, lights, sensors, and any surface excluded by the product label. Masking takes a few extra minutes but makes it easier to achieve a clean edge and avoid permanent spotting.
7. Apply the Restoration Product
Wear the required protective equipment. Apply a thin, even layer using the supplied wipe, foam applicator, or microfiber applicator specified by the manufacturer. Work on one manageable section at a time.
- Start at one end of the trim piece.
- Use overlapping passes so each section receives even coverage.
- Follow the direction of the trim or work in a controlled crosshatch pattern if the label allows it.
- Rotate the wipe or applicator to a clean face as it collects dirt.
- Open a new wipe or use a clean applicator when the current one becomes dry or soiled.
- Treat the full trim piece from seam to seam to avoid visible stop marks.
Do not assume that one wipe will cover the whole Camry. Coverage depends on the amount of trim, its texture, its condition, and how much contamination the applicator collects.
8. Remove Accidental Contact Immediately
If the product touches paint or glass, follow the manufacturer’s cleanup directions immediately. For example, Cerakote’s Trim Coat instructions say to remove contact from paint or glass at once with a clean, dry cloth. Do not wait for a coating to harden before attempting cleanup.
9. Observe the Full Cure Time
Allow the trim to dry or cure for the exact period stated on the label. Do not use a universal 30-minute rule. Cerakote currently specifies a minimum of one hour before driving or moisture exposure, while other products may require shorter or substantially longer protection from water.
Keep the car parked, dry, and away from dust during this period. Do not apply a second product over the fresh coating unless the manufacturer confirms that the products are compatible.
Pro Tip: Inspect the trim from several angles before it begins to cure. Correcting a thin or missed spot during the product’s approved working window is easier than fixing a fully cured patch.
Top Products for Restoring Plastic Trim
The best product depends on the trim’s condition, the finish you prefer, and how often you are willing to reapply it. A heavily marketed “ceramic” label does not automatically make a product suitable for every surface.
| Product Type | Best For | Advantages | Tradeoffs |
|---|---|---|---|
| Water-based dressing or UV protectant | Healthy or lightly faded trim that needs routine protection | Easy to apply, usually forgiving, and useful for regular maintenance | Requires frequent reapplication and may not correct heavy fading |
| Color-restoring lotion or pigmented restorer | Moderately faded black or dark-gray trim | Can produce a stronger color change than a clear dressing | May stain paint, clothing, light-colored trim, or porous surfaces |
| Bonded trim coating or wipe-on coating | Clean, dry, compatible unpainted plastic when longer durability is desired | Potentially longer-lasting and less greasy than a traditional dressing | Requires stricter preparation, PPE, careful application, and uninterrupted cure time |
A verified wipe-format example is the Cerakote Ceramic Trim Coat Restoration Kit. Its official instructions call for a thoroughly cleaned, completely dry surface, overlapping passes, gloves, immediate removal from paint or glass, and at least one hour before driving or moisture exposure. These directions apply to that product; another coating may require a different process.
For routine UV maintenance rather than major color correction, a protectant may be sufficient. The current directions for 303 Automotive Protectant, for example, call for application to a clean, dry surface out of direct sunlight, even wiping, and a final dry buff.
Apply the Restoration Product Effectively
Even coverage comes from controlled technique, not from saturating the trim. A thick coat is more likely to streak, remain greasy, attract dust, or transfer onto nearby paint.
Use Thin, Overlapping Passes
Maintain a wet edge and overlap each pass slightly. Apply similar pressure from start to finish. On deeply textured trim, work the product into the low areas without flooding seams or panel gaps.
Keep Applicators Clean
A dirty wipe can move wax, grit, or old dressing from one panel to another. Rotate the applicator frequently and replace it once it becomes contaminated, dry, or difficult to move smoothly.
Finish Complete Sections
Coat one entire cowl section, mirror base, grille insert, or cladding panel before stopping. Ending in the middle of a visible piece can leave a dark overlap line.
Do Not Add an Unapproved Second Coat
Some products allow a second application; others do not. Adding more product before the first coat flashes or cures can cause uneven gloss, trapped solvent, or poor bonding. Follow the label’s recoat window.
Warning: Do not apply exterior trim products to brake or accelerator pedals, steering controls, tire tread, step surfaces, camera lenses, parking sensors, radar covers, or any area where slickness, haze, or an added film could affect safety or vehicle systems.
Common Application Mistakes
- Applying over old silicone dressing, wax, or oily residue
- Working on hot plastic or in direct sun
- Allowing an alkaline cleaner to dry on the surface
- Coating damp trim or trapped water in panel gaps
- Using the same dirty wipe across the entire car
- Applying too much product
- Letting accidental contact cure on paint or glass
- Driving into rain, dew, dust, or a car wash before the cure period ends
How to Maintain Your Trim After Restoration
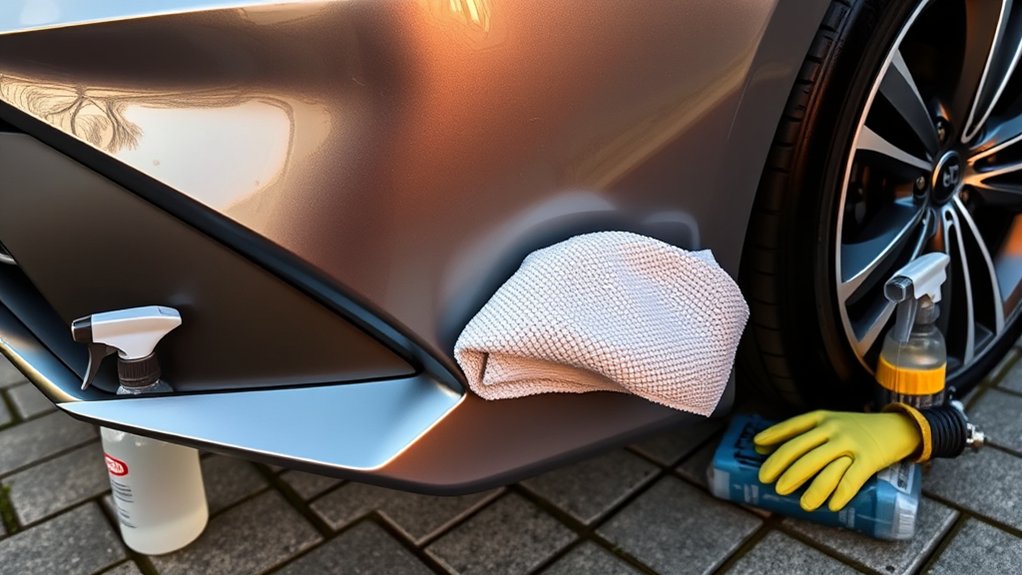
After restoration, gentle washing and label-based maintenance will help the finish remain even. Avoid treating every wash as a full restoration job. Aggressive cleaners can shorten the life of a dressing or coating.
| Task | Suggested Timing | Method |
|---|---|---|
| Routine wash | Whenever the vehicle is washed | Use automotive shampoo, a clean mitt, and gentle pressure. |
| Spot cleaning | As needed | Remove bird droppings, insects, road salt, wax, and polish residue promptly with a compatible cleaner. |
| UV protectant or dressing | According to the product label | For reference, 303 currently recommends reapplication every three to five weeks. |
| Color restorer or bonded coating | Only when the label permits and performance has declined | Clean and inspect first. Do not layer incompatible products over the existing finish. |
| Full inspection | Seasonally and after harsh winter or summer exposure | Check for cracking, loose trim, uneven fading, road-salt buildup, or coating failure. |
Do not automatically add a separate UV protectant over a bonded coating. The additional product may reduce the intended finish, attract dirt, or interfere with the coating. Use a topper only when the coating manufacturer approves it.
Tips for Long-Lasting Plastic Trim Care
Outdoor plastics can undergo photo-oxidative aging, which contributes to discoloration, loss of gloss, embrittlement, and cracking. A review of polymer photodegradation explains how UV exposure, oxygen, heat, and environmental conditions can reduce polymer properties over time. A topical product may improve appearance and add protection, but it cannot rebuild plastic that has already become structurally brittle.
- Park in shade or a garage when practical. Reduced sun and heat exposure can slow weathering.
- Wash with clean tools. Dirty brushes and towels can polish high spots into textured trim or leave uneven marks.
- Remove wax and polish quickly. Dried residue can lodge in the texture and create white patches.
- Avoid household oils and tire shine. They may look dark at first but can stay greasy, attract dirt, or wash onto paint.
- Do not use WD-40 as a lasting restoration system. It may temporarily darken the surface, but it is not a dedicated exterior trim coating with a defined cure and maintenance process.
- Avoid heat-gun shortcuts. Heating can produce uneven gloss, discoloration, or distortion and does not add a protective layer.
- Keep the product label. Record the application date and cure requirement so you know when and how the trim can be maintained.
The most durable-looking result usually comes from careful cleaning, complete drying, thin application, and an uninterrupted cure—not from applying the thickest coat.
Troubleshooting Plastic Trim Restoration
The Trim Looks Streaky or Blotchy
Common causes include uneven cleaning, trapped moisture, old silicone dressing, overapplication, or stopping midway across a panel. Check the product’s correction instructions before adding more. Some coatings require removal or polishing rather than another coat.
The Surface Feels Greasy
A dressing may have been applied too heavily or not buffed as directed. Use a clean microfiber towel to remove excess. If the label permits, use a slightly damp towel and buff again.
White Wax Marks Remain in the Texture
Use a compatible cleaner and a soft brush to loosen the residue. Work gently and rinse thoroughly. Avoid abrasive pads, stiff wire brushes, melamine foam, or aggressive solvents unless the trim-product manufacturer specifically approves them.
Coating Touched the Paint or Glass
Remove it immediately according to the label. If it has already cured, contact the product manufacturer before using strong solvents or polishing compounds. An unapproved chemical may damage clear coat, plastic, or window tint.
The Color Did Not Improve
Confirm that the piece is actually unpainted plastic. The gray appearance may be failed paint, clear-coat damage, embedded wax, mineral deposits, or severe structural weathering. Additional coating will not correct every cause.
The Finish Faded Soon After Application
The trim may not have been fully cleaned, the product may have been exposed to water too early, or a short-lived dressing may have been mistaken for a durable coating. Clean gently, review the label, and wait until the manufacturer allows reapplication.
When Plastic Trim Should Be Repaired or Replaced
Restoration products improve color and surface appearance; they do not repair structural damage. Consider professional evaluation or replacement when the trim:
- Cracks when lightly flexed
- Sheds powder or flakes after cleaning
- Has deep gouges, burns, or melted areas
- Has failed paint or clear coat rather than faded bare plastic
- Is loose because clips or mounts are broken
- Interferes with a camera, sensor, light, grille opening, or moving component
Replacing a badly deteriorated piece is often safer and more permanent than repeatedly coating brittle plastic.
Related Guides
Frequently Asked Questions
How do I restore plastic trim on the outside of a car?
Confirm that the part is unpainted exterior plastic, wash it, remove wax and oily residue with a compatible cleaner, rinse, and dry it completely. Mask nearby paint and glass, apply a thin layer of trim restorer in overlapping passes, remove accidental contact immediately, and observe the product’s full cure time.
Can trim restorer fix faded plastic?
It can improve lightly or moderately faded compatible plastic by darkening the surface or adding a protective coating. It cannot reverse deep cracks, brittleness, melted areas, missing texture, failed paint, or severe structural degradation.
How do I clean oxidation from exterior car plastic?
Begin with automotive shampoo. If gray residue, old dressing, or embedded grime remains, use a compatible diluted APC and a soft brush, then rinse and dry. Repeat gently rather than starting with abrasives. A restorer can improve the cleaned surface, but severe chalking may indicate permanent damage.
Can WD-40 restore faded plastic?
WD-40 may temporarily make faded plastic appear darker, but it is not a dedicated exterior trim restoration coating and should not be treated as a durable repair. Use a product that lists the exact surface, application method, cure time, and maintenance interval.
How long does a plastic trim restorer last?
Durability depends on the product type, preparation, sun exposure, weather, and wash chemicals. A maintenance dressing may need reapplication within weeks, while a properly prepared bonded coating may last much longer. Use the manufacturer’s interval rather than a blanket six-to-twelve-month schedule.
Can I use trim restorer on every black part of my Camry?
No. Some black parts are painted, clear-coated, glossy, rubber, transparent, or part of a camera or sensor system. Apply the product only to surfaces listed on its label, and test a hidden area before completing the panel.
Should I use a heat gun on faded exterior plastic?
A heat gun is not recommended for routine DIY restoration. Excess heat can distort the part, change its texture, create uneven gloss, or damage nearby paint and seals. It also does not add a UV-protective maintenance layer.
Why did my trim restorer dry with streaks?
Streaking usually comes from contamination, trapped water, excessive product, uneven overlap, a dirty applicator, or exposure to moisture before curing. Review the label’s correction method before adding another coat, because cured coatings may require a specific removal process.
Conclusion
Restoring a Toyota Camry’s exterior plastic trim is a manageable DIY job when the surface is correctly identified and thoroughly prepared. Clean gently, remove old residue, dry every seam, apply a compatible product in thin overlapping passes, and protect the car for the full cure period. Regular washing and label-based maintenance will provide a more reliable result than WD-40, excess product, or heat-gun shortcuts—without the dreaded faded-dinosaur look.
Sources
- Koch-Chemie Green Star Product Information — cleaner classification, exterior dilution range, use directions, and surface warnings
- Cerakote Trim Coat Restoration Instructions — preparation, overlapping application, accidental-contact cleanup, and one-hour minimum drying period
- Cerakote Ceramic Trim Coating Safety Data Sheet — PPE, flammability, health hazards, ventilation, handling, and storage precautions
- 303 Automotive Protectant Instructions — compatible surfaces, application method, buffing, exclusions, and maintenance interval
- Photodegradation and Photostabilization of Polymers — scientific background on UV-driven discoloration, weathering, and deterioration of polymer properties

