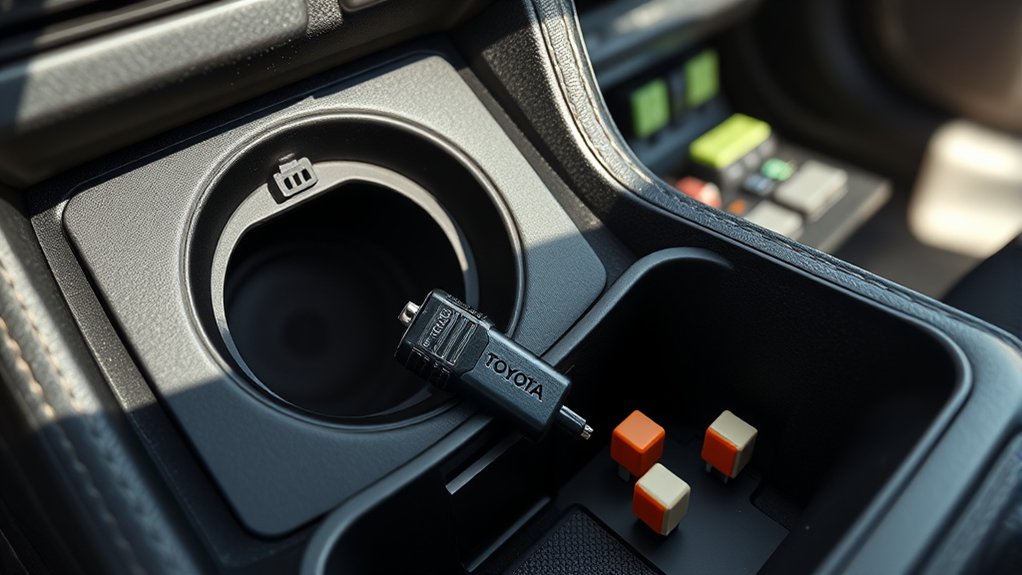
A Toyota Camry 12V outlet that suddenly stops working usually has a simple cause: the ignition is in the wrong position, the accessory plug has failed, the socket contains debris, or the outlet fuse has opened. Start with the checks that require no disassembly, then test the fuse and outlet voltage before removing trim or replacing parts.
Quick Answer
Put the Camry in ACC or ON, test the outlet with a known-good 12V accessory, and inspect the socket for coins or debris. If it still has no power, identify the correct fuse in the manual for your exact model year, replace only a blown fuse with the same type and rating, and test the outlet with a DC voltmeter.
Key Takeaways
- Fuse names, locations, sizes, and amperage ratings vary by Camry model year and equipment, so use the fuse diagram for your exact vehicle.
- Test the ignition position and accessory first; many outlets are switched off when the car is off, and many charger plugs contain their own fuse.
- Never install a higher-amperage fuse. If a correct replacement blows again, stop testing because the circuit may be shorted or overloaded.
- A healthy voltage reading with a device that still cuts out often points to poor plug fit, dirty contacts, heat damage, or voltage drop under load.
At a Glance
| Time Required | 10–45 minutes for basic checks |
| Difficulty | Beginner for fuse and accessory checks; intermediate for wiring tests |
| Tools Needed | Owner’s manual, flashlight, plastic fuse puller, known-good accessory, and digital multimeter or 12V test light |
| Cost | About $0–$30 for a fuse, fuse assortment, or basic socket part; diagnosis and labor cost more |
Warning: Turn the vehicle off before removing a fuse. Never bridge fuse terminals, insert foil or wire in place of a fuse, or install a fuse with a higher rating. Keep meter probes from touching the outlet’s center contact and metal shell at the same time, which can create a short circuit.
Identifying Common Causes of 12V Outlet Failures
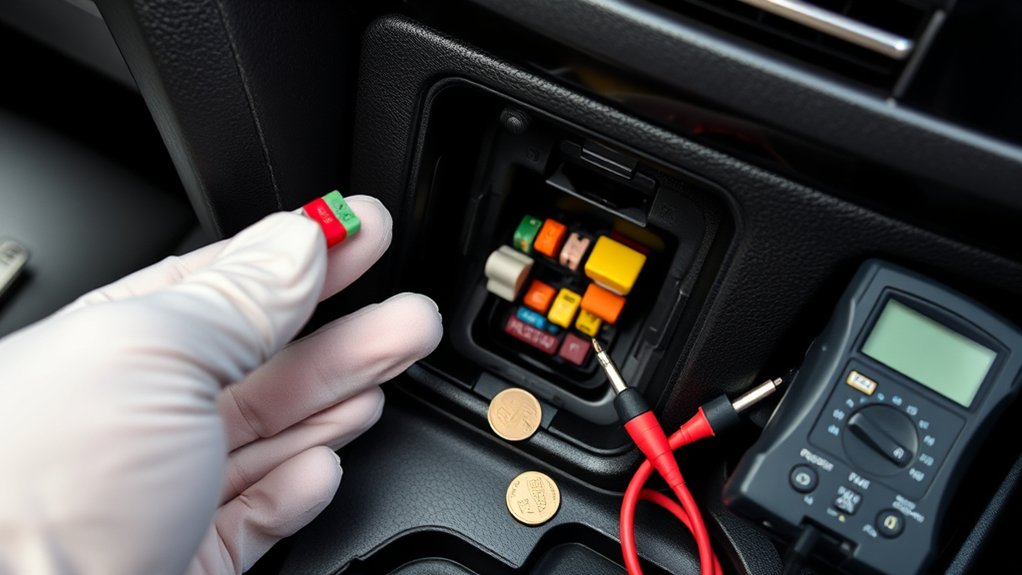
The most common causes fall into four groups: operating conditions, the accessory, circuit protection, and the outlet or wiring itself.
- Ignition position: Many Camry outlets receive power only when the ignition is in ACC or ON. Test in both positions before assuming the circuit has failed.
- Accessory or adapter failure: Phone chargers, inverters, air pumps, and splitters can fail internally. Some plugs also contain a small replaceable fuse under the tip.
- Blown outlet fuse: An overload, damaged accessory, metal object in the socket, or wiring fault can open the fuse.
- Poor contact: Dirt, oxidation, weak side contacts, or an undersized plug can cause intermittent power even when voltage is present.
- Socket or wiring damage: A loose connector, overheated terminal, damaged wire, or weak ground can interrupt the circuit.
Start with the simplest checks because a non-working charger does not prove that the vehicle outlet has failed. If several cabin electrical items fail at the same time, the problem may be upstream of the socket, such as a shared power feed, relay, connector, or ground.
How to Check for a Blown Fuse in Your Camry
Use the fuse information for the exact model year, trim, and market. Toyota provides vehicle-specific manuals through its Manuals and Warranties portal. Labels such as CIG, P/OUTLET, POWER OUTLET, or similar wording may appear on different Camry generations, but the label, fuse-box location, fuse style, and amperage are not universal.
Locate the Fuse Panel Diagram
Park safely, switch the vehicle off, remove the key or keep the smart key away from the car, and open the manual to the fuse section. Compare the diagram with the legend on the fuse-box cover. A Camry may have more than one fuse panel, so confirm that you are checking the panel and circuit assigned to the outlet that failed.
If the car has front, rear, or console outlets, do not assume they all use the same fuse. Check each outlet listed in the manual and note whether the circuit is ignition-switched or always powered.
Inspect Fuses Visually
Use the plastic fuse puller supplied in many fuse boxes or a suitable insulated puller. Remove only the fuse identified by the correct diagram. A clearly blown blade fuse usually has a broken or melted metal link, darkening, or heat damage.
Visual inspection is useful but not perfect. A crack can be difficult to see, so confirm with a continuity tester or the fuse-test points when available. Perform a continuity test only after the fuse is removed or the circuit is de-energized; do not use a meter’s resistance or continuity mode on a live circuit.
| Fuse Check | What the Result Means |
|---|---|
| Metal link is broken | Fuse is blown; replace it with the same type and rating |
| Fuse has continuity | Fuse element is intact; continue with voltage and socket checks |
| Correct new fuse blows immediately | Possible short circuit or severe overload; stop and diagnose the circuit |
| Fuse or holder looks melted | Do not keep using the circuit; professional repair is recommended |
Swap Fuses for Testing
Swapping should be a last-resort confirmation method, not the first test. The safer approach is to use a meter or install a verified spare fuse of the exact same physical type and amperage rating. Do not borrow a fuse from an active safety or control system, and never substitute a higher rating.
After installing the correct fuse, test the outlet with a known-good, low-power accessory. If the fuse opens again, unplug every device and stop replacing fuses. Repeated fuse failure means the circuit needs inspection for a shorted socket, damaged wiring, or an accessory that draws more current than the outlet allows.
Pro Tip: Before inserting a new fuse, shine a light into the socket. A coin, metal fragment, or bent contact can short the center terminal to the outer shell and blow the replacement immediately.
Step-by-Step Guide to Testing Power at the Outlet
A digital multimeter can show whether power and ground reach the socket. Use a meter and leads rated for automotive DC work, and read the meter manufacturer’s safety instructions first.
- Prepare the outlet. Remove all accessories and inspect the socket for moisture, debris, corrosion, bent contacts, or signs of heat.
- Set the ignition correctly. Put the vehicle in ACC or ON if the manual says the outlet is switched.
- Set the meter to DC volts. Choose an automatic range or a range above normal vehicle-system voltage.
- Connect the negative probe. Touch it to the outlet’s metal shell or a verified chassis ground.
- Touch the positive probe to the center contact. Keep the probe tip centered so it cannot bridge the center terminal and outer shell.
- Read the voltage. A reading close to battery voltage shows that power and ground are present at that moment. Zero voltage points to a fuse, feed, ignition-state, connector, or ground problem.
- Test under load if the symptom is intermittent. A circuit can show normal voltage with no device connected but fail when current flows. A technician may use a loaded test or voltage-drop test to find resistance in wiring, connections, or grounds.
If the outlet has proper voltage but a device does not work, test that device in another known-good vehicle outlet. If the device works elsewhere, compare plug fit and inspect the Camry socket’s side contacts. Excessive looseness, arcing marks, or heat discoloration suggests a worn or damaged outlet.
A normal no-load voltage reading does not rule out a bad connection. Corrosion, loose terminals, and weak grounds often reveal themselves only when the outlet is powering a device.
Key Troubleshooting Steps for Your 12V Outlet
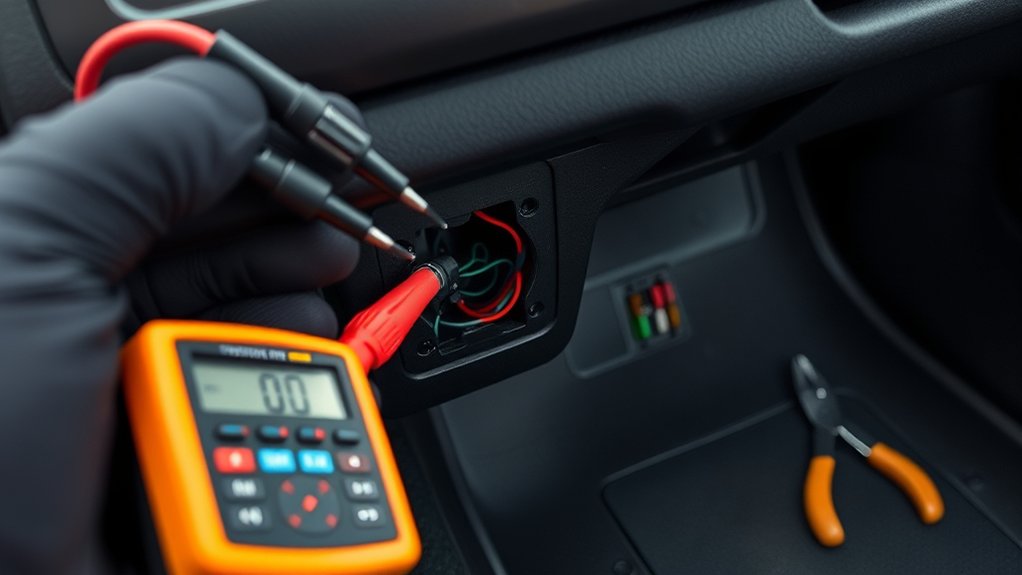
Follow this order to avoid replacing parts that are still good:
| Step | Action |
|---|---|
| 1. Confirm operating mode | Try ACC and ON; check whether the outlet is designed to switch off with the vehicle |
| 2. Test another device | Use a known-good, low-power 12V accessory without a splitter |
| 3. Inspect the socket | Look for coins, debris, moisture, corrosion, looseness, or heat damage |
| 4. Check the correct fuse | Use the exact model-year diagram and the same replacement rating |
| 5. Measure voltage | Test the center contact to the shell or verified ground |
| 6. Check power and ground under load | Use voltage-drop testing when an intermittent or weak connection is suspected |
| 7. Inspect the connector and wiring | Remove trim only with correct service information and safe battery-disconnection procedures |
If only one outlet is dead while another works, focus on that socket, its local fuse if separately protected, and its connector. If every outlet is dead, focus first on shared fuses, ignition-switched feeds, relays, or common power and ground paths.
When Should You Swap Fuses?
Swap or substitute a fuse only when you have positively identified the correct circuit and have an exact match in both physical style and amperage. A meter-based fuse test is better because it avoids disabling another circuit and prevents accidental use of the wrong fuse.
When the Fuse Appears Blown
Replace a visibly blown fuse once with the exact rating specified on the fuse-box diagram or in the owner’s manual. Before powering the circuit again, remove all devices from the outlet and inspect the socket for conductive debris or damage.
If the new fuse holds, reconnect one accessory at a time. If the fuse blows when a particular charger, inverter, compressor, or splitter is connected, stop using that accessory until it is checked or replaced.
Testing Alternative Fuse Options
Do not use a random “close enough” fuse or move one from a safety-critical system. If the vehicle includes a labeled spare of the same size and rating, it may be used for confirmation. Otherwise, purchase the correct replacement or test the original fuse electrically.
After testing, reinstall the fuse-box cover securely. A missing or loose cover can allow moisture or debris into the panel and makes future identification harder.
Signs Your Outlet Needs to Be Replaced
An outlet may need replacement when power and ground are present but the socket cannot maintain reliable contact with known-good plugs. Common signs include:
- Multiple accessories work only when the plug is held, twisted, or pushed sideways.
- The outlet’s center or side contacts are loose, pitted, badly corroded, or discolored.
- The plastic body is cracked, warped, or melted.
- The socket becomes unusually hot with a modest load.
- Voltage is present at the rear connector but not at the socket contact.
A burning smell, smoke, melted plastic, or repeated fuse failure is not a normal wear symptom. Stop using the outlet, switch the vehicle off when safe, and have the circuit inspected before installing another accessory.
How to Diagnose Wiring Issues Affecting Your 12V Outlet
Wiring diagnosis begins only after the accessory, ignition position, socket condition, and fuse have been checked. Use the wiring diagram for the exact vehicle because connector pinouts and shared circuits differ by year and equipment.
- Check both sides of the fuse: Power on the supply side but not the outlet side indicates an open fuse or poor fuse contact.
- Check the outlet feed: Power at the fuse but none at the socket points to an open wire, connector, relay, or junction between them.
- Check the ground path: A weak or corroded ground can produce intermittent operation or a large voltage drop under load.
- Inspect connectors: Look for backed-out terminals, loose locking tabs, moisture, green corrosion, darkened metal, or melted plastic.
- Wiggle-test carefully: With a low-current test device connected, gently moving the plug or accessible harness may reveal an intermittent connection. Do not pull on wires or probe sealed connectors with oversized tools.
Voltage-drop testing is often more useful than resistance testing on a circuit that fails only under load. Fluke’s automotive guidance notes that visual checks can miss corrosion or damaged conductors inside a connection and that ground-side problems can affect several components. If you are not trained to back-probe connectors without damage, leave this step to a qualified technician.
Note: On a Camry Hybrid, the accessory outlet is part of the low-voltage electrical system. Do not touch, disconnect, or probe orange high-voltage cables or components. Hybrid-system work requires the procedures and protective equipment specified by Toyota.
Do Adapters Affect Your Outlet’s Performance?
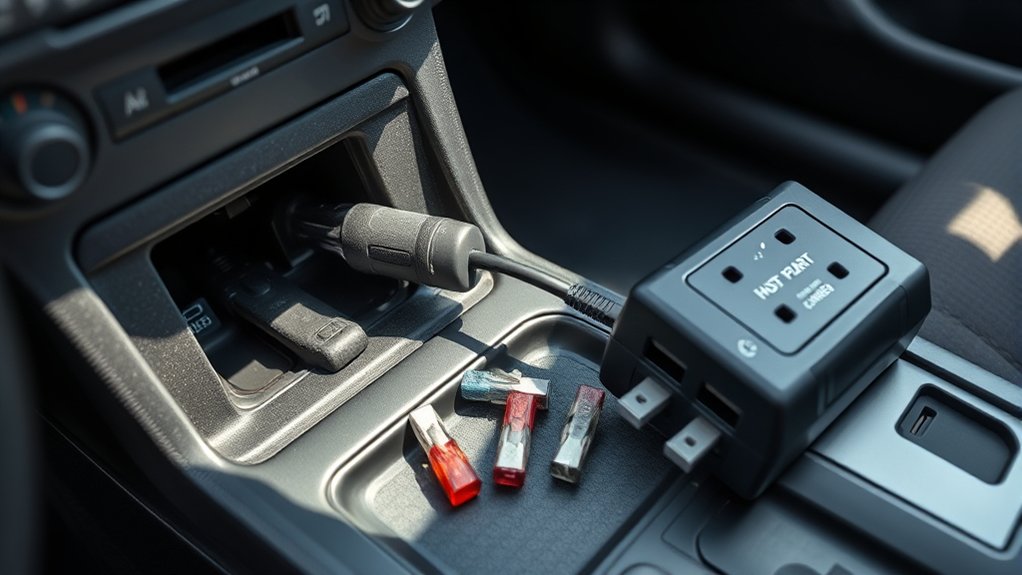
Yes. An adapter can create the same symptoms as a bad outlet. A plug that is too short, narrow, worn, dirty, or poorly sprung may not press firmly against the center and side contacts. High-current accessories can also overload the circuit if their demand exceeds the outlet rating listed in the vehicle manual.
| Adapter Type | What to Check | Potential Issue |
|---|---|---|
| Low-quality or worn adapter | Loose tip, weak side springs, heat marks | Intermittent power or hot contacts |
| Poorly fitting adapter | Plug moves easily or loses power over bumps | Momentary disconnection or arcing |
| Adapter with internal fuse | Fuse in removable plug tip | Accessory appears dead although outlet works |
| Splitter or inverter | Combined wattage or current draw | Overload and blown vehicle fuse |
| Known-good low-power adapter | Works reliably in another outlet | Useful for isolating the vehicle-side fault |
Do not judge compatibility by voltage alone. The plug must fit securely, the accessory must tolerate normal automotive voltage variation, and its current demand must remain below the outlet limit in the manual.
When to Seek Professional Help for Electrical Issues
Basic accessory, fuse, and voltage checks are reasonable DIY tasks. Stop and seek professional diagnosis when the fault suggests overheating, damaged wiring, a repeated short circuit, or a problem beyond the socket.
Complex Electrical Problems
Professional help is appropriate when:
- The correct replacement fuse blows more than once.
- The socket, fuse, connector, or nearby trim shows melting, smoke, or a burning odor.
- Several unrelated electrical systems fail or flicker together.
- Voltage is present but drops sharply whenever a device is connected.
- The repair requires trim removal, connector repair, terminal replacement, or wiring-diagram diagnosis.
- You do not have a suitable meter or are unsure how to test without shorting or damaging the circuit.
Toyota’s Technical Information System provides factory repair manuals, wiring diagrams, service bulletins, and diagnostic information for technicians working on North American vehicles. A dealer or qualified independent shop can use that information to trace the exact circuit.
Persistent Outlet Malfunctions
An intermittent outlet that has failed for weeks or months should not be dismissed. Repeated movement and arcing at a loose connection can generate heat. A technician can load-test the circuit, measure voltage drop on the power and ground sides, inspect terminals behind the outlet, and confirm whether the socket or upstream wiring needs repair.
For any unusual electrical heating or a pattern that may indicate a broader defect, check the vehicle’s VIN for open safety recalls or manufacturer communications through the NHTSA recall lookup and Toyota’s recall resources. A recall search does not replace diagnosis, but it can identify an applicable manufacturer remedy.
Preventive Measures for 12V Outlet Problems
Good habits reduce socket wear and prevent avoidable fuse failures:
- Keep the outlet covered when it is not in use so coins, liquid, and debris cannot enter.
- Pull adapters out by the plug body rather than the cable.
- Avoid stacking splitters, loose extension plugs, or high-power inverters on a cabin outlet.
- Check the accessory’s current or wattage requirement against the limit in the exact Camry manual.
- Stop using any plug that feels hot, fits loosely, shows discoloration, or causes the outlet to cut in and out.
- Replace only failed fuses; intact fuses are not routine maintenance items.
Related Guides
Frequently Asked Questions
Why did my Toyota Camry 12V outlet suddenly stop working?
The usual causes are a switched-off ignition circuit, a failed accessory plug, debris in the socket, a blown fuse, or a loose or overheated connection. Test ACC/ON operation and a known-good accessory before moving to the fuse and voltage checks.
Which fuse controls the Camry power outlet?
It depends on the Camry’s model year, trim, market, and which outlet has failed. Check the owner’s manual and fuse-box cover for the exact vehicle. Do not rely on a generic 15A or 20A recommendation from another generation.
Can a phone charger blow the 12V outlet fuse?
Yes. A shorted charger, damaged cable, loose plug, defective splitter, or accessory that draws too much current can open the fuse. If the replacement fuse blows only when one accessory is connected, stop using that accessory.
Why does the outlet work only when I hold or twist the plug?
The plug may be the wrong shape or the socket’s contacts may be dirty, weak, worn, or heat-damaged. Test a different known-good adapter. If several plugs behave the same way, inspect or replace the socket.
Is it safe to install a larger fuse so it does not blow?
No. A larger fuse can allow wiring or connectors to overheat before the circuit opens. Use only the type and rating specified for the exact vehicle. If the correct fuse blows again, the circuit or accessory needs diagnosis.
Why does my Camry outlet have voltage but not power my device?
A no-load meter reading can look normal even when resistance in a contact, connector, wire, or ground causes the voltage to collapse under load. The device may also have a bad internal fuse or poor plug fit. A loaded test or voltage-drop test can separate these causes.
Conclusion
Diagnose a dead Toyota Camry 12V outlet in a safe order: confirm ACC or ON operation, test a known-good accessory, inspect the socket, identify the exact fuse for the model year, and measure voltage. Replace a fuse only with the specified type and rating. If the fuse blows again, the socket overheats, or the voltage disappears under load, stop using the outlet and have the circuit professionally tested.
Sources
- Toyota Manuals and Warranties — model-year-specific owner’s manuals, fuse information, and operating instructions.
- Toyota Technical Information System — factory repair manuals, wiring diagrams, service bulletins, and diagnostic information.
- Fluke: Diagnosing Voltage Drops — automotive voltage-drop testing, connection resistance, and ground-fault diagnosis.
- National Highway Traffic Safety Administration Recall Lookup — VIN-based recall and manufacturer-communication searches.